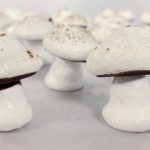
I made these little meringue mushrooms for the first time several years ago to stick on a bûche de Noël. I completely fell in love with them for both their looks, and their taste! Not only are they a great conversation starter, they’re also easier to make than you’d think!
I know some people can be quite intimidated when it comes to piping, but I promise you, even the most novice baker can pull these off! This recipe comes from the Joy of Baking, and there is a great video tutorial on their site which shows you step by step how to handle your piping bag. If you’re nervous about giving these a try, I definitely recommend watching the video to see just how easy it is.
To make the meringues, start by separating your egg whites from your egg yolks. Take extra care to ensure you don’t break the yolk, as any traces of grease or fat in your whites will prevent them from whipping up as nicely. Make sure your mixing bowl is extra clean for this same reason. It’s also best to bring your egg whites to room temperature before starting.
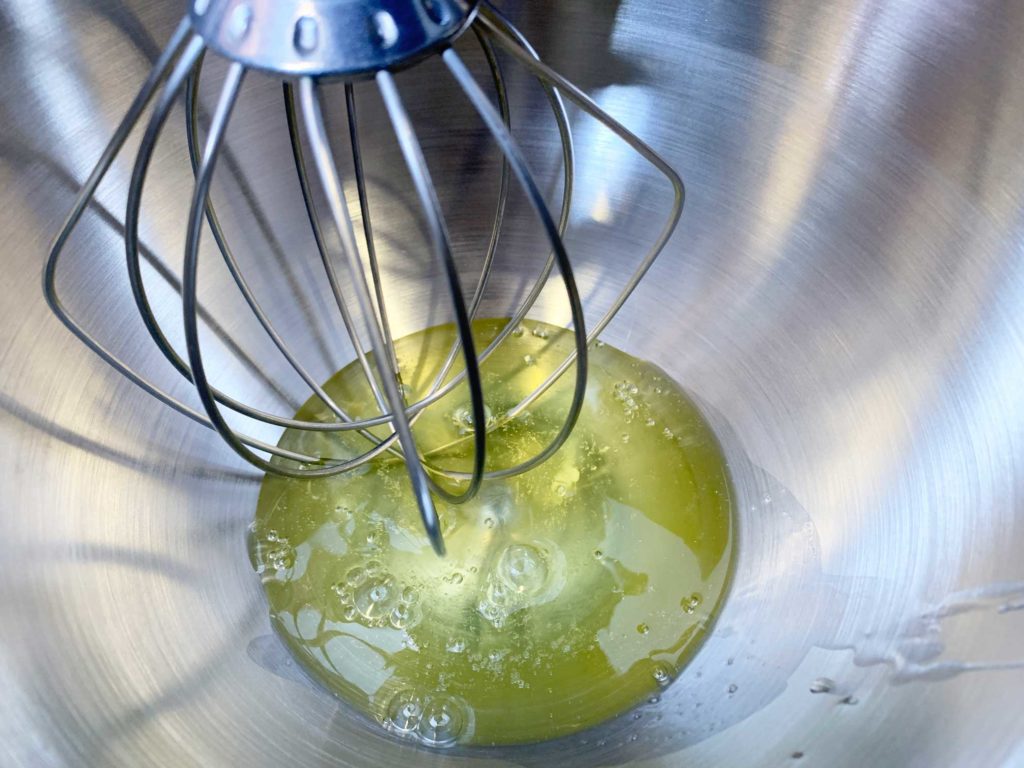
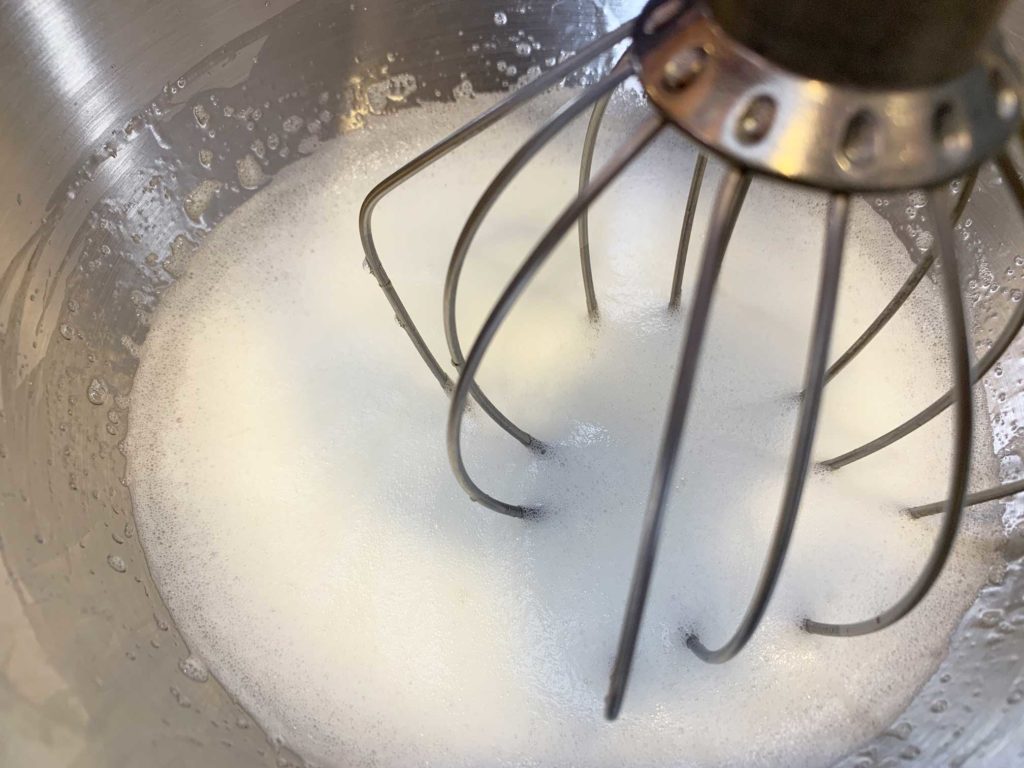
Add the egg whites and some cream of tartar to the bowl of a stand mixer, fitted with a whisk attachment. Whip on medium-low speed until your egg whites are really foamy and soft peaks form.
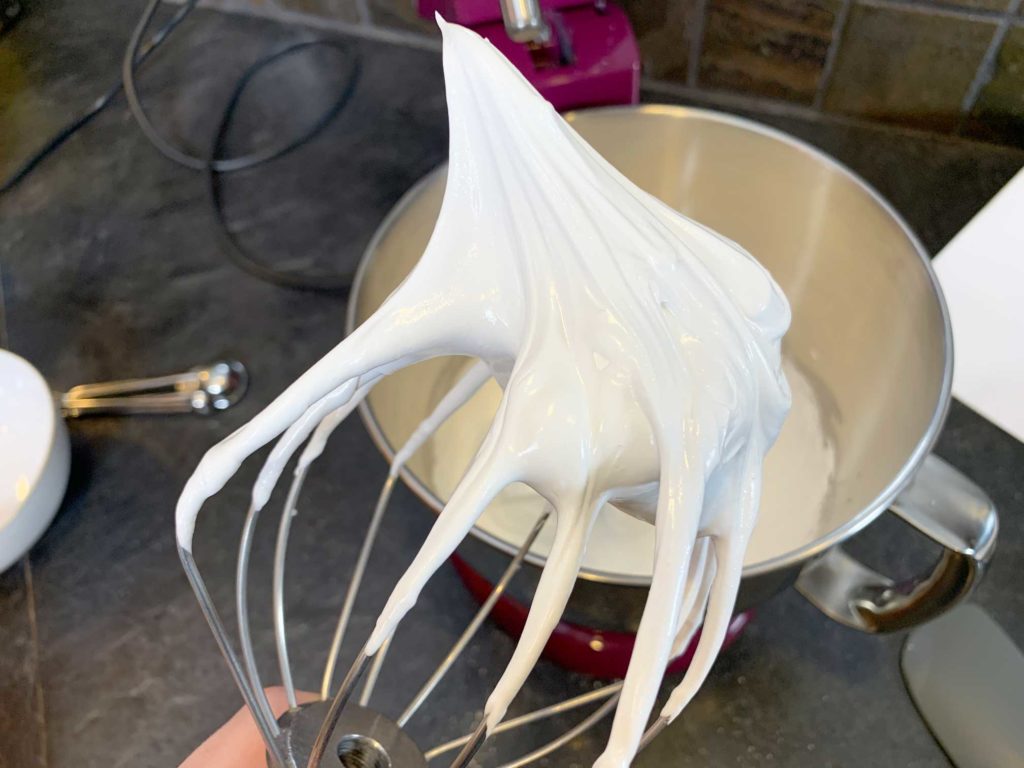
Now it’s time to start adding the sugar. Turn the mixer on to high speed and start adding your sugar slowly, just a spoonful at a time. You want the sugar to completely dissolve into the egg whites, which is why it’s recommended to use super fine sugar over regular granulated sugar. The two are basically the same, one is just finer crystals, so it will dissolve faster. If you can’t find super fine sugar at the store, you can throw some regular sugar in a food processor or blender for a few seconds to break it down a little finer.
Keep whisking the egg whites on high speed until the mixture goes stiff and glossy. At this stage you want to check and make sure the sugar has dissolved. To do this, rub a little bit of the meringue between your fingers. If you feel any grittiness, continue beating the mixture a little longer. If it’s smooth, you’re ready to start piping!
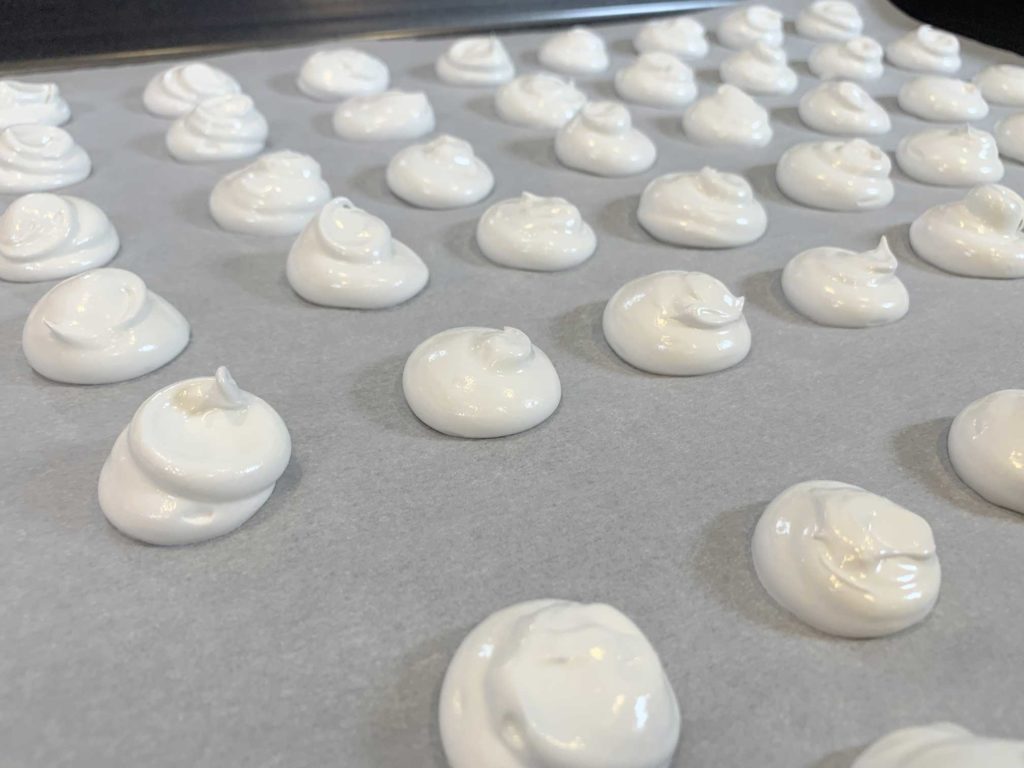
Line two baking trays with parchment paper. You’re going to pipe your caps on one tray, and your stems on the other. Transfer your meringue mixture to a large piping bag fitted with a large, round, piping tip (about 1/3 inch, or 8mm, in diameter).
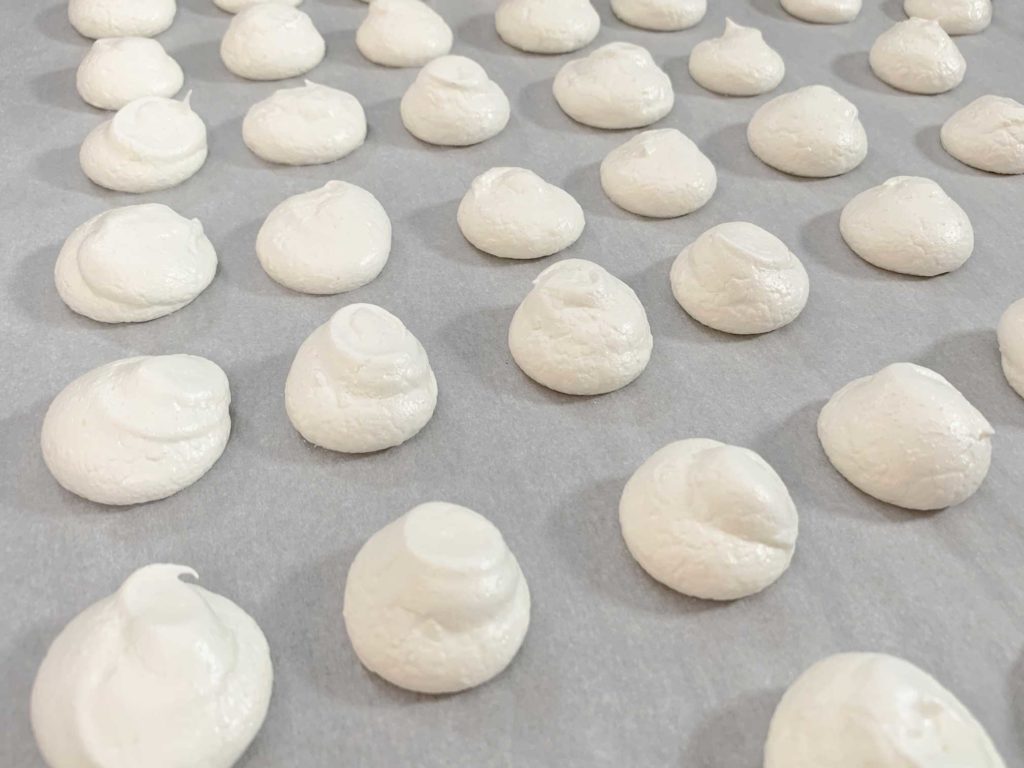
To make the caps, hold your piping bag completely vertical with the tip just a little ways off the parchment paper. Apply steady, even pressure to squeeze the meringue out into a little round blob. The original recipe recommends piping the mounds about 2 inches in diameter, and about an inch high. I like to make mine a little smaller, so I do about half that size.
You will likely end up with some little pointy tops on your caps as you pipe them. You can flatten these out by dampening the tip of your finger just a little bit with some water, and then smoothing the point down.
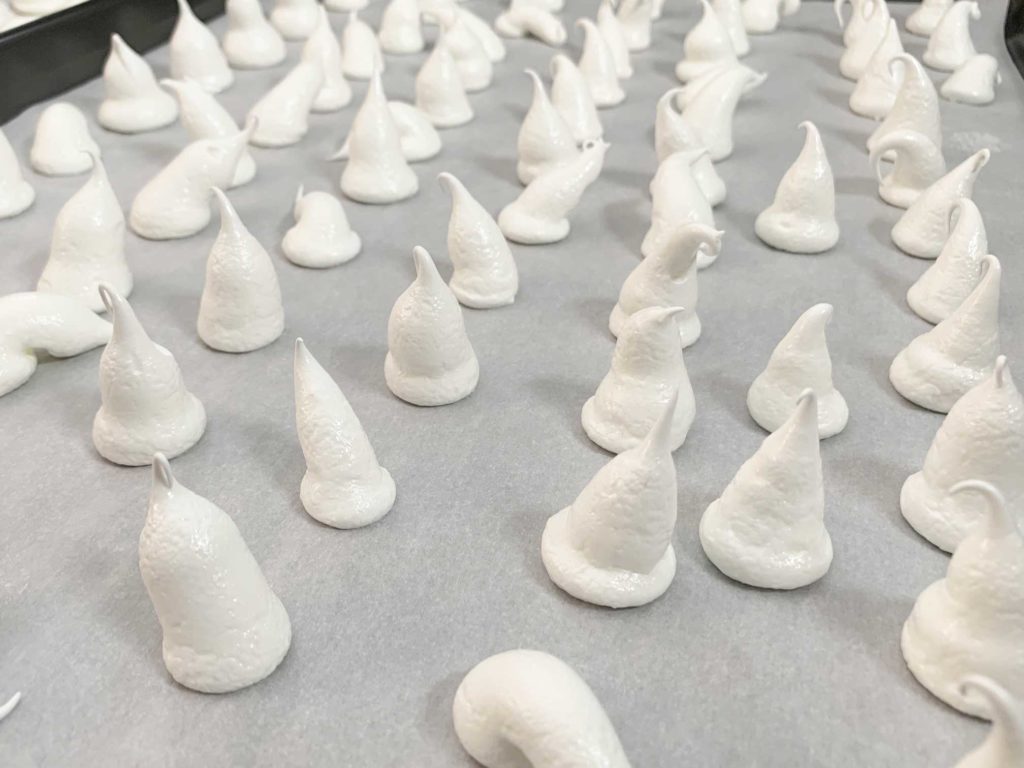
For the stems, hold your piping bag vertical again, and apply steady even pressure to pipe a little tower. I find it’s best to make stems that are slightly fatter, and shorter. If you make them too tall and skinny, they are likely to fall over during baking.
You can see in the photo below, the stem in the foreground is a good example of a nice sturdy stem. If you look at the third one back and to the left, you’ll see it is skinner and sort of flopping sideways. Try to avoid making ones like these. It’s a good idea to make a few spare stems just in case any do fall over during the baking process.

Let the meringues bake low and slow in the oven. Do NOT open the oven door during the baking process. You can check on the meringues close to the end of their baking time to see how they are doing, but otherwise try to avoid opening the door unnecessarily.
Once the meringues have baked, I find it’s best to turn the oven off and leave them in there for a few hours (or even overnight) to finish drying out. I usually leave mine in overnight, but I recently discovered that my oven seems to gather moisture when left turned off for any length of time. I found this out the hard way when I woke up to sticky meringues the next morning. So whatever you do, just try to keep your meringues nice and dry.
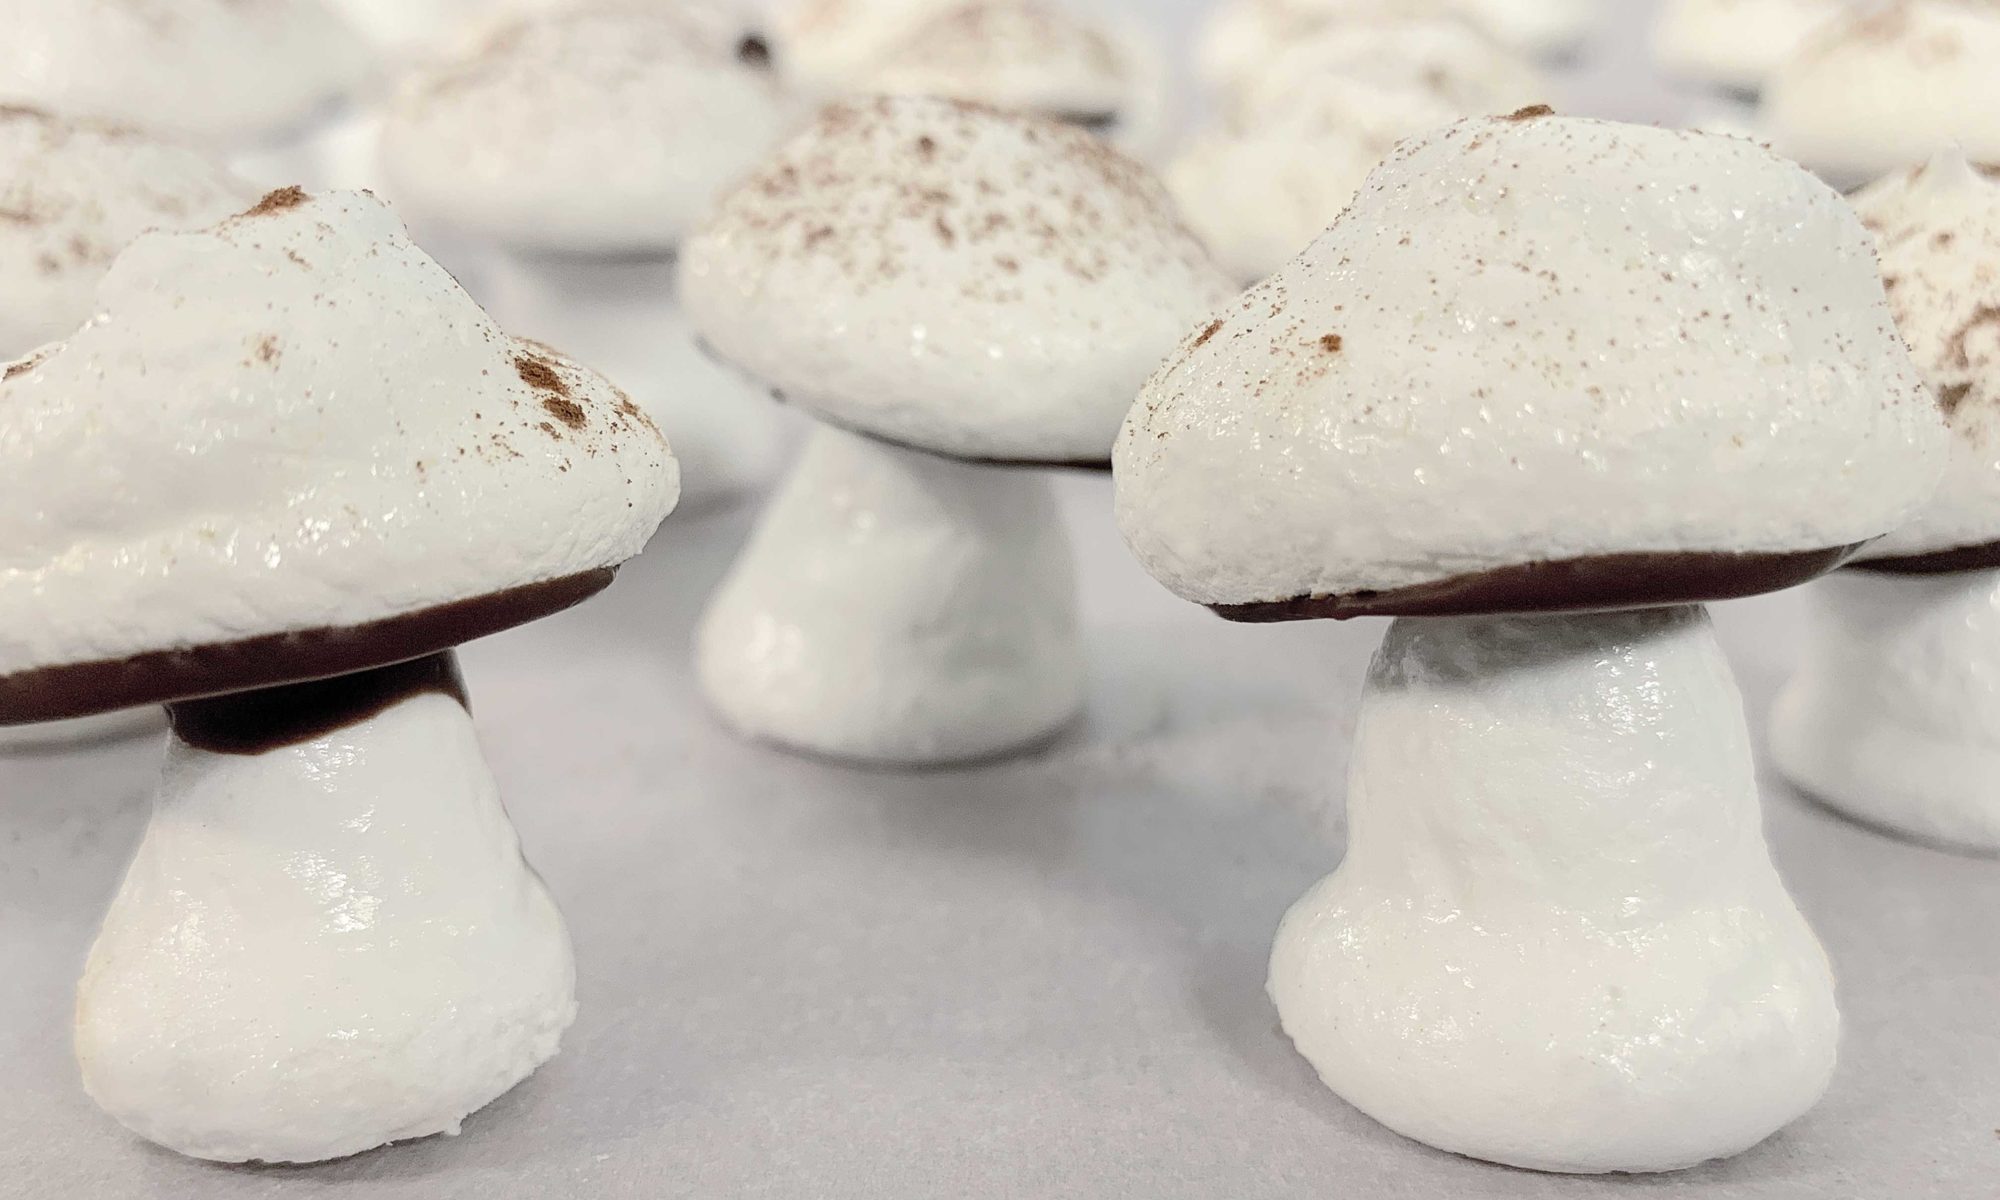
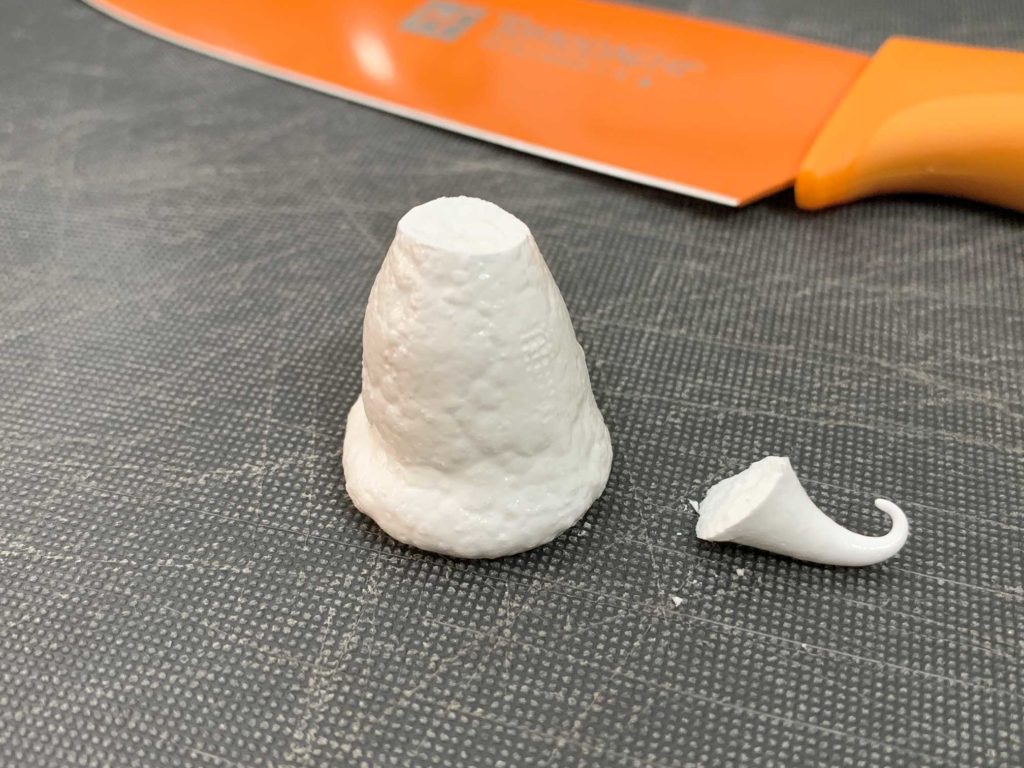
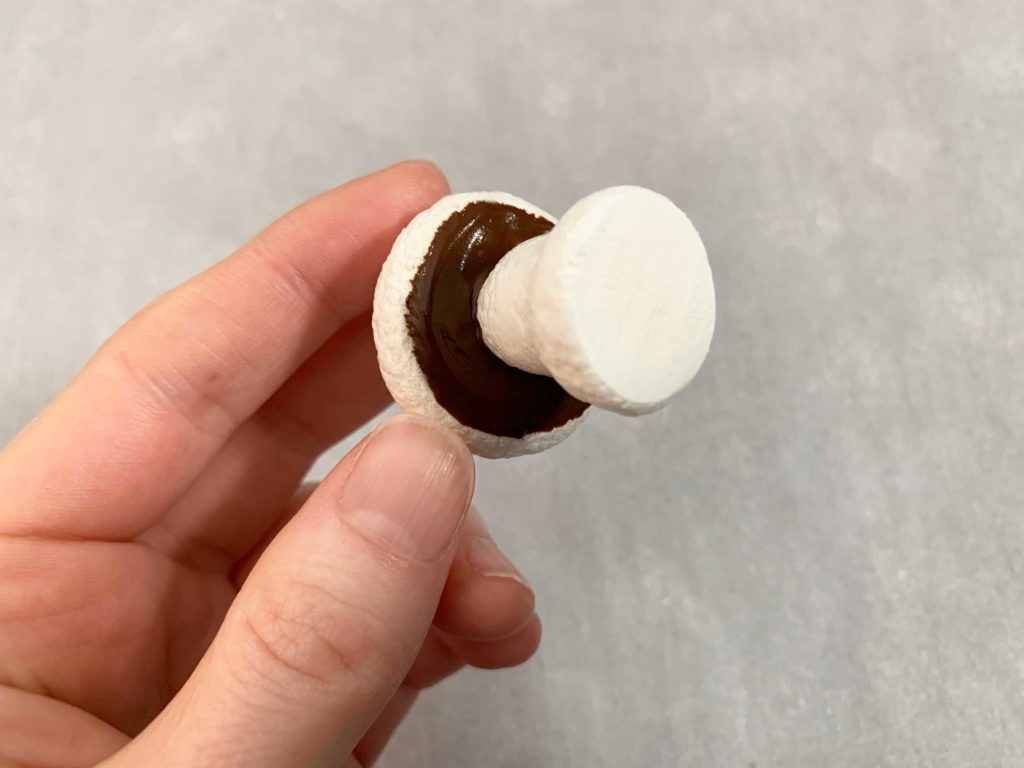
Once your meringues have cooled, it’s time to assemble the mushrooms. I find the easiest way to do this is to trim the tops of the stems slightly so they have a nice flat surface. You could also poke a little hole in the bottom of the mushroom cap, so the pointy end of the mushroom stem nestles into it.
Melt a little bit of chocolate, either in the microwave or in a double boiler. Take a little dollop of melted chocolate and spread it on the underside of one of your mushroom caps.

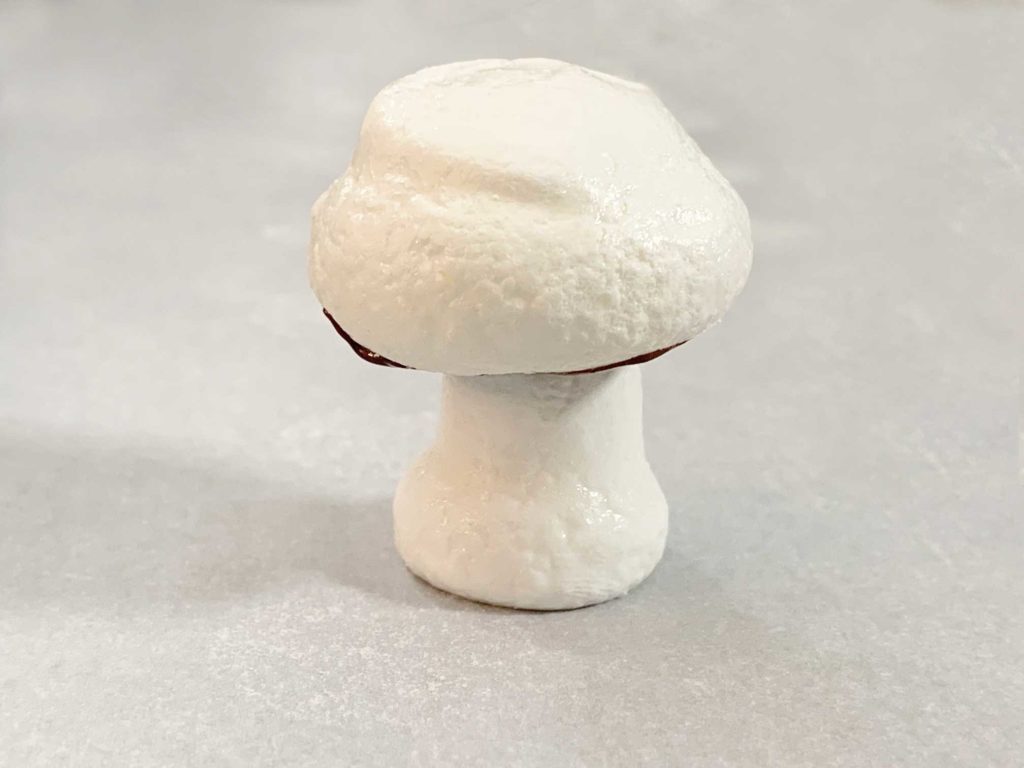
Take one of your stems with the flattened top and stick it to the bottom of the mushroom cap. Set the mushrooms down on a sheet of parchment and let them sit until the chocolate has fully set. I find it’s best to place the mushrooms with the cap side down. If you try to stand them all upright, they tend to wobble and fall over.
You can leave your mushrooms as is, or dust the tops of them with a little bit of cocoa powder to give them a more realistic, freshly-picked-from-the-woods effect.
Meringue Mushrooms
Ingredients
- 3 large egg whites (90g) (room temperature)
- 1/4 tsp cream of tartar
- 3/4 cup superfine sugar (180g)
- 1 oz semi-sweet chocolate
- 1 tbsp cocoa powder (optional)
Instructions
- Pre-heat your oven to 200°F. Adjust your oven racks so you have one in the upper third and one in the lower third of your oven.
- Add the egg whites and cream of tartar to the bowl of an electric mixer, fitted with a whisk attachment. Whip on medium-low speed until foamy, and soft peaks start to form.
- Increase the speed of the mixer to high and slowly add the sugar (a spoonful at a time) until the egg whites are shiny and hold stiff peaks. Rub a little of the meringue between your fingers to check and see if the sugar has dissolved. If the mixture feels gritty, continue mixing for a few more minutes.
- Transfer the egg whites to a piping bag fitted with a large, round piping tip (approx 1/3 inch round).
- Line two baking trays with parchment paper. On one baking tray, pipe the mushroom caps to your desired size. On the other tray, pipe the stems. You'll want to pipe the base slightly thicker at the bottom, and narrower towards the top (sort of a cone shape). Pipe a few extra stems in case any fall over during baking.
- Bake for 1 hour 15 minutes, until the meringues are very dry. For best results, turn off the oven after the completed baking time and leave the trays in there until they have completely cooled (several hours, or overnight).
- When the meringues have cooled, melt the chocolate. To assemble the mushrooms, spread a little melted chocolate onto the bottom of each mushroom cap and then press the top of the stem into the bottom of the cap.
- Allow the chocolate to set completely before serving. Optionally you can dust the tops with a little cocoa powder.