The holidays are upon us, and if you know me at all, you’ll realize what that means. It has nothing to do with being festive or merry, or taking time to enjoy the simple pleasures of the season. It means it’s time to bake an obscene amount of cookies. Seriously. A ridiculous amount. In a single weekend.
Every year for more than 10 years now I have indulged in some serious holiday baking. It started out in a relatively harmless manner. I picked a few recipes that I thought sounded nice and decided to make a few batches to share with family and friends. The following year I did the same thing, only I made more…and more the next year…and more the year after that!
Last year I hit a record breaking 888 cookies in 12 different varieties (no joke, we counted), and this year I will be partaking in a similar endeavour. I’ve been asked a few times what my baking process looks like so I thought I’d take this opportunity to share a few of my tips and tricks with you in case you are also interested in baking an absurd volume of cookies.
Step 1: Make the Time
This might seem obvious, but we all know how hectic everyones schedules can become this time of year. I make sure to pick my baking weekend no later than early to mid November and I lock that weekend down and block it off in my calendar. It ensures I have plenty of time to prepare and shop well in advance so I don’t have to stress out at the last minute.
Step 2: Pick Your Recipes
Over the years, I have tried and tested lots of recipes and I have a collection of favourites that I can now easily pull from. Ideally if you’re going to take on a baking challenge of this scope, it’s best to know your recipes in advance so you don’t have to spend too much time contemplating whether or not the mixture is supposed to be that wet or dry.
Regardless of where I get my recipes from, I will type them out in a word document in a very simple format, ensuring each recipe fits on a single page, so that it is quick and easy to read. If I’m doubling any recipes (which I often do for Christmas baking), I will write down the amounts for the doubled variation. I’ve had too many bad experiences where I’ll be doubling each ingredient as I go, but then I slip up and forget to double one item as I’m adding it to the bowl. So learn from my mistakes and just write it down. It will make your life so much easier.
The added benefit of printing each page out is that you can scribble down any notes you might want to make, directly on the recipe. It’s also easier to manage a few print outs as opposed to a stack of recipe books with a bunch of tagged pages.

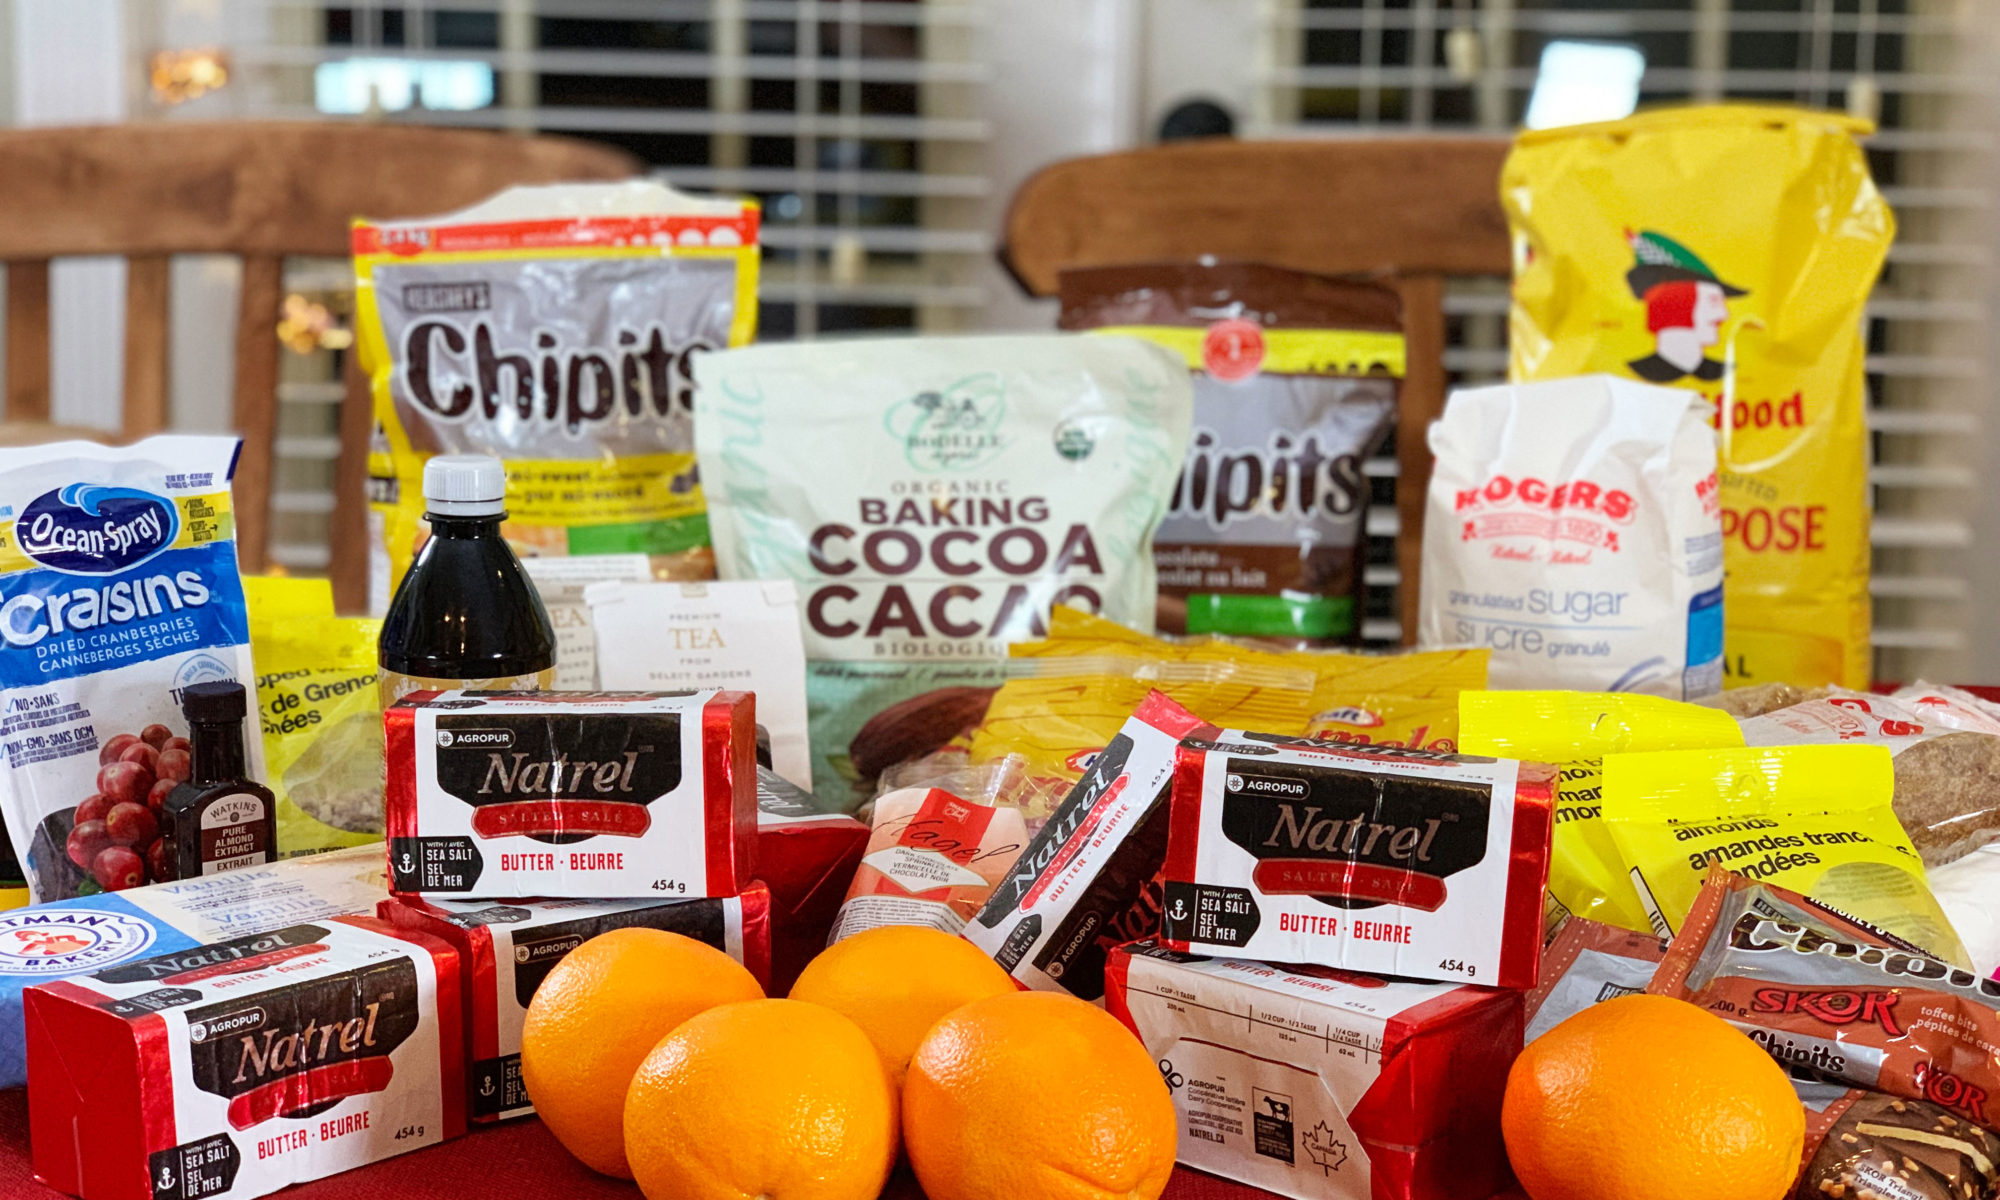
Step 3: Make Your Grocery List
This is where I go super nerd and create my grocery list in Excel. Across the top of the document I write down the name of each of the recipes I will be making. Down the far left side, I list out all the ingredients I need, grouped by category. I read through all my recipes and write down how much of each item I need. Then I just tally up the totals across and voila! Instant shopping list.

Step 4: Do the Prep Work
During the week I will do as much prep work as I possibly can. I pre-measure all my dry ingredients and put them into labelled baggies so when I start baking on the weekend, I mostly just have to worry about the butter and sugar. It’s amazing how much time this saves and it also reduces the frequency of having to wash and dry your measuring cups between each ingredient.

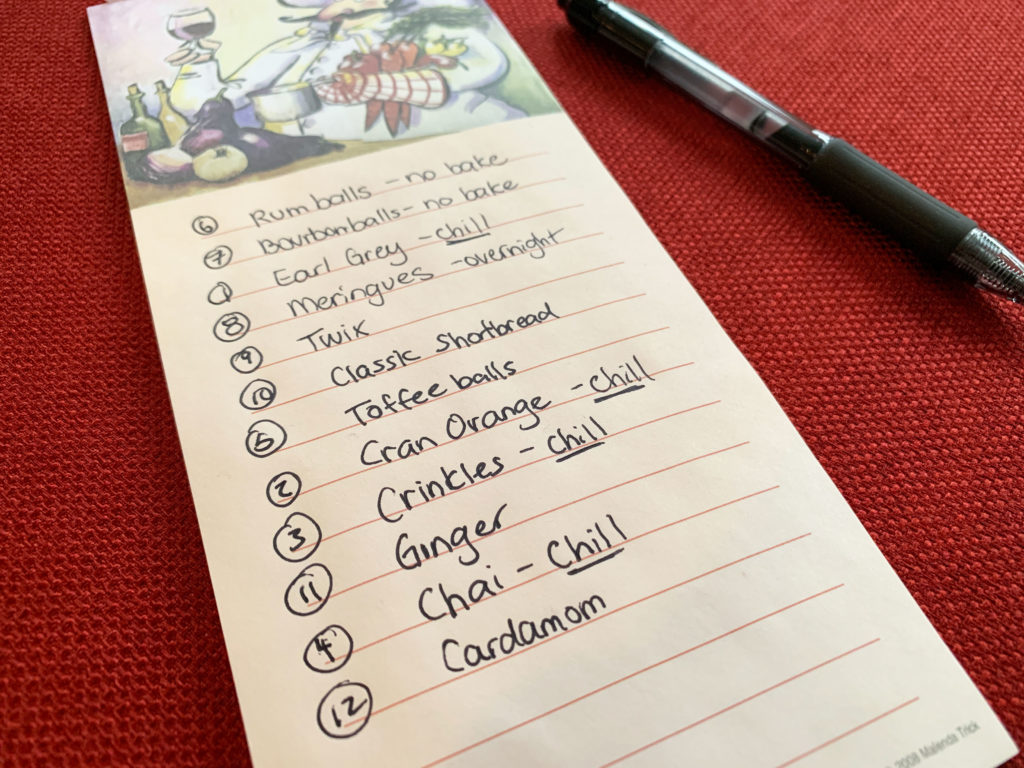
Step 5: Prioritize the Baking
Before you start mixing up your doughs, read through your recipes carefully and decide the order in which you are going to make them. Are you making anything that does not require baking? Do your doughs need to chill? I typically mix up any doughs that need chilling first and then start on my no-bake items. It really depends what recipes you’ve chosen, but take the time to pause and think about the order that you’re planning to make things in.
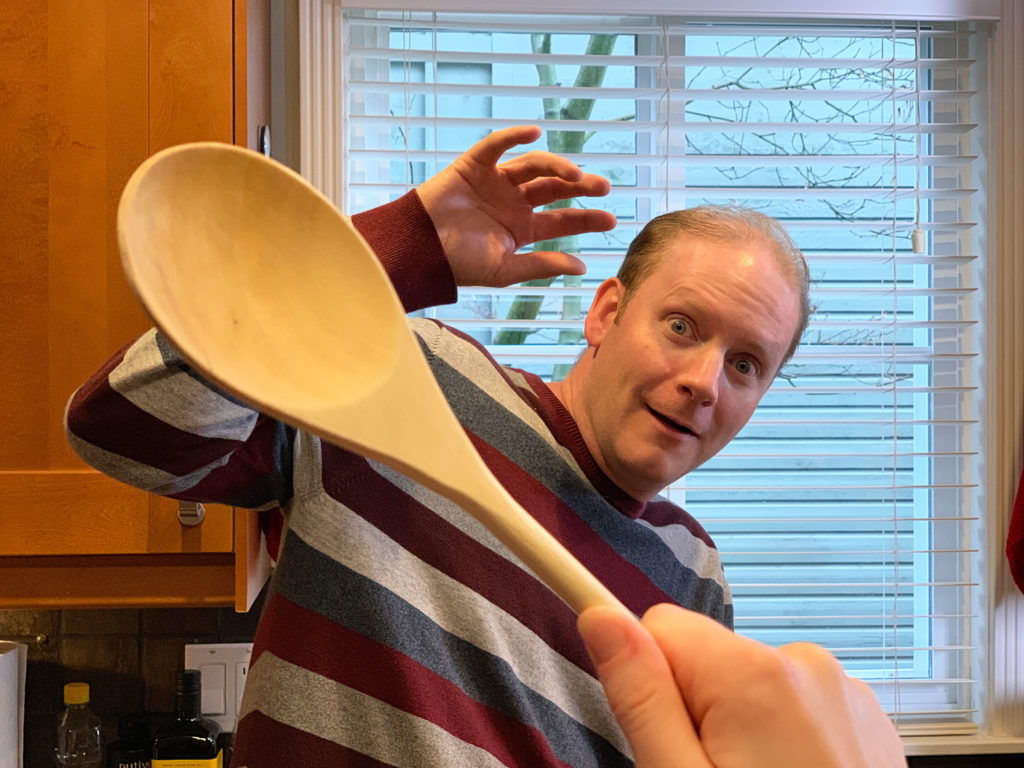
Step 6: Recruit a Baking Buddy
Wrangle a person to help you bake! Bribery usually works well, but if you find you’re still having difficulty, you can always try threatening with a wooden spoon. I’ve typically found that to be the most effective strategy. If you have a second person around to help roll dough, wash dishes and wipe away your tears when you accidentally drop an entire tray of fresh baked cookies on the floor, your day will be much more enjoyable. After all, misery loves company!
Well there you have it folks! That pretty much sums up how I prepare for an epic weekend of cookie baking. I’m currently in the process of preparing a series of posts featuring 12 Days of Cookies, so be sure to check back later in the week if you’d like to get some great recipes!