Alright folks, it’s time to get real. Today I’m going to tell you about how these these “easy, no-bake treats” became the bane of my existence. If you’re having trouble imagining what could possibly go wrong when making such a simple, innocent looking bar, don’t worry. You’re about to find out.
I’ve only made Nanaimo Bars one other time in my life. I was quite young, maybe still in elementary school, possibly early high school at the latest. The recipe sounded easy enough at the time, but they did not turn out well at all. I decided right then that I had no plans on trying to make these again. I was quite content (as was the rest of the family) to stick with the store bought Nanaimo bars.
Fast forward twenty years, and the Nanaimo bar disaster became a distant memory. I’ve learned a lot in the kitchen over the past couple of decades. Surely I could try to make these again. How hard could these bars really be?
(*cue the ominous music*)
I was so excited to try making these again. My hopes were high and my tastebuds were eager. I measured out all my ingredients in preparation. I was ready to do this!
I started by melting some butter in a medium saucepan over low heat. Then I removed it from the stovetop, and whisked in some sugar and cocoa powder until it was nice and smooth.
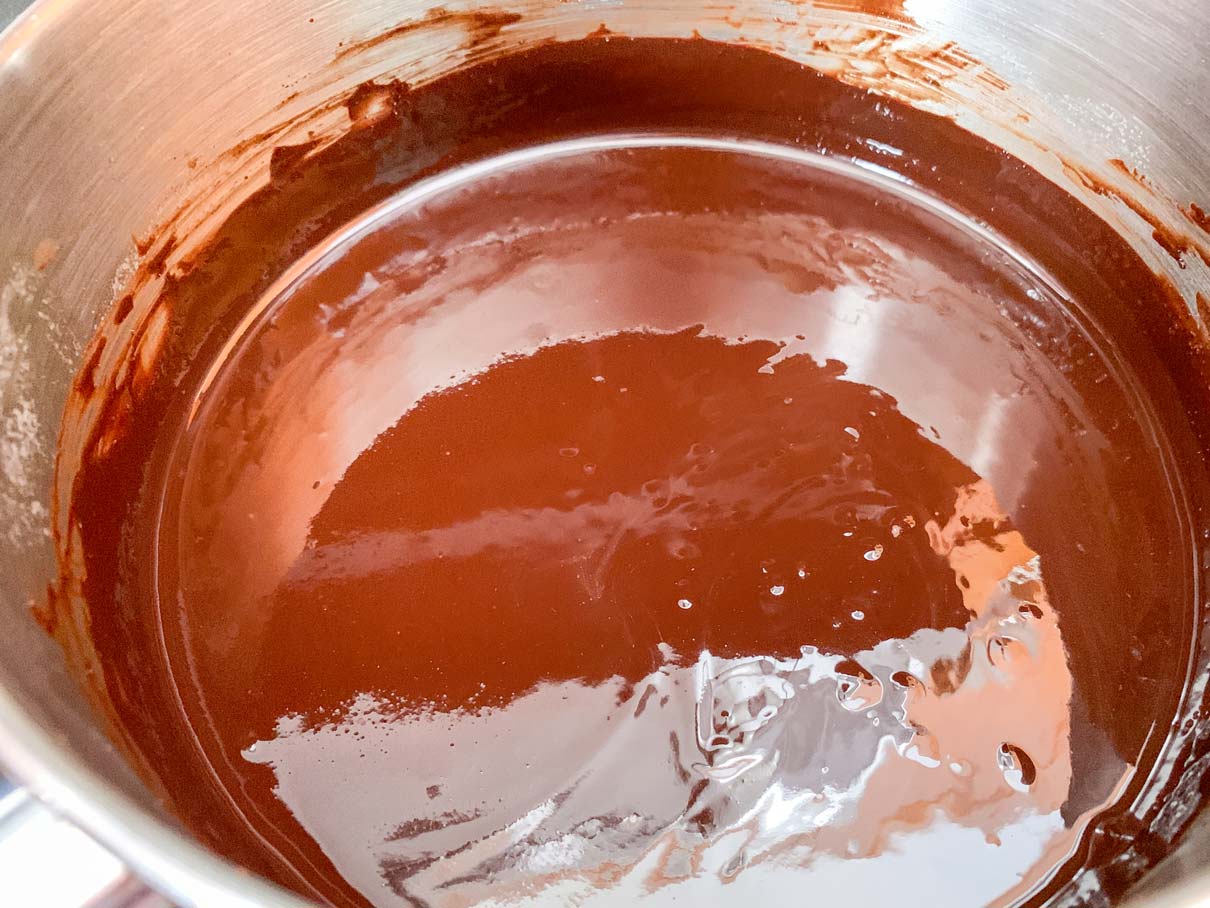
The next step was to add an egg. Part of the reason you would remove the pan from the heat as indicated above is so that the mixture isn’t too hot when the egg gets added. If your mixture is too hot, you’ll end up with a scrambled egg.
The egg should be whisked in gradually, and then the pot should be transferred back to the element and cooked for 1-2 minutes until thickened. This way the egg will be cooked, but not scrambled.
This is where things started to get weird. The mixture did thicken, but not in the way I expected. If you’ve ever melted butter, and left it to sit for a few minutes, you may have noticed that the fat and the solids start to separate. As this mixture cooked, it was as though all the solids in the butter fused with the cocoa and sugar, but the fat stayed separated and just would not incorporate smoothly.
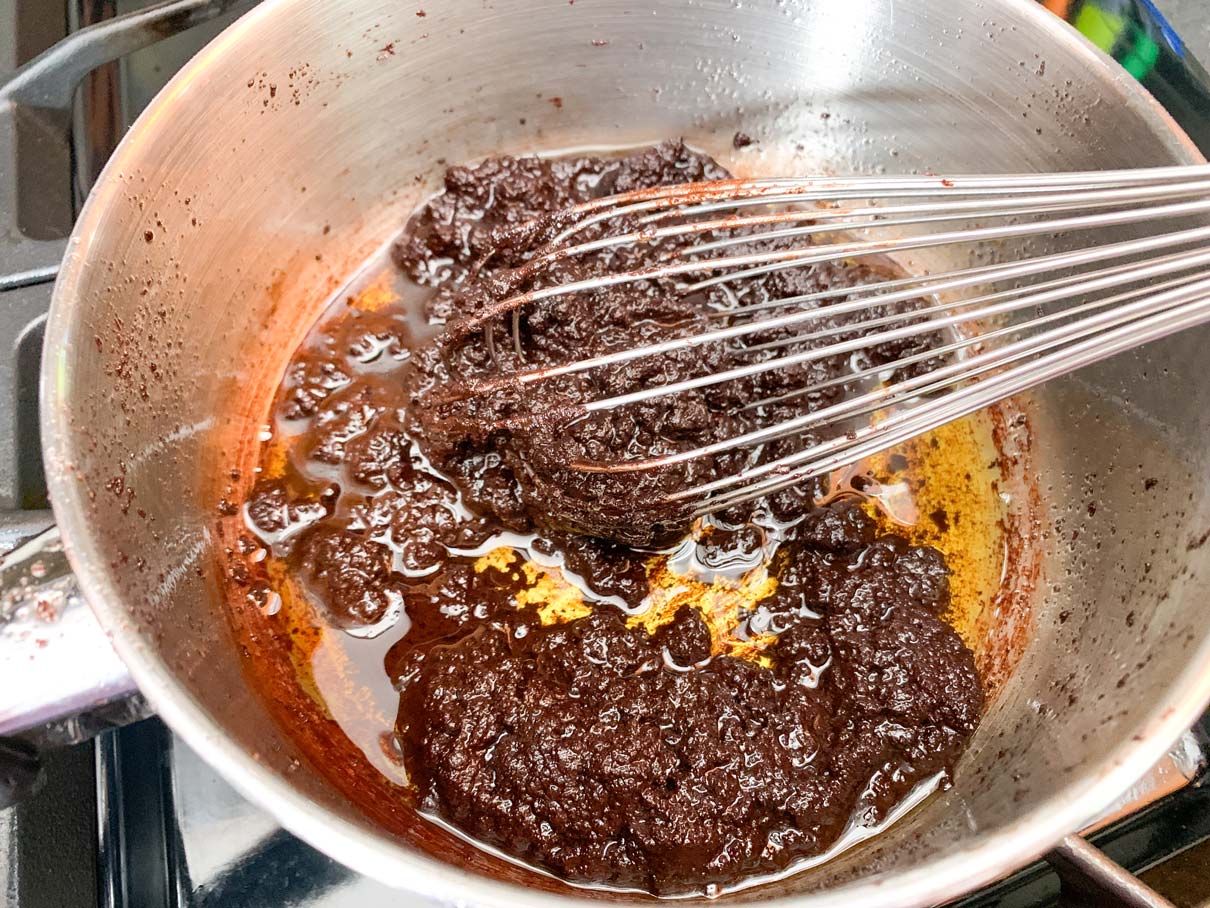
At first I thought I just needed to keep whisking, and eventually the mixture would blend together. I ended up splashing fat all over the stovetop (and myself) as I frantically whisked. Alas, the mixture did not homogenize.
My next thought was that I must have had the temperature too high, and that the egg had scrambled. All was not lost yet. I decided that whatever the cause, I would suck it up, and try again. This was just a minor set back, right?
I measured out all my ingredients again. I melted the butter at the lowest temperature that I could set my stove to. I monitored the heat so closely. I whisked in the cocoa powder and sugar. Nice and smooth. Good. I whisked in the egg. A little grainy, but not bad. Okay, back onto the heat. Keep whisking. Keep whisking. KEEP WHISKING!
Do you know what happened? The same damn thing! The whole mixture fused into a lump, swimming in a puddle of fat. I couldn’t believe it. I was starting to feel really downtrodden at this point.
Collin was convinced that this was the way the mixture was supposed to look, especially if it happened twice in a row. He said I should just keep going to see what would happen. So I did…
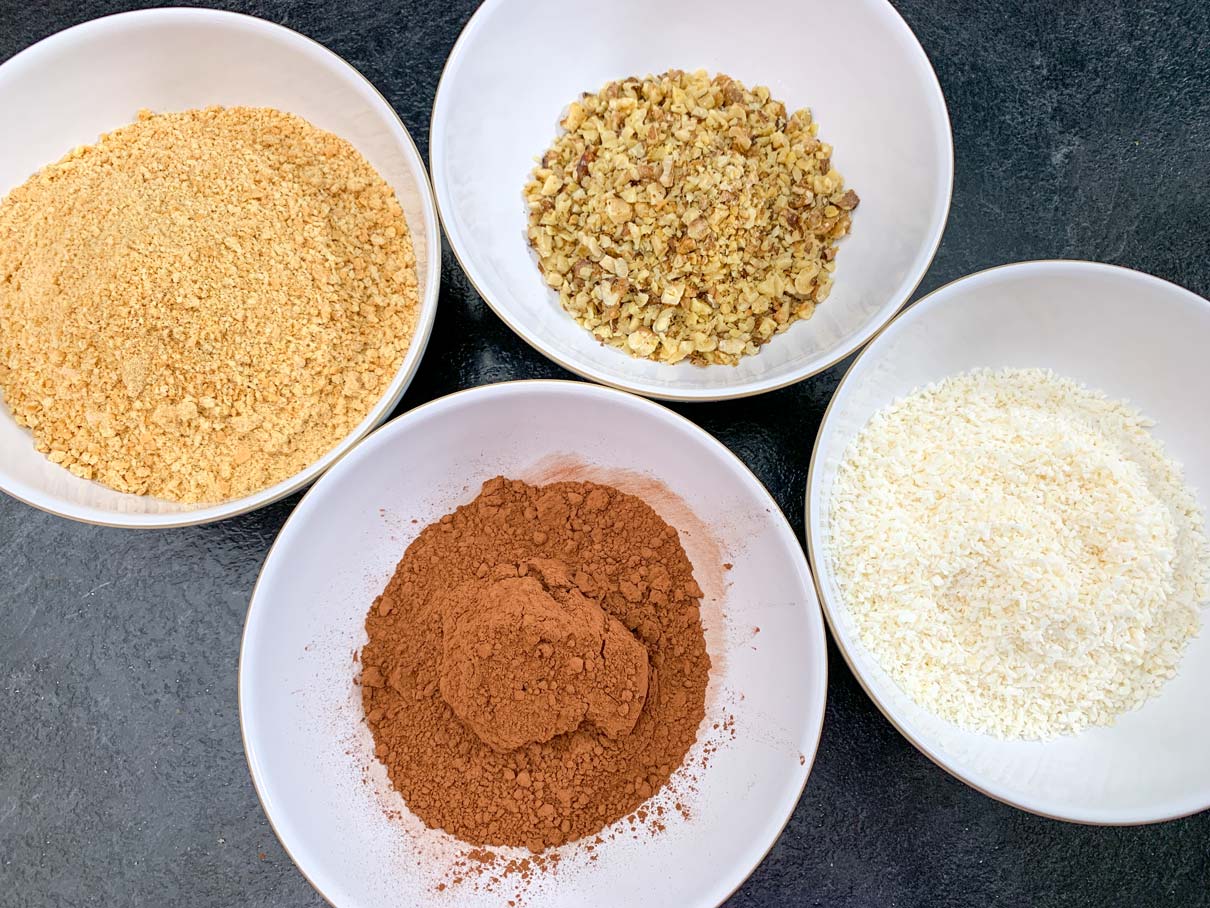
I added crushed graham wafers, shredded coconut and finely chopped walnuts into my mixture and gave it a really good stir. I paused and stared for a moment, because altogether I had a dry, crumbly mess.
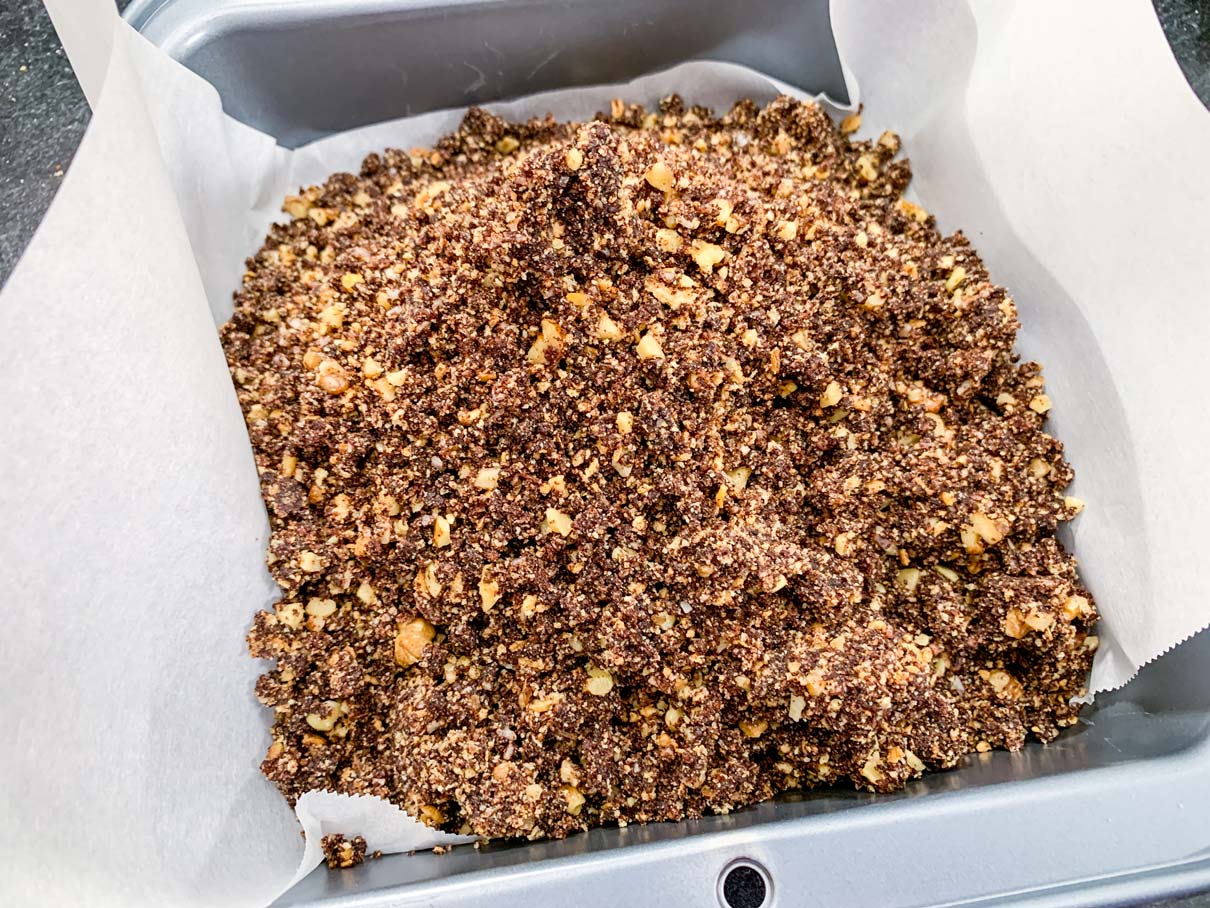
I was reaching break down stage. “Just shove it in the pan and see what happens”, Collin said. “It looks tasty enough.”
“…Fine…” I muttered, through gritted teeth.
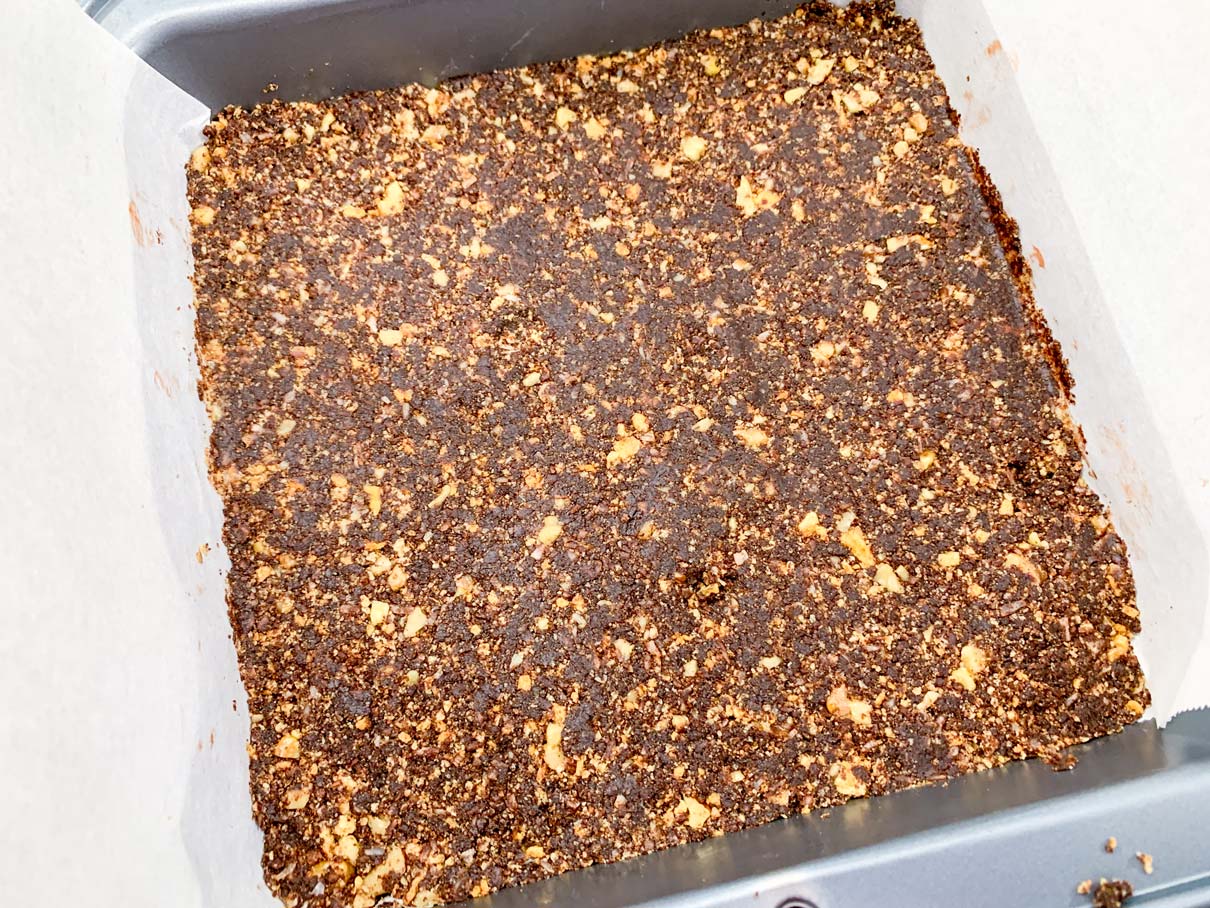
I packed the mixture tight into an 8 inch square, parchment lined pan, then stuck it in the fridge to chill. The second I closed the door on the fridge I realized I’d also forgotten to add the vanilla to my mixture. Ah well. Too late now…
I moved on to the second phase of the Nanaimo bars – the middle custardy cream layer.
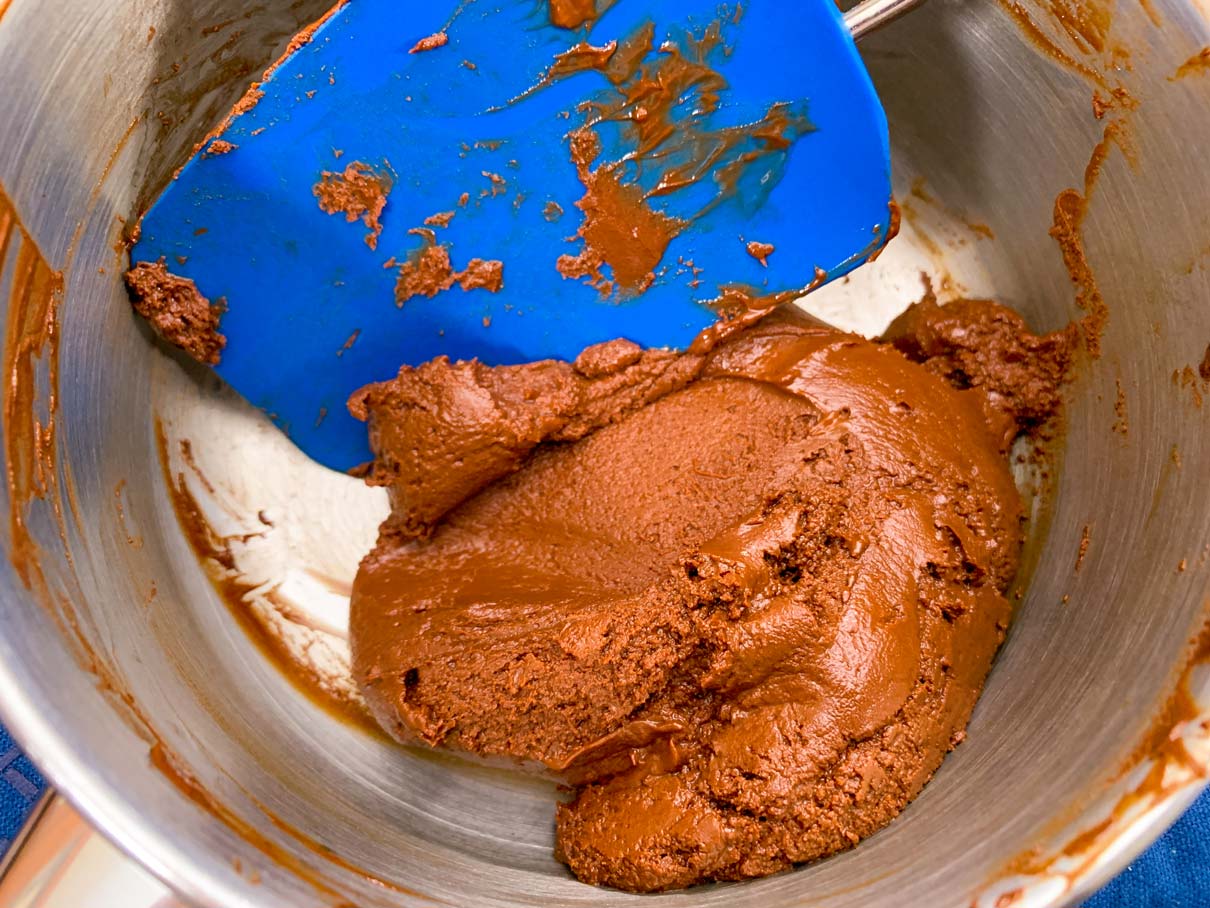
I started by beating the butter in my stand mixer until it was smooth and creamy. Then I added custard powder and icing sugar and mixed it until it was just combined. Next, I added some heavy cream and beat the lot on high speed until smooth.
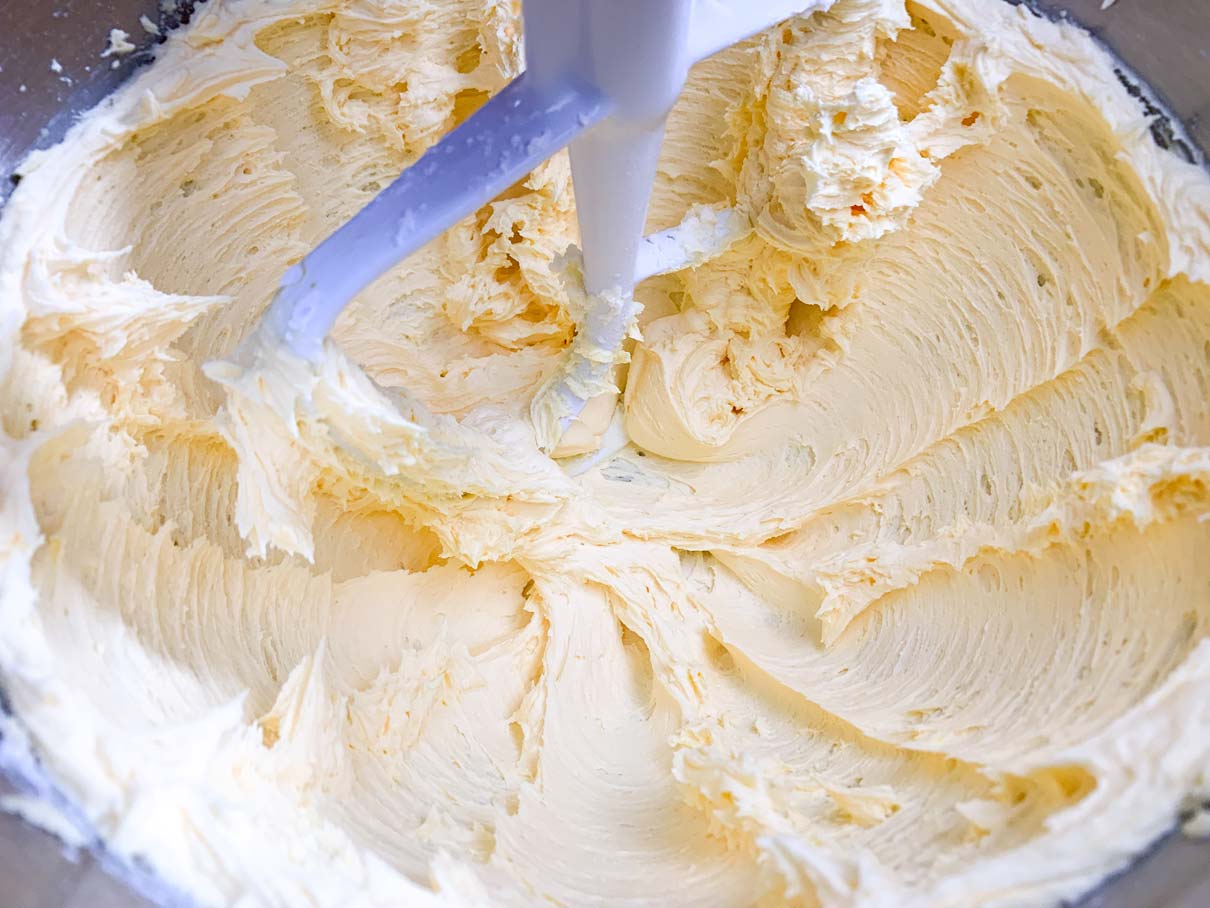
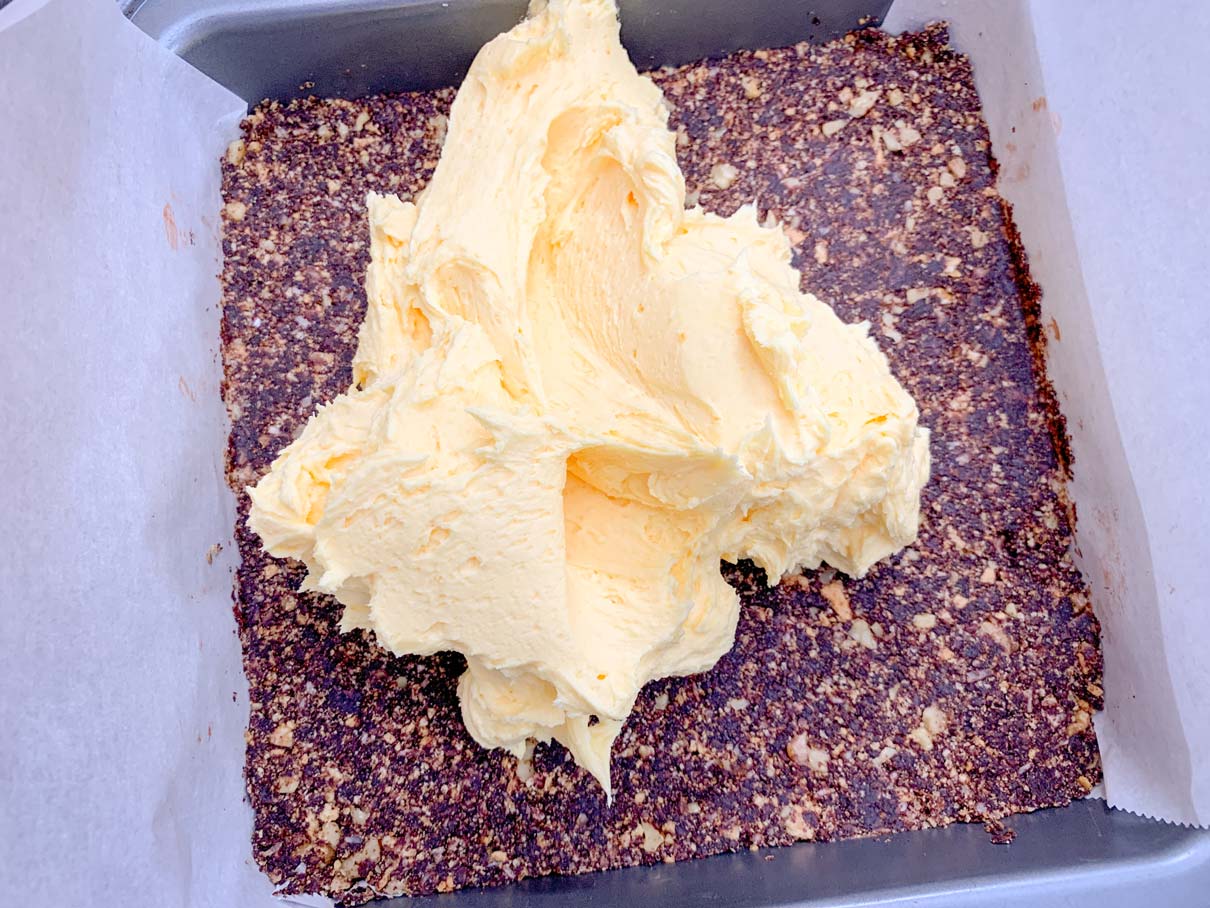
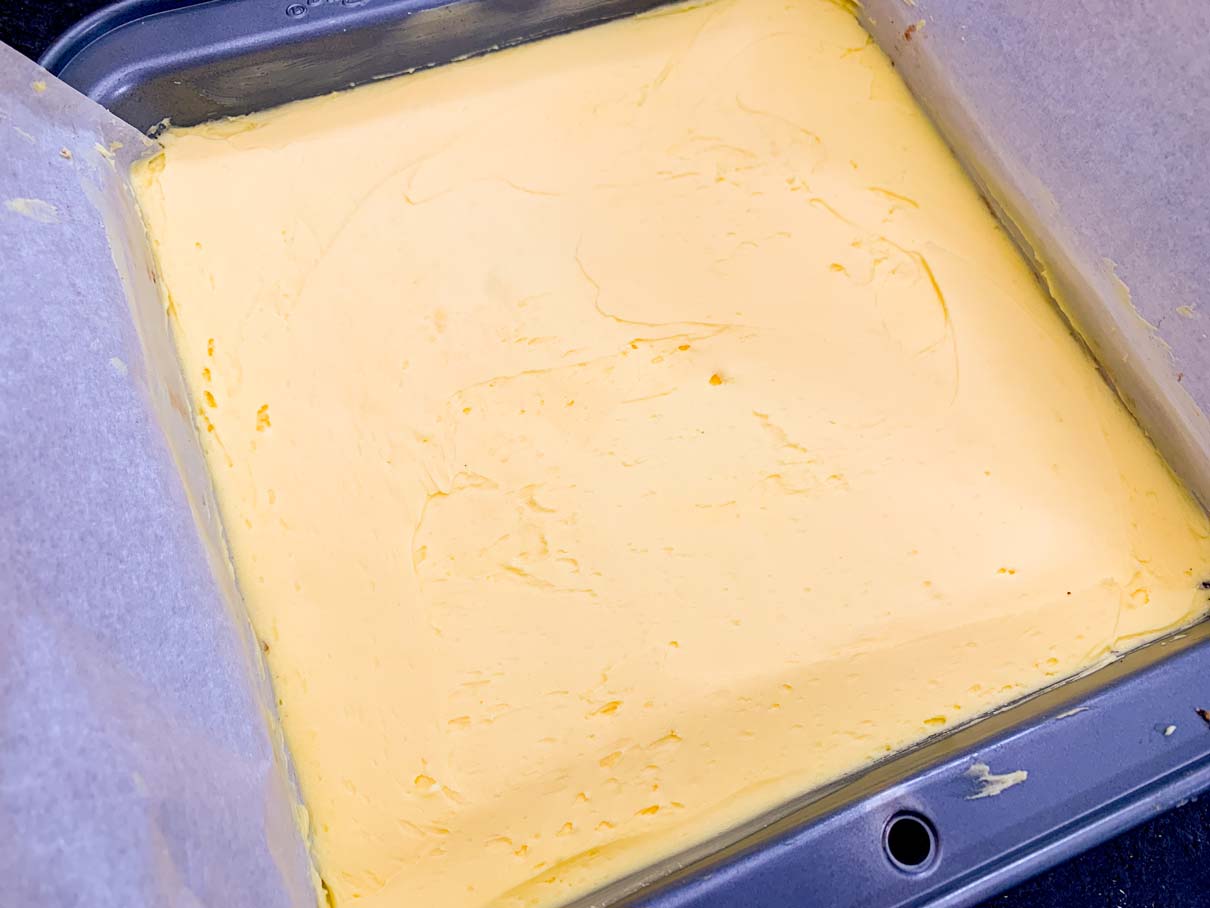
This part went fairly well. The mixture looked as expected. I spread it onto the base layer of my Nanaimo bars until it was even and smooth. Then it went back into the fridge to continue to chill.
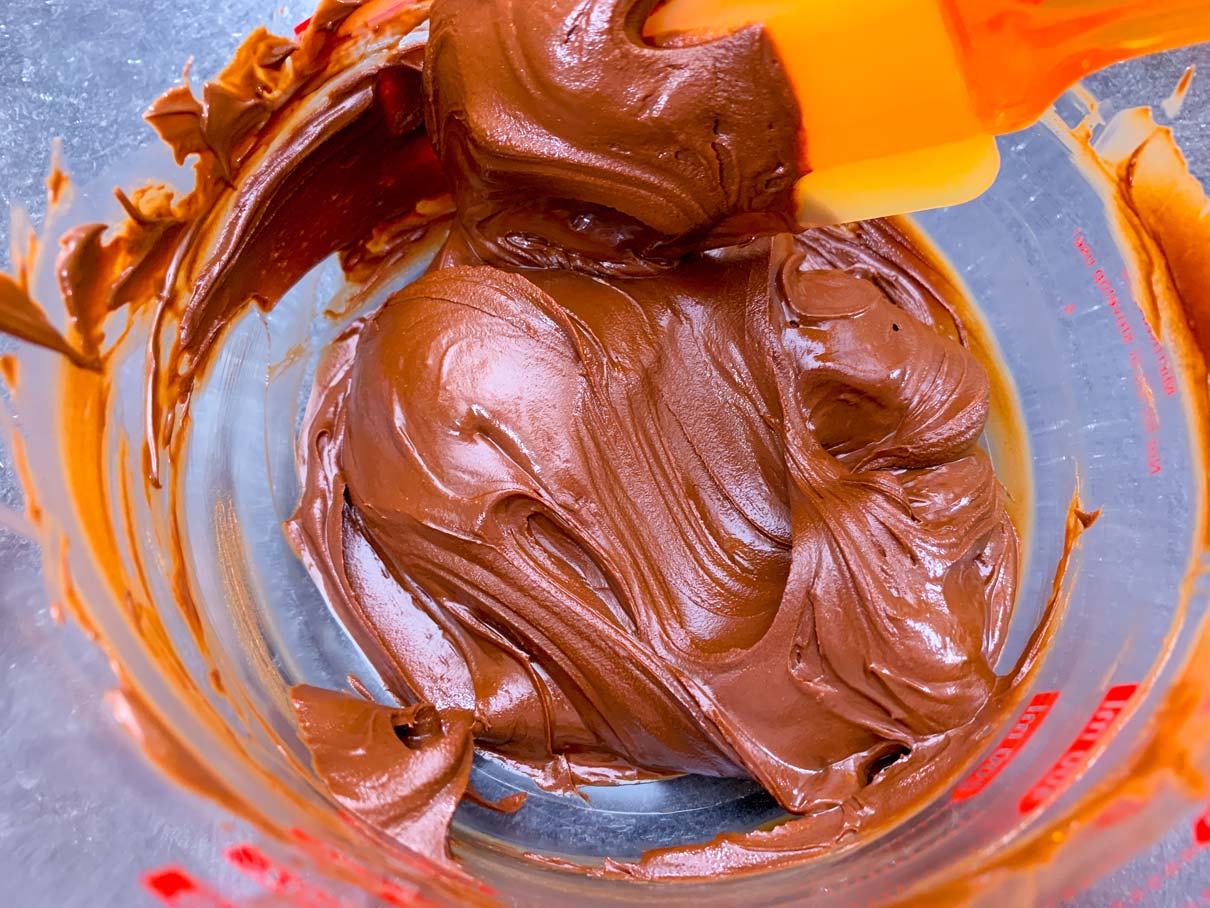
Finally came the top chocolate layer. I melted some butter and chocolate together in a small saucepan over low heat. That is to say….I tried to melt some butter and chocolate.
Both the chocolate and butter were melting just fine one minute, and then the next thing I knew, the whole thing seized up like a brick! It was like I had a pot full of modelling chocolate! I decided to keep the chocolate brick over low heat for what seemed liked ages, but it just wouldn’t melt.
I decided maybe I’d had the temperature up too high again. I decided to try it one more time. This time I heated the chocolate and the butter separately, then I whisked them together after they were both melted. You know what happened, right? I don’t think I even have to tell you….The chocolate seized up. Again. Luckily it wasn’t quite as bad this time, and it was still a somewhat spreadable consistency.
I was getting a bit hysterical at this point. Once again, Collin showed up to say, “Whatever, it’s just chocolate. Spread it on top and see what happens.”
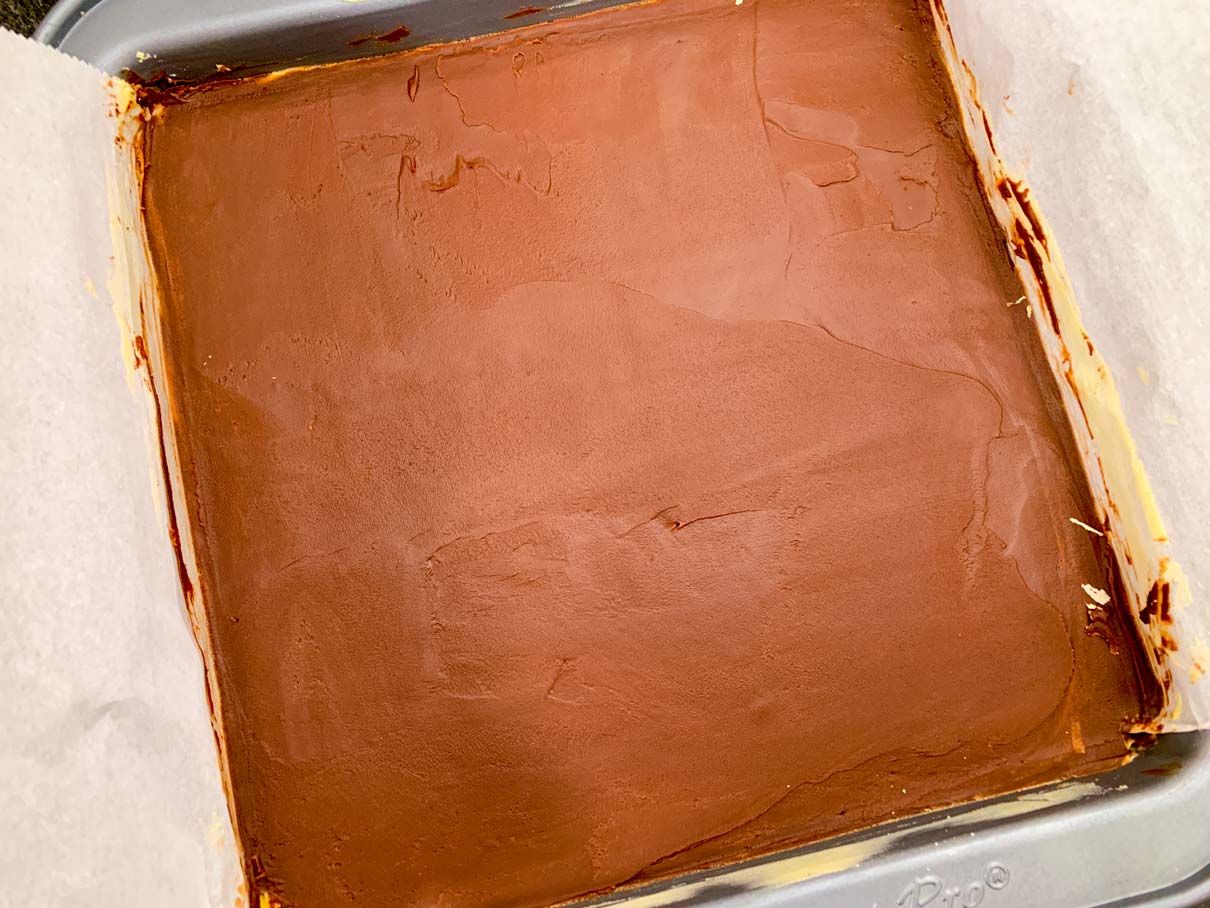
There was nothing else to do at this point but try it. I spread the chocolate on top of the custard layer, and stuck the pan back in the fridge. Then I rocked back and forth in the corner for a while, trying to figure out how it was already night time, and where the day had gone. I slowly came to terms with the fact that I’d spent the entire day doing nothing but stressing out about these stupid bars. I cleaned up the kitchen and went to bed.
The next morning, I prepared for the worst. I opened the fridge and glared at my pan of Nanaimo bars. I set the pan on the counter and just stared at it for a few minutes, still processing the events from the day before.
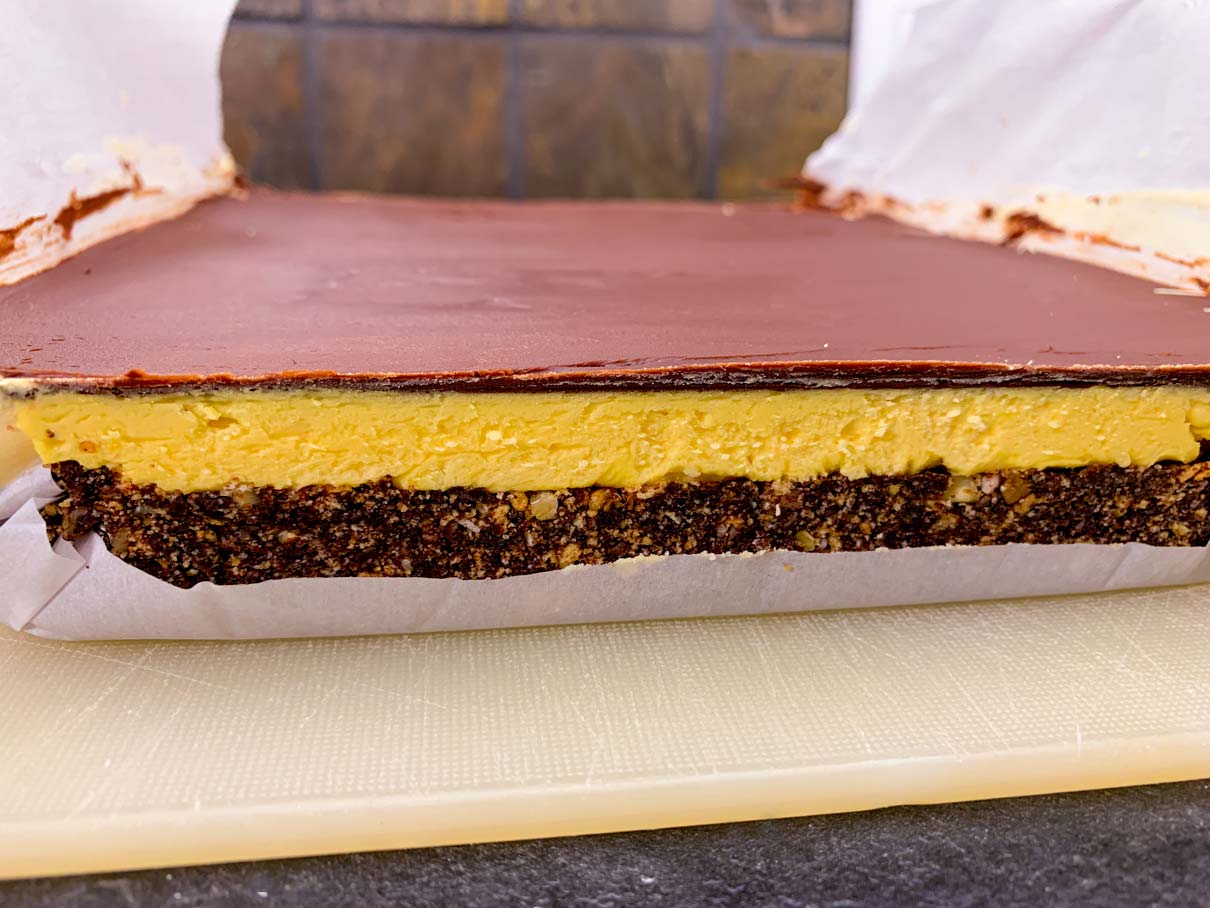
I used the edges of the parchment paper as handles, and lifted the whole block of bars out of the pan and onto a cutting board. It actually worked really well. They came out of the pan cleanly and in one piece. I wasn’t getting my hopes up though. I still had to cut the bars, and if you’ve ever cut Nanaimo bars, you know that they’re the worst things to cut. The chocolate cracks. The custard layer smushes. They never look sharp and even. It’s just a disaster waiting to happen.
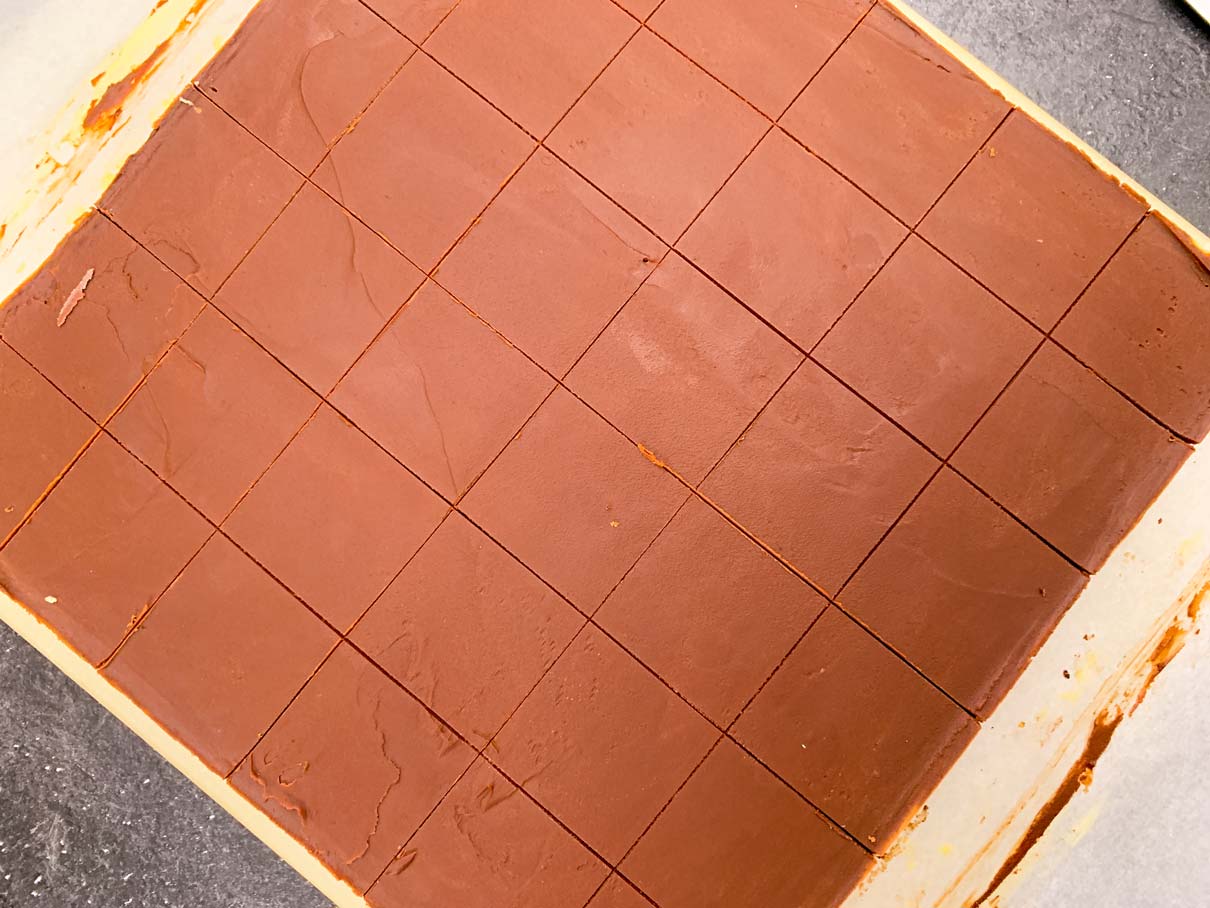
I took our largest kitchen knife, heated the blade under some hot water, and started to score the top of the chocolate. I hoped that scoring it first would help me get a semi-clean cut.
Once the top was scored, I was ready to make my first cut. I re-heated the blade, and set it in place on top of the bars. I pushed the blade down with as much force as I could muster, waiting for the chocolate to crack, and slide, and make a big mess of things.
You know what happened? The knife slipped cleanly through like butter. It was a beautiful, sharp, clean cut. No cracks. No mess. Just a very nice straight cut. I was in awe.
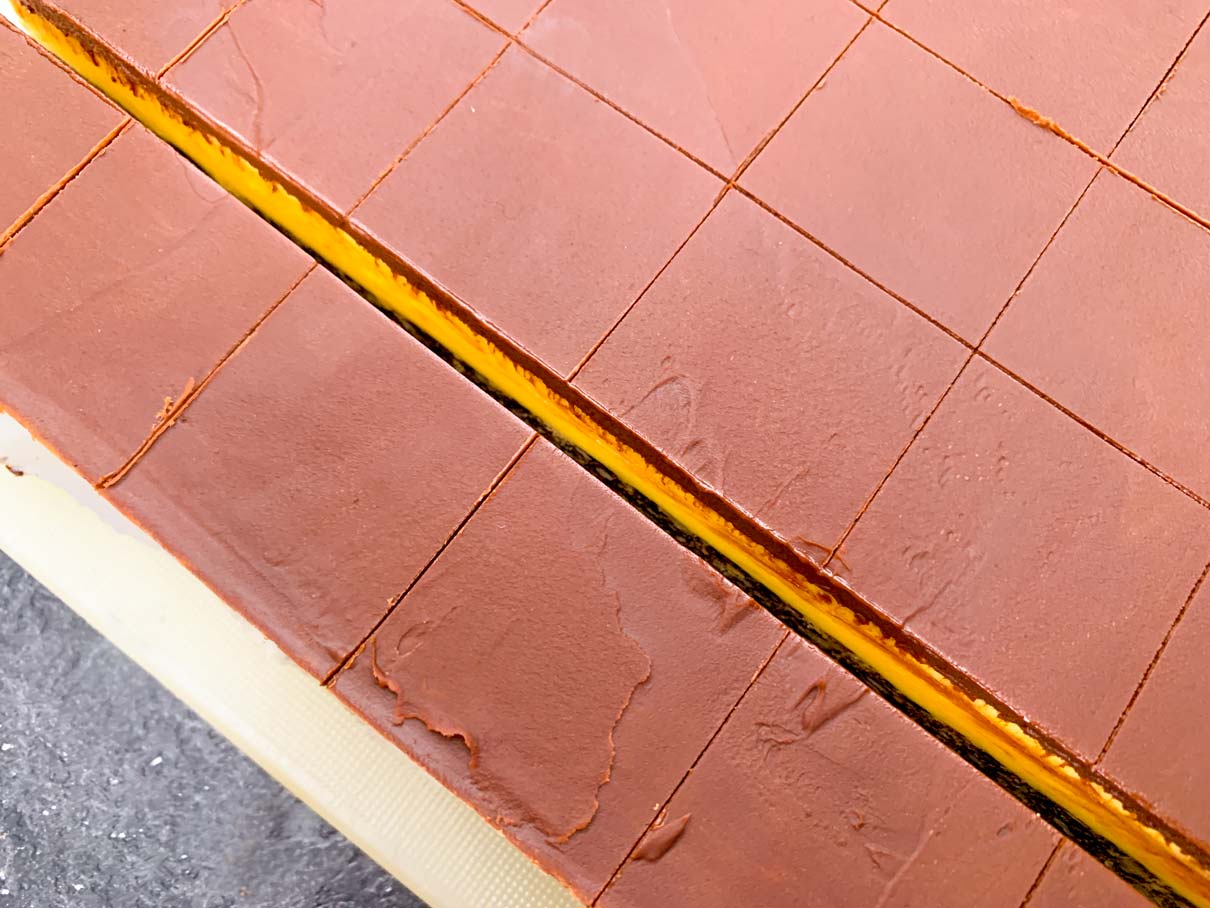
I wiped the blade clean and made a second cut. I was met with the same result. It worked again, and again, until I had the whole pan of bars cut up into beautiful little squares.
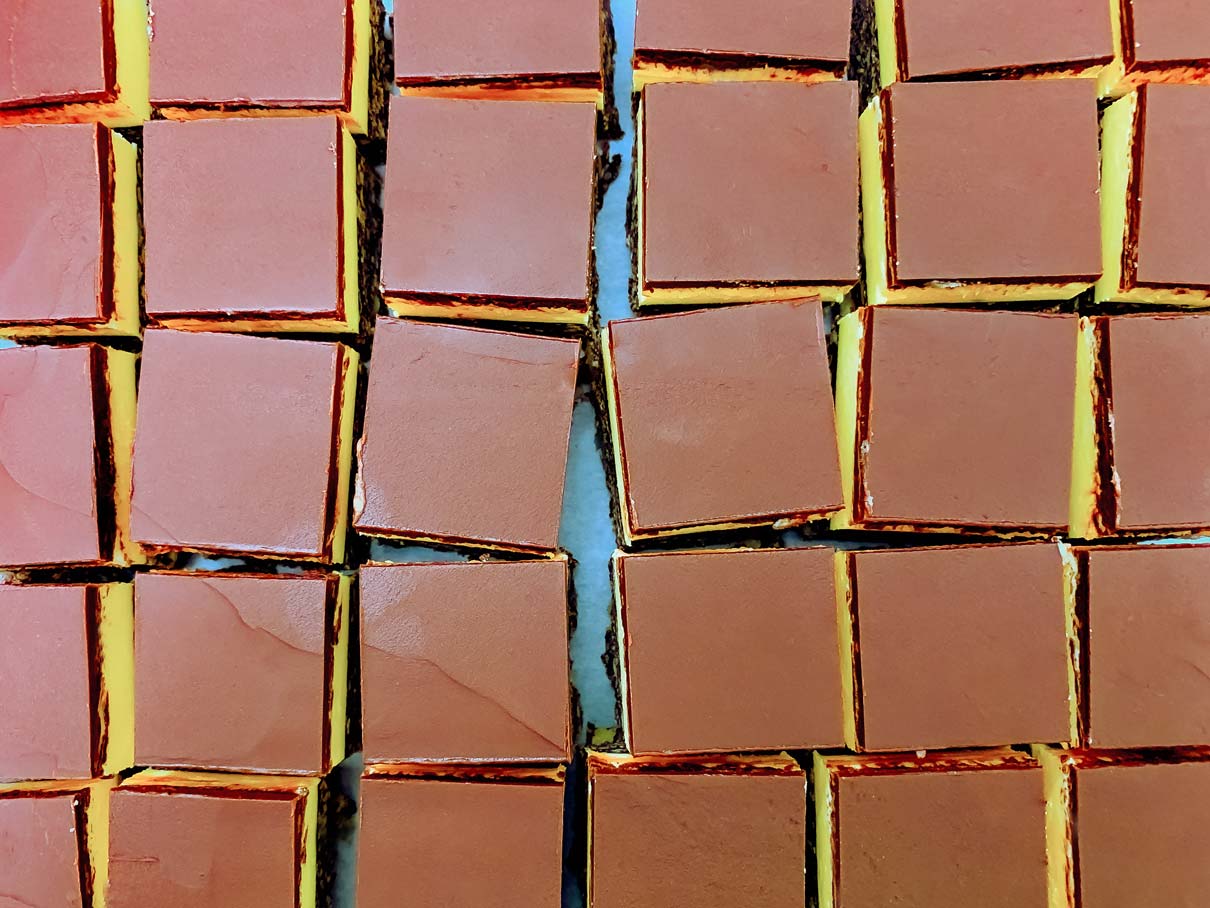
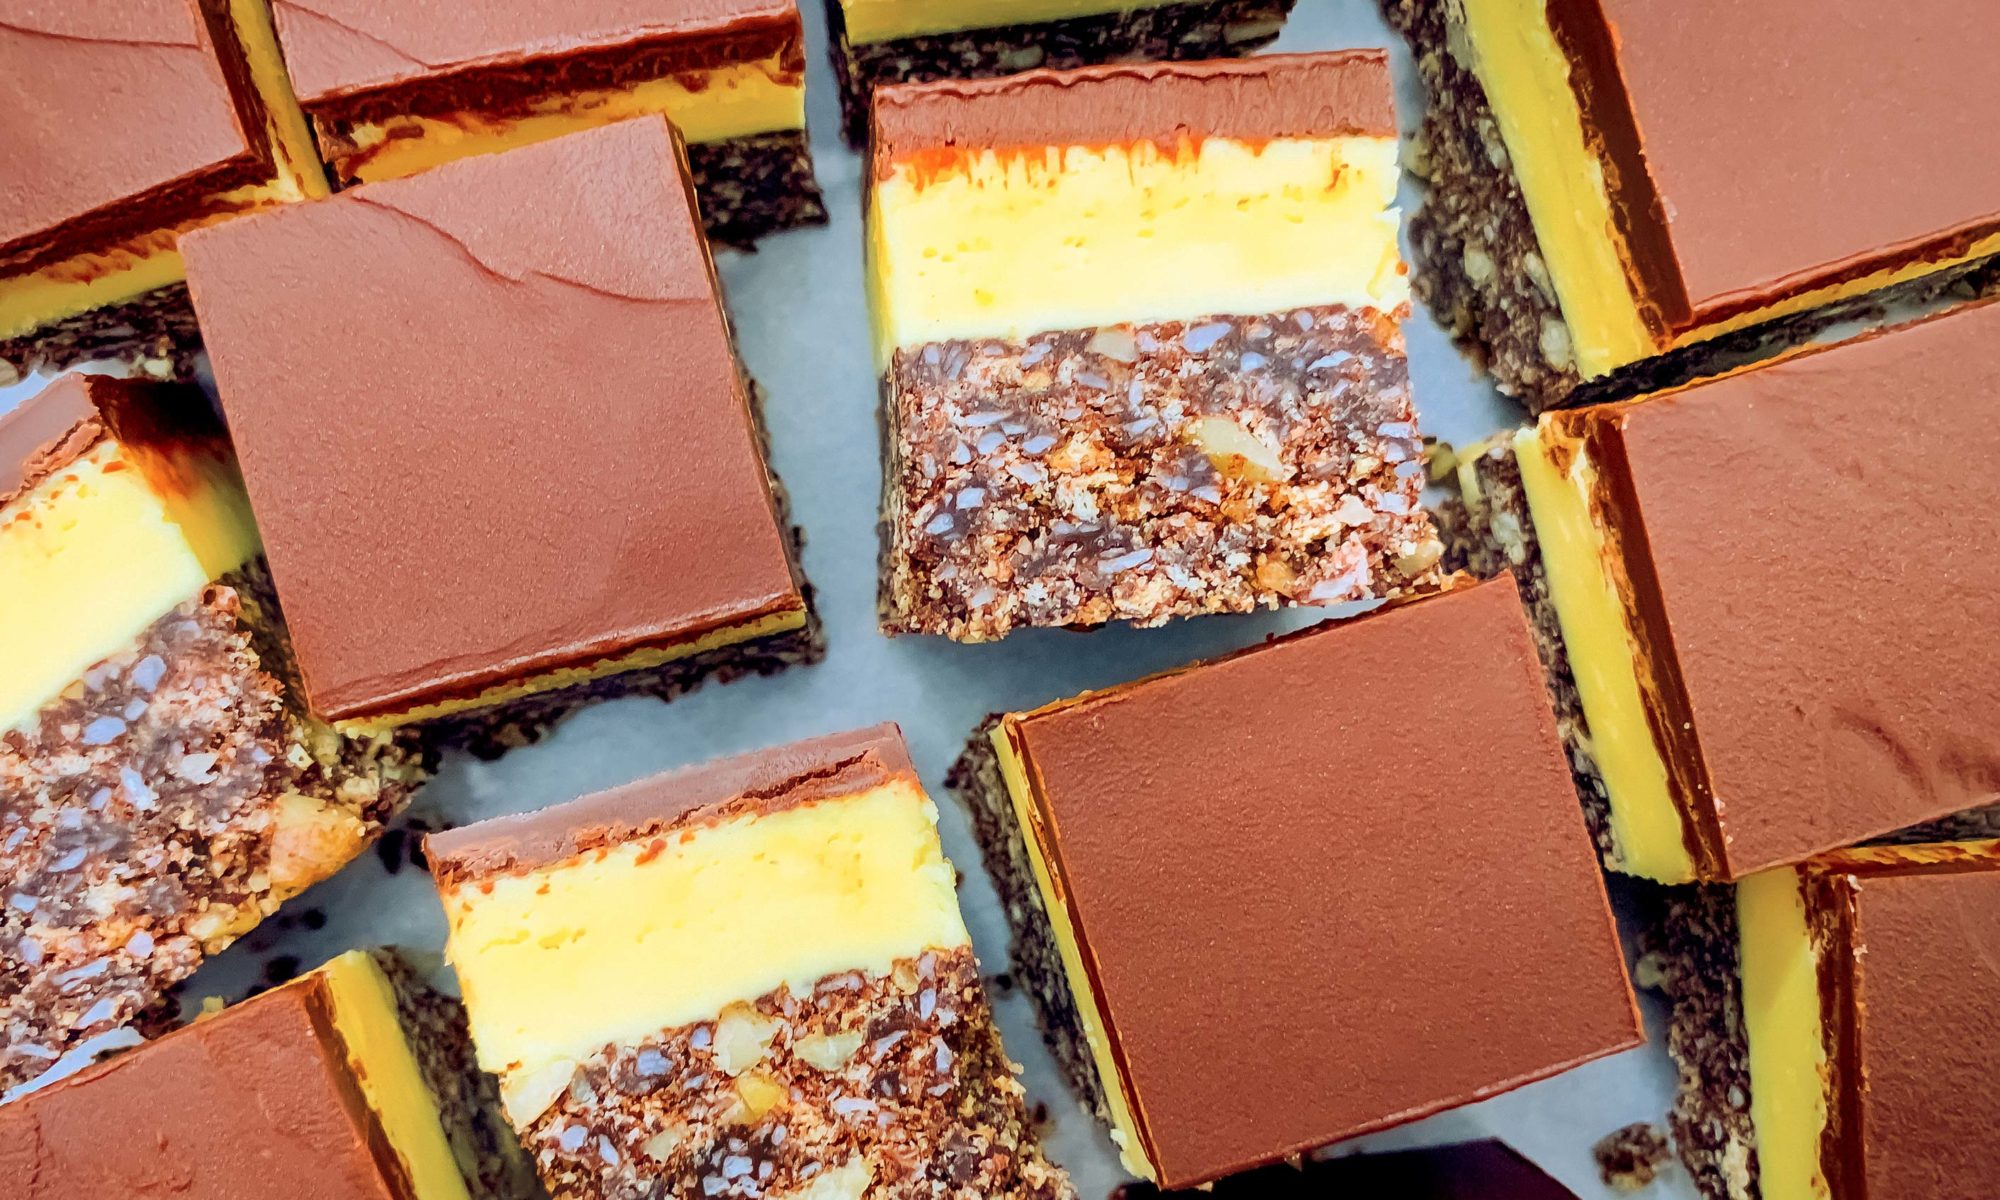
Even if the baking process had been a nightmare, at least the end result looked pretty good. Now that they were all cut up, the only thing left to do was taste one.
I picked up a corner piece and poked at it a bit. The base still seemed a little dry and crumbly, but what the heck. I shoved the entire square in my mouth.
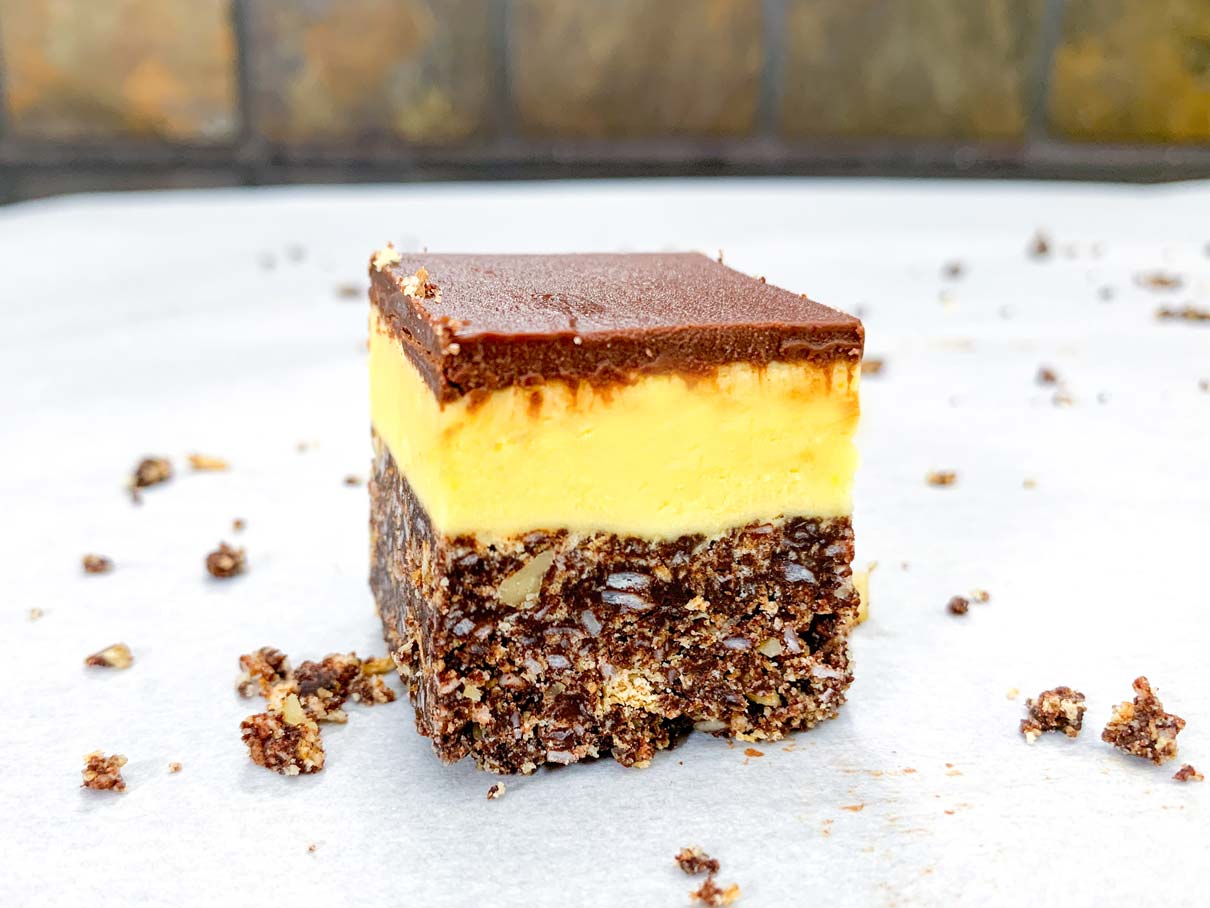
The ratio of chocolate to custard layer was perfect. The base, while a little dry, was ever so slightly bitter, and cut the sweetness of the custard really nicely. Overall, it was quite delicious.
I ate a second one. I was happily munching away, when Collin came in to the kitchen to try one as well. He took a bite, and despite the fact that he hates coconut, he declared they were “pretty tasty” and had a second one as well.
After finally getting to taste the end result of what I felt was a miniature nightmare, I decided that perhaps I’d be willing to try making these…just one more time.

The recipe I have written out below is what I used for making this batch. I would not make any changes to the top or middle layers, but I would prefer if the base layer was just a little thinner. Next time I make these I’d like to try reducing the coconut to 3/4 cup, the cocoa to 1/3 cup and the graham wafers to 1 1/2 cups.
If anyone else has attempted to make homemade Nanaimo bars before, and has either wildly successful or horrific stories, I would love to hear about them!

Nanaimo Bars
Ingredients
Bottom Layer
- 1/2 cup butter
- 1/4 cup sugar
- 1/2 cup cocoa powder
- 1 egg (beaten)
- 1 tsp vanilla
- 1 3/4 cups crushed graham wafers
- 1 cup shredded coconut (unsweetened)
- 1/2 cup toasted & finely chopped walnuts
Middle Layer
- 1/2 cup butter
- 4 tbsp custard powder
- 2 cups sifted icing sugar
- 3 tbsp whipping cream
Top Layer
- 3/4 cup semi-sweet chocolate chips
- 3 tbsp whipping cream
Instructions
Make the Bottom Layer
- In a medium sized saucepan, heat the butter over medium-low heat until melted.
- Remove from heat and whisk in the sugar and the cocoa powder.
- Gradually whisk in the beaten egg, then transfer the pot back to the stove pot, and cook, stirring constantly, for 1-2 minutes until thickened. Remove from heat.
- Stir in the vanilla
- Stir in the graham crackers, coconut and chopped walnuts.
- Press the mixture evenly across the bottom of an 8 x 8 inch parchment lined baking pan. Place in the fridge to chill and firm up.
Make the Middle Layer
- In the bowl of a stand mixer, beat the butter until smooth and creamy.
- Add the custard powder and icing sugar. Mix until just combined.
- Add 3 tbsp of heavy whipping cream and beat on high speed until smooth.
- Spread the mixture evenly over the bottom layer. Place back in the fridge to firm up (about 30 minutes).
Make the Top Layer
- Melt the chocolate and butter together in a double boiler, or in a heavy saucepan over very low heat. Stir together until smooth.
- Spread the chocolate into an even layer on top of your chilled Nanaimo bars. Place back in the fridge until everything is chilled through.
- To get an even cut, use a clean, hot, sharp knife.