
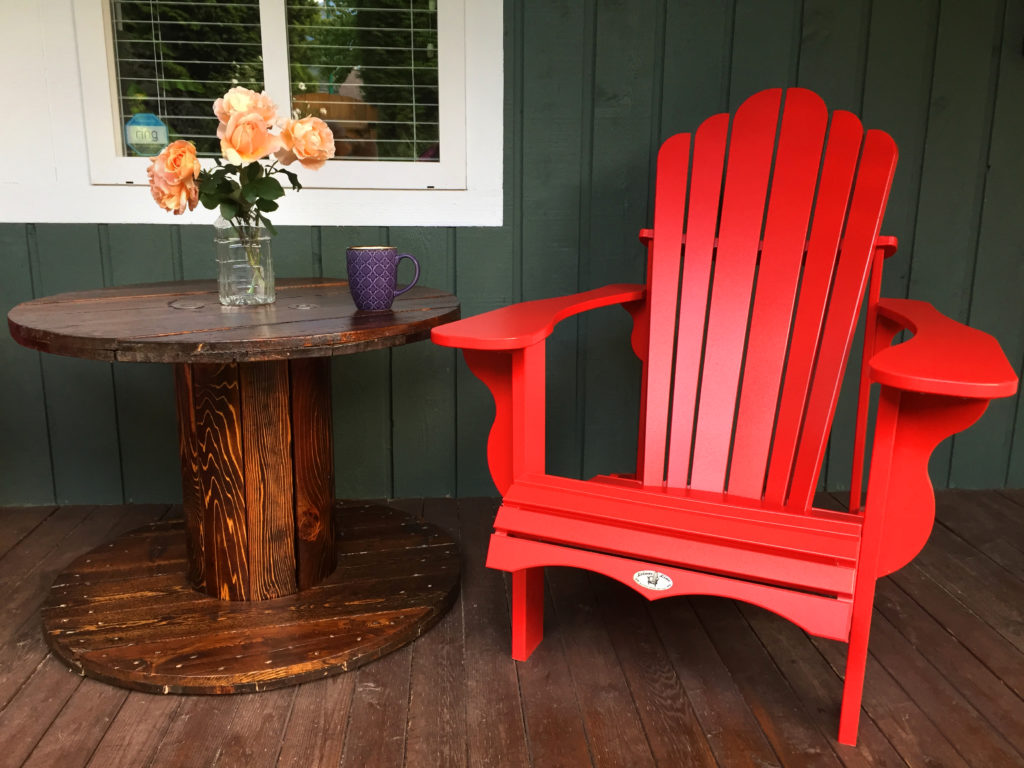
I really enjoy the process of upcycling and refinishing well worn objects. It’s so satisfying giving them a new life and purpose. For instance, we took this old cable spool and turned it into our new patio table!
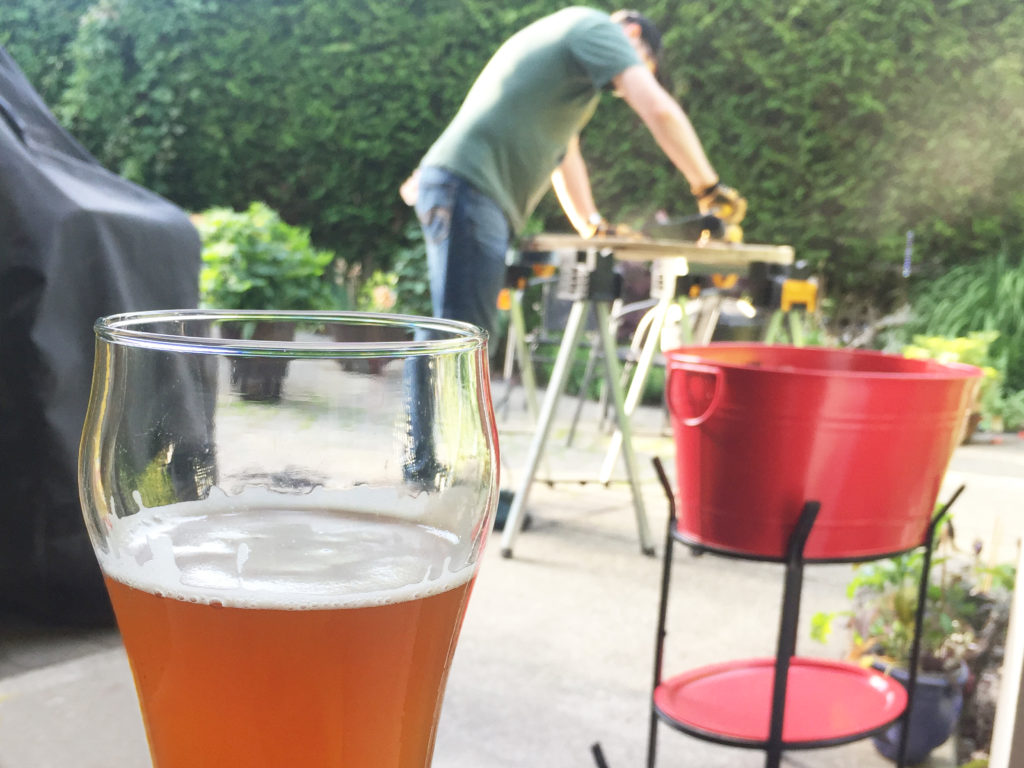
Now, I’ll confess…I was more of a part time assistant on this project, although I did do a lot of sanding and helped with the disassembly. But where I really let my skills shine through was acting as executive manager…from a safe distance…with a cold beer in my hand (it’s a tough job but someone’s gotta do it).
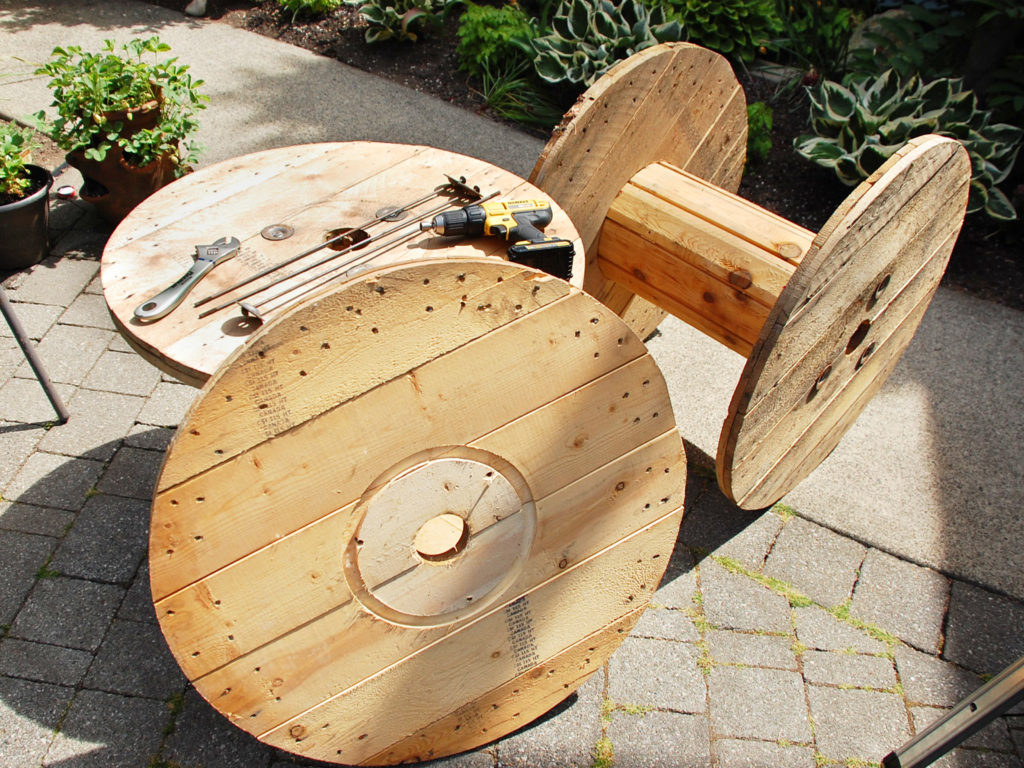
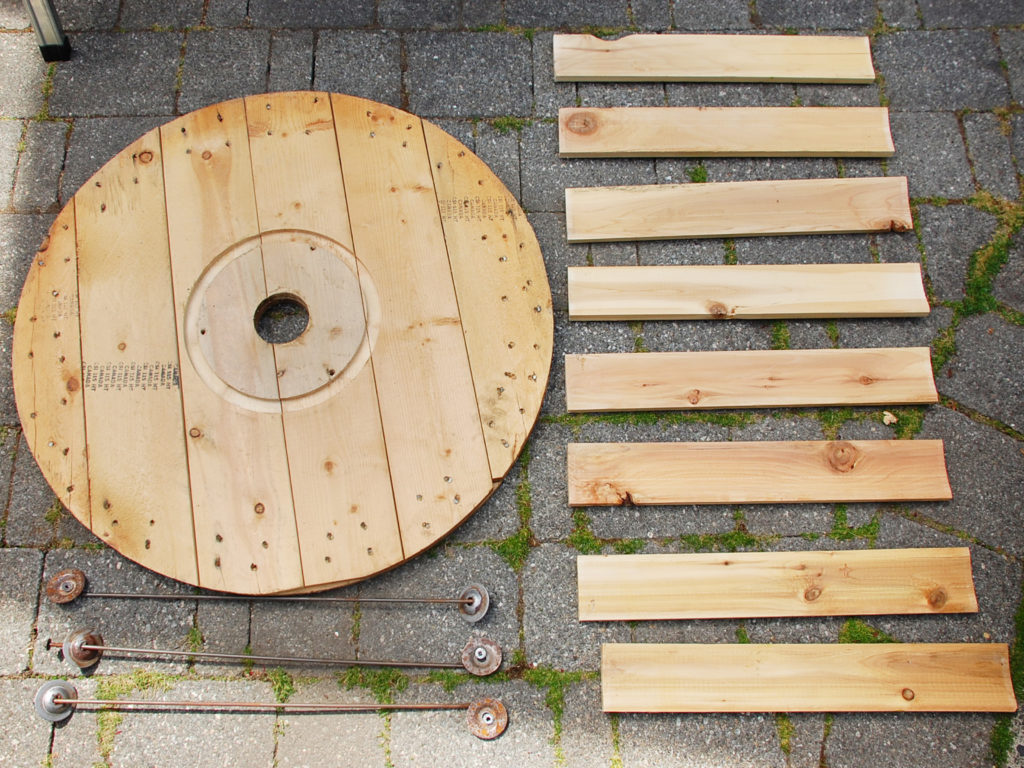
We started off by dismantling the spool. There were three metal rods running through the centre held into place with a metal cap and nut at each end. We unscrewed the nuts, took out the rods, and were left with two large wooden disks and a bunch of short planks.
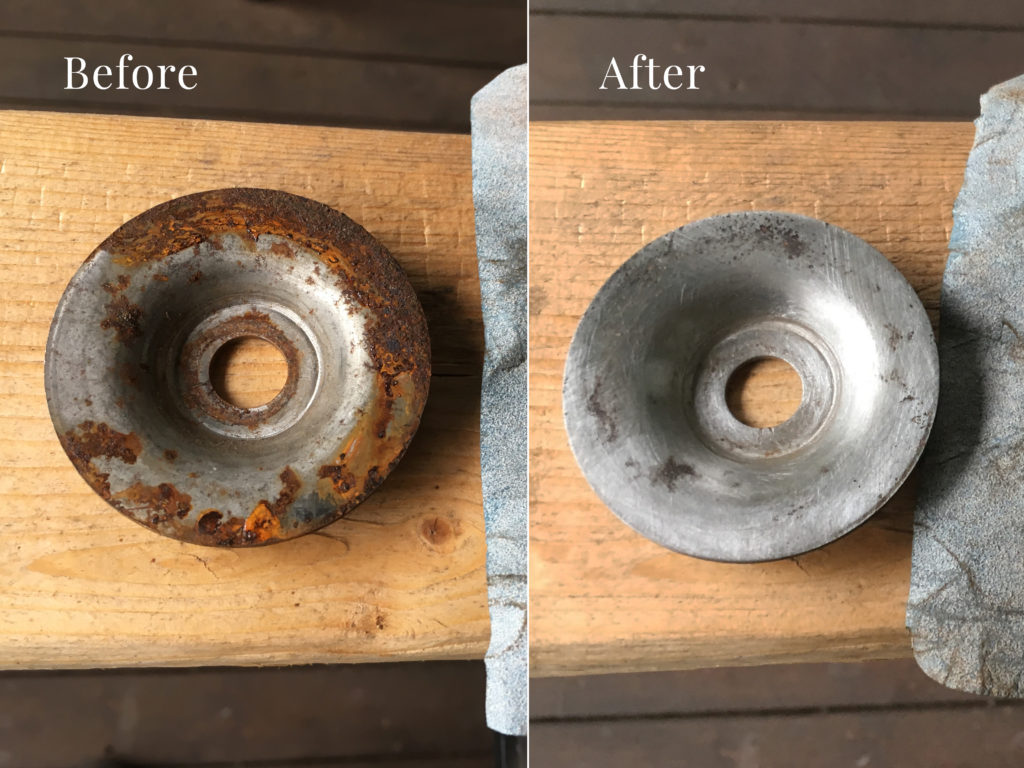
The metal ends holding the table together had rusted while they were sitting outside. We gave them a good scrub and a light sand to clean them up.
There were a lot of nail tips poking through the surface of the wooden disks. We smoothed these down with an angle grinder first and then sanded every piece of wood smooth with an orbital sander.
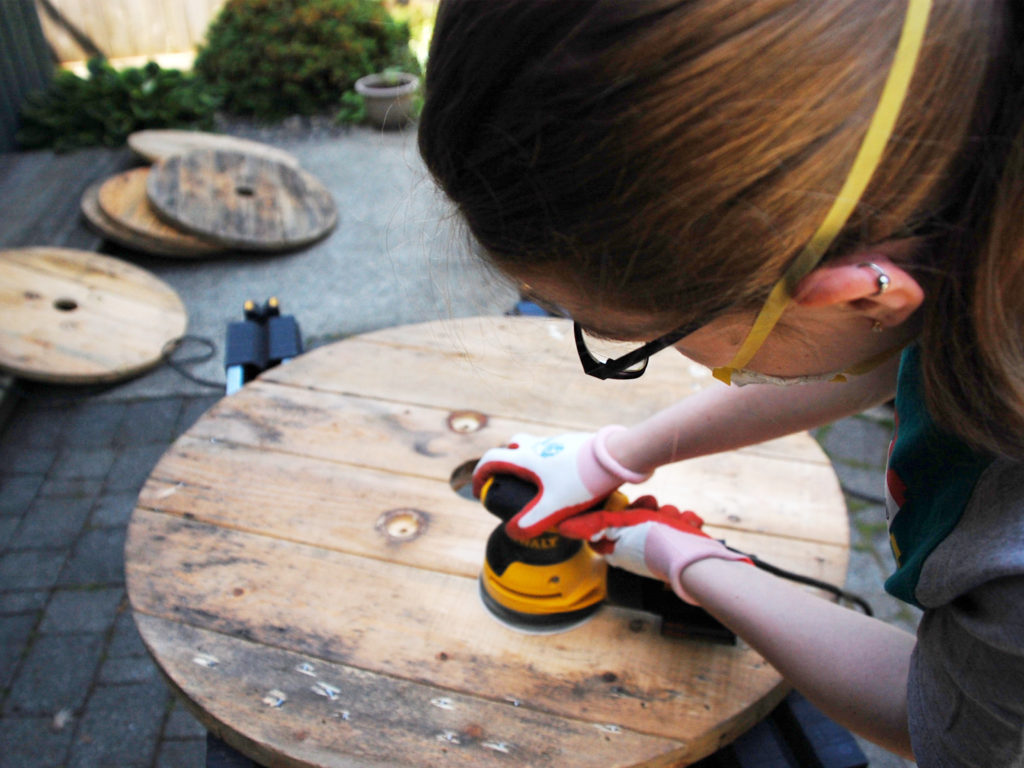
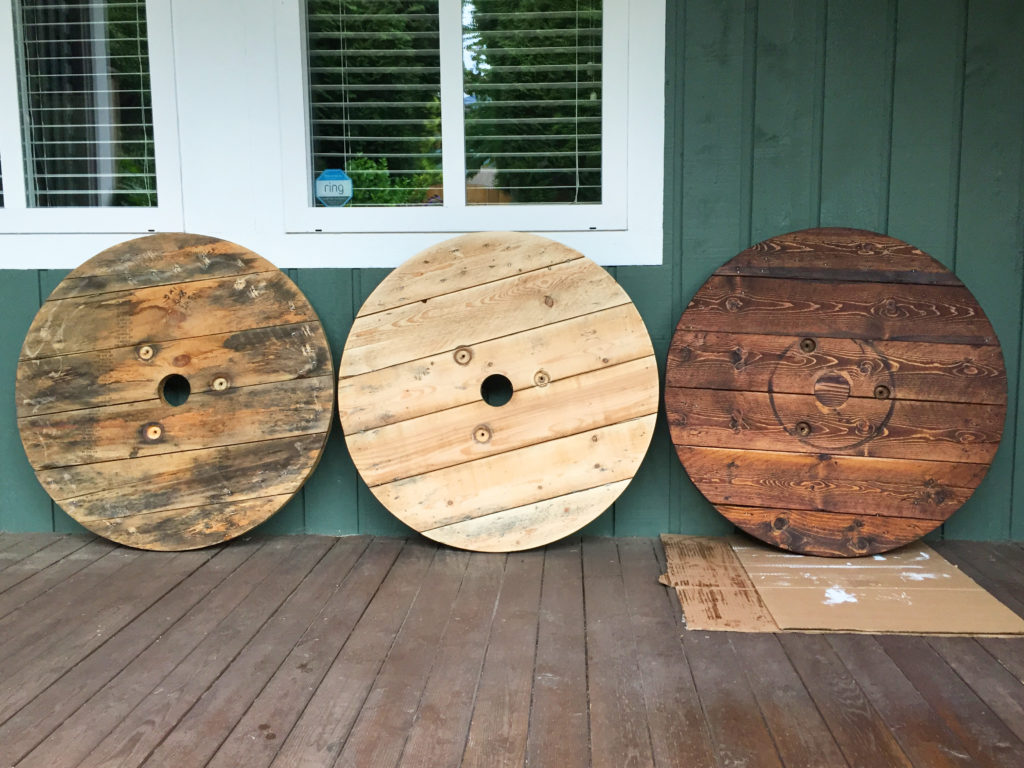
I should clarify here that while we only produced one table, we actually had 3 cable spools rolling around our yard. Sanding all the pieces of a single spool isn’t so bad…but 3 gets a little tedious after a while (cue my promotion to role as executive manager).
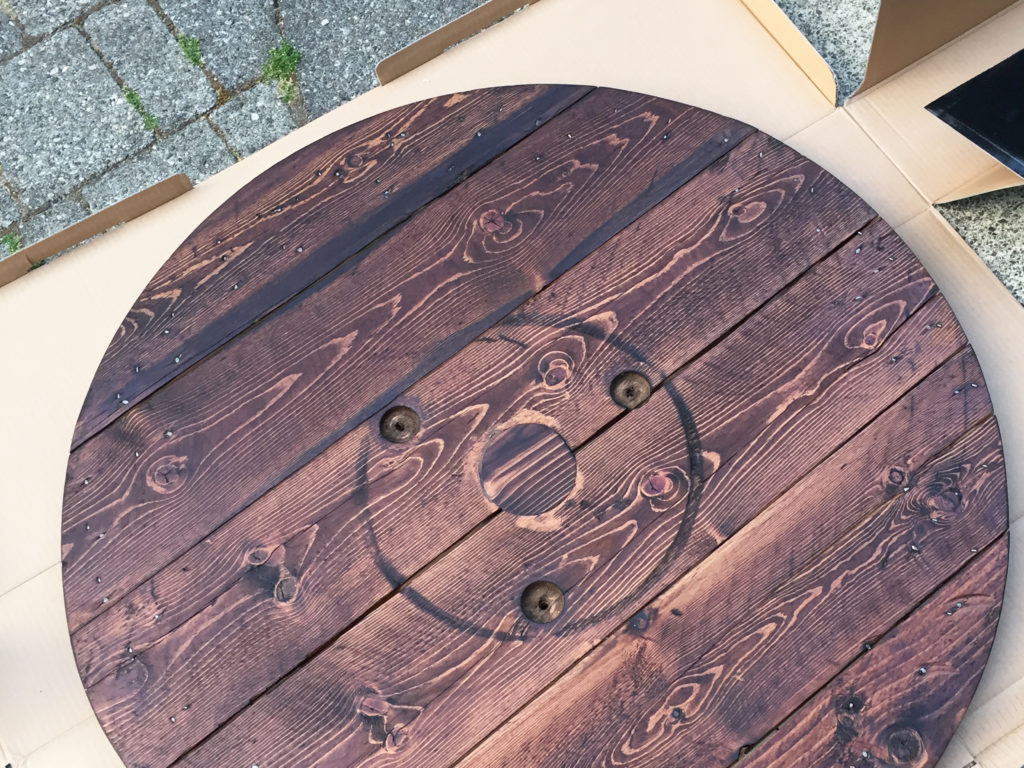
Each wooden disk had about a 3.5″ hole through the centre. Since the plan was to use this as a table, we didn’t want anything to accidentally fall through, so we plugged the hole with a small circle cut out of a piece of scrap wood. To make sure it stayed in place we applied a hefty amount of wood glue and hammered in a few finishing nails for good measure. One more good sanding session ensured that the plug was level with the rest of the table top before we applied a dark stain.
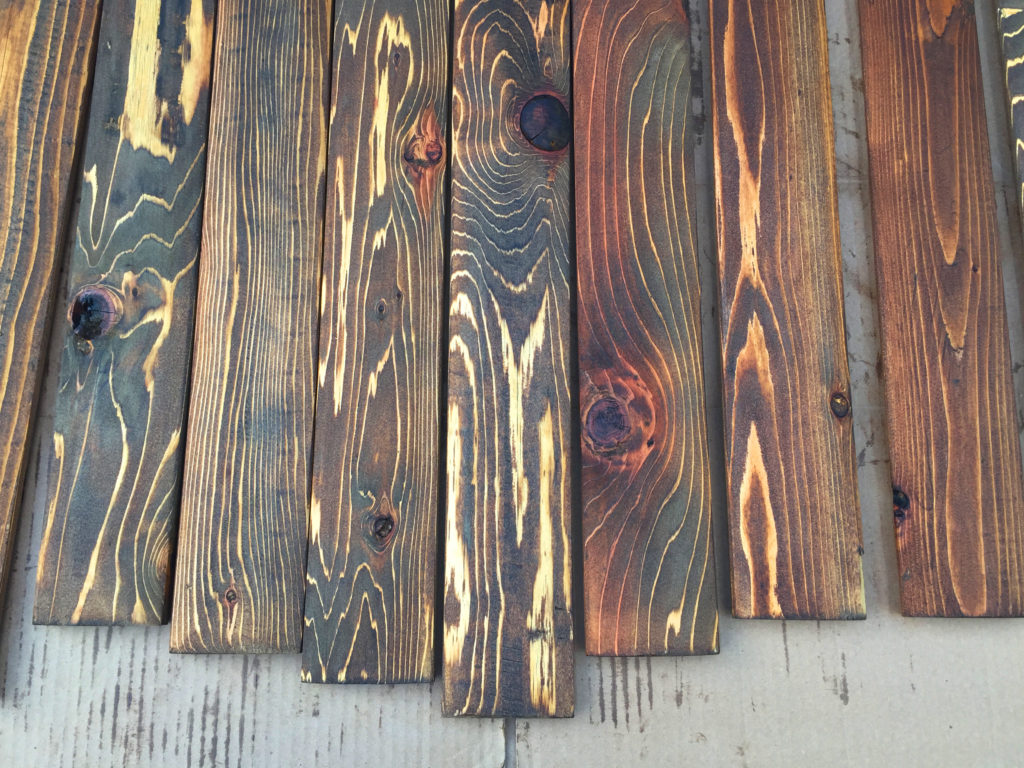
We applied several coats of Watco Danish Oil in Black Walnut to get the dark finish. It didn’t soak into the wood quite as well in some places, but once it was all re-assembled it wasn’t super noticeable.
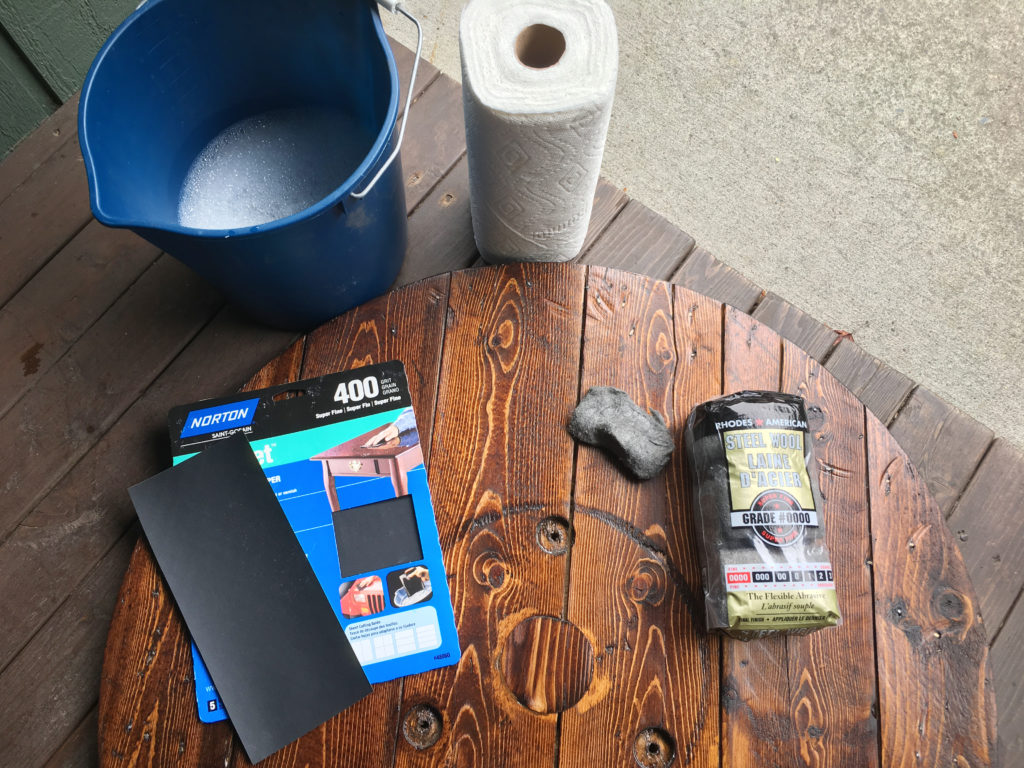
Since the table is going to be sitting outside all year, we also applied a top coat of Minwax One Coat Polyurethane in a clear semi gloss for extra durability. Once the polyurethane was well set (about 24 hours later), we used 400 grit sand paper to very lightly sand the surface to get rid of little bubbles and imperfections. Then we dipped some steel wool in some soapy water and rubbed the surface all over using a small circular motion to give it a more uniform and satiny finish.
Finally we reassembled all the parts and hammered a few small plastic feet onto the bottom of the table, just to keep it a little bit off the ground in case there was any moisture and to prevent it from scratching the deck surface.
We’re quite pleased with the end result, and we still have two more spools that we can do something with! Although we definitely do not have room for three tables on our tiny deck so we’ll have to get creative and find a different project to make.
Nice repurpose! Makes me think of a coffee table in my ancestral home 🙂