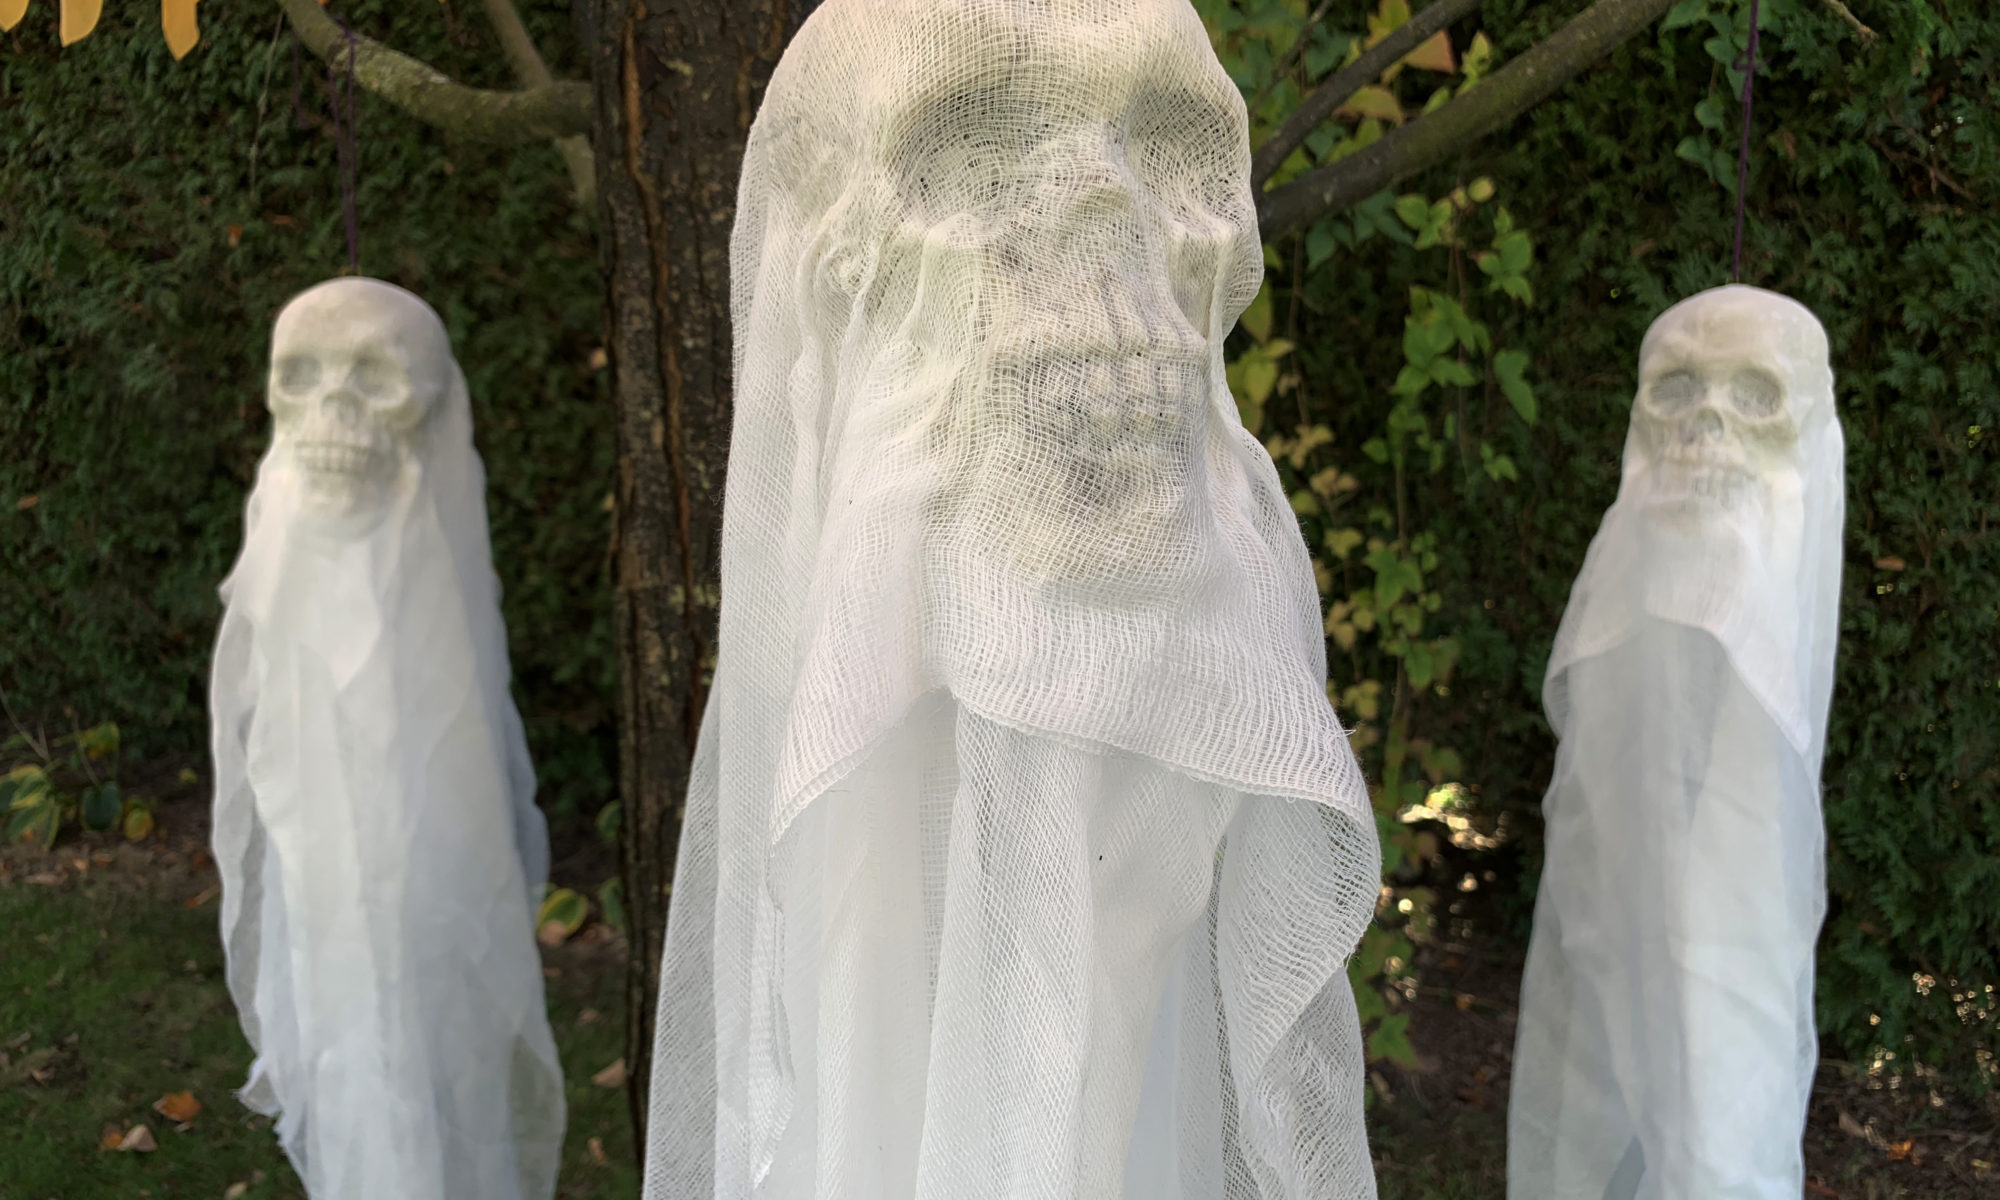
Halloween is one my absolute favourite holidays. Every year I try to make a new halloween craft, and this year I decided on these spooky phantom skulls! They ended up being the perfect addition to my haunted yard.
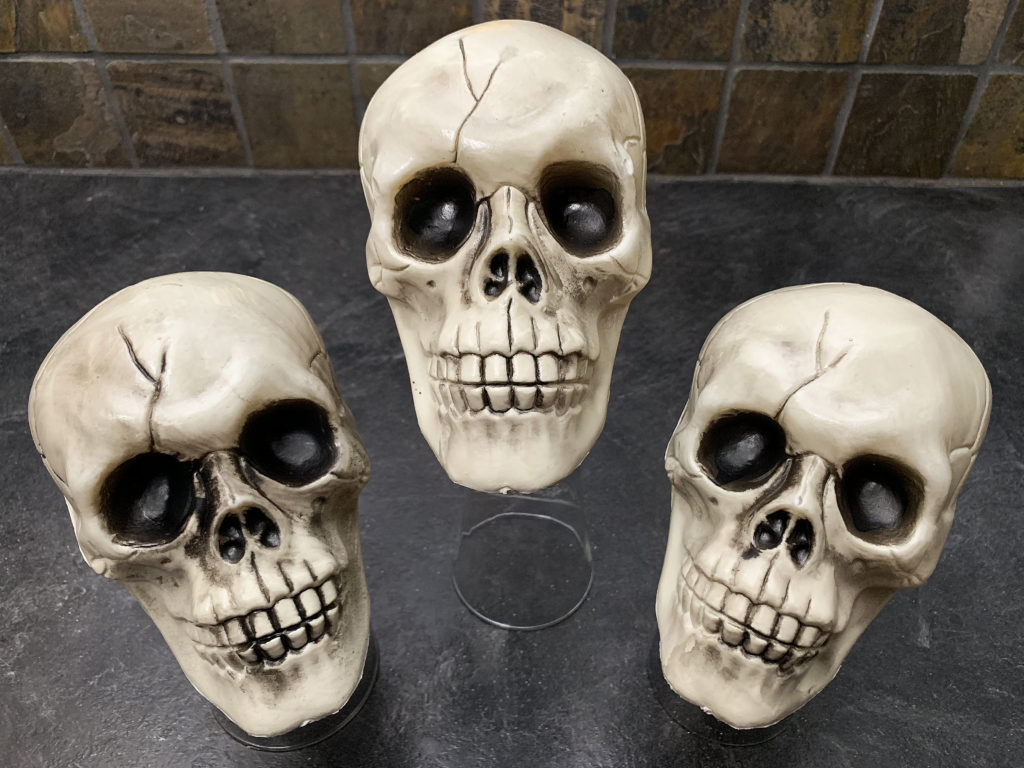
I found these plastic skulls at the dollar store to use as a base. You could also use styrofoam balls or heads, but the ones I have seen are quite expensive and less realistic.
I then purchased several packages of cheese cloth from Canadian Tire. The packages were $5 each and I used one pack per skull. I’m sure I could have found cheaper cheese cloth somewhere else, but I was really excited about making these and didn’t want to spend a lot of time searching around for a better deal.
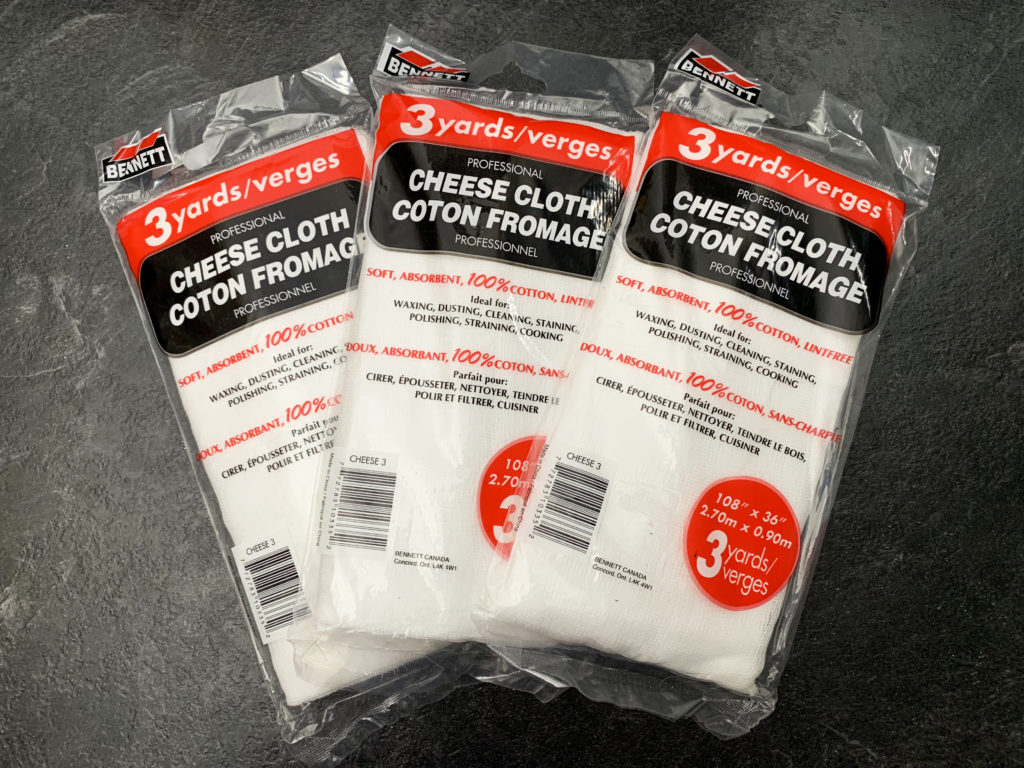
Each packet of cheese cloth contained one very long strip. I cut the strips in half to get two long rectangles. I draped one half over each skull, then brushed a coat of mod podge over it to stick it down. The second half of the cloth I placed in the opposite direction (so the two fabric pieces were placed like a giant plus sign) and painted over that one as well.
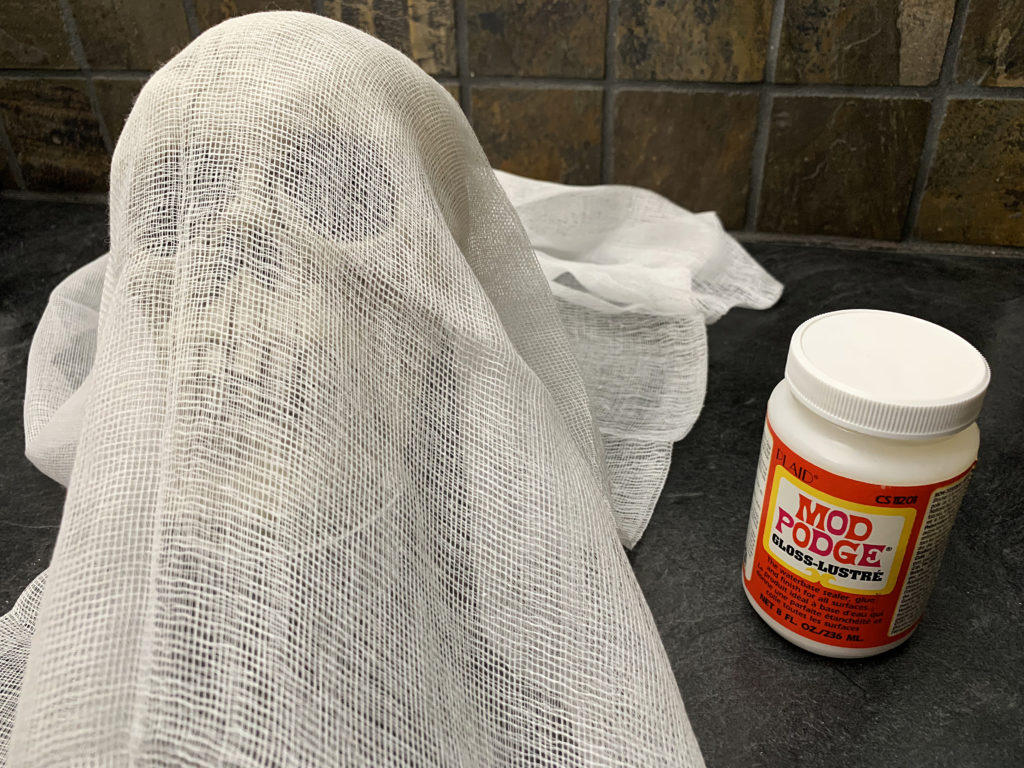
I made sure the cheese cloth was well stuck down all over the top, face, and upper sides of the skull. I didn’t apply any mod podge to the bottom inch or so of the sides, as I wanted the fabric to drape off the skull and give a flowing effect.

It helps to pause a few times throughout the process and hold up the skull to see how the fabric is draping.
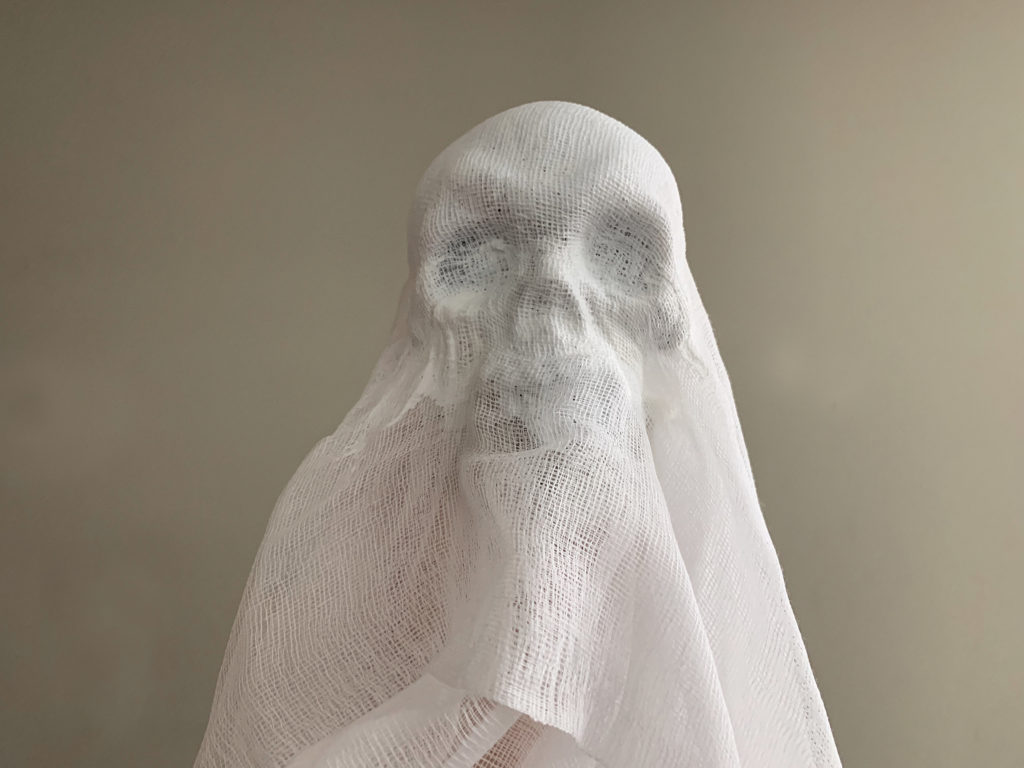
The mod podge goes on white but dries clear. Once dried, you’ll notice more of the texture and colouring coming through from the plastic skull base. I really like the appearance as it adds some nice texture and dimension.
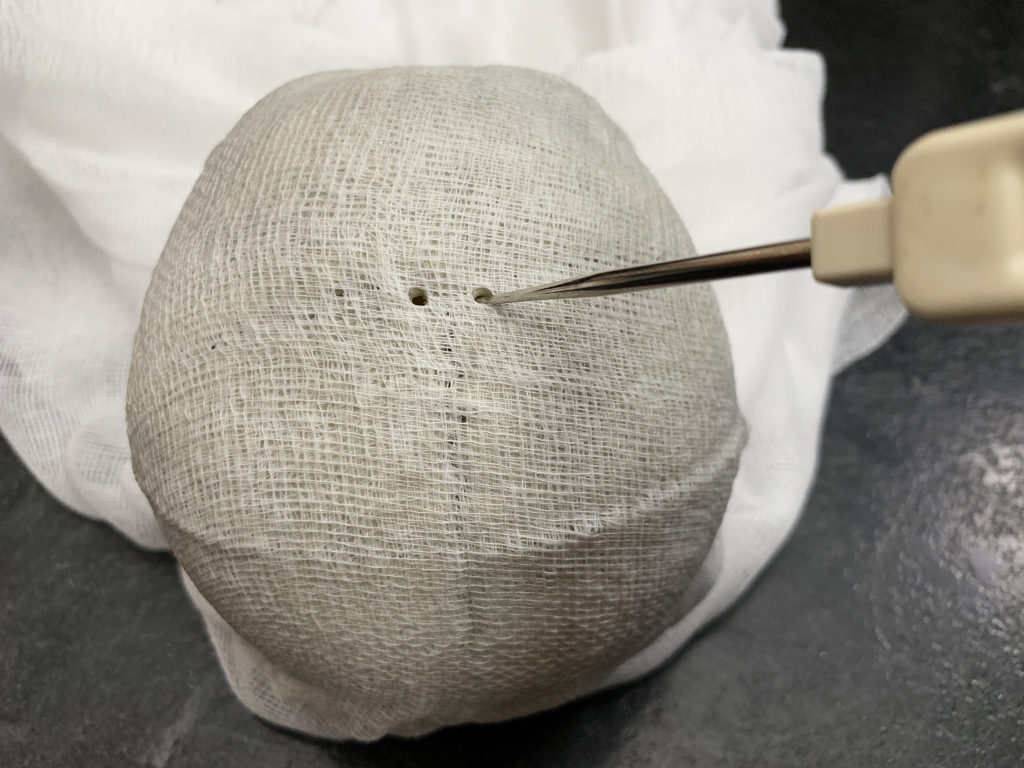
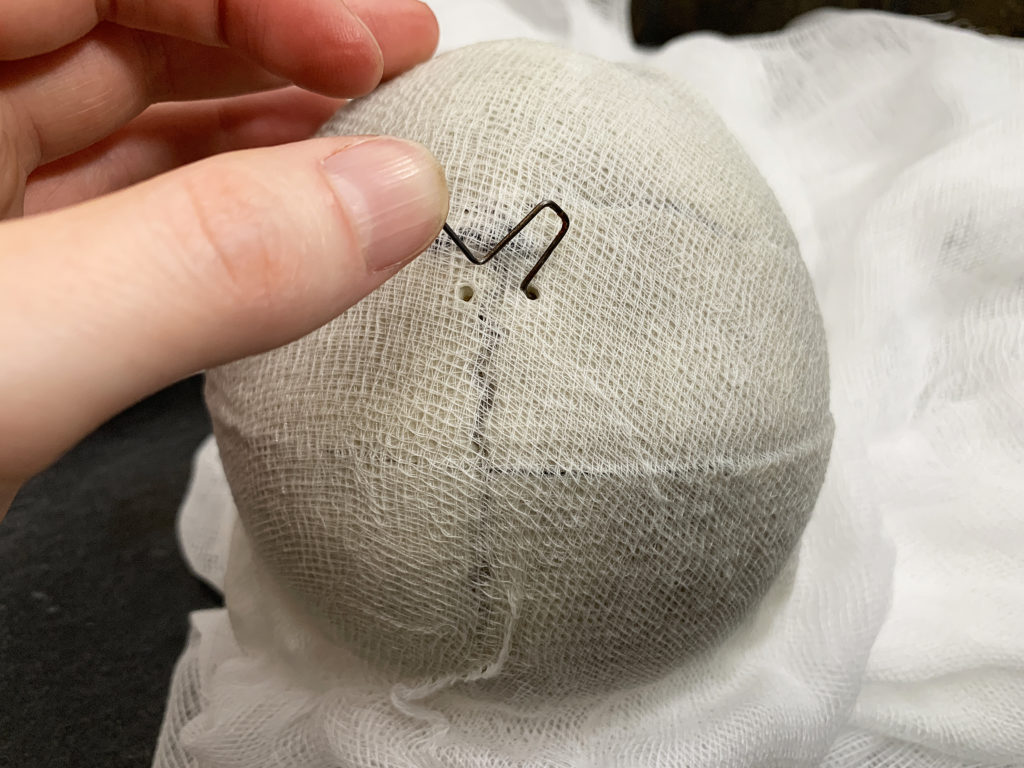
You can display these ghouls in a couple of ways. Either spear the skulls onto wooden stakes or posts to stick in the ground, or create a hook through the top to hang them from various corners of your house or yard. To create a hook, I poked a couple of holes into the top of the skull using a sharp object.
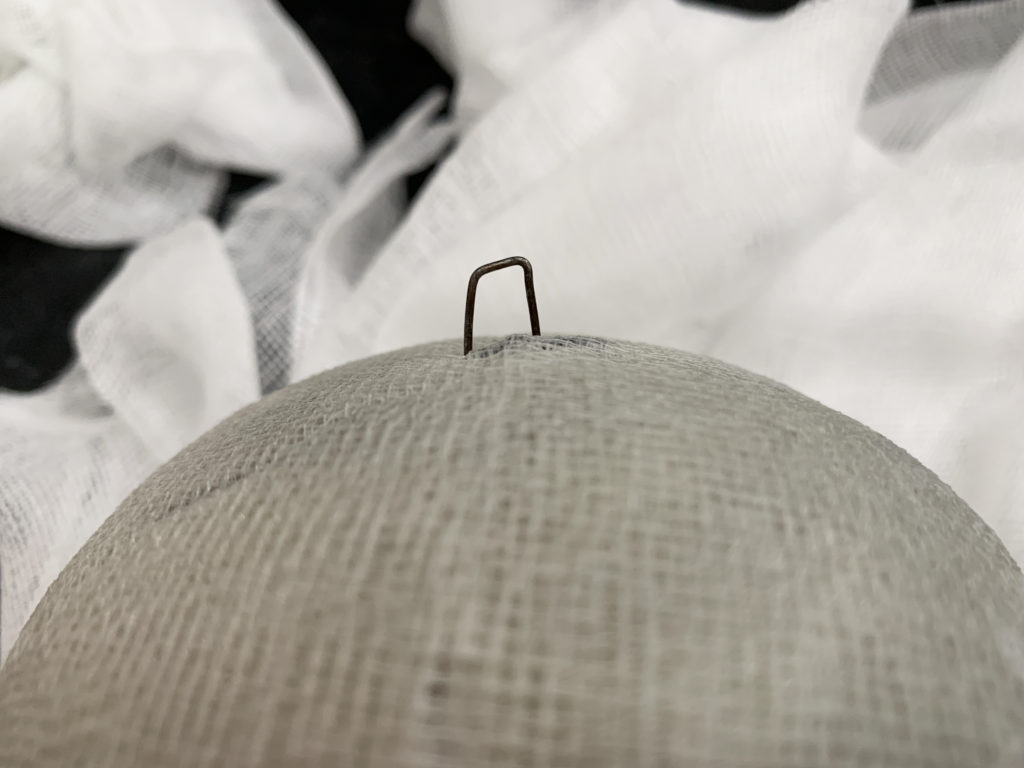
Then I bent a hairpin into a shape similar to what you’d find on a Christmas tree ornament.
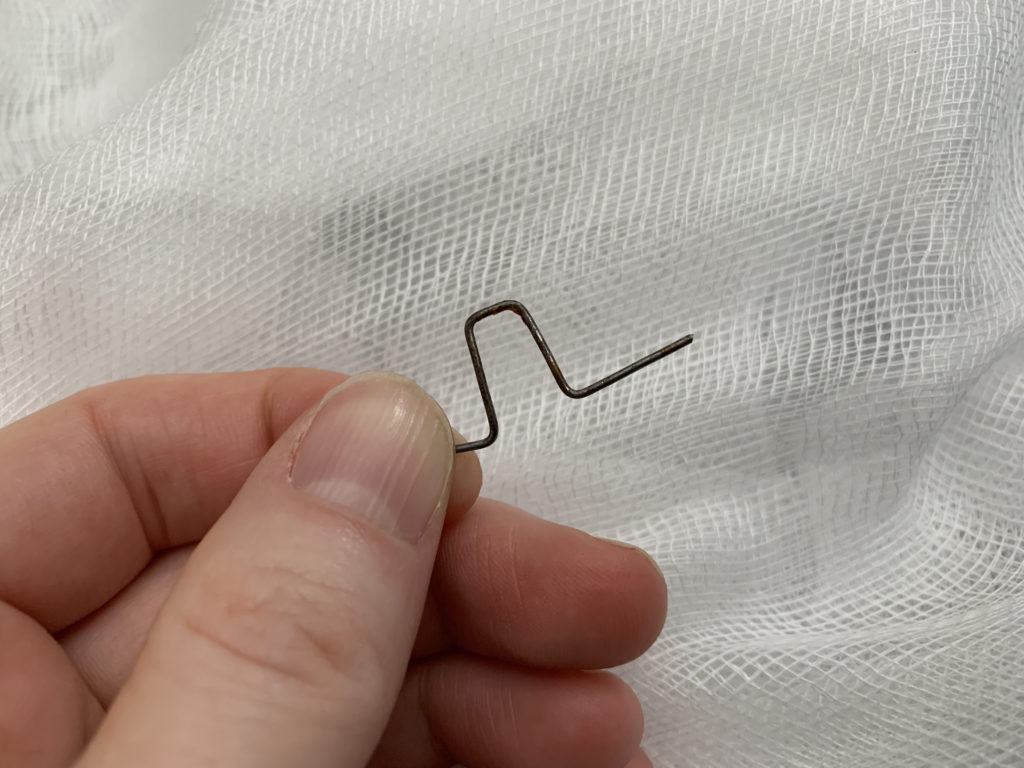
I stuck each end into the holes on the top of the skull, which gave me a sort of hook which I could use to thread some string through for hanging. I’d recommend hanging these with some fishing line as it is transparent and less noticeable. I didn’t have any kicking around though, so I ended up using some dark coloured yarn. Really any old string will do.
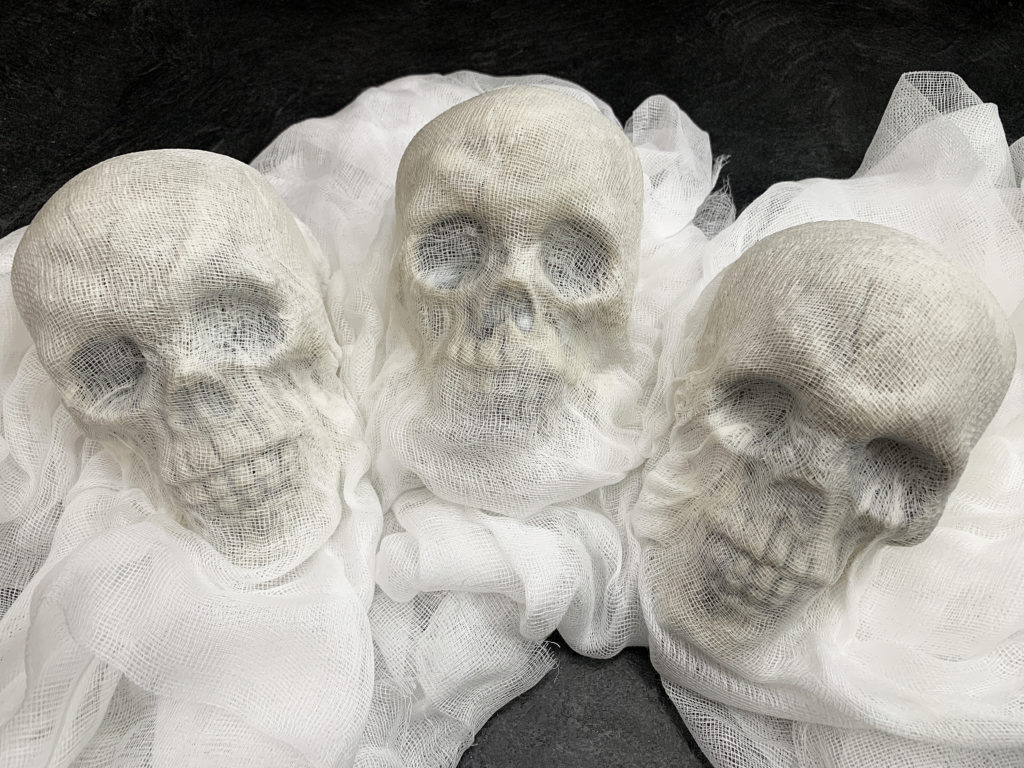
These skulls ending up being about 2 1/2 feet long based on the amount and length of cheese cloth I had. You could use more cheese cloth and adjust the length to your preference.
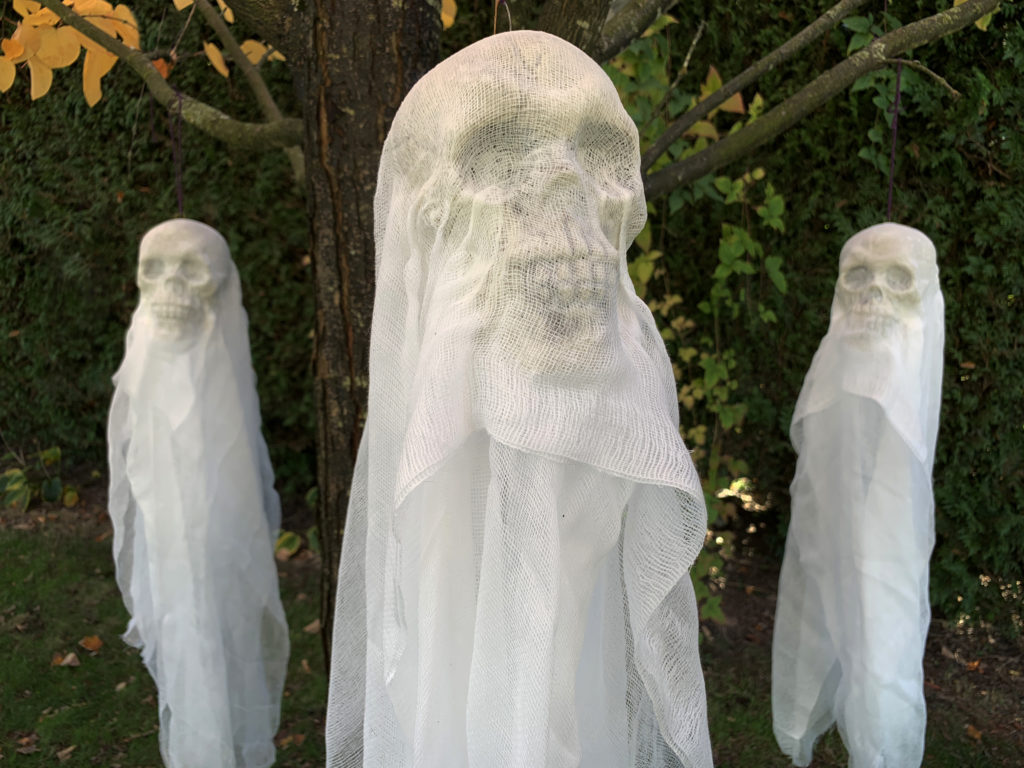
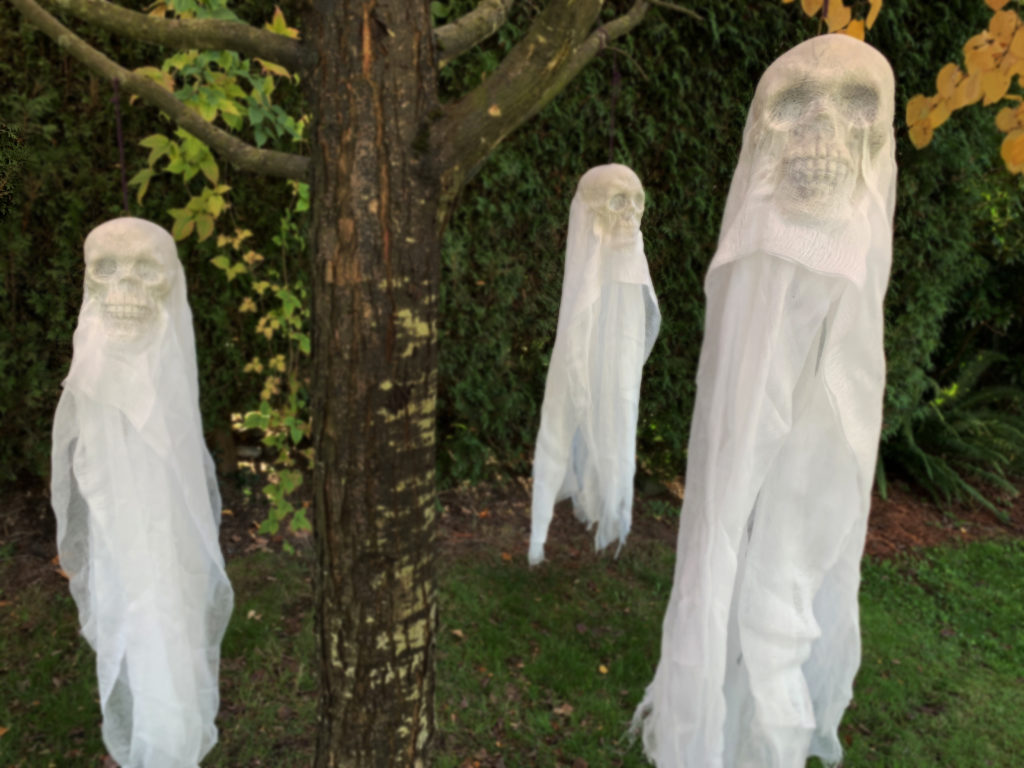
You can hang these around the yard or in the house. They are particularly eerie just as the light is starting to get low, or when the wind catches the cloth, blowing them around gently in the breeze. Perfectly spooktacular!
Materials
- Plastic skulls
- Cheese cloth
- Mod podge
- Paint brush
- Sharp tool for poking holes
- Wire for making a hook
- Fishing line or string for hanging
How To
- Cut the cheese cloth into long strips, double the length that you want your final phantoms to be (i.e. if you want 2 foot high phantoms, cut the cloth into 4 foot strips).
- Lay the cheese cloth strip centred on top of the skull, so that there is an even amount of fabric on either side.
- Paint over the cheese cloth with mod podge to adhere it to the skull. Make sure the cheese cloth adheres well to the top and face of the skull, but only paint down the sides about half way. This will make the fabric drape off nicely from the sides.
- Apply additional layers of cheese cloth until you get your desired effect (I used two layers).
- Let the mod podge dry thoroughly.
- Poke holes into the top of the skull and thread a wire through to create a loop (or use a bent metal hair pin).
- Thread string through the loop and tie off at your desired length to hang from.