
Happy Thanksgiving weekend to all my Canadian friends! As is tradition, we’re spending the weekend with family, gathered around a massive turkey dinner with all the fixings. My mum always prepares way more food than we could ever need around this holiday, so this week I opted to skip the baking and try out a fun fall decorating project instead.
These festive fall gourd candles are something that I’ve wanted to try out for a number of years, but I’ve never seemed to be able to find the time to make them. Earlier this week my brother showed up and surprised me with a bag of decorative gourds, so it seemed like the perfect time to tackle this project!
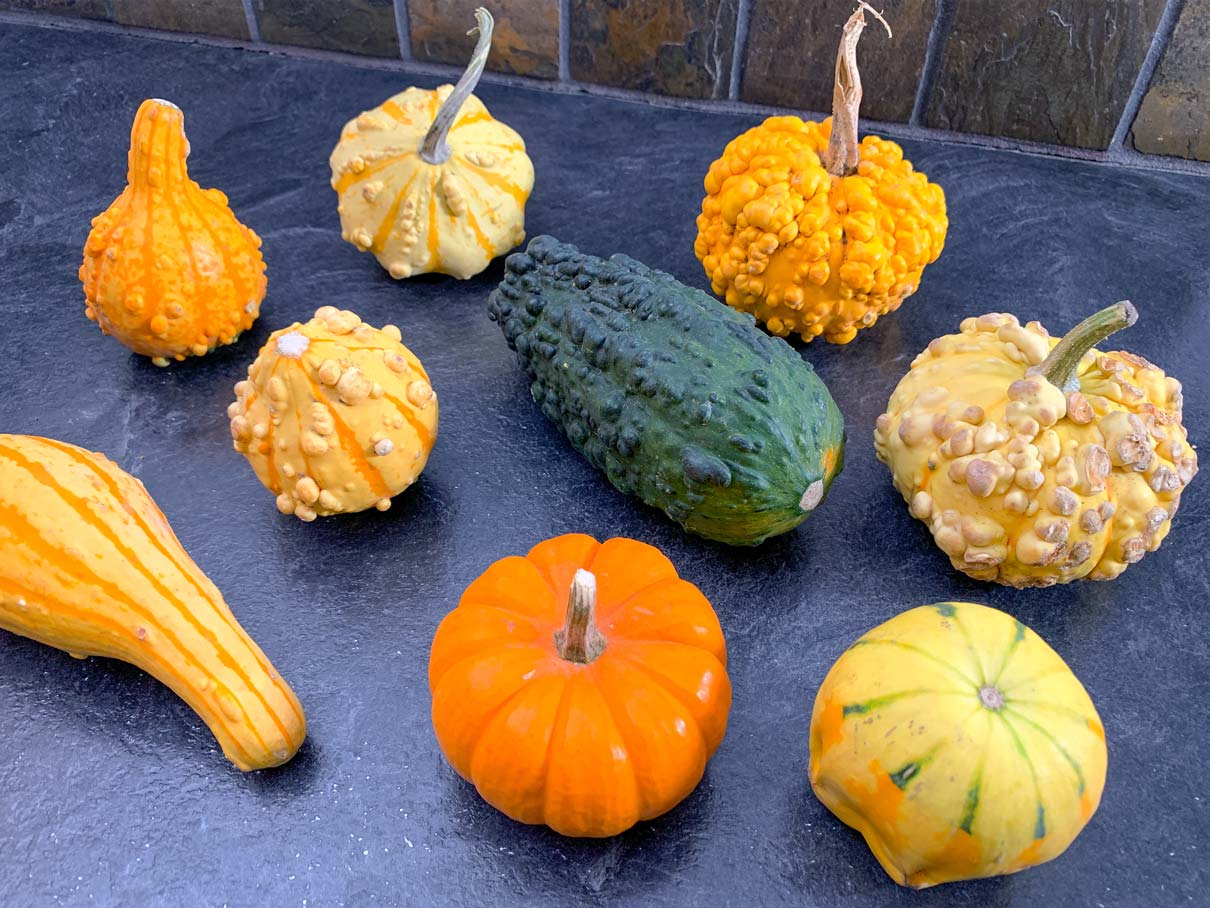
When choosing your gourds, look for a variety of fun shapes, sizes and colours. It helps to look for some that have one flatter side so they won’t tip or roll around easily. The bumpy looking ones are my favourite, but the flesh tends to be quite tough and woody, making them a little harder to cut through. The smoother ones tend to have slightly more tender flesh and are easier to carve.
I experimented with a number of tools when carving these gourds. I started out with a small knife that I got from a pumpkin carving kit a number of years ago, and then moved on to a drill fitted with a hole saw bit. The hole saw bit was a little narrower in diameter than my tea lights, so I also used tried using a regular drill bit to widen the hole after making my initial cut. Collin also handed me a dry wall saw, which seemed a bit excessive, but ended up coming in handy.

When deciding where to place your tealight, start by setting your gourd down and figuring out what position it is most stable in. Since the bottoms are likely to be uneven, you want to find the position that it stays put in naturally, so that it isn’t tippy.
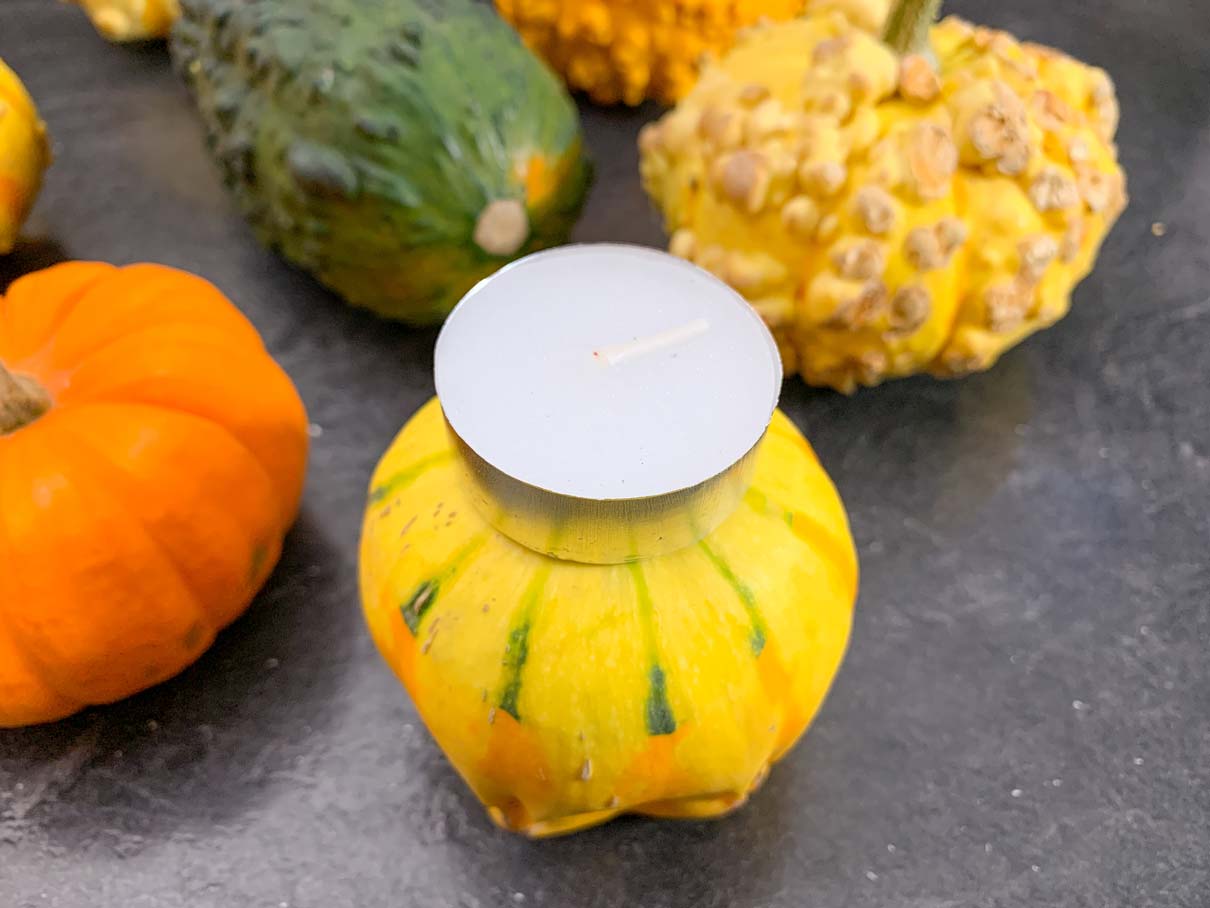
Once you’ve figured out which position your gourd naturally wants to sit in, place a tealight on top and use a marker to trace a circle around it.
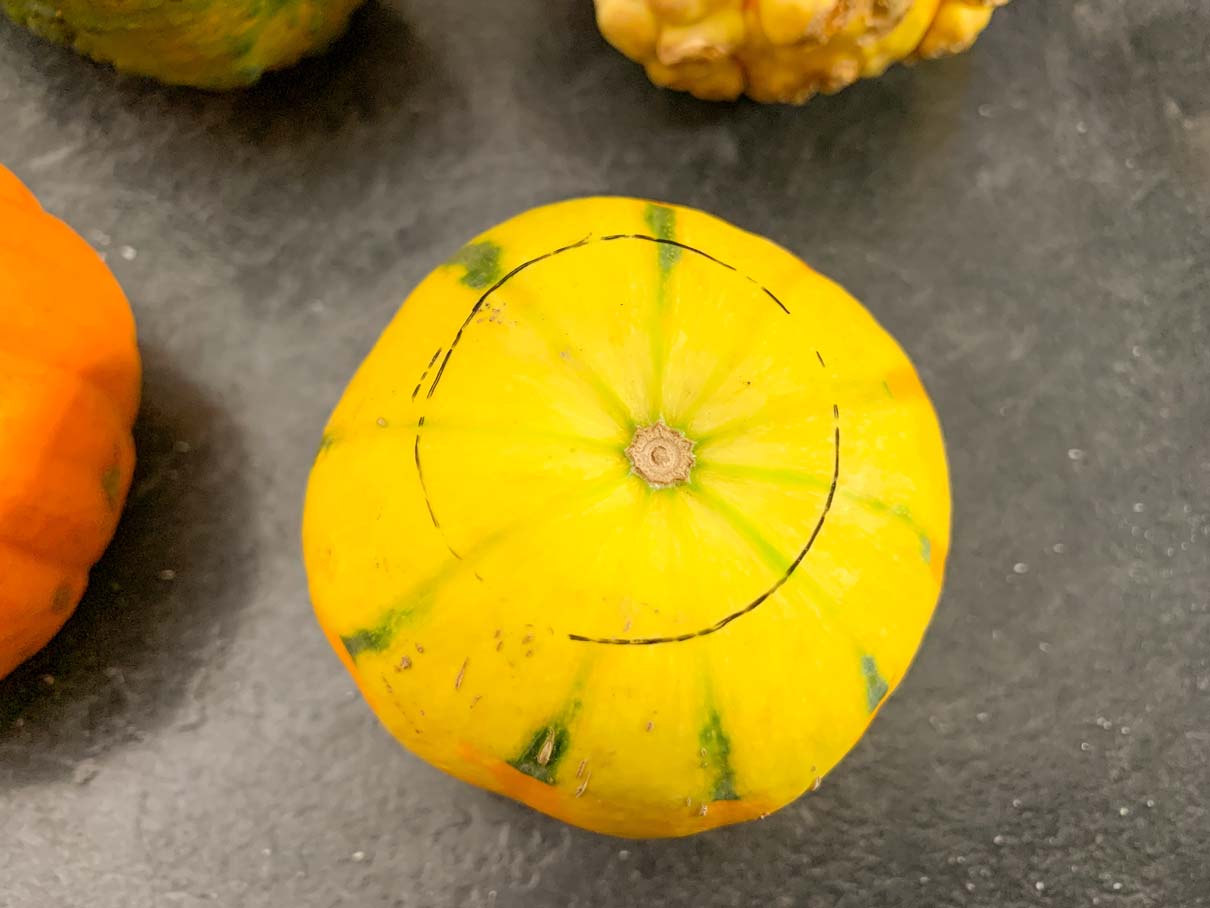
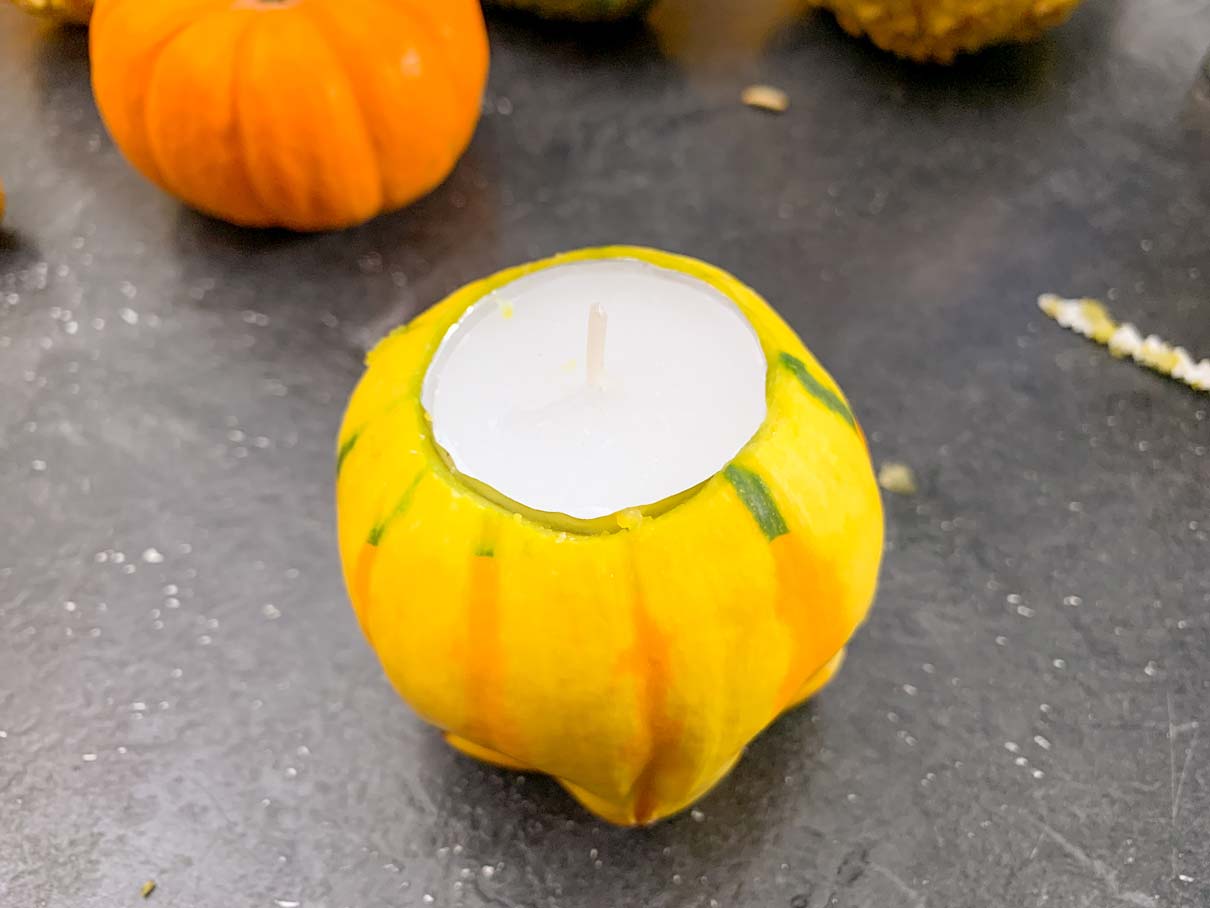
The first gourd I carved was a smaller, smoother gourd. I was able to cut through it easily with just the pumpkin carving knife. I cut the hole a little smaller at first, because I wanted to ensure the tealight fit snugly and didn’t just fall through. You can always cut the hole a little bigger if needed, but you can’t cut it smaller.
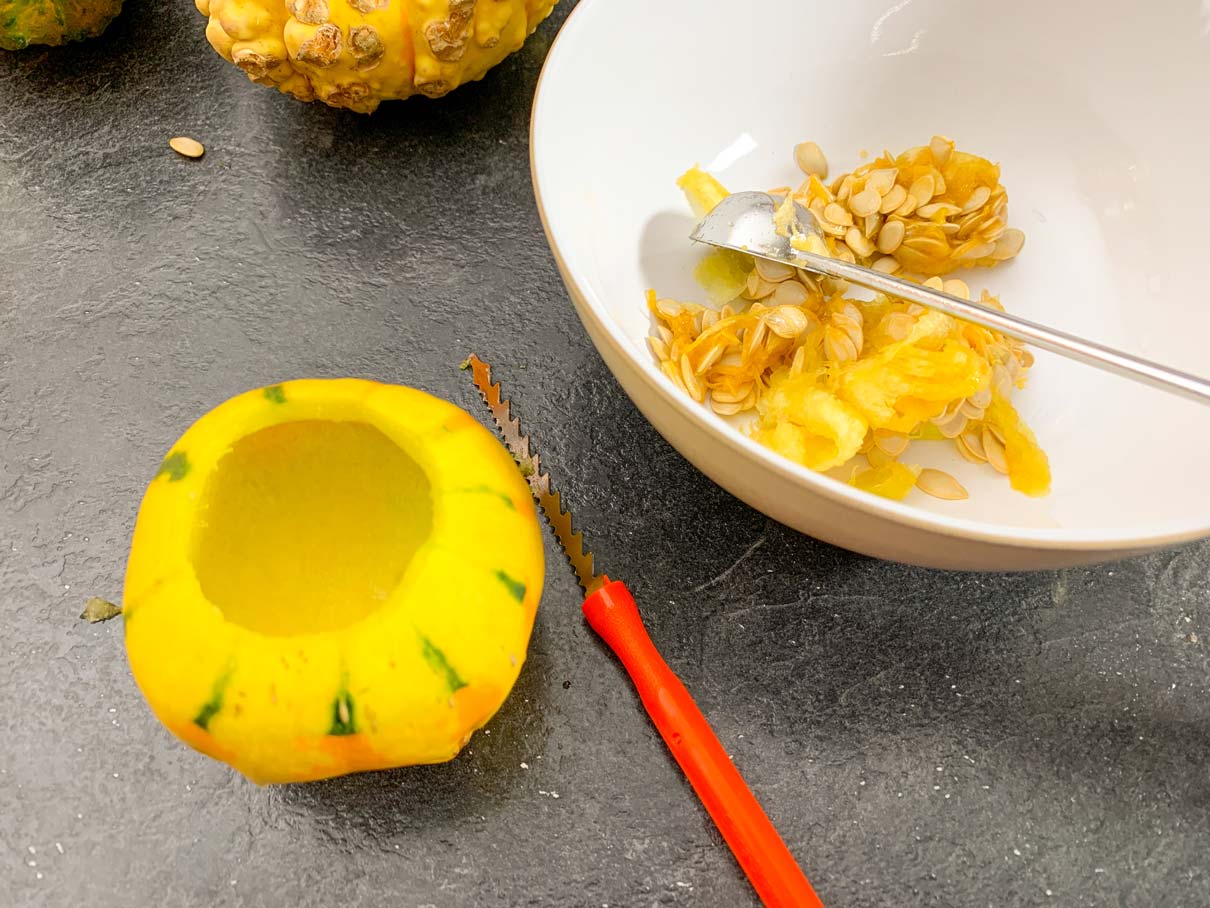
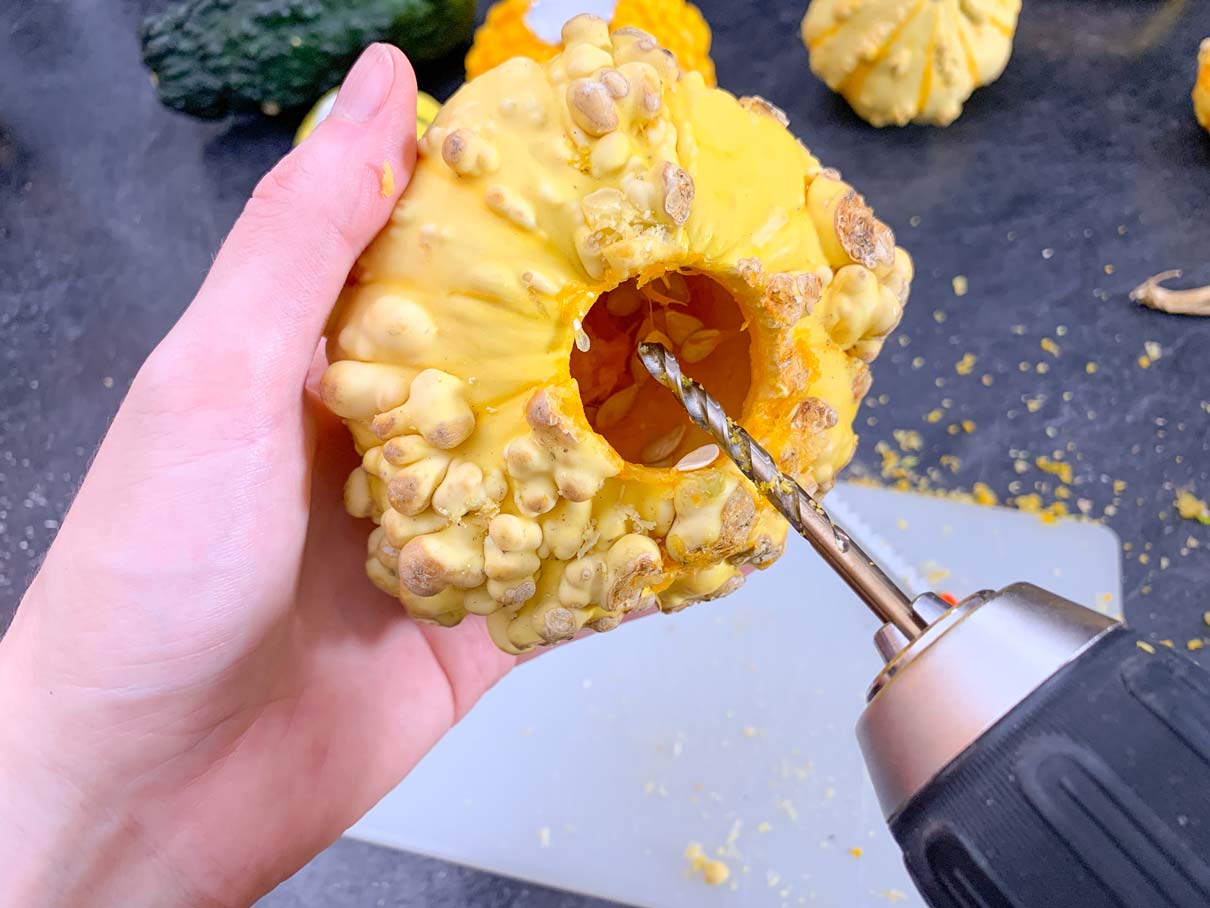
After you’ve cut the hole, scoop out all the seeds so the inside is scraped clean, just like you would do if you were carving a pumpkin.
Carefully wedge a tealight into the hole. The gourd will have a little bit of flex to it, so as I mentioned before, try to keep your cut on the smaller side, and just keep widening the hole slightly until you get the right fit. Your tealight should sit snugly in place.
If you’ve cut the hole too big, and you find your tealight falls through, you can fill the bottom of the gourd part way with dried rice or beans, or some small stones (basically anything heat resistant). This will give the tealight something to rest on so it will sit flush with the top of the gourd.
You could also just drop the tealight right into the bottom of the gourd too if that’s your preference. The choice is yours!
The second gourd I cut was a rather bumpy one with much tougher flesh. I used the hole saw bit to cut this one. I had to trim the stem of the gourd off first before I could start drilling through. (I used the dry wall saw for that, but a sturdy pair of garden clippers would work too)
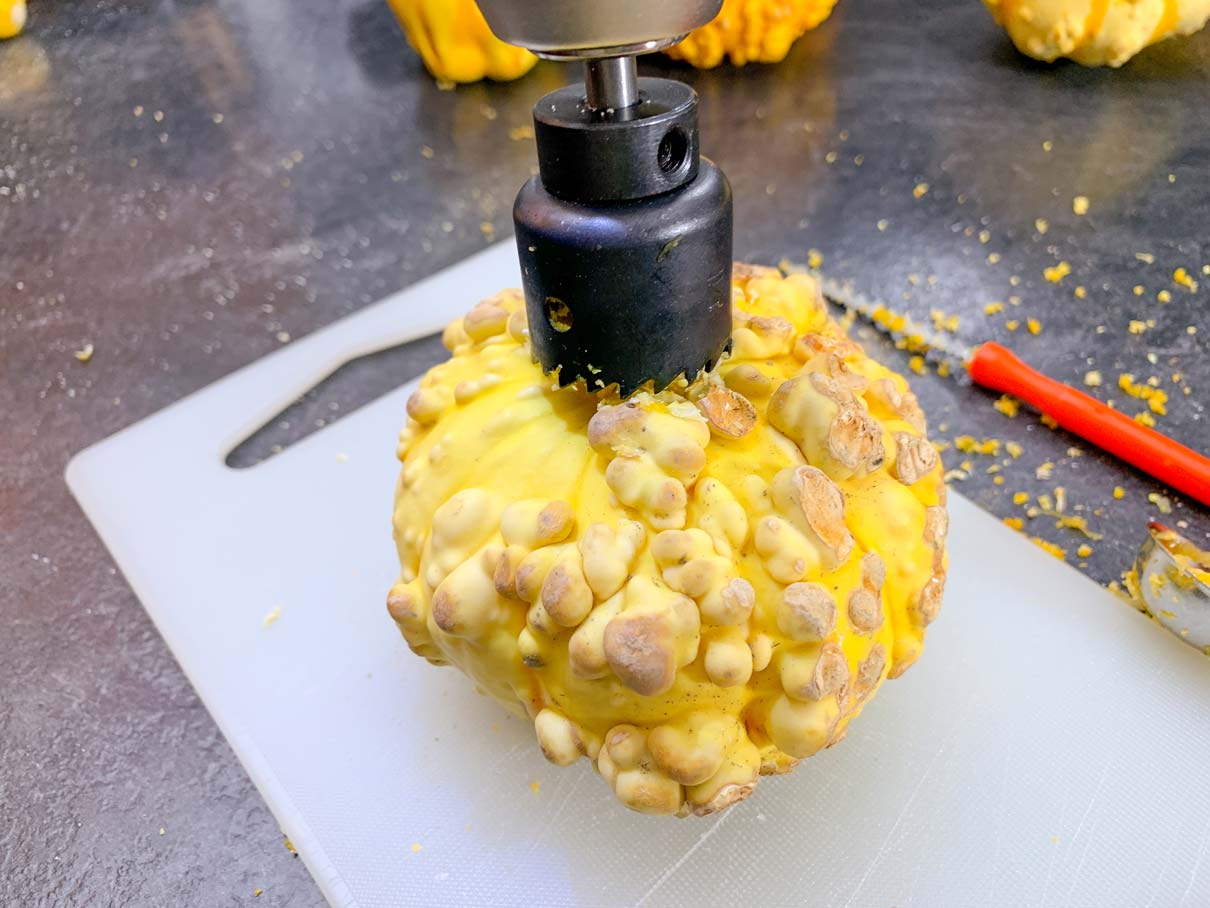
The hole saw bit worked really well for the initial cut. Then I tried using a regular drill bit to scrape around the edges of the hole to widen it. This part was a bit tedious, and didn’t work as efficiently has I had hoped, but it eventually got the job done. I think the more efficient approach would be to just cut with a large hole saw bit that matches the size of your tealight.
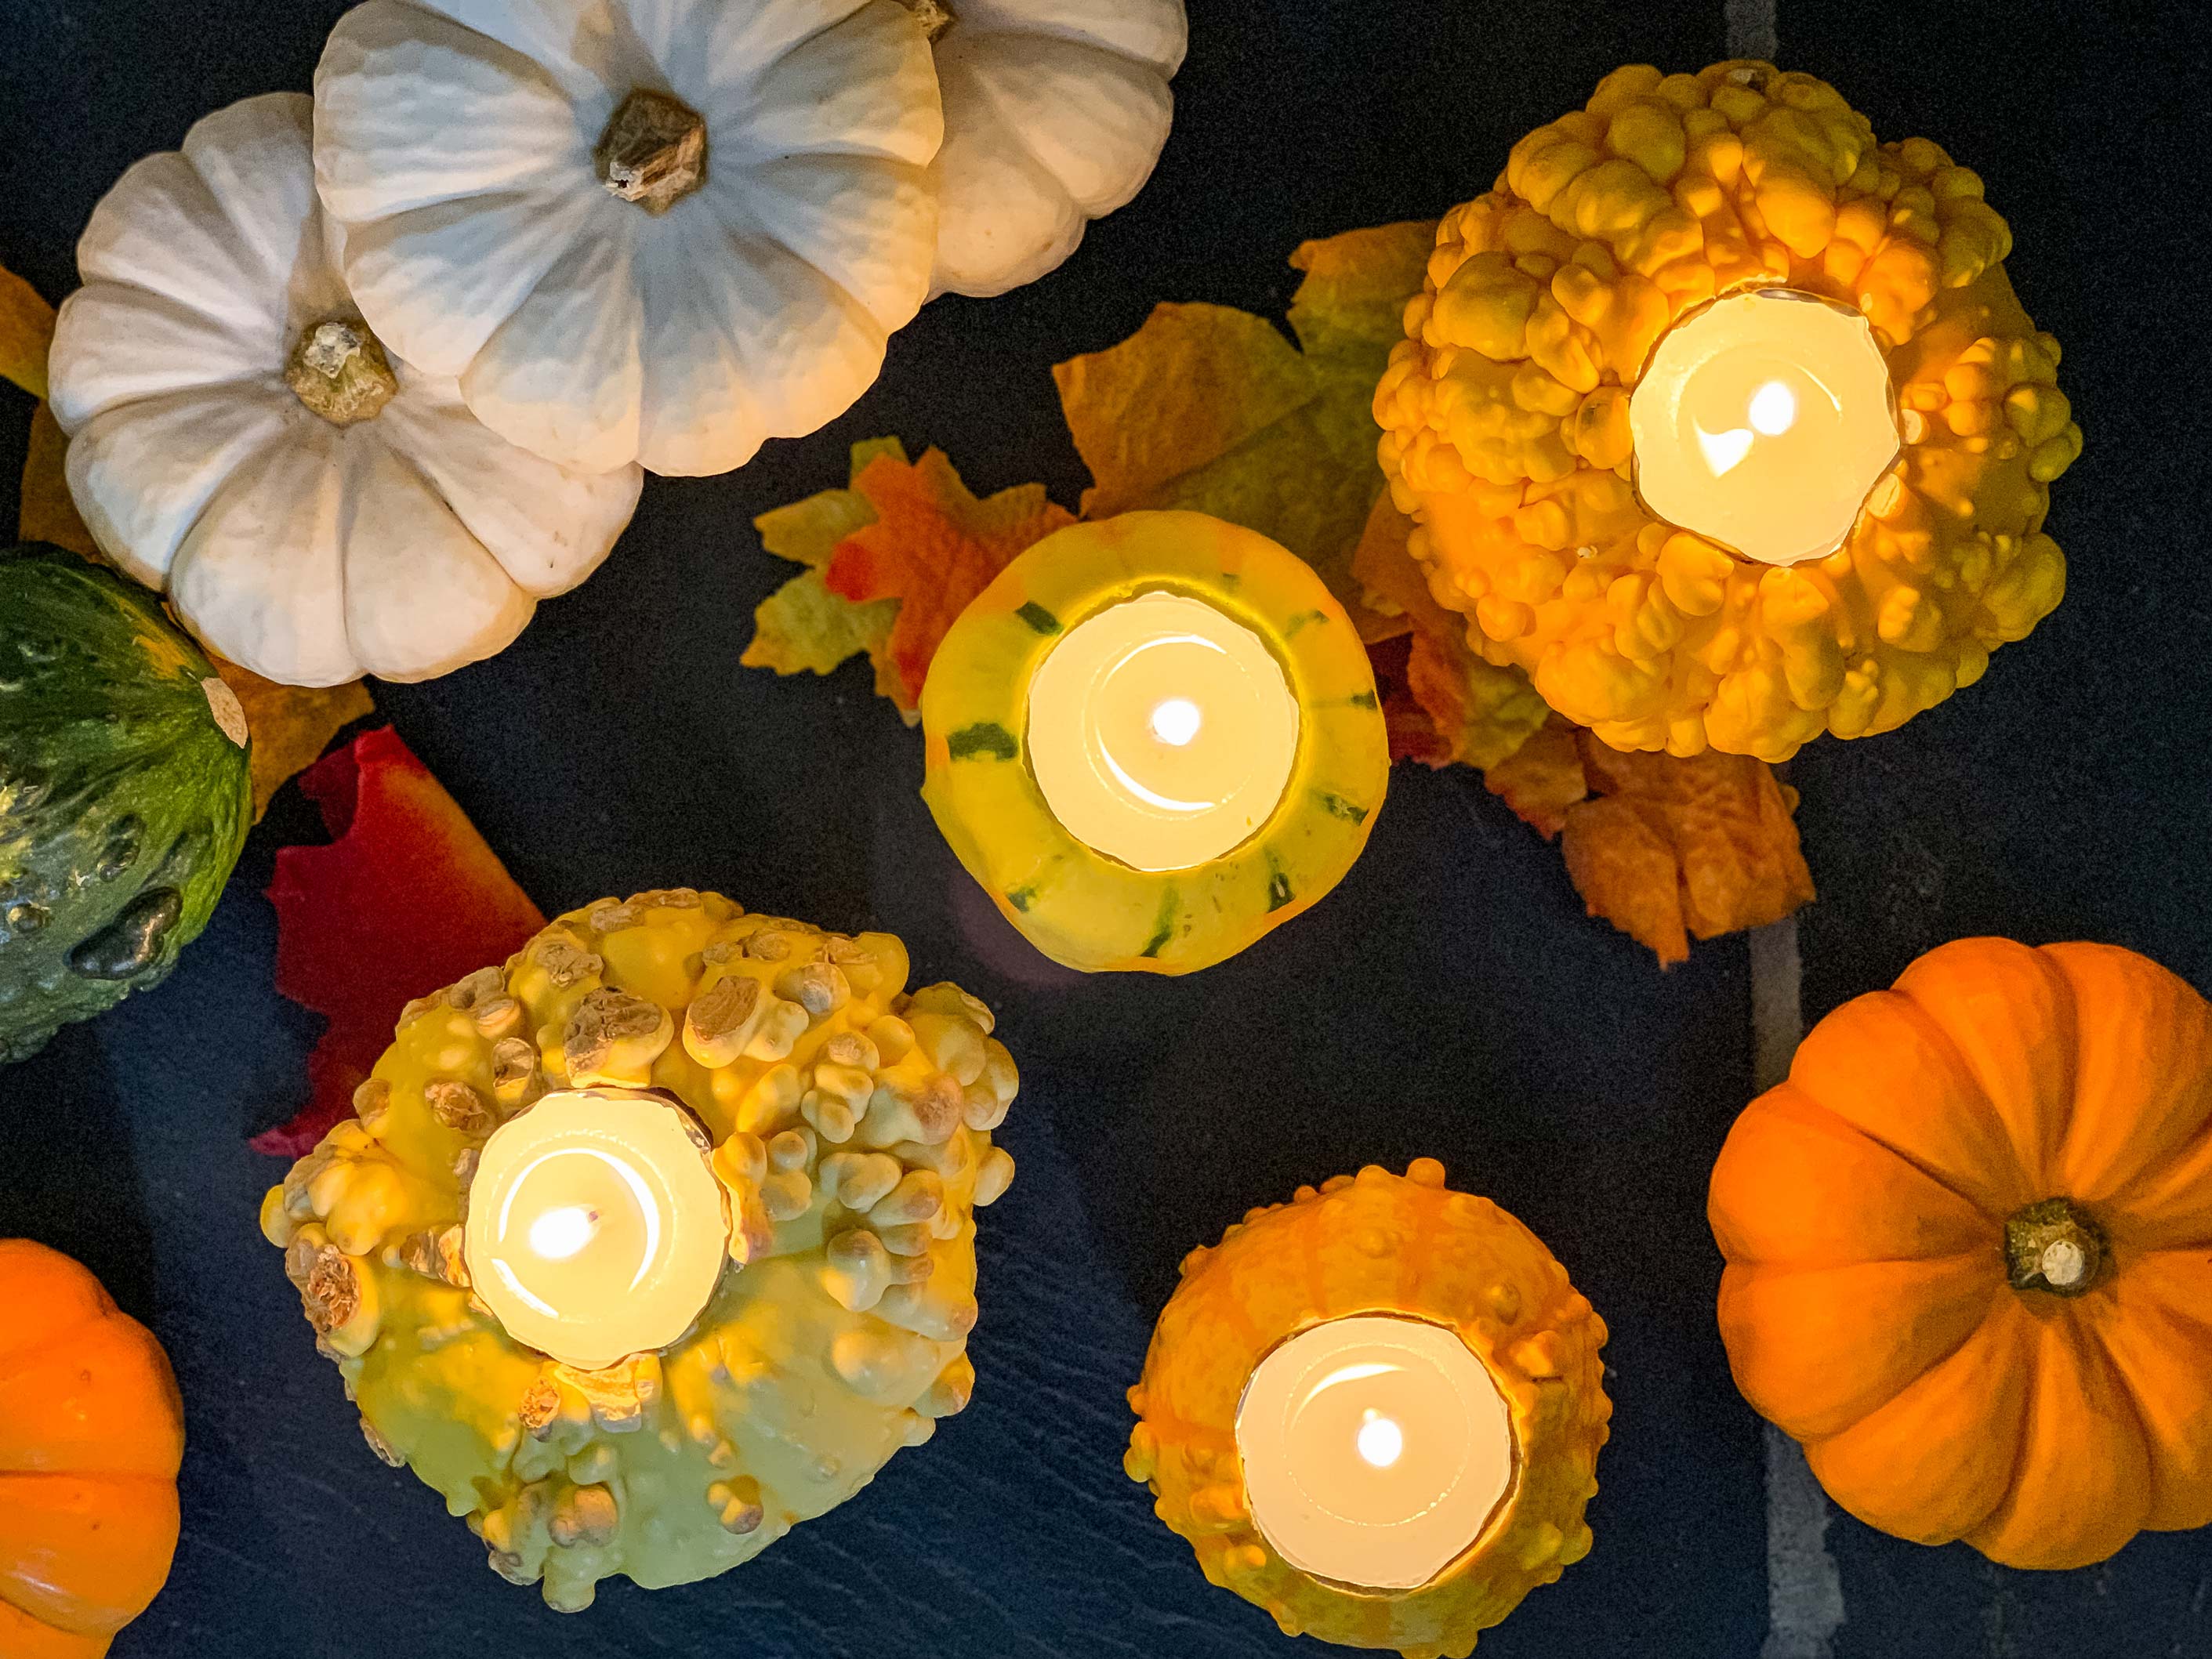
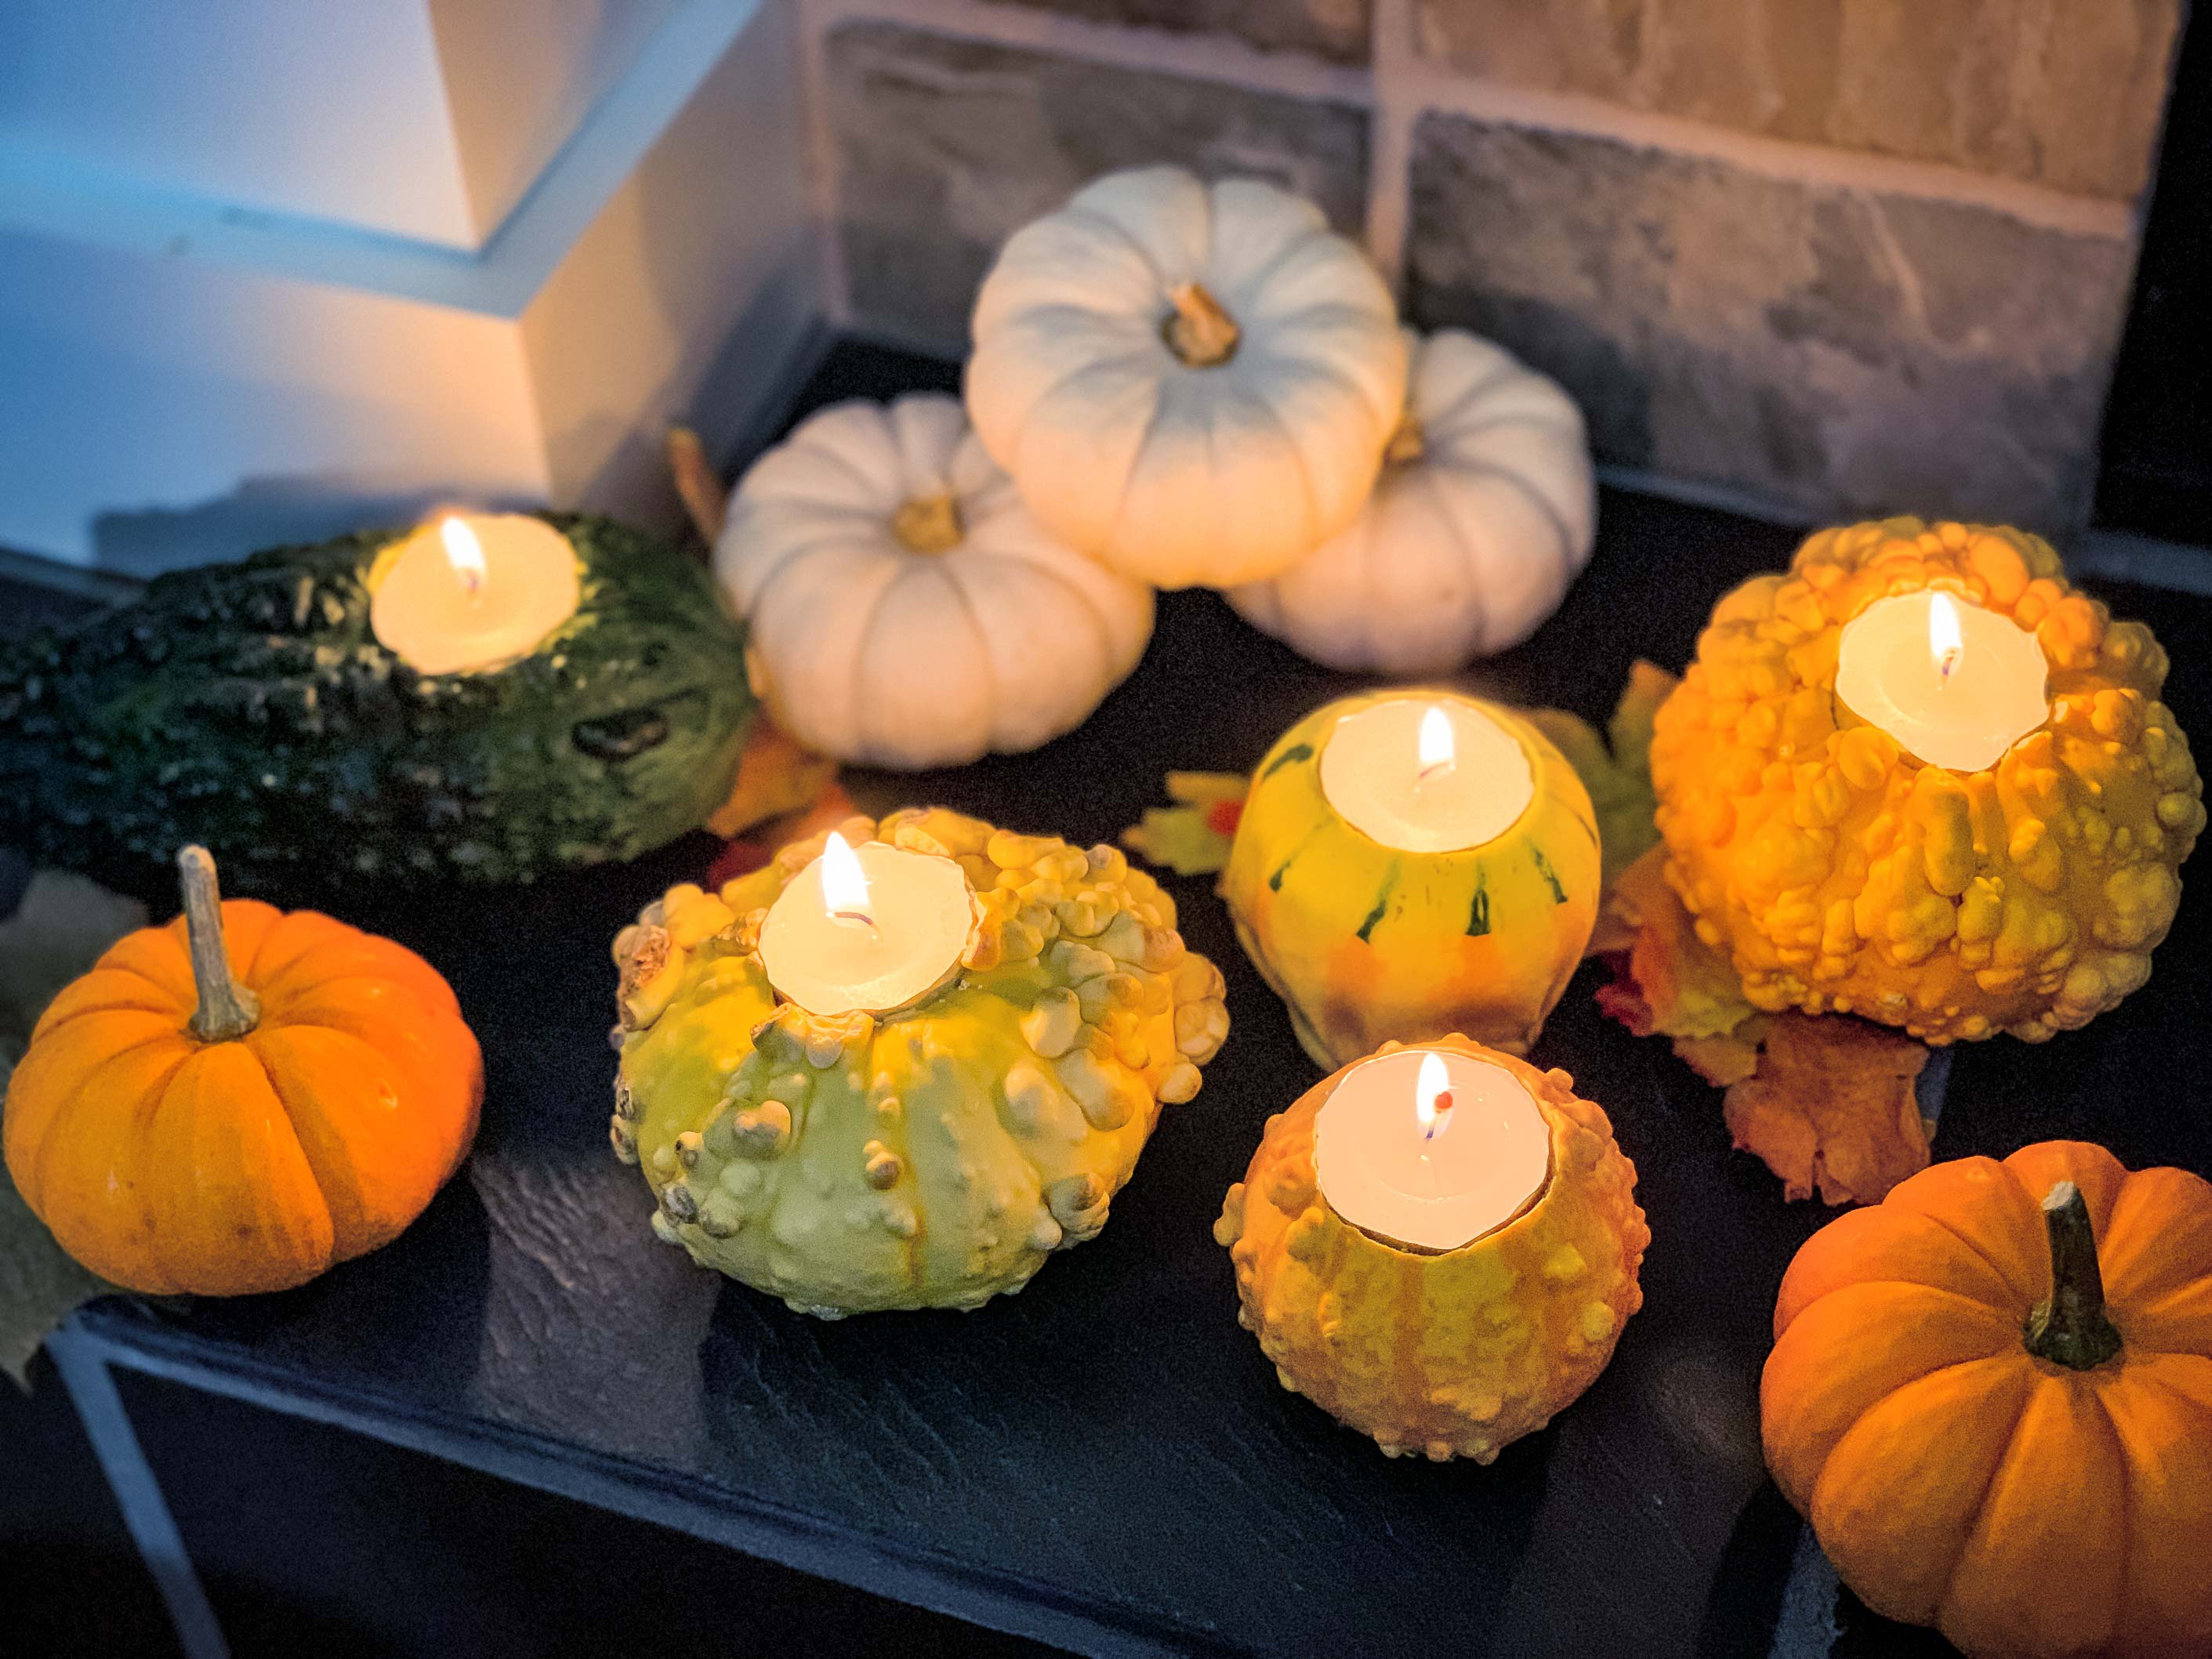
I ended up carving just five of the gourds because I still wanted a few whole ones to keep around as decorations.
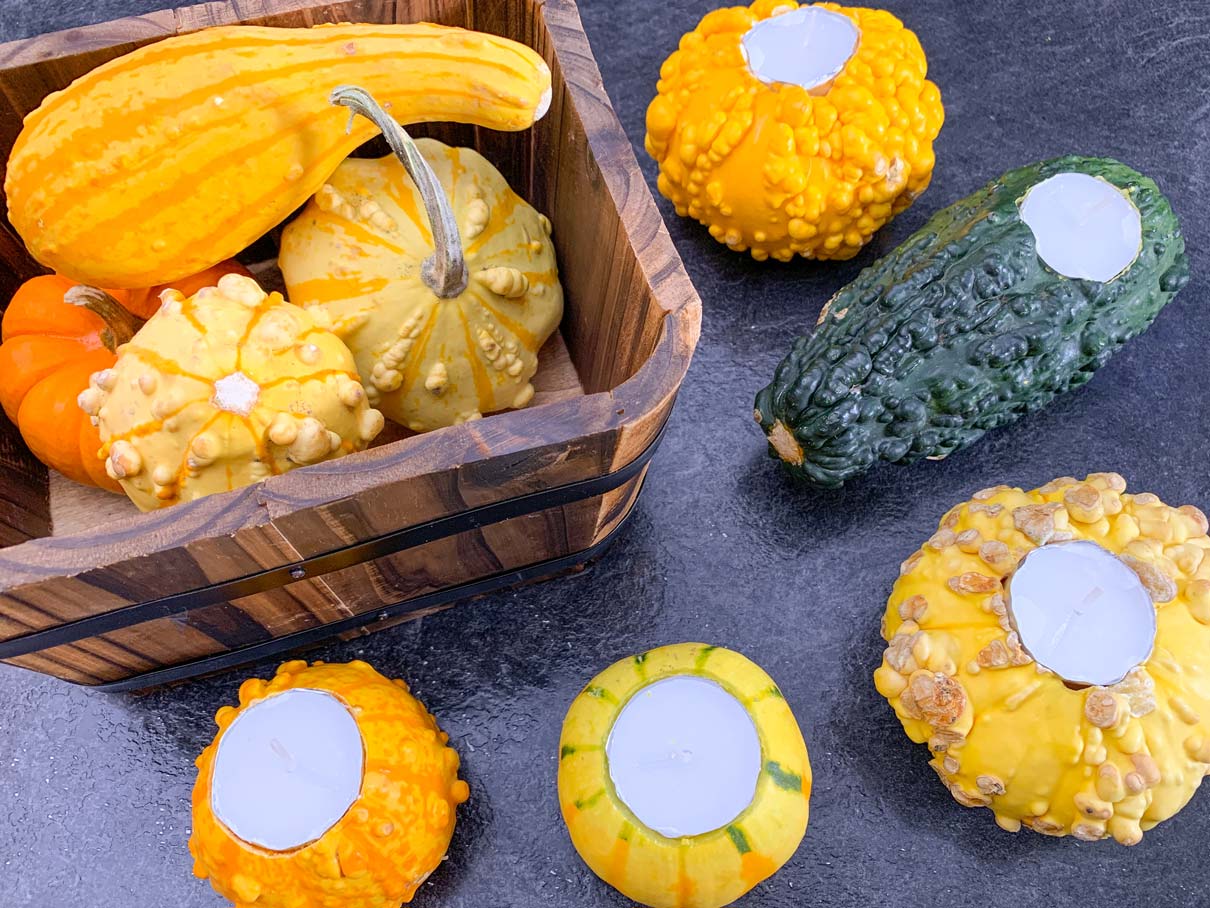
I was really please with the final result. I set them up on the hearth of my fireplace, but they would also look lovely as a centrepiece on a dining room table.
Remember to never leave an open flame unattended or place one close to anything that might catch fire. My old apartment building had a fire in one of the units one night, and ever since then I’ve kept a small fire extinguisher in my home. I hope to never need it, but I’d rather have it and not need it, then need it and not have it!
On that note, here’s wishing you all a happy and safe Thanksgiving, filled with good times, good food and good people!
test