I have been wanting to make a raincloud costume for Halloween for YEARS. In fact, there are loads of costumes I’d love to try and make, but each year I leave things until the last minute, and end up having to settle for my trusty witch hat…until now!
This year, my niece challenged me to a Halloween costume and decorating contest. I generally can’t refuse her anything, so I finally got my butt in gear and started planning my costume. The ironic part is that this costume didn’t actually end up taking that long to make.
My goal was to construct a wide brimmed hat that I could then attach lights and poly-fil to. I suppose if you already owned a large brimmed hat, you could just use that as a base. But alas, I have no such hats, and so I had to make one from scratch.
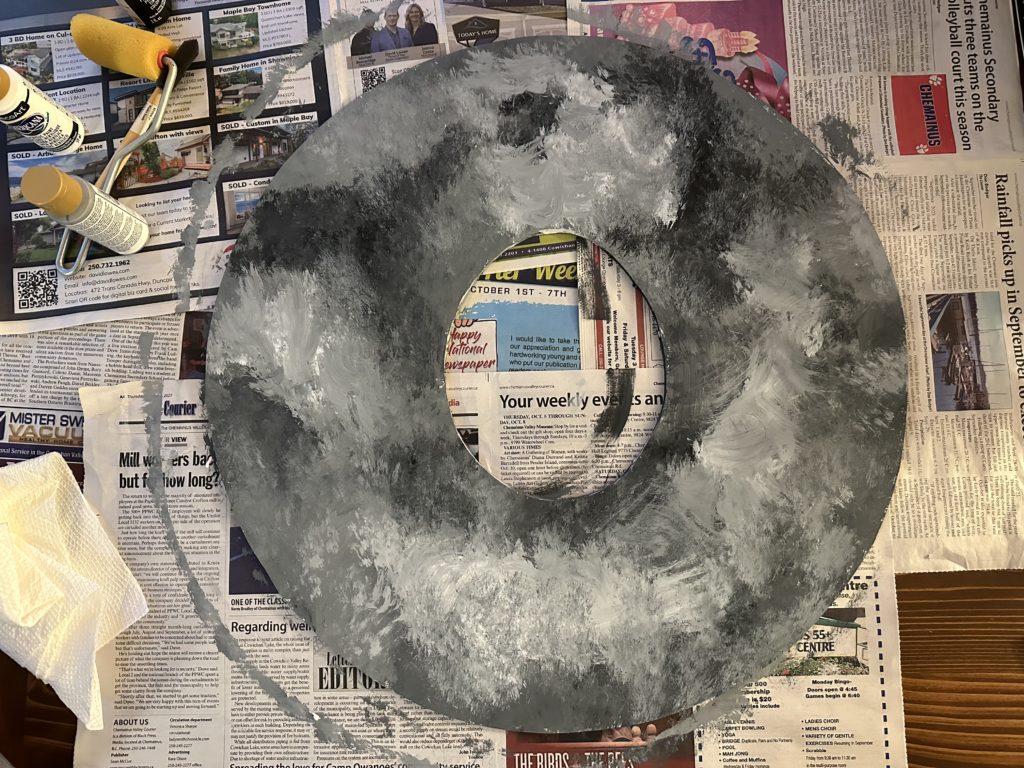
I had a 20″ x 30″ piece of foam board lying around the house so I decided to use that as my base. I drew as big of a circle as I could onto the board and then cut it out. To ensure my circle wasn’t wonky, I created a makeshift compass to trace my line. I did this by sticking a thumbtack in the middle of the board, tying a string to it, and then tying a pencil to the other end.

Once I had my outer circle cut out, I cut a smaller circle out of the center like a donut. I wanted the hole to be just a little larger than the circumference of my head so it would fit comfortably like a baseball cap. I cut the hole smaller to start, then gradually cut away a little more until it fit around my head comfortably. I also allowed a little extra room as I planned to wear a wig under the hat.

I decided to paint my now donut shaped board to give it a sort of cloud texture. In retrospect, this step really wasn’t necessary, but I wasn’t sure how visible the board might be through the poly-fil. If I were to make this cloud hat again, I wouldn’t bother with the paint, although it was still kind of fun to play around with trying to create the cloud patterns.
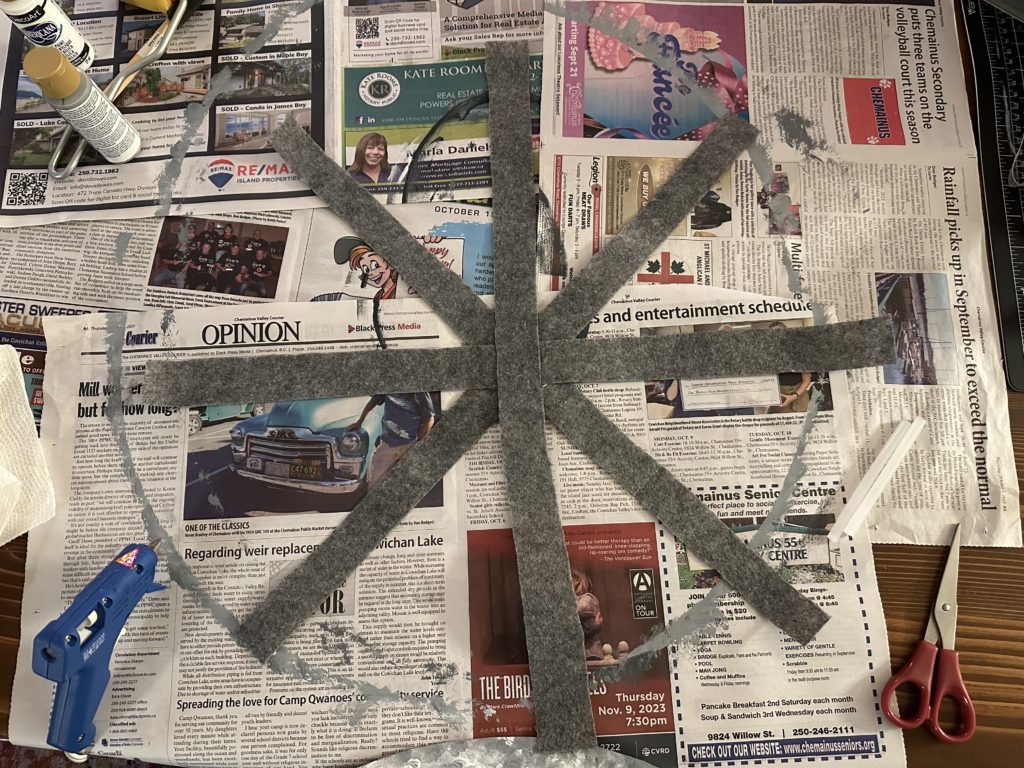
After the paint dried, I needed to find a way to create the top dome shape of the hat. I ended up cutting 4 long strips of craft felt and laying them across each other in a star pattern. I glued all the pieces together by putting a dot of hot glue between each of the layers where they crossed in the centre.
I placed the felt star on top of my head so the strips hung down, then I put the donut board on top of that. I shifted the board up and down a bit to figure out exactly where I wanted it to sit, then I used a marker to make a little line on each strip where it met the edge of the board.
I took both pieces off my head and trimmed the end of each felt strip about 3/4″ longer than where I had marked them. I used a hot glue gun to glue the felt strips to the board using the line I had drawn as a guide. Having the additional 3/4″ length gave me an extra little tail to glue down to the board to ensure it was secure.
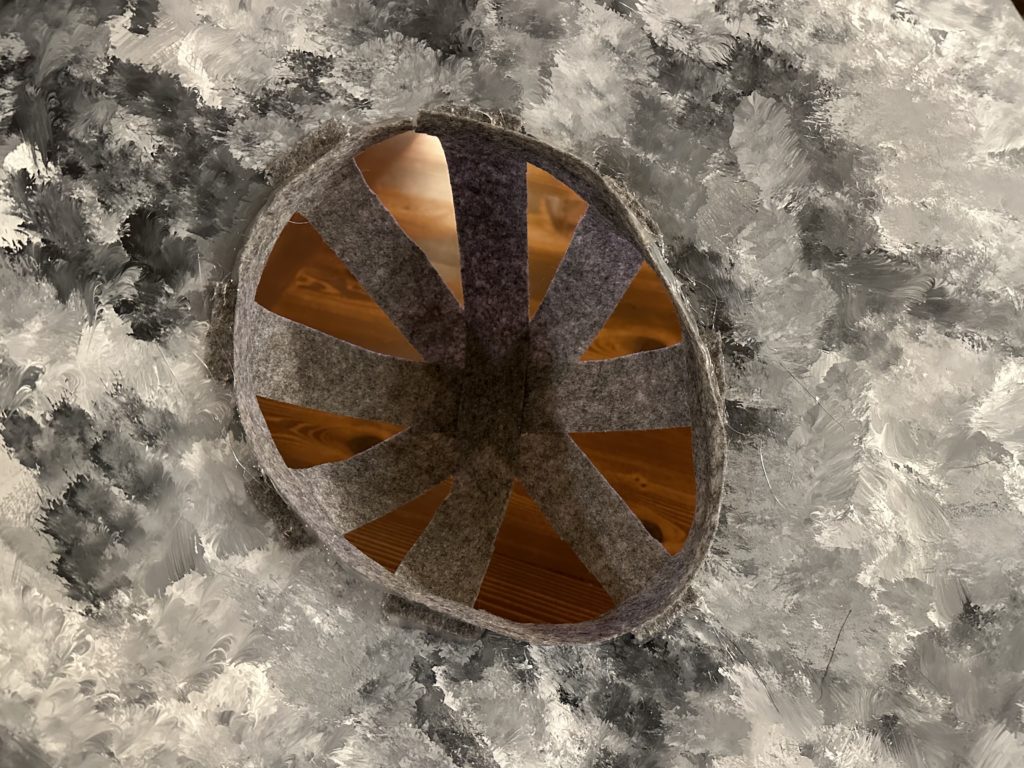
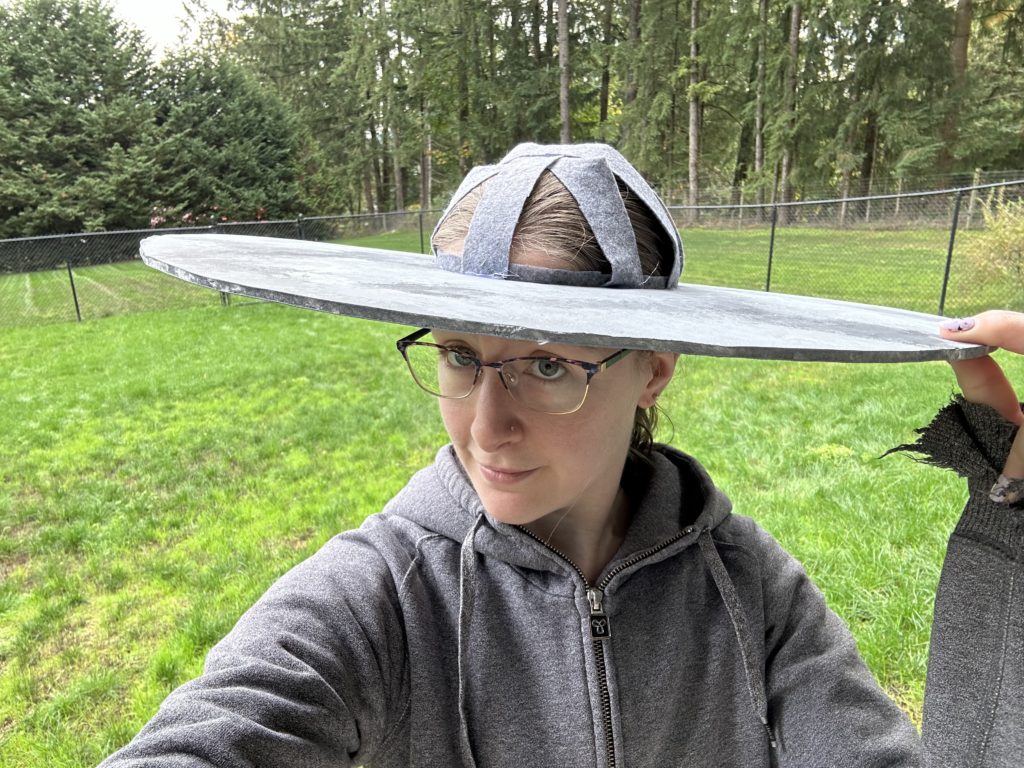
Once that was in place, I took another long strip of felt and glued it all the way around the inside edge of the board so that it would provide some soft padding against my head. Finally, my wide brimmed hat was complete! It was time to start on the lights and cloud fluff.
I used two strands of teeny tiny LED battery operated lights. You can typically find them at places like Walmart or a dollar store for about $2-$3 each. I usually see them with the Christmas decorations, which of course are on display WEEKS before Halloween, so they should be readily available!
I made sure to put fresh batteries in each of the lights (2 AAs each) and tested them to see if they were working. Then I taped one battery pack to the top left edge of the brim, and one to the right, making sure that the little switch was facing outwards. I placed them this way so that the weight was evenly distributed on either side, and the switch would be easily accessible to turn the lights on and off.

After the battery packs were secured, I flipped the hat upside down. I put some crumpled newspaper into the head hole to try and prevent it from getting covered in excess spray glue. I didn’t really fancy getting my hair stuck to it when I tried it on.

I took a can of spray glue and sprayed it directly onto a small section of the board. Next, I took a small clump of poly-fil, stretched it out, and stuck it on top of the glue. I found it better to work in small sections as the glue dries fairly quickly.
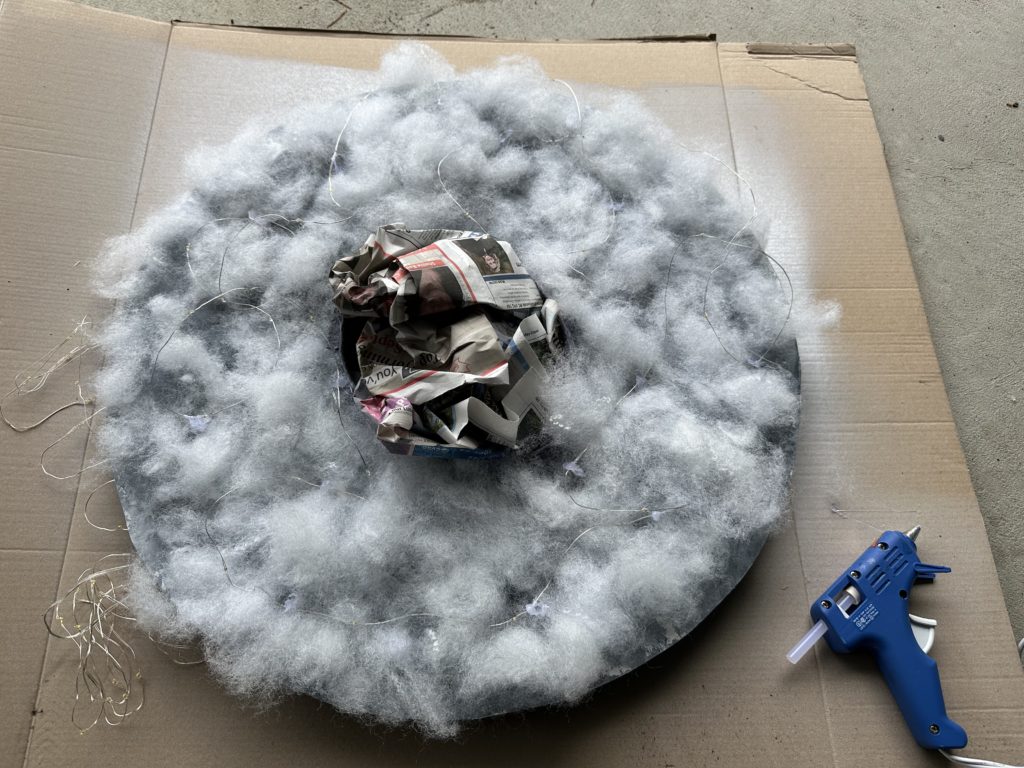
Once I had a thin layer of poly-fil over the whole surface, I placed one of the strings of lights on top and adjusted it to get the lights as evenly spread out as possible. The lights weren’t staying in place super well, so I used a hot glue gun to tack down the strands in a few spots to prevent them from springing up.
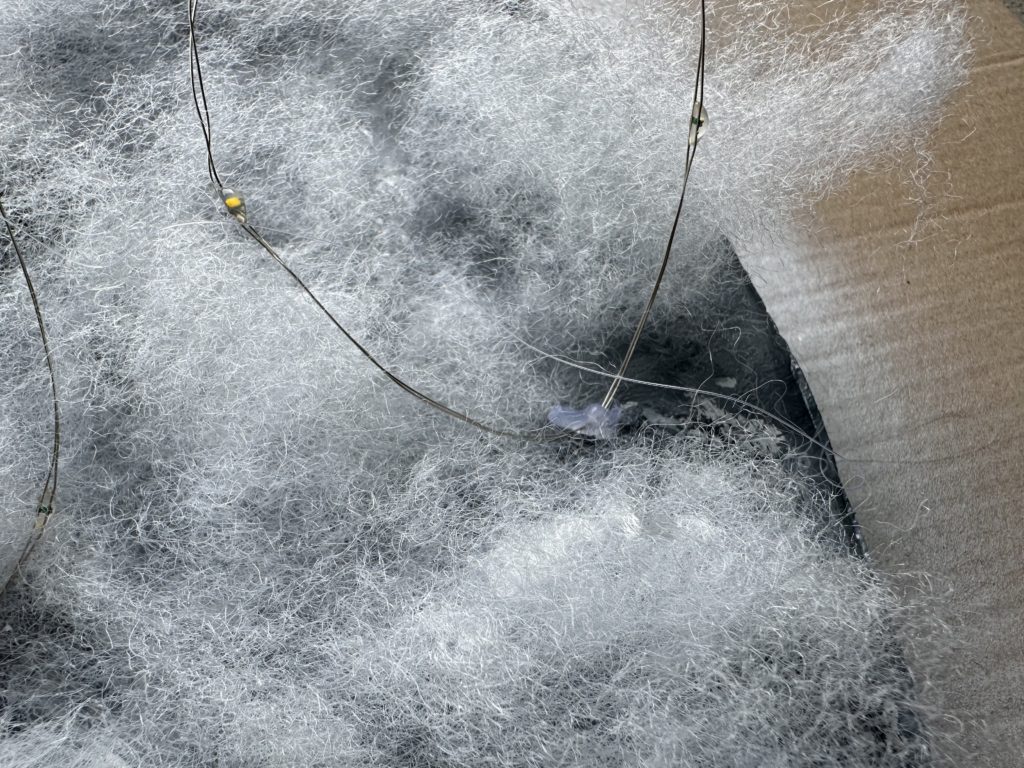
Next, I applied another layer of spray glue and poly-fil over the whole thing so that the lights were sandwiched between two layers of poly-fil. I left the hat to dry for a little while and then flipped it over and did the same thing to the other side.

It’s definitely a messy process. My hands were very tacky and fluffy by the time I was done. Pro-tip: use a bit of rubbing alcohol on a piece of paper towel to clean the glue off your hands. It comes off super quick and easy!
When the glue was completely dry, I tried on my hat to check the overall shape. I ended up filling in a few spots that were a bit thin, and added some extra fluff around the edge. You can make your cloud as fluffy as you want to, just be sure to keep the switches for your lights accessible!

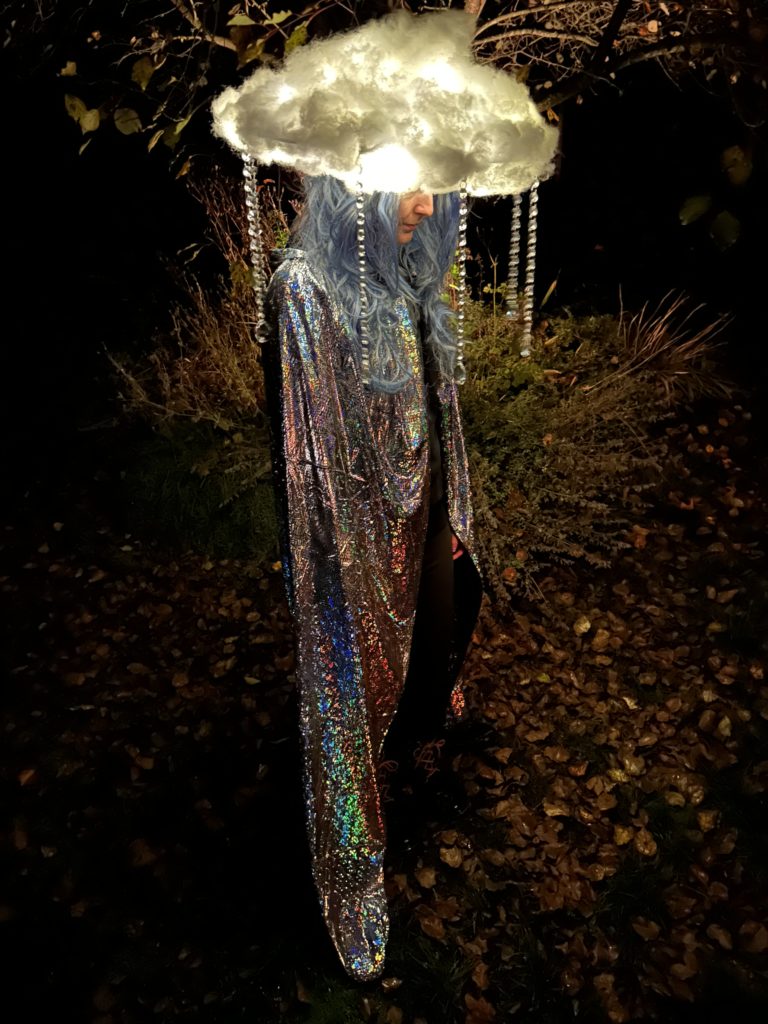
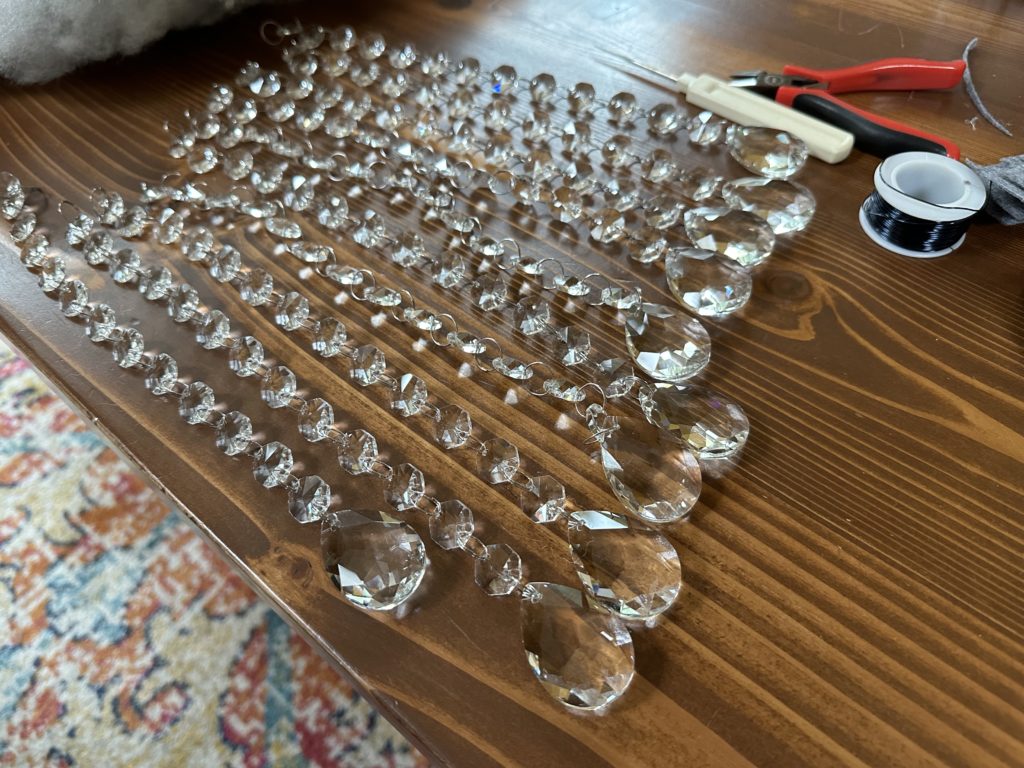
Now it was time for my favourite step – attaching the crystal raindrops! I ordered a 12-pack of these chandelier crystals off amazon for about $20.00. I had hoped to find something cheaper, but didn’t have much luck. They are quite pretty though and I plan to re-use them as Christmas decorations in future.
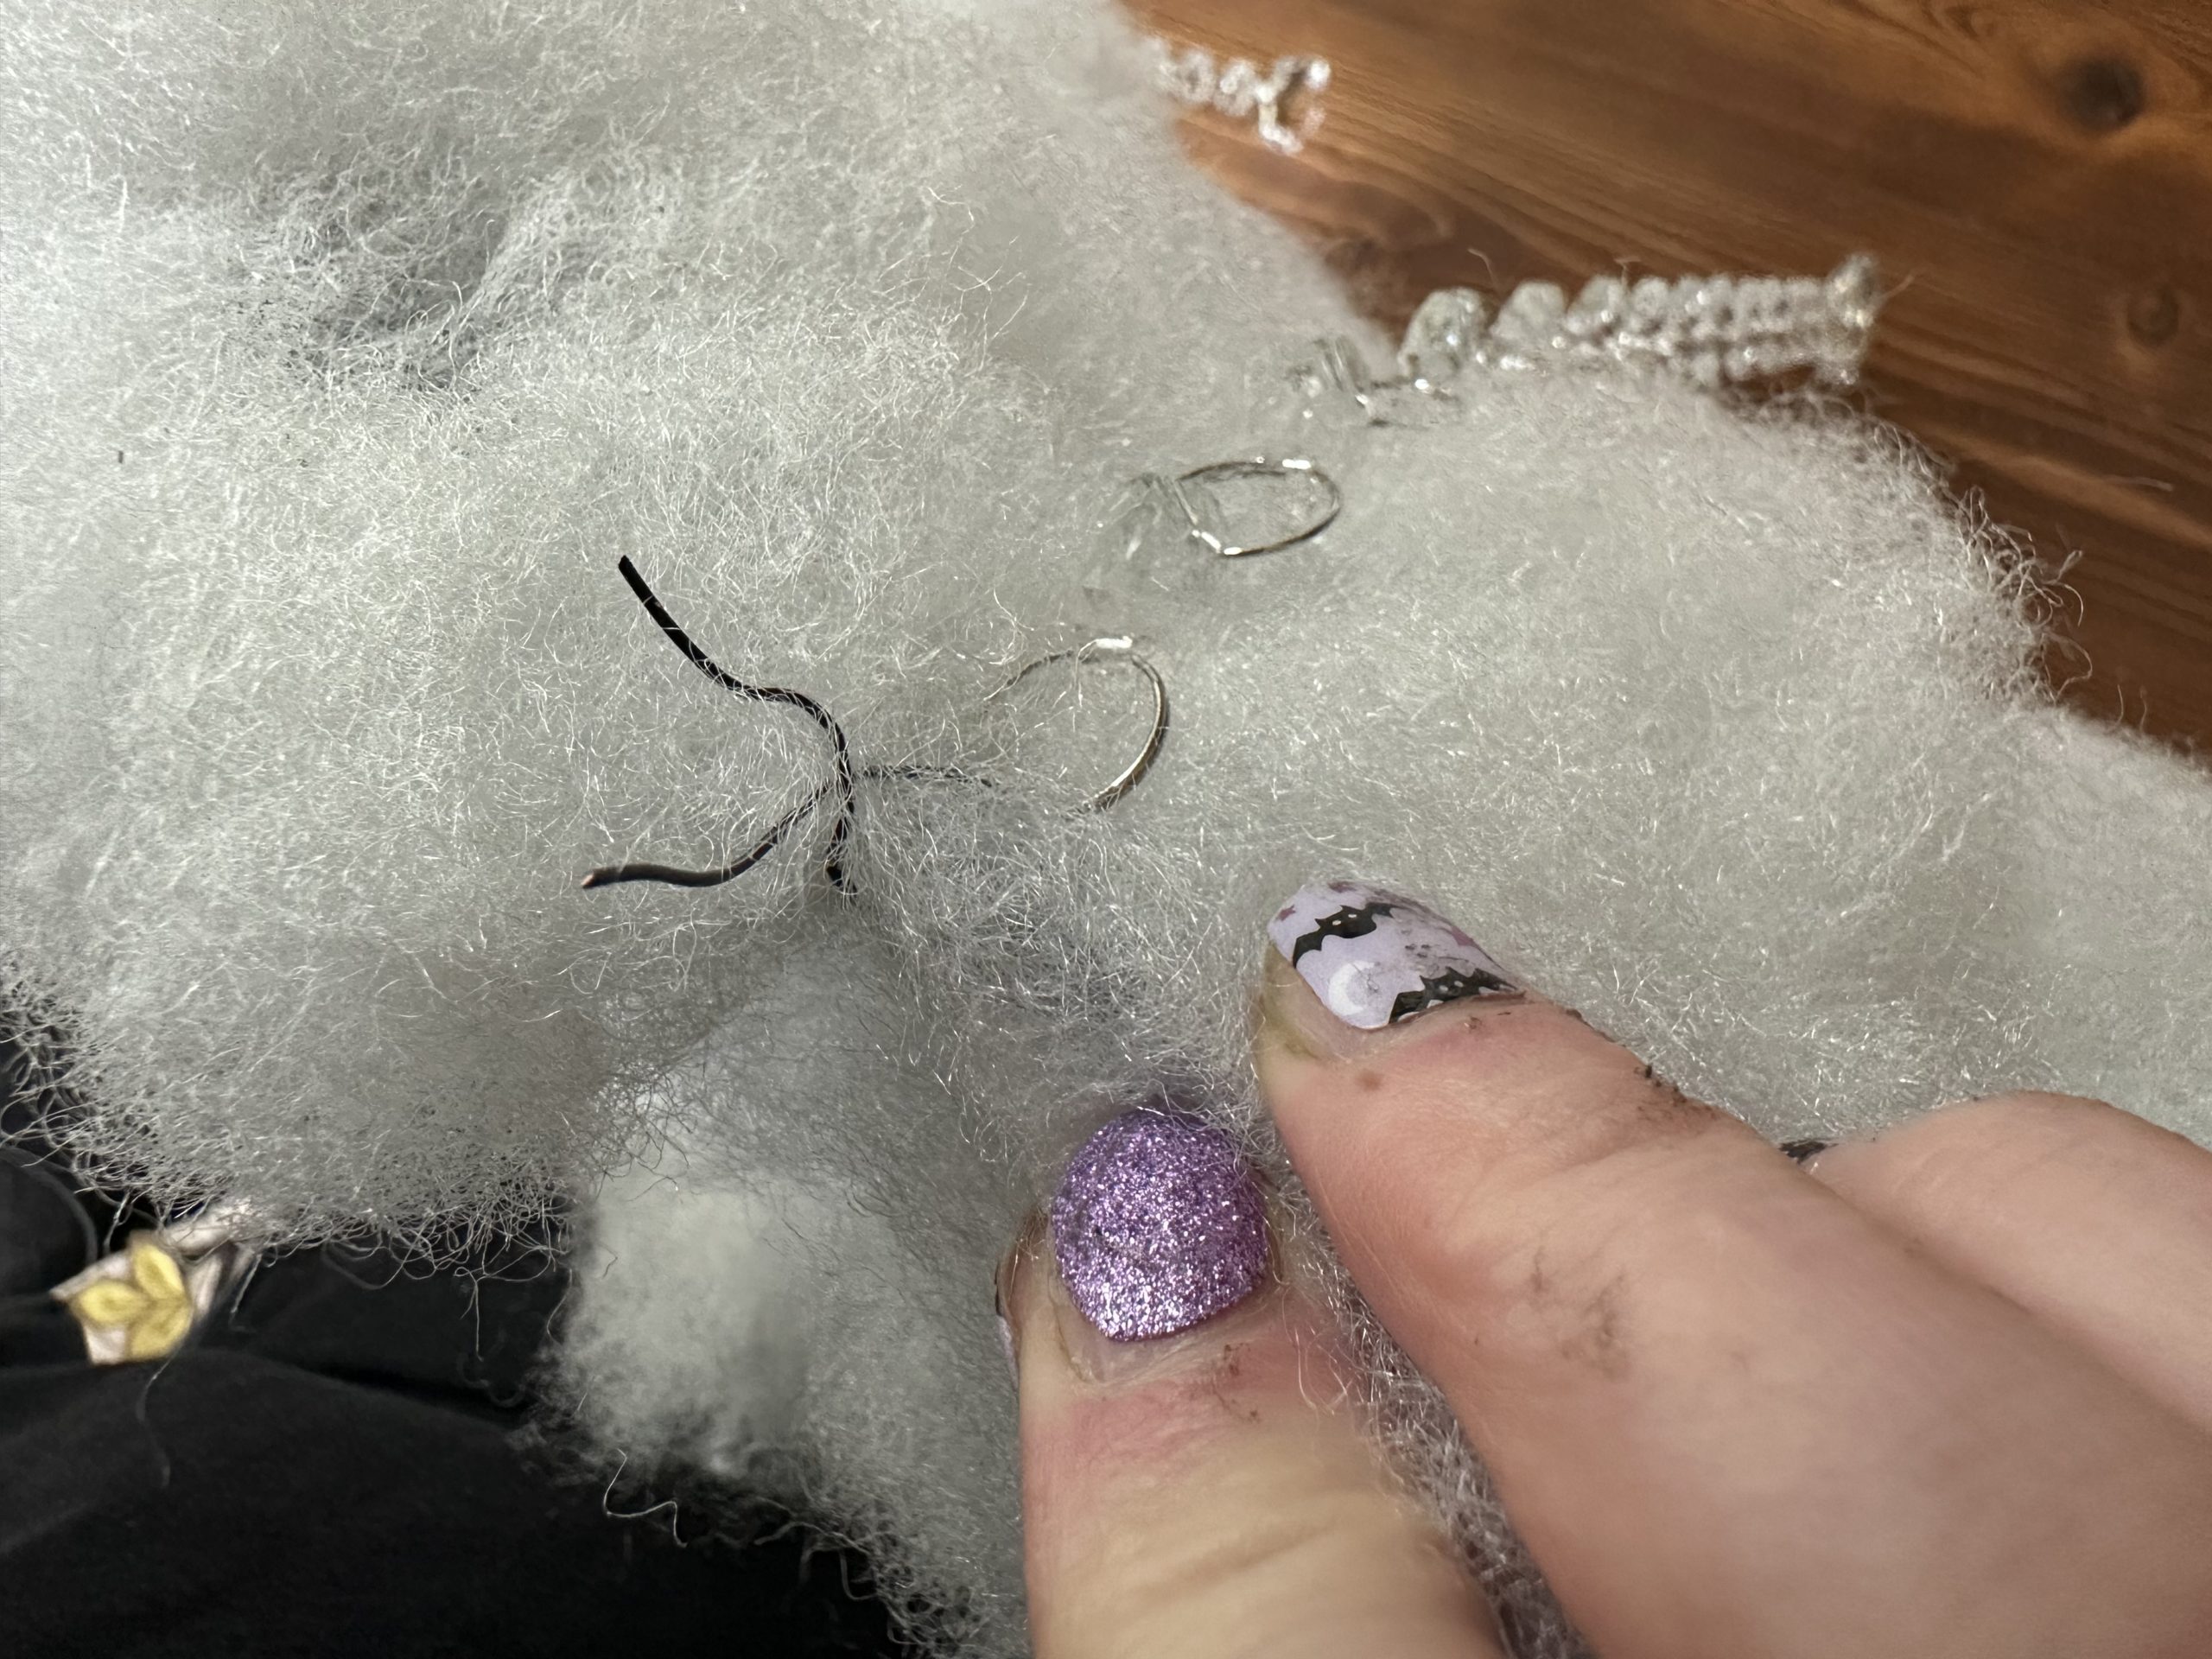
To attach them, I simply poked some holes around the edge of the brim and tied the ends on with some small pieces of wire (twist ties would work nicely too).
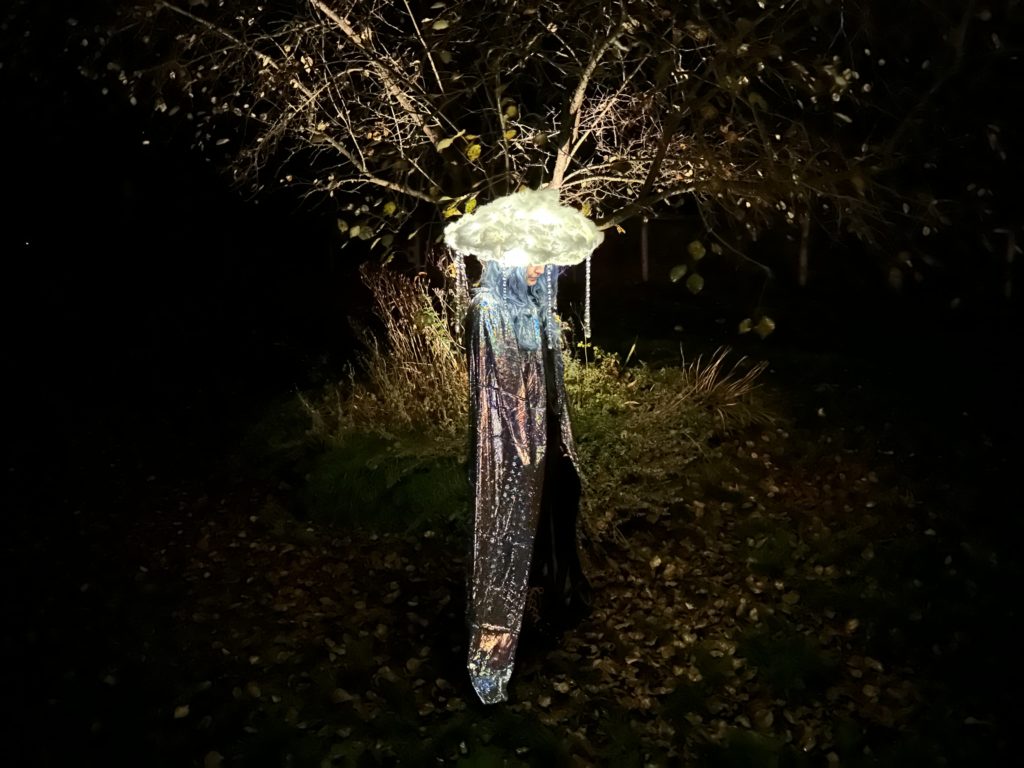
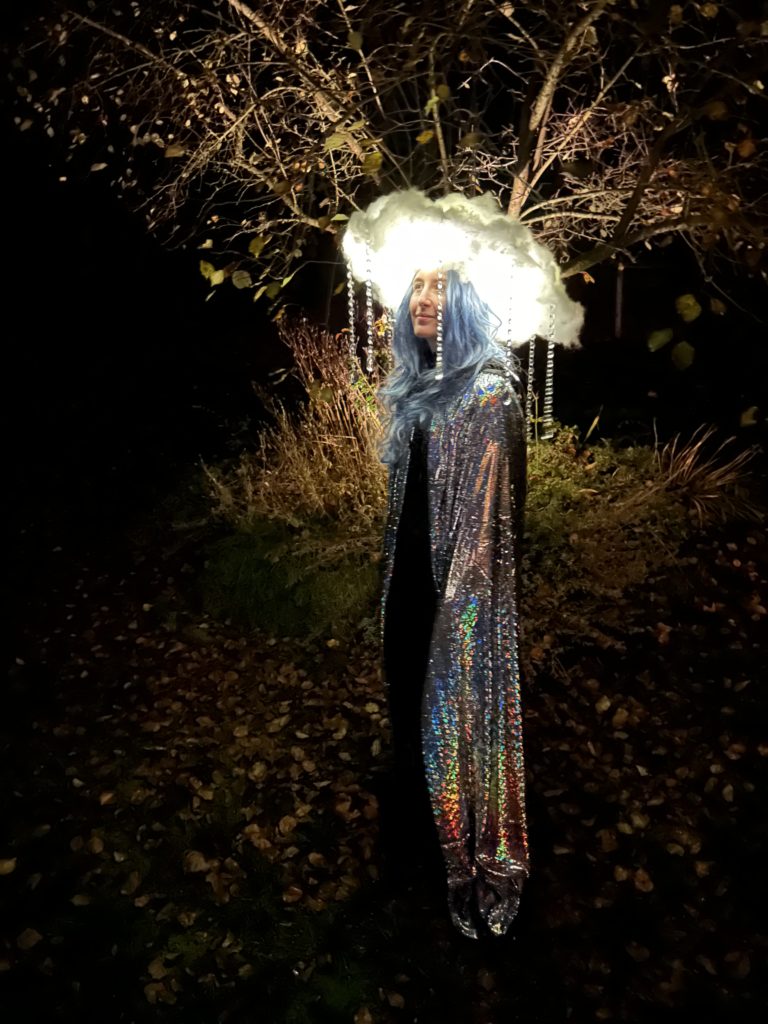
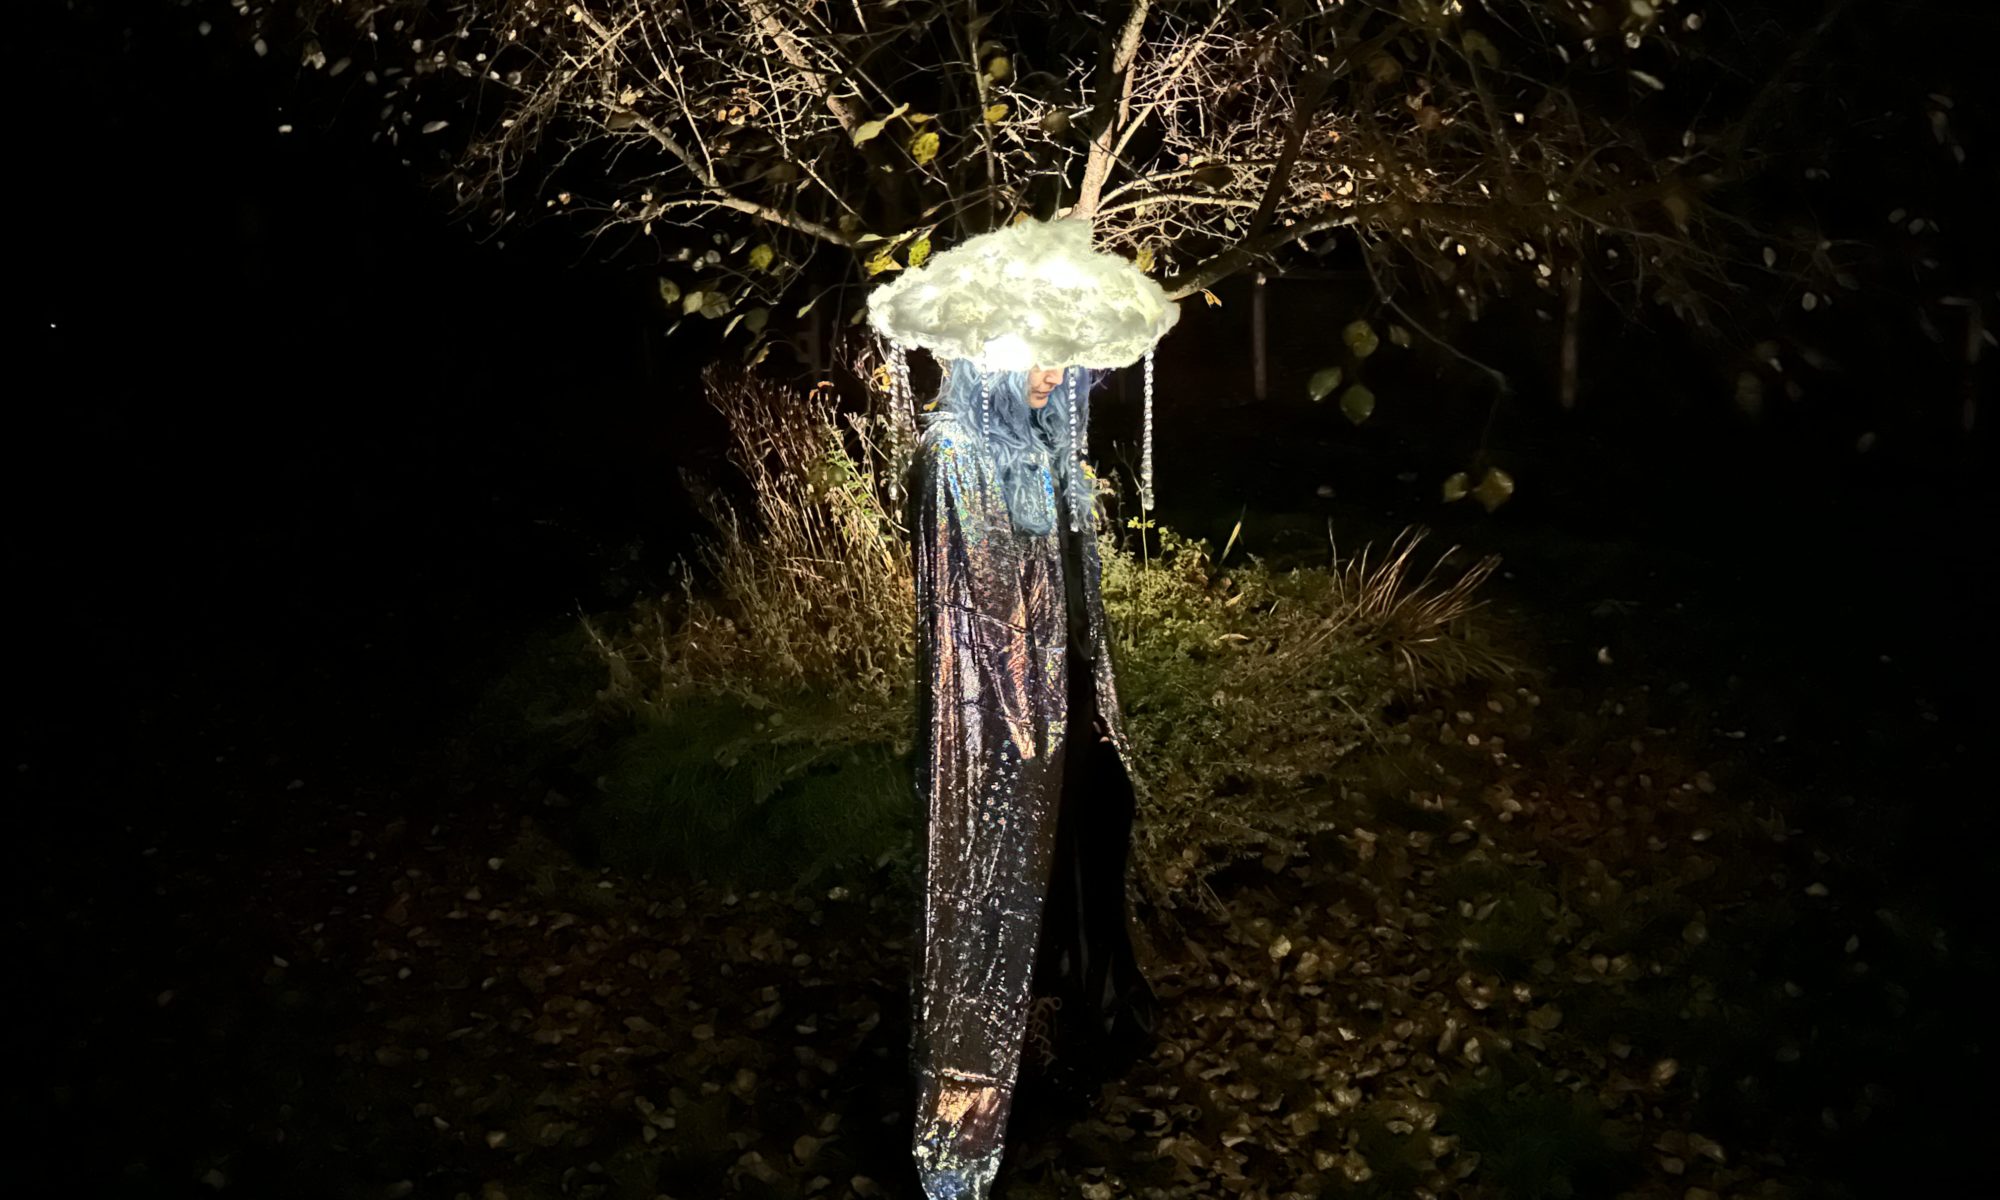
Et Voila! After years of dreaming, my light up cloud costume was finally complete! I was so happy with the end result. It turned out better than I had hoped and it was a really fun project to work on.

I bought a cheap blue wig and a silver cape to complete my raincloud ensemble. I think my niece was sufficiently impressed, although the final votes for the costume contest won’t be cast until Halloween night, so we’ll just have to wait until then to find out who the winner is!