
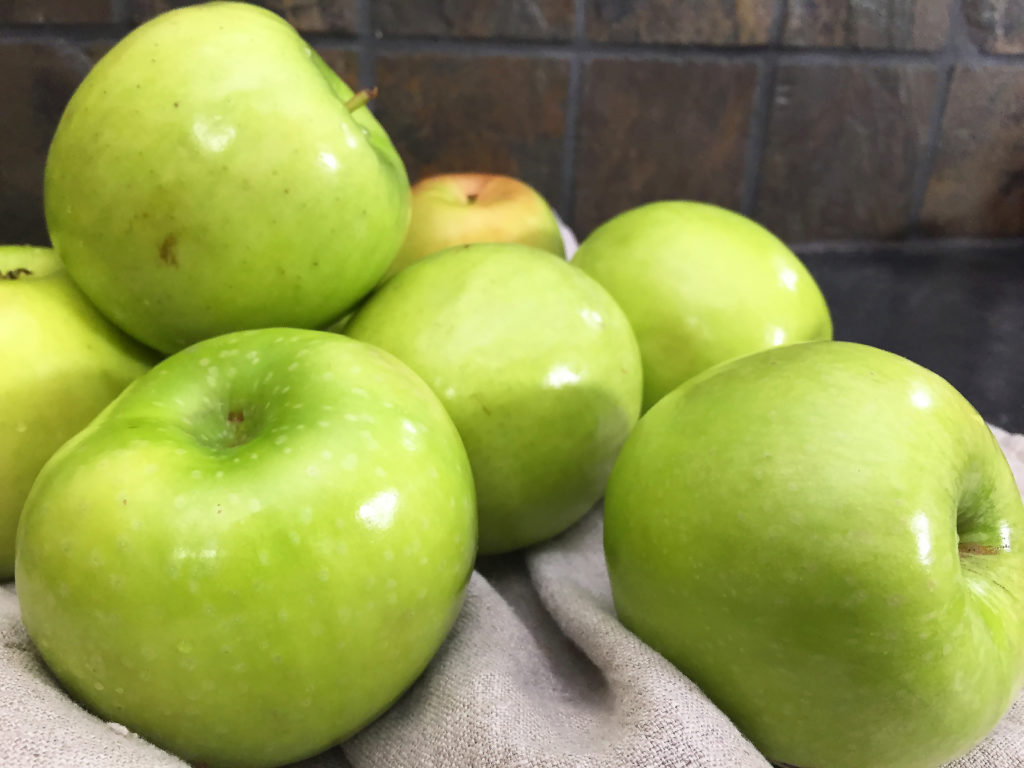
The transition from summer to fall is always a bittersweet moment for me. I’m never ready to say goodbye to long, warm summer nights, but I also can’t wait to start baking fall recipes, like this scrumptious apple cobbler.
This apple cobbler gives you all the deliciousness of an apple pie without the added effort of rolling and cutting out a pie crust. I’ve modified the recipe ever so slightly from this version of Martha Stewart’s Apple Cobbler.
Now, before I get too much into the recipe, let’s talk about butter for a minute. Something I’m always guilty of is using salted butter in recipes that call for unsalted. I almost always just buy the salted variety, so if a recipe calls for unsalted, I just reduce any extra salt from the recipe or omit it all together.
The reason a lot of recipes call for unsalted butter is that it gives you more control over the flavour. Different brands of butter contain different amounts of salt, so it gets tricky trying to gauge how much extra salt should be added to your recipe. Using unsalted butter takes away a lot of this guess work. However, when it comes to browning butter, I wasn’t sure whether using salted or unsalted would make much of a difference. Since this recipe calls for browned butter, I stopped to do a little bit of research.
Butter is basically a combination of water, fat and milk solids. When you start cooking butter, the water starts to evaporate and the milk solids start to brown and caramelize giving the butter a nice nutty flavour. When you use salted butter, the salt gets concentrated in with the milk solids, giving the impression that you have more delicious browned butter bits than you actually do. Apparently it is also easier to burn salted butter.
What it seems to boil down to is that sticking with unsalted butter is the more ideal approach. However, I’m quite confident the world won’t come crashing down if you use the salted variety (although some might argue otherwise). After all, if you’re in the mood to bake and don’t have what you need on hand, I would still rather bake with salted butter than not bake at all.
Now back to the recipe…so after doing my research I did still only have salted butter on hand. So as usual, I used that and omitted the salt altogether. It still turned out great, so if that’s all you have on hand, just go for it.
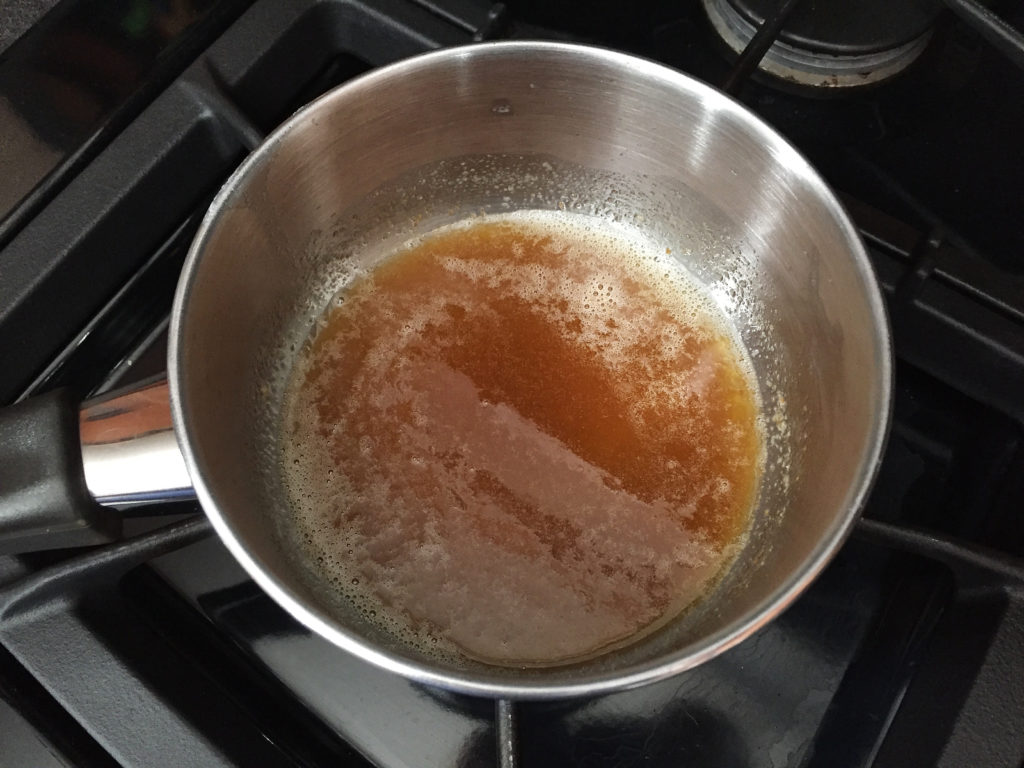
To brown the butter, you want to keep it over a medium-low heat. It should take about 8-10 minutes to brown nicely. It will start to bubble and go kind of foamy. You really want to keep an eye on it to make sure it browns but does not burn. Once it’s browned you can set it aside to cool for a few minutes and work on the rest of your apple mix.
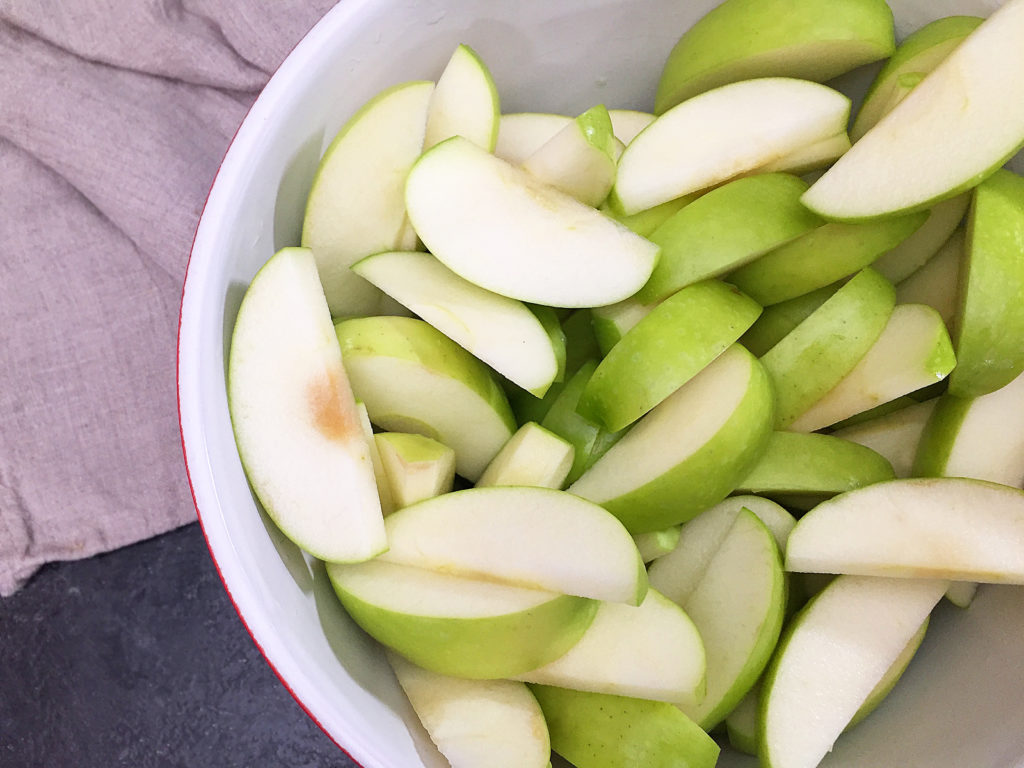
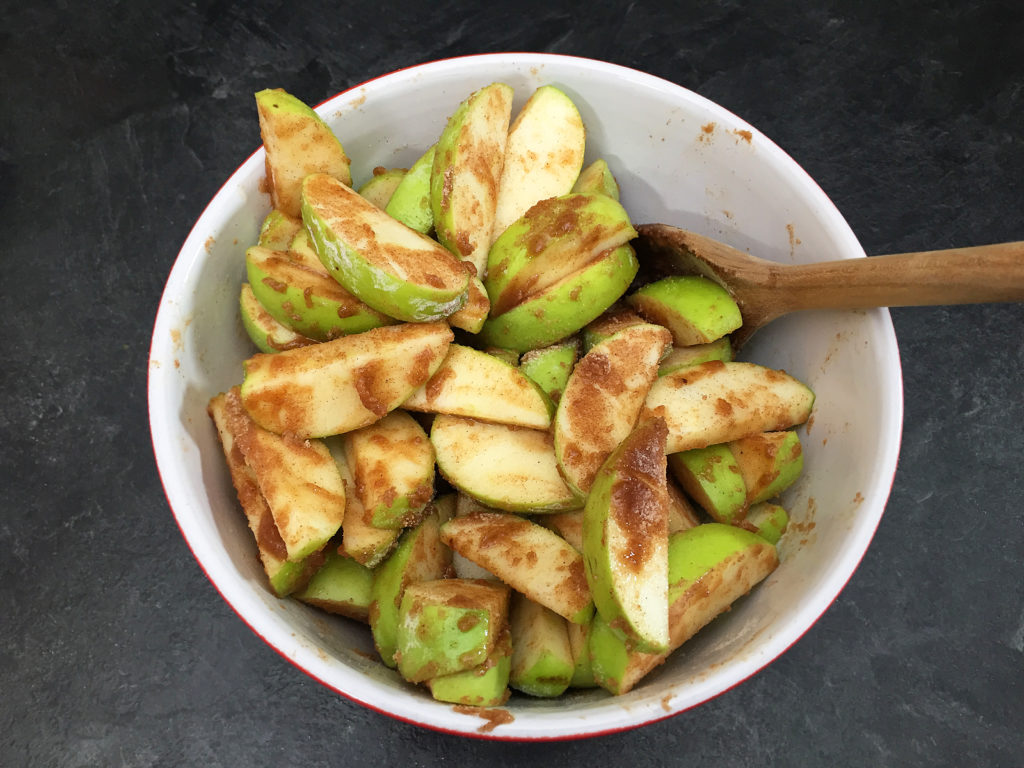
The filling takes no time to prepare – everything just gets tossed together in a large bowl and then dumped into a baking dish. The most awkward part is making sure you have a large enough bowl to mix everything up effectively. I mixed it up as best I could, in the largest bowl I have, but still had to give it an extra stir once it was in the baking dish and I had more room.
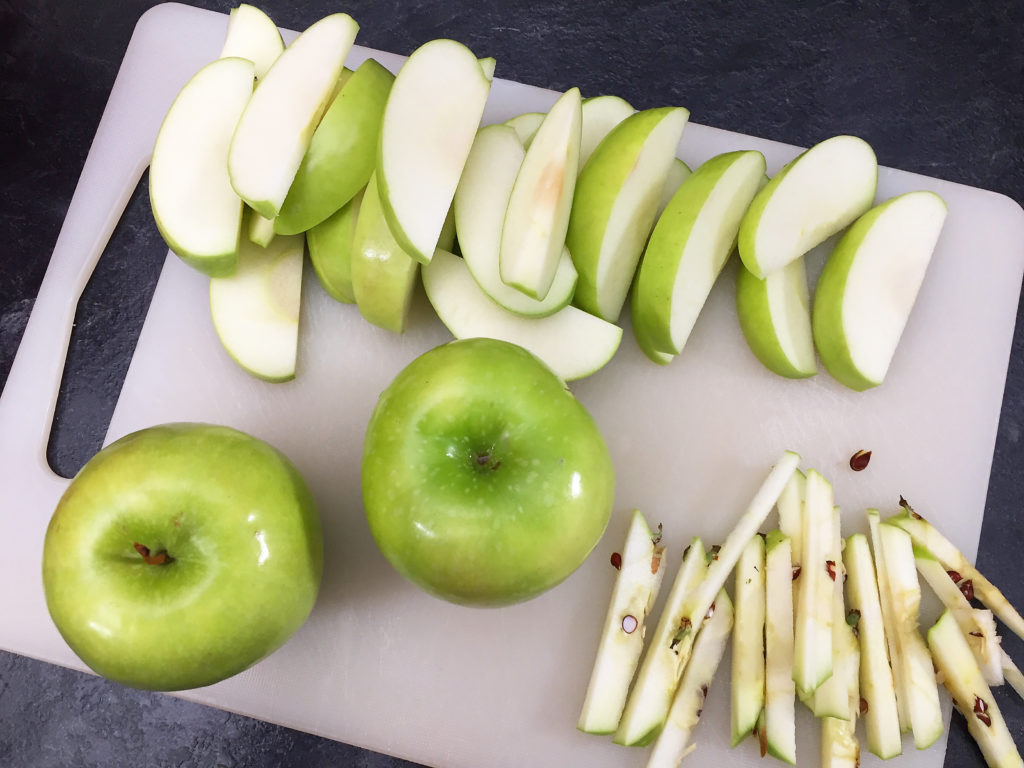
The recipe says to bake the apples covered for 10 minutes before putting the topping on. I sliced my apples thinner than recommended, so I don’t know that this step was necessary (in the end they turned out a bit softer than I would prefer). However, if I’d cut the apples thicker they might have benefited from this 10 minutes of baking.
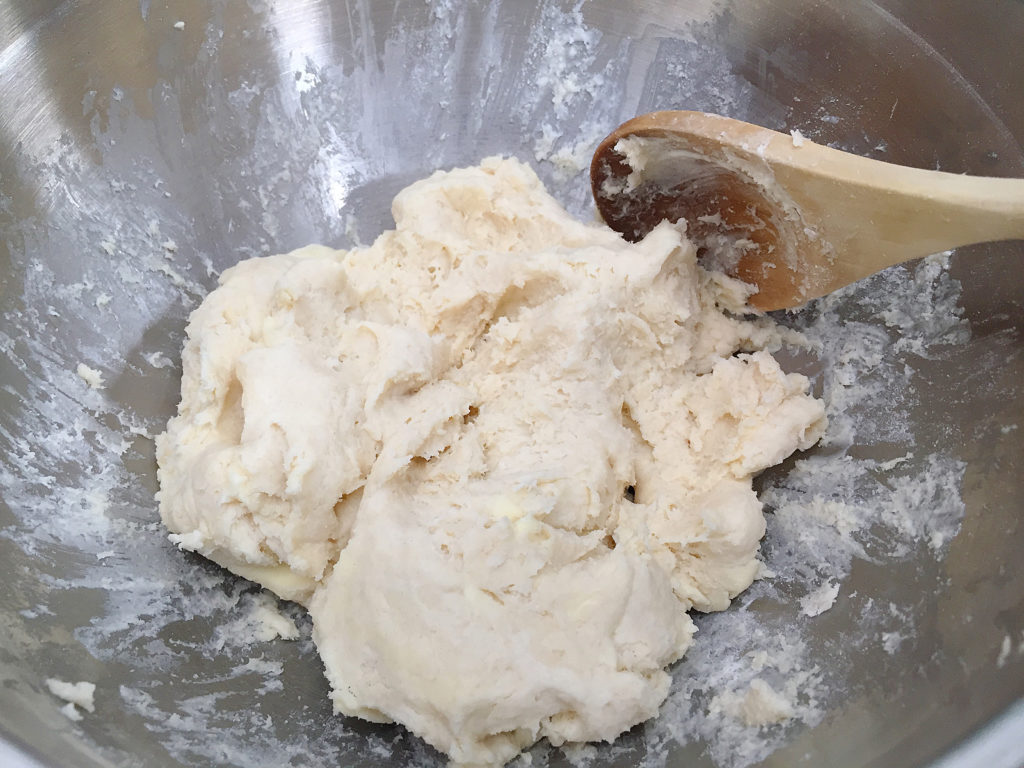
While the apples were in the oven, I started prepping the dough. The dough is also quite simple to make. Whisk your dry ingredients together in a bowl, cut in your butter, and then add the cream. You end up with quite a thick sticky dough.
The originally recipe wasn’t too clear about what to do with the dough topping. It said to divide it into 10 equal pieces and arrange on top of the apples. I wasn’t sure how much it would spread so I flatted the dough roughly into discs and left some spaces in between.
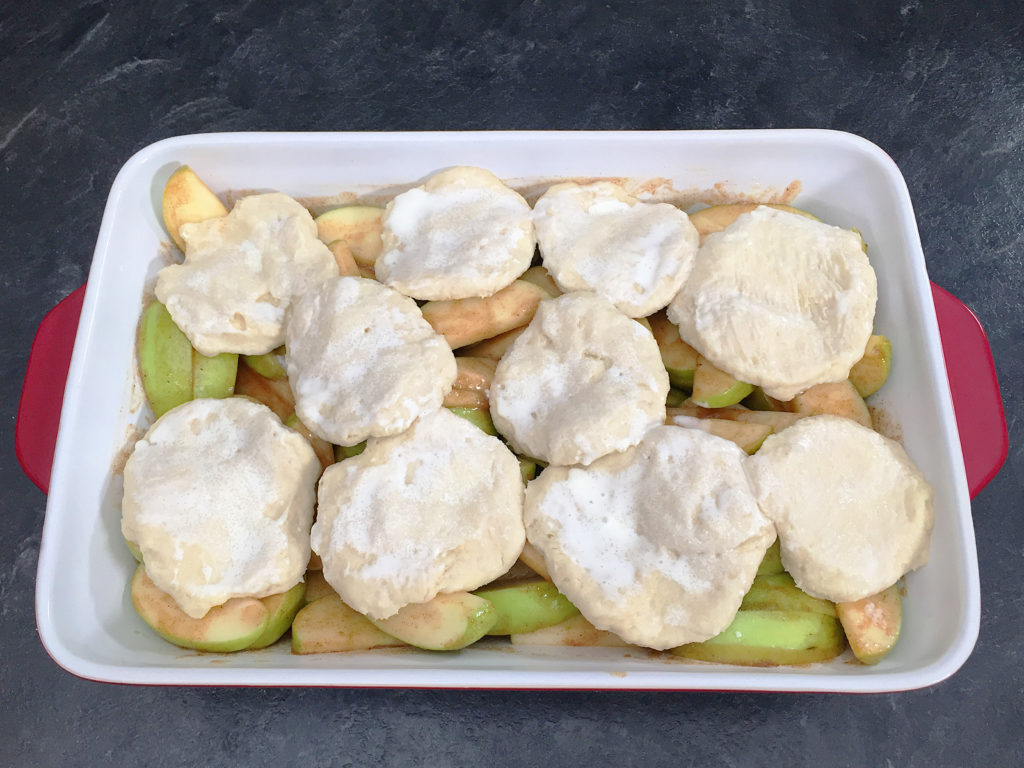
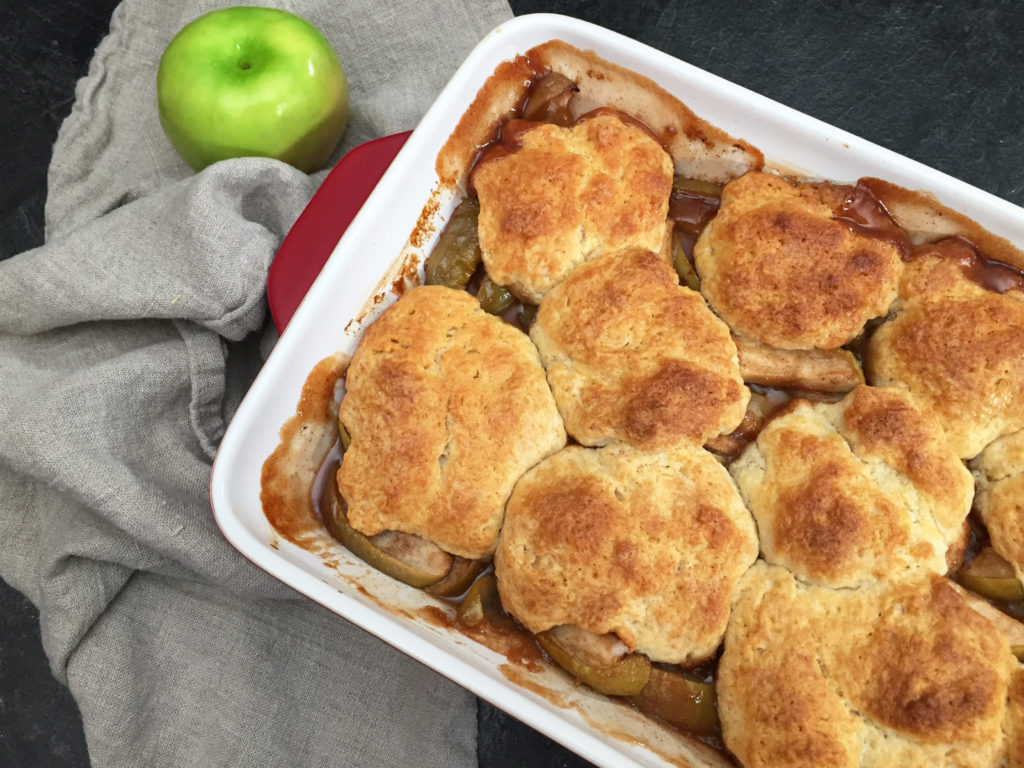
As you can see from the before and after, the dough did rise and spread a bit, but not as much as I thought. Next time I would spread the dough out more so that it covers the whole top.
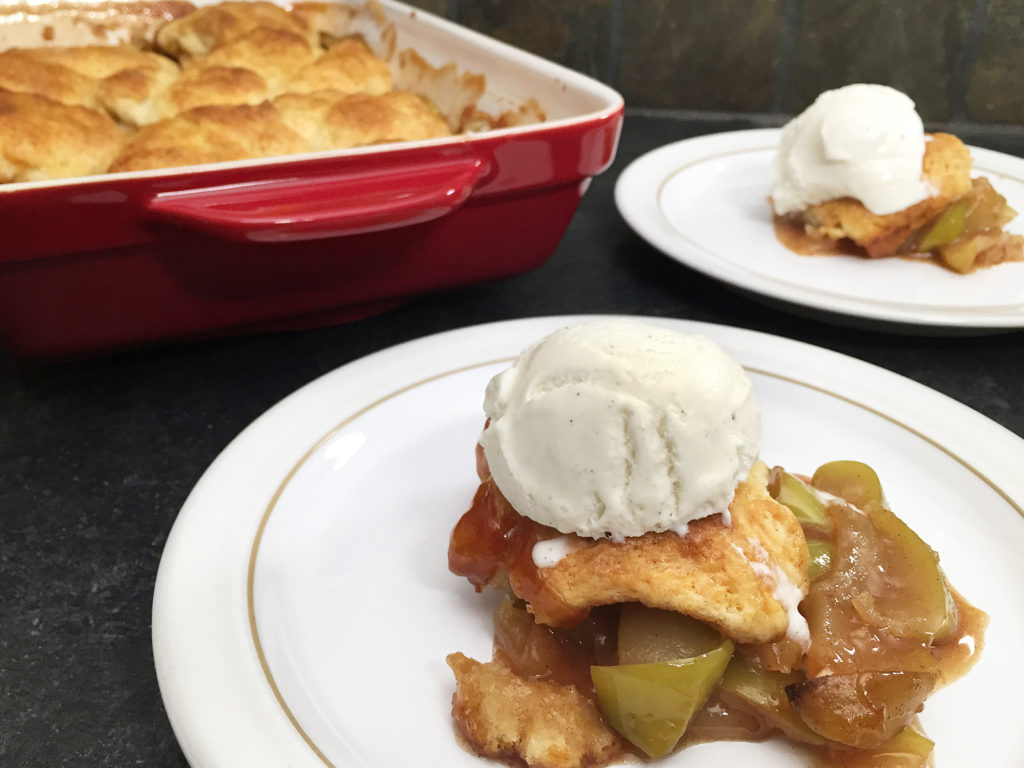
The filling was quite juicy which I didn’t think I would like at first but it worked really nicely with the dough topping. As I mentioned earlier, I cut my apples thinner than recommended so I found them to be a little softer than I would prefer. I think cutting them into the recommended eighths would be better. If you prefer smaller apple pieces, perhaps skip the extra 10 minute bake time before you add the topping. I highly recommend serving it warm with a big scoop of vanilla ice cream on top.
Ingredients
Apple Filling
-
1/4 cup unsalted butter
-
1 tsp vanilla extract
-
6-7 Granny Smith apples (cored and sliced into eighths, optionally peeled)
-
1 tbsp fresh lemon juice
-
1/4 cup all purpose flour
-
1/3 cup granulated sugar
-
1/2 cup lightly packed brown sugar
-
1/2 tsp salt
-
1 tsp cinnamon
-
1/4 tsp nutmeg
Pastry Topping
- 2 cups all purpose flour
- 2 tsp baking powder
- 1/2 tsp salt
- 1/4 cup granulated sugar (plus a little extra for sprinkling on top)
- 1/2 cup cold unsalted butter
- 1 cup + 2 tbsp heavy cream (plus a little extra for brushing on top)
Method
Prepare Apple Filling
-
Preheat your oven to 375°F.
-
Brown the butter by heating it in small saucepan on medium-low heat until golden brown (about 8-10 minutes) and then set aside to cool.
-
Slice and core your apples (you can also peel them if you prefer), then toss with the lemon juice in a large bowl.
-
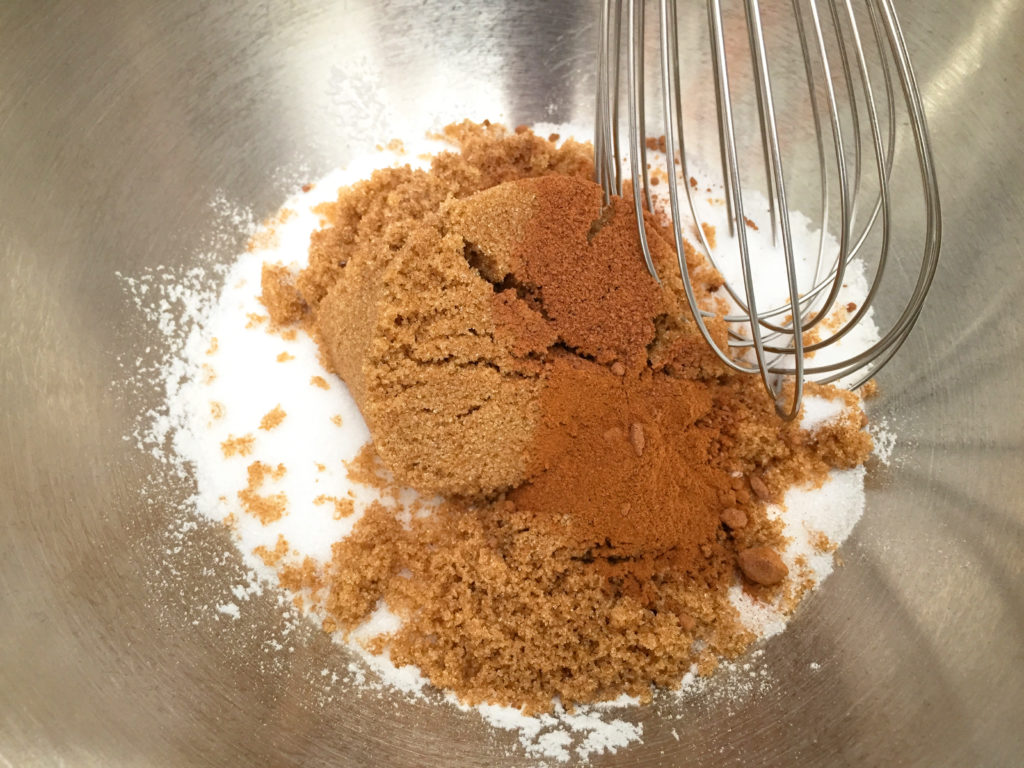
In a separate bowl, whisk together flour, granulated sugar, brown sugar, salt, cinnamon and nutmeg.
-
Stir the vanilla into the now cooled brown butter and then pour over apples.
-
Sprinkle your dry mix over the apples then stir until apples are evenly coated.
-
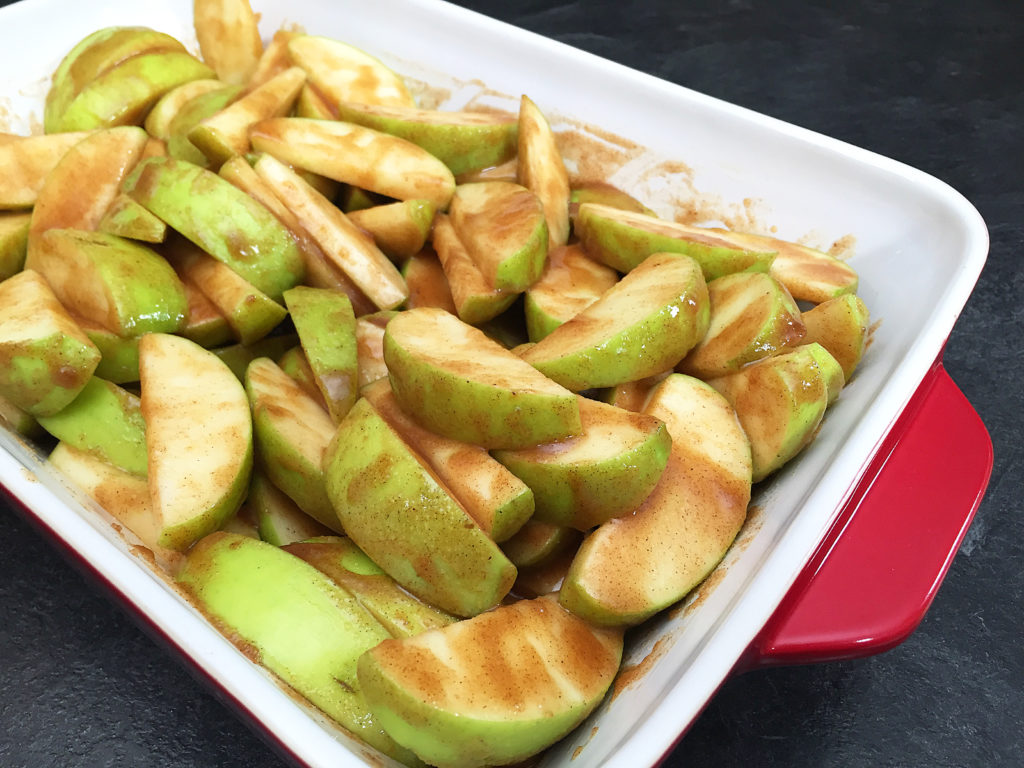
Transfer your apple mix to a 9” x 13” baking dish and cover with foil.
-
Bake the apples for 10 minutes and then remove from the oven (while the apples are baking, start preparing the topping).
Prepare Pastry Topping
-
Whisk together flour, baking powder, salt and granulated sugar in medium bowl.
-
Cut the butter into the flour mix with a pastry blender until the butter is in pieces roughly the size of small peas and the overall mixture resembles coarse crumbs.
-
Pour the cream into the flour mix and stir until combined (you should end up with a very thick sticky dough).
-
Divide the dough into 10 equal pieces, flatten them into rough disks, and arrange over the apples. Ultimately you want to cover all the apples, so you may need to stretch the dough a bit.
-
Brush the top of the dough with cream and sprinkle with sugar.
-
Return your baking dish to the oven, and bake for 50-60 minutes until the top is golden brown and juices are bubbling (if it looks like the top is browning too quickly, you can cover it loosely with foil).
-
Let cool for 20 minutes before serving.