I’m a big advocate of snacks. You see, I suffer from an extreme case of hangry-itis, which gives me about a 20 minute window from when I feel that first grumble in my tummy, to when I turn into a fully fledged demon, filled with rage and despair.
Collin discovered this fact quite early on in our relationship. He learned quickly that the best way to handle my beastly aggression was to quickly throw snacks at me (while maintaining a safe distance of course), and run as fast as possible in the opposite direction, until the sounds of my growling have gently subsided.
This is why I carry snacks with me all the time. I’m really just looking out for the safety and well being of the general public. So…you’re welcome.
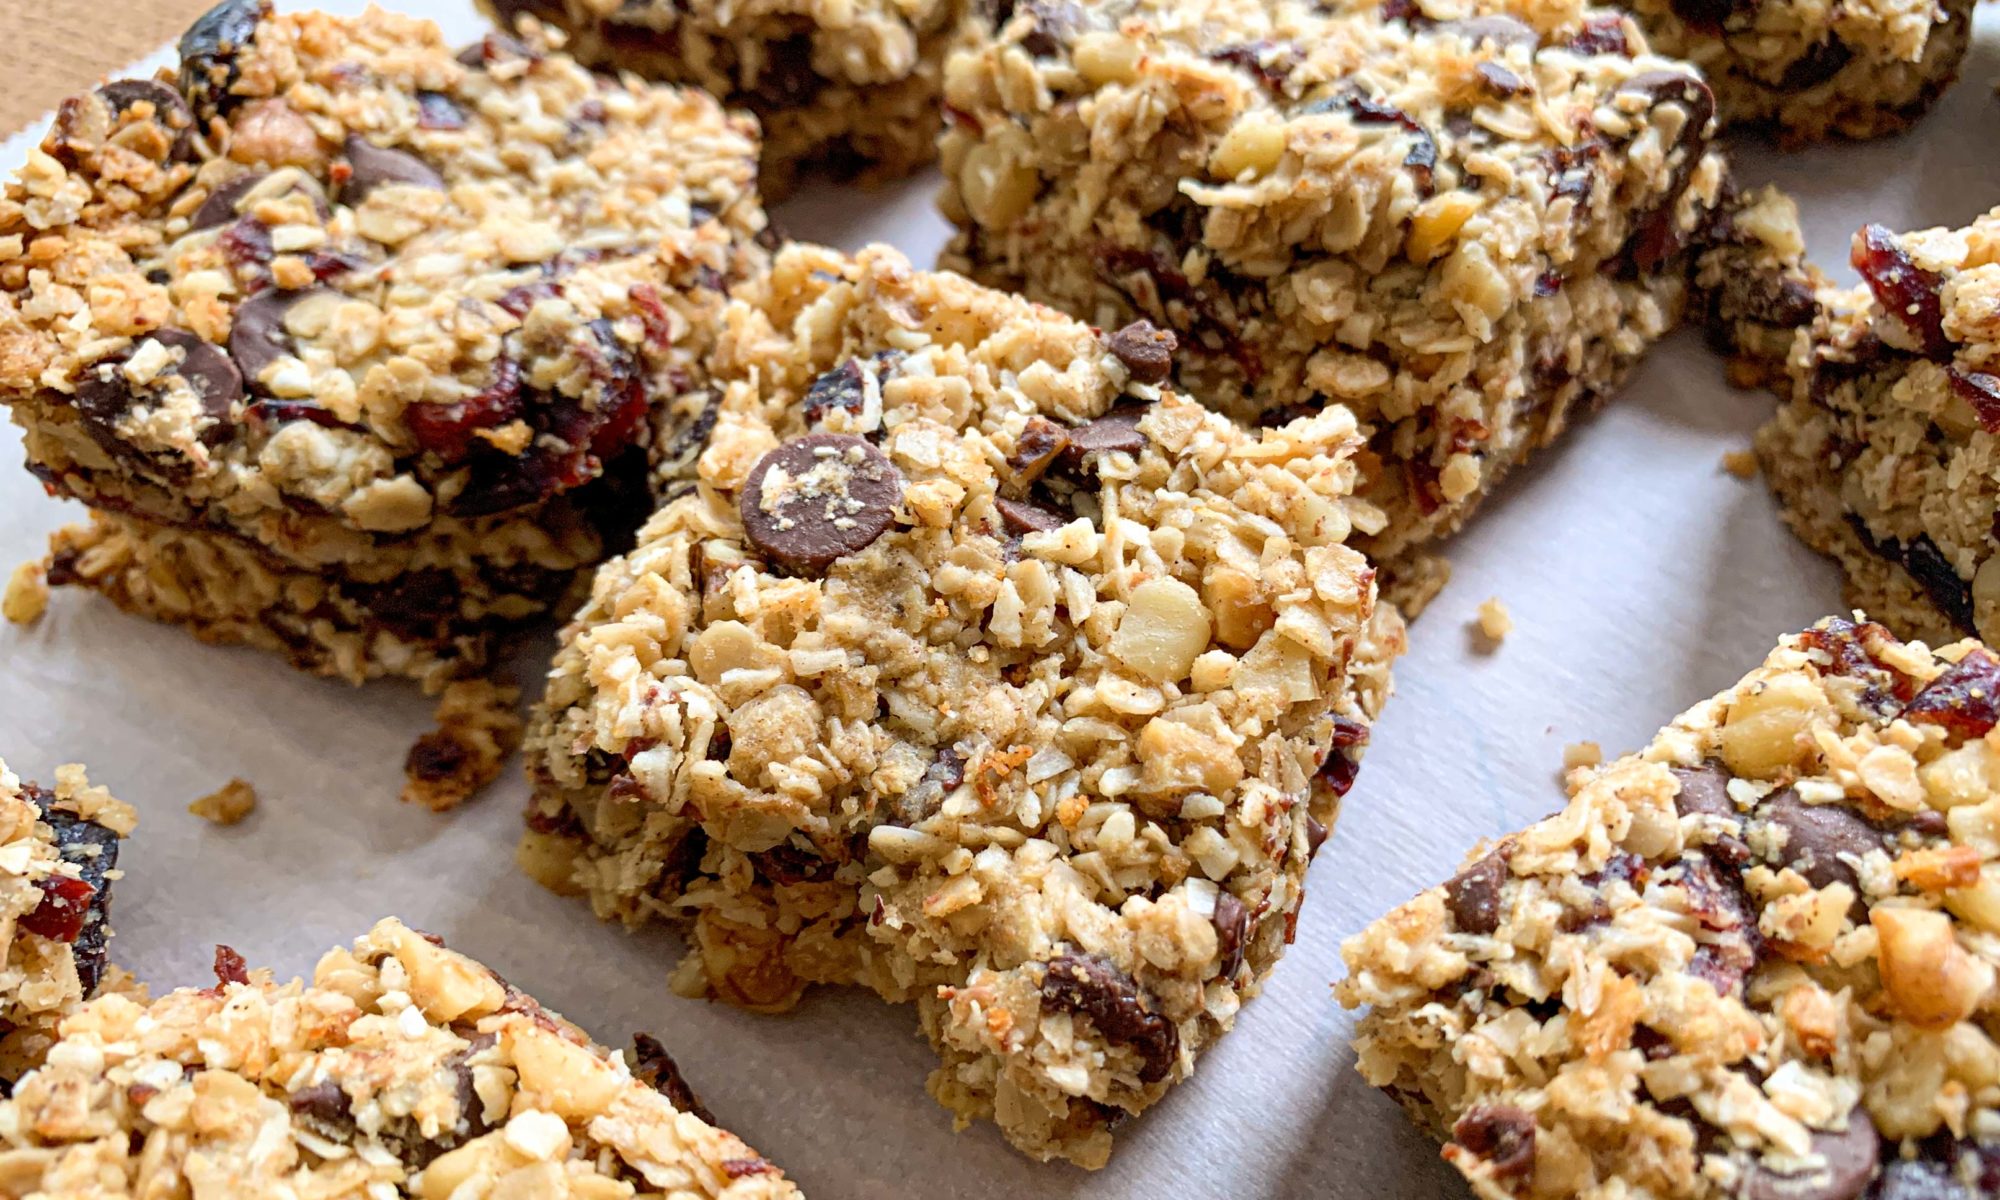
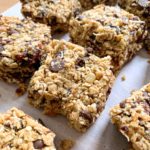
Granola bars are high up on my list of go-to snacks because they’re dry, portable, they don’t need to be refrigerated, and they’re easy to consume on the go. I realized the other day that I’ve never actually attempted to make a homemade granola bar before, so I thought I would give it a go.
I looked at a few recipes before deciding to try out these Chocolate Chunk Granola Bars from Smitten Kitchen. I liked the sound of them because I had all the ingredients on hand and I wasn’t going to have to go out and buy anything.
They can be made gluten or nut free if needed, but since that wasn’t a concern for me, I just went with whatever was in my cupboard. Here are the original ingredients and recommended substitutions:
- 1 1/4 cups rolled oats (can use gluten free if needed)
- 1/4 cup oat flour (or finely ground rolled oats)
- 3/4 cup dried unsweetened shredded coconut
- 1/3 cup uncooked millet (or quinoa, quinoa flakes, wheat germ or more oats)
- 1/2 teaspoon fine sea salt
- 1/4 teaspoon ground cinnamon
- 1 cup chopped dried fruit
- 1 cup chopped dark chocolate or chocolate chips
- 1/4 cup sunflower seed butter (or preferred nut/seed butter)
- 1/4 cup olive oil or coconut oil, warmed until liquefied
- 1/4 cup maple syrup, honey or golden syrup
I didn’t have any oat flour, so I just pulverized 1/4 cup of regular oats in the blender until they were powdered and used that. I also didn’t have any uncooked millet, but I did have 1/2 a cup of chopped and toasted walnuts left over from another recipe, so I threw those in, in place of the uncooked millet, to use them up.

For the chopped fruit, I used the remnants of two bags of dried cranberries.
Instead of sunflower seed butter, I used peanut butter, because we recently tidied our cupboards up and I found a total of three open and partially used jars kicking around. THREE!!! We’re animals, clearly.
I used olive oil because it’s what I had, but I do think I would have preferred the taste of the coconut oil.
Lastly I used honey as my syrup, because we also seem to have acquired a variety of types of honey, all of which I have opened and partially consumed. Really these granola bars should be named “clean-your-cupboards-and-use-up-the-scrap-baking-ingredient bars”.
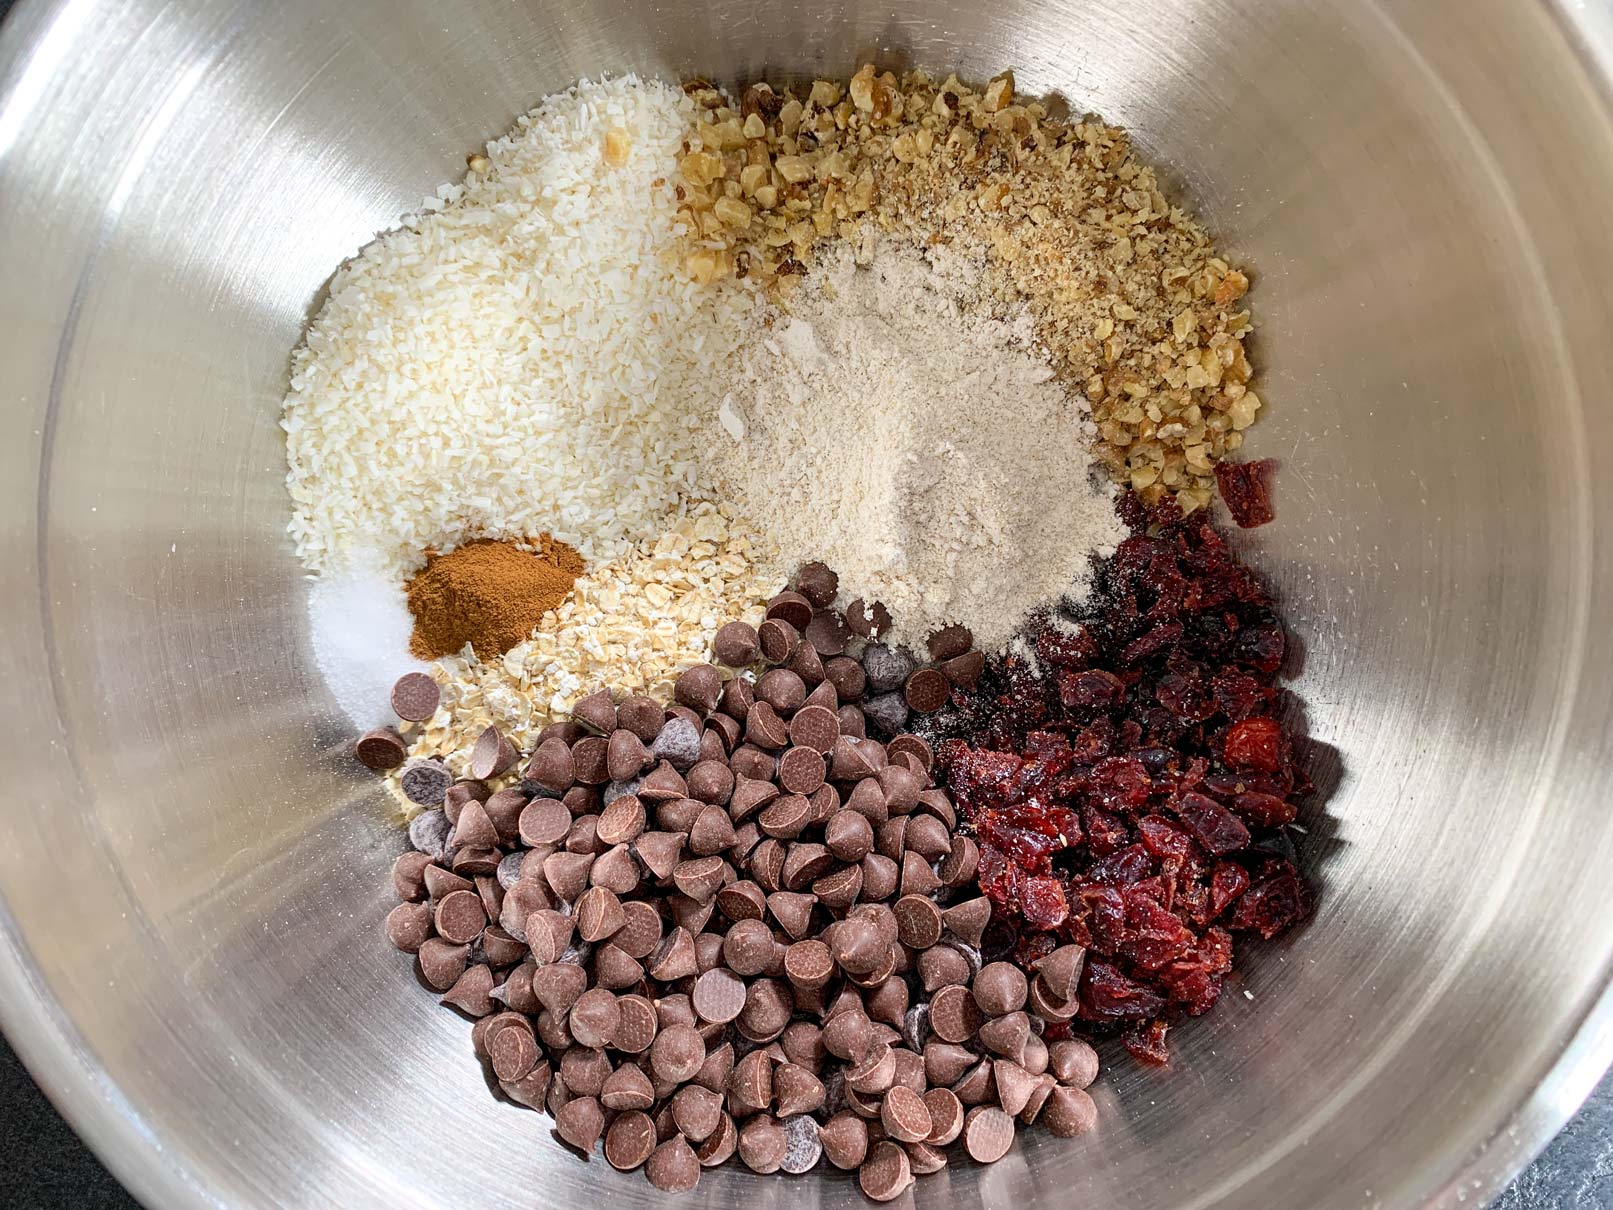
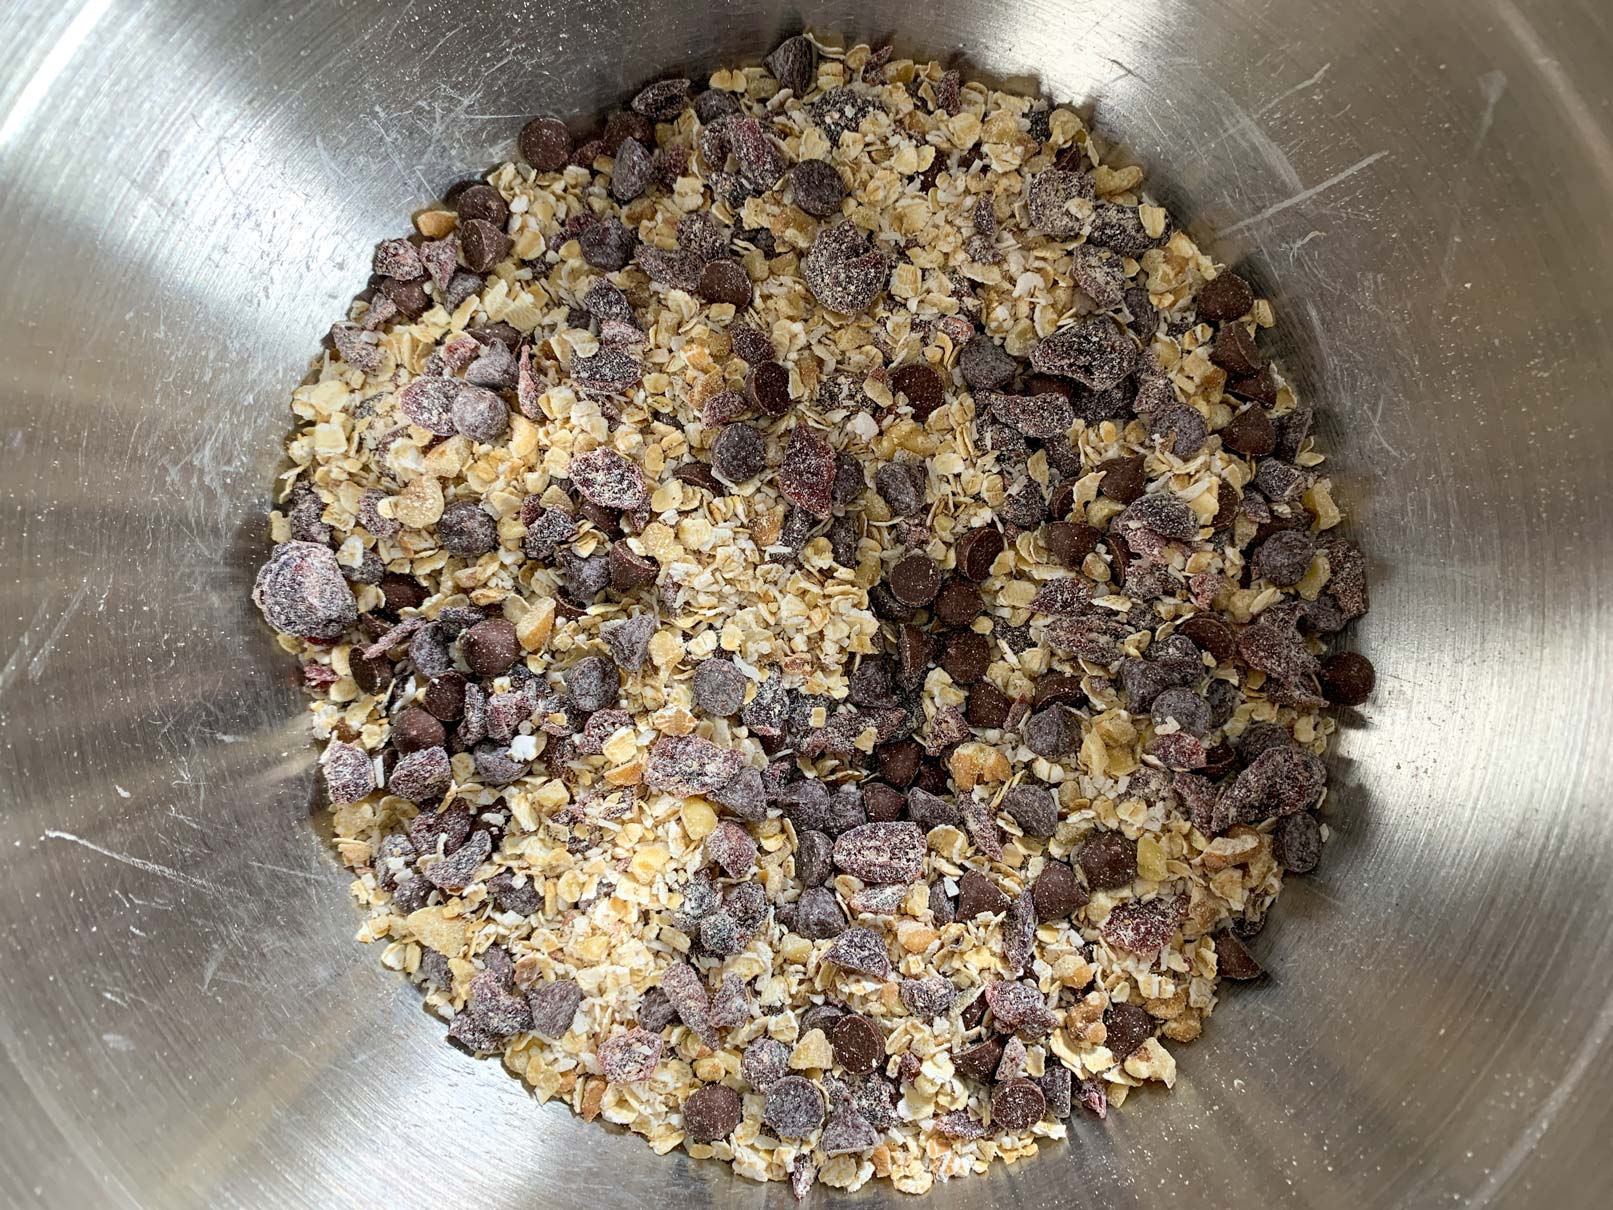
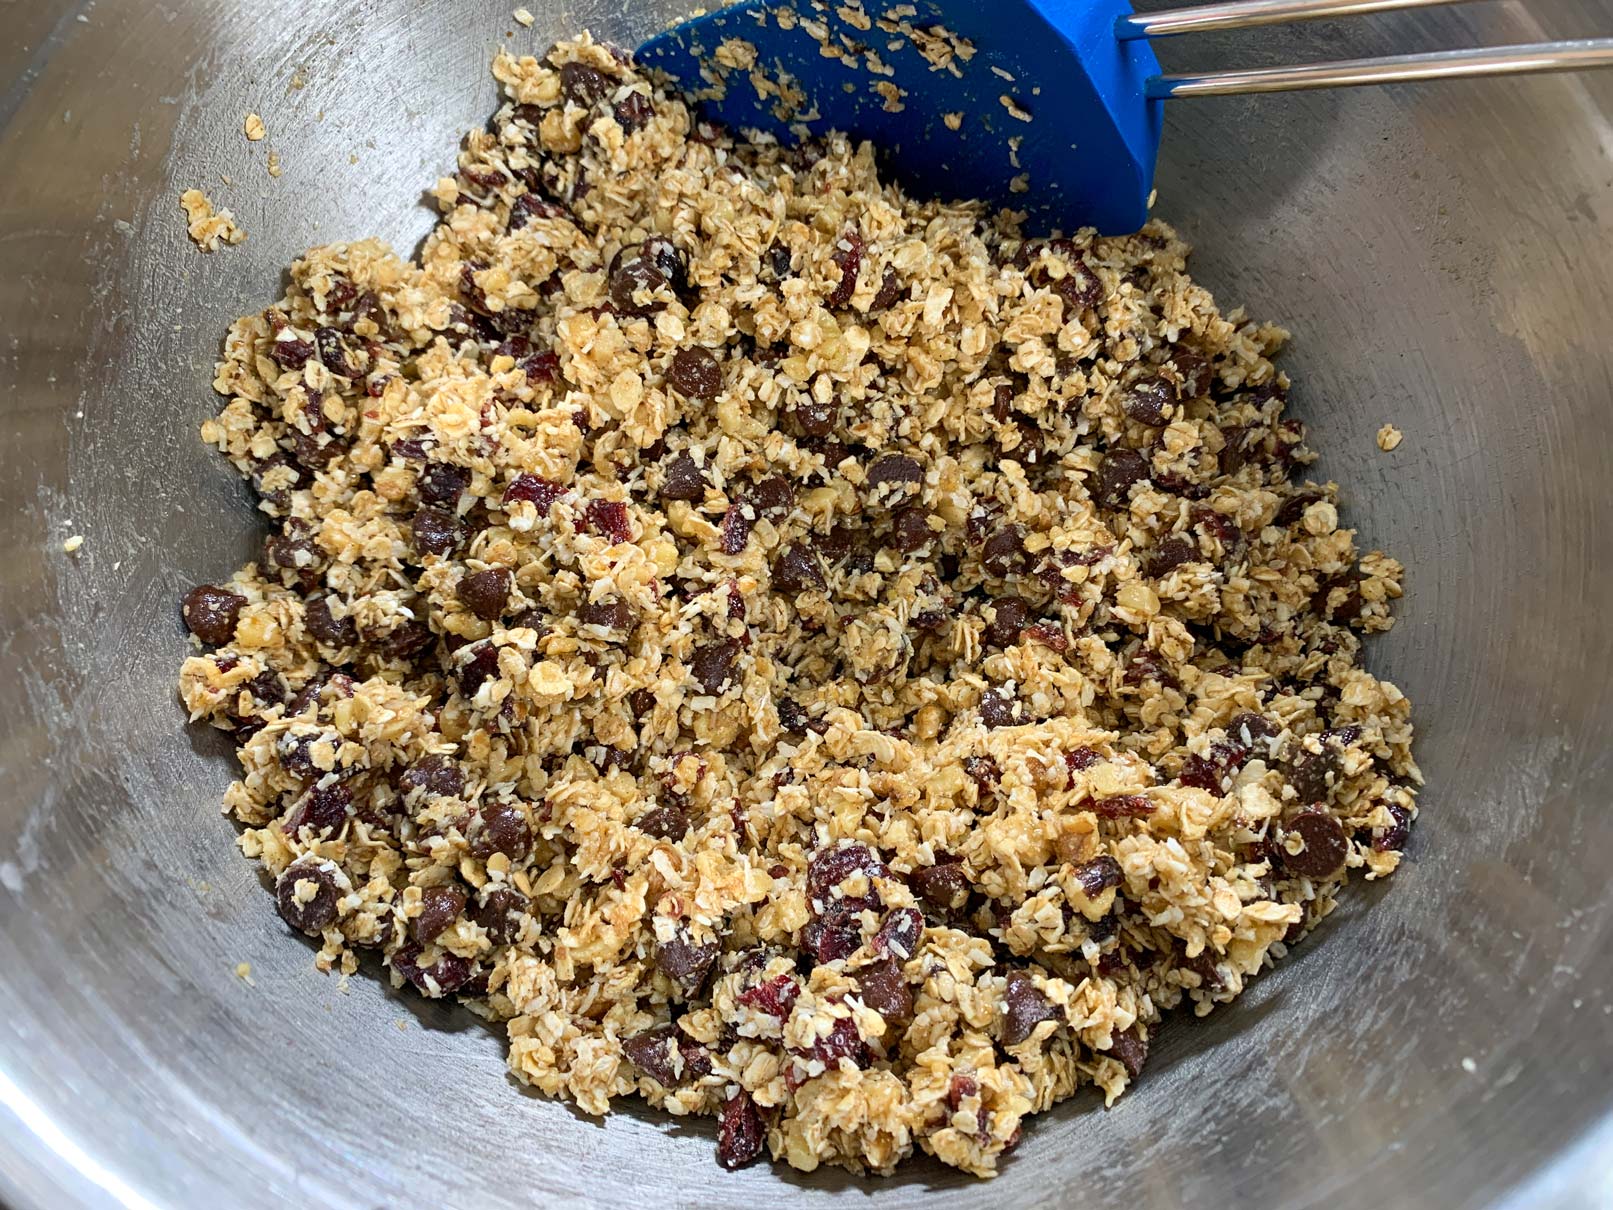
Regardless of what you decide to add to your bars, the method is simple. Throw all your dry ingredients into a bowl and mix them together well.
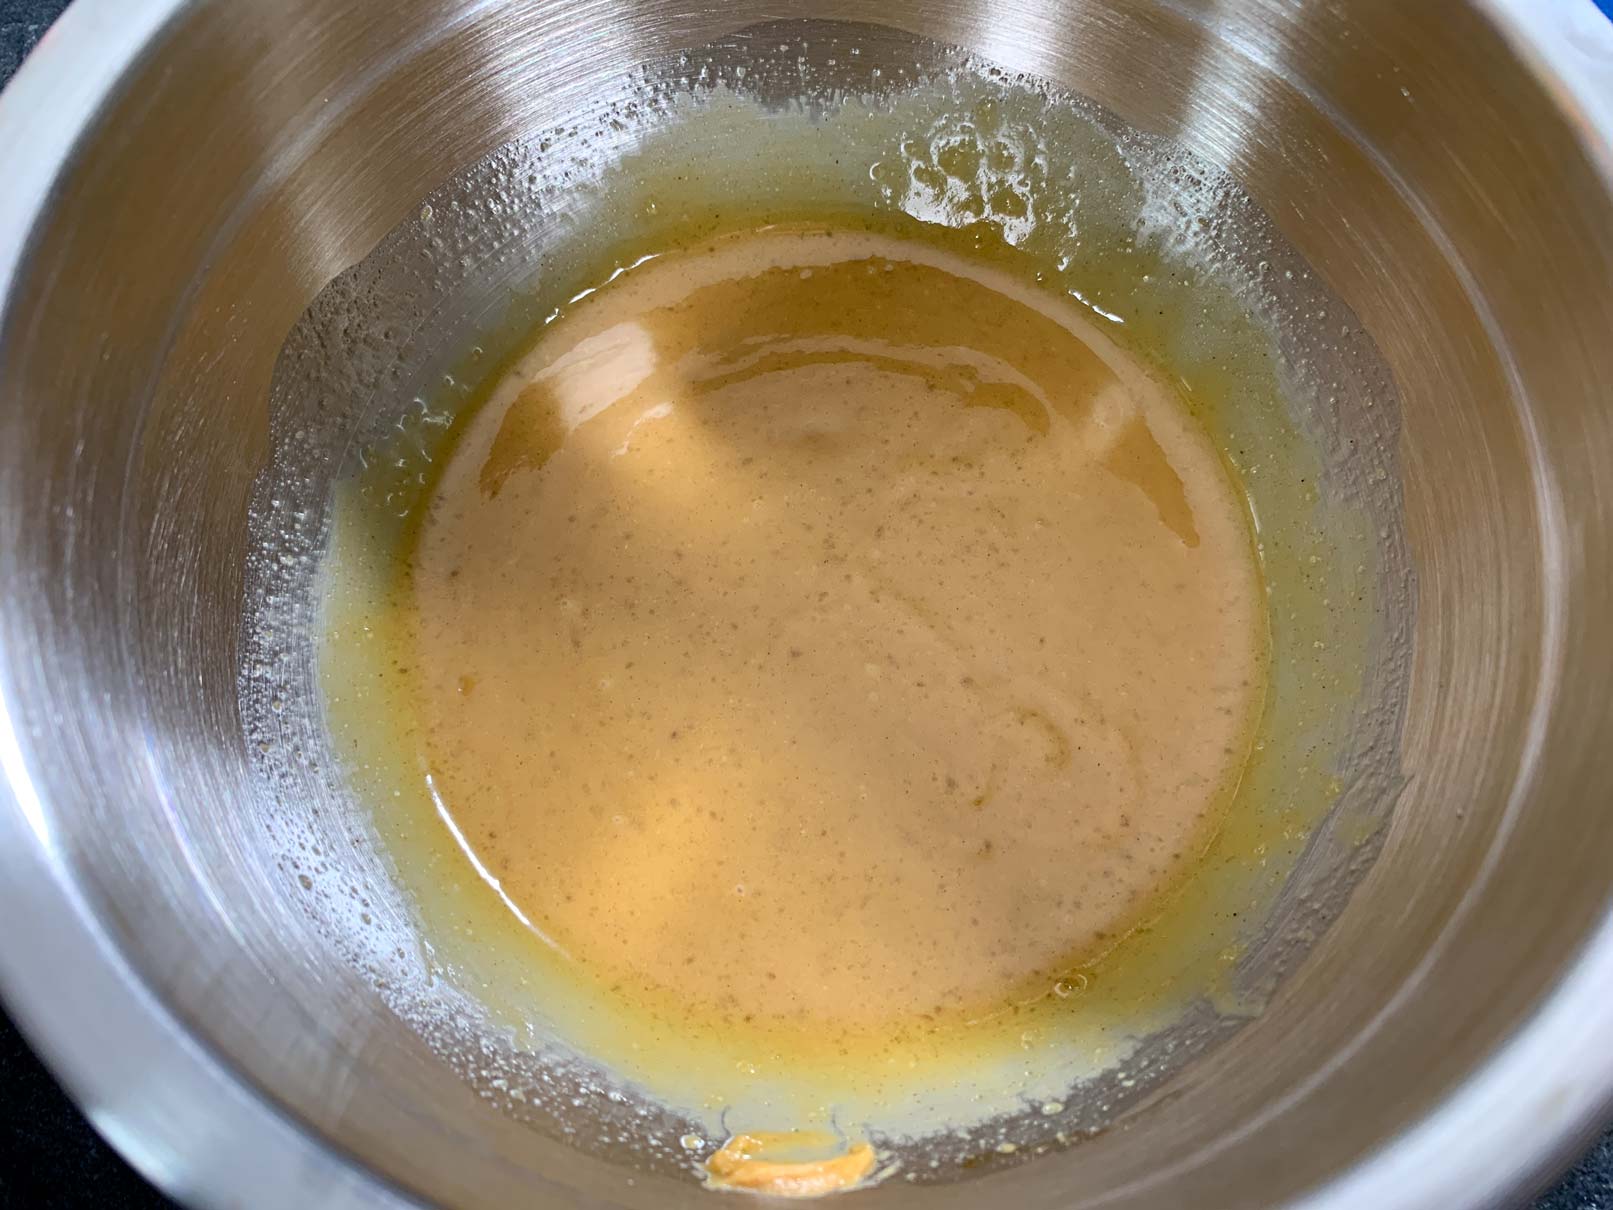
In a separate bowl, whisk together your wet ingredients until smooth, and then pour them over your dry ingredients.
Mix it all together until well combined.
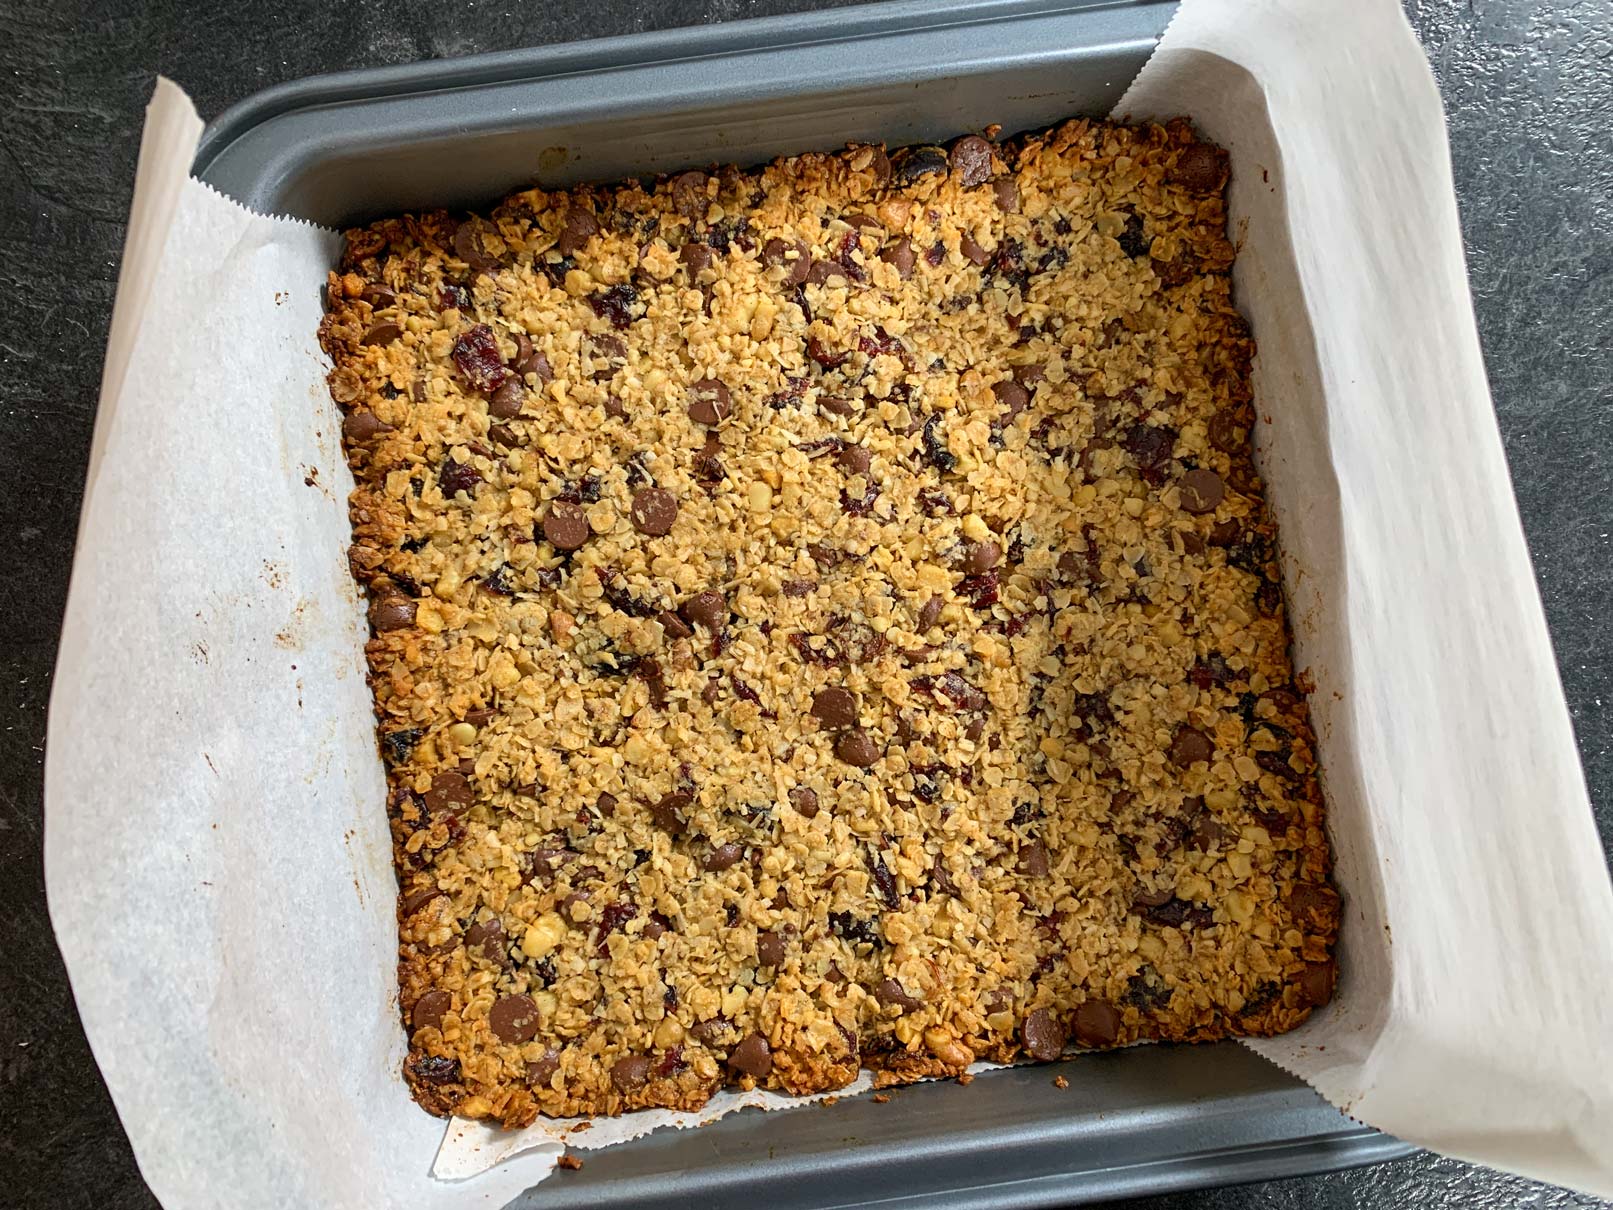
Pack the mixture as tightly as you can into an 8×8 square pan, lined with parchment. Let the parchment hang up over the sides of the pan, so you can use the edges as handles to lift the bars out when they’re done baking.

Bake at 350°F for 25-30 minutes until the top is golden and the edges are light brown.
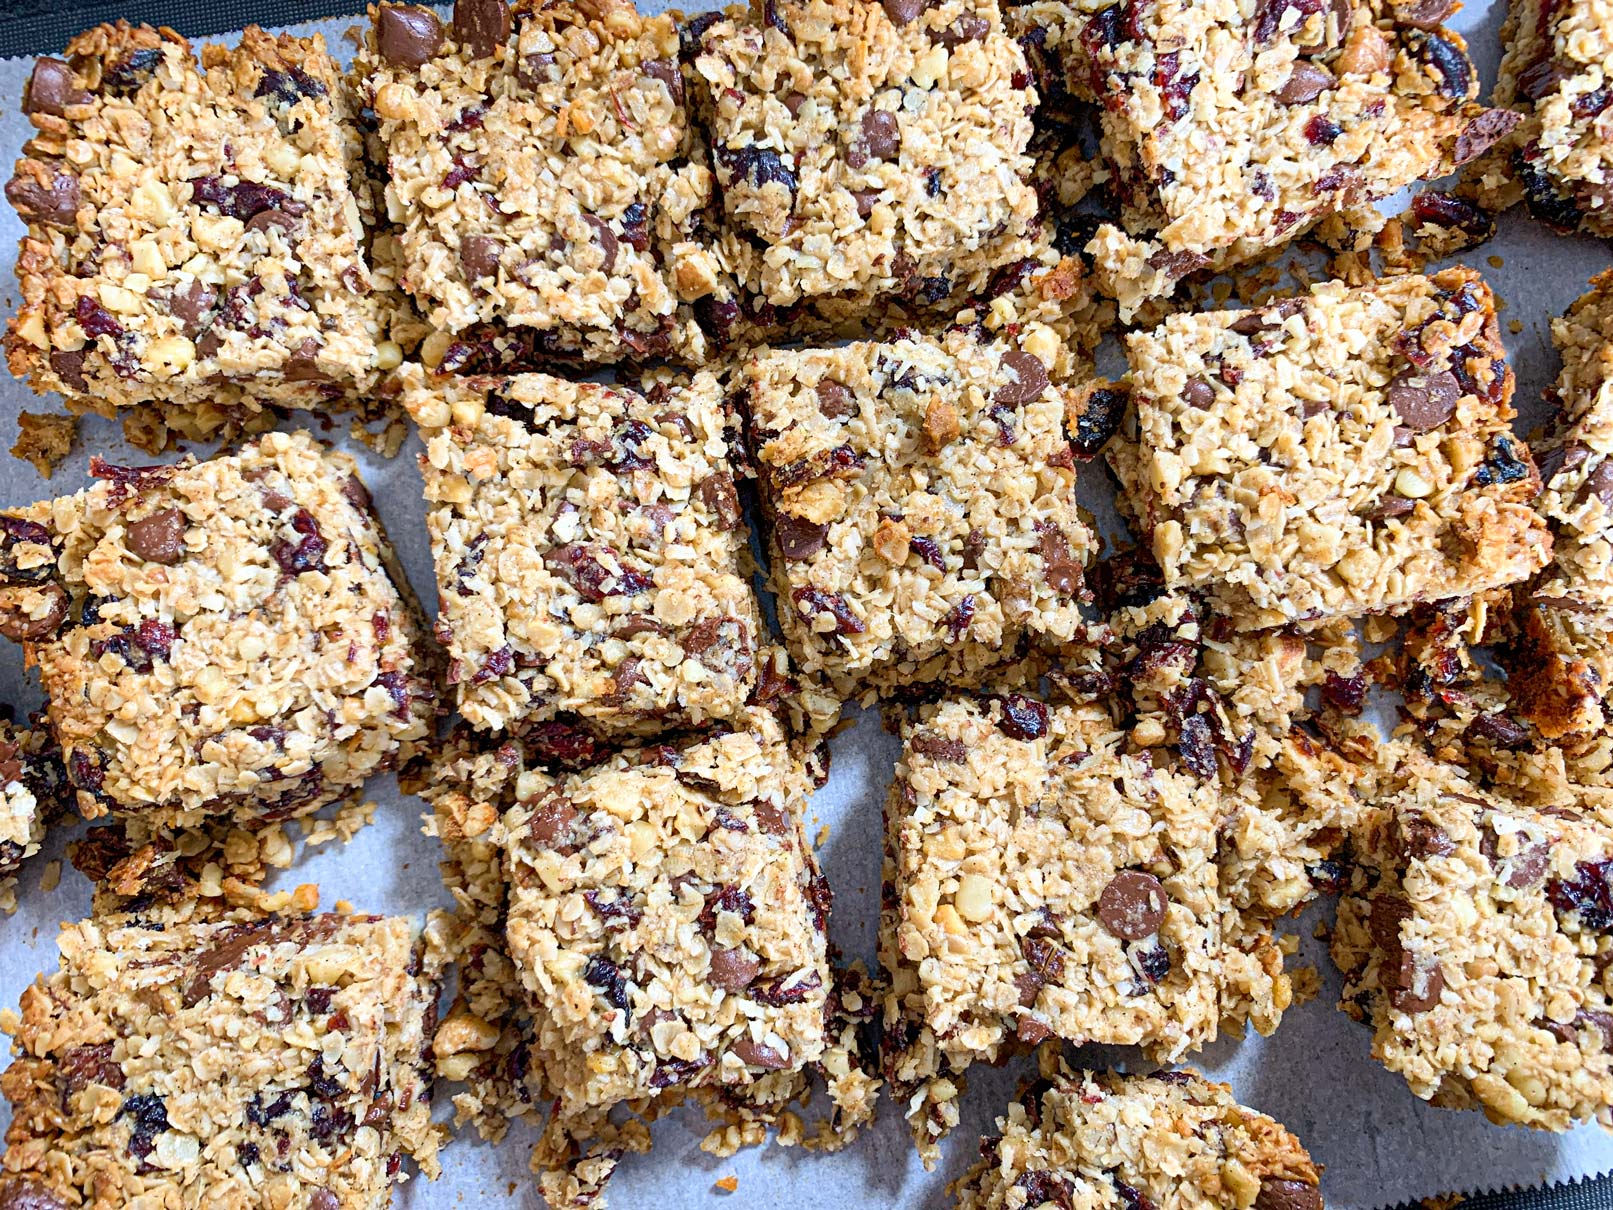
The original recipe clearly states to let the bars cool COMPLETELY before cutting into them. I only let them mostly cool, because I’m a rebel who doesn’t listen to instructions.
Don’t be like me. Let the bars cool completely. In fact, let them cool to about room temperature, and then put them in the fridge to let them chill thoroughly before you try to cut them. They will be so much easier to cut, and you won’t have a big crumbly mess like I had.
I made these on Friday night and I sampled some of the crumbs after I had cut into the bars. I have to say, I was incredibly disappointed. I told Collin that these were “super gross” and that this was a “terrible idea”.
I was dreading writing this blog, but then on Saturday morning, I woke up and tried another one. Amazingly, they tasted pretty good! I’m not sure what happened to them overnight that made them so much better, but they were WAY more desirable the second day.
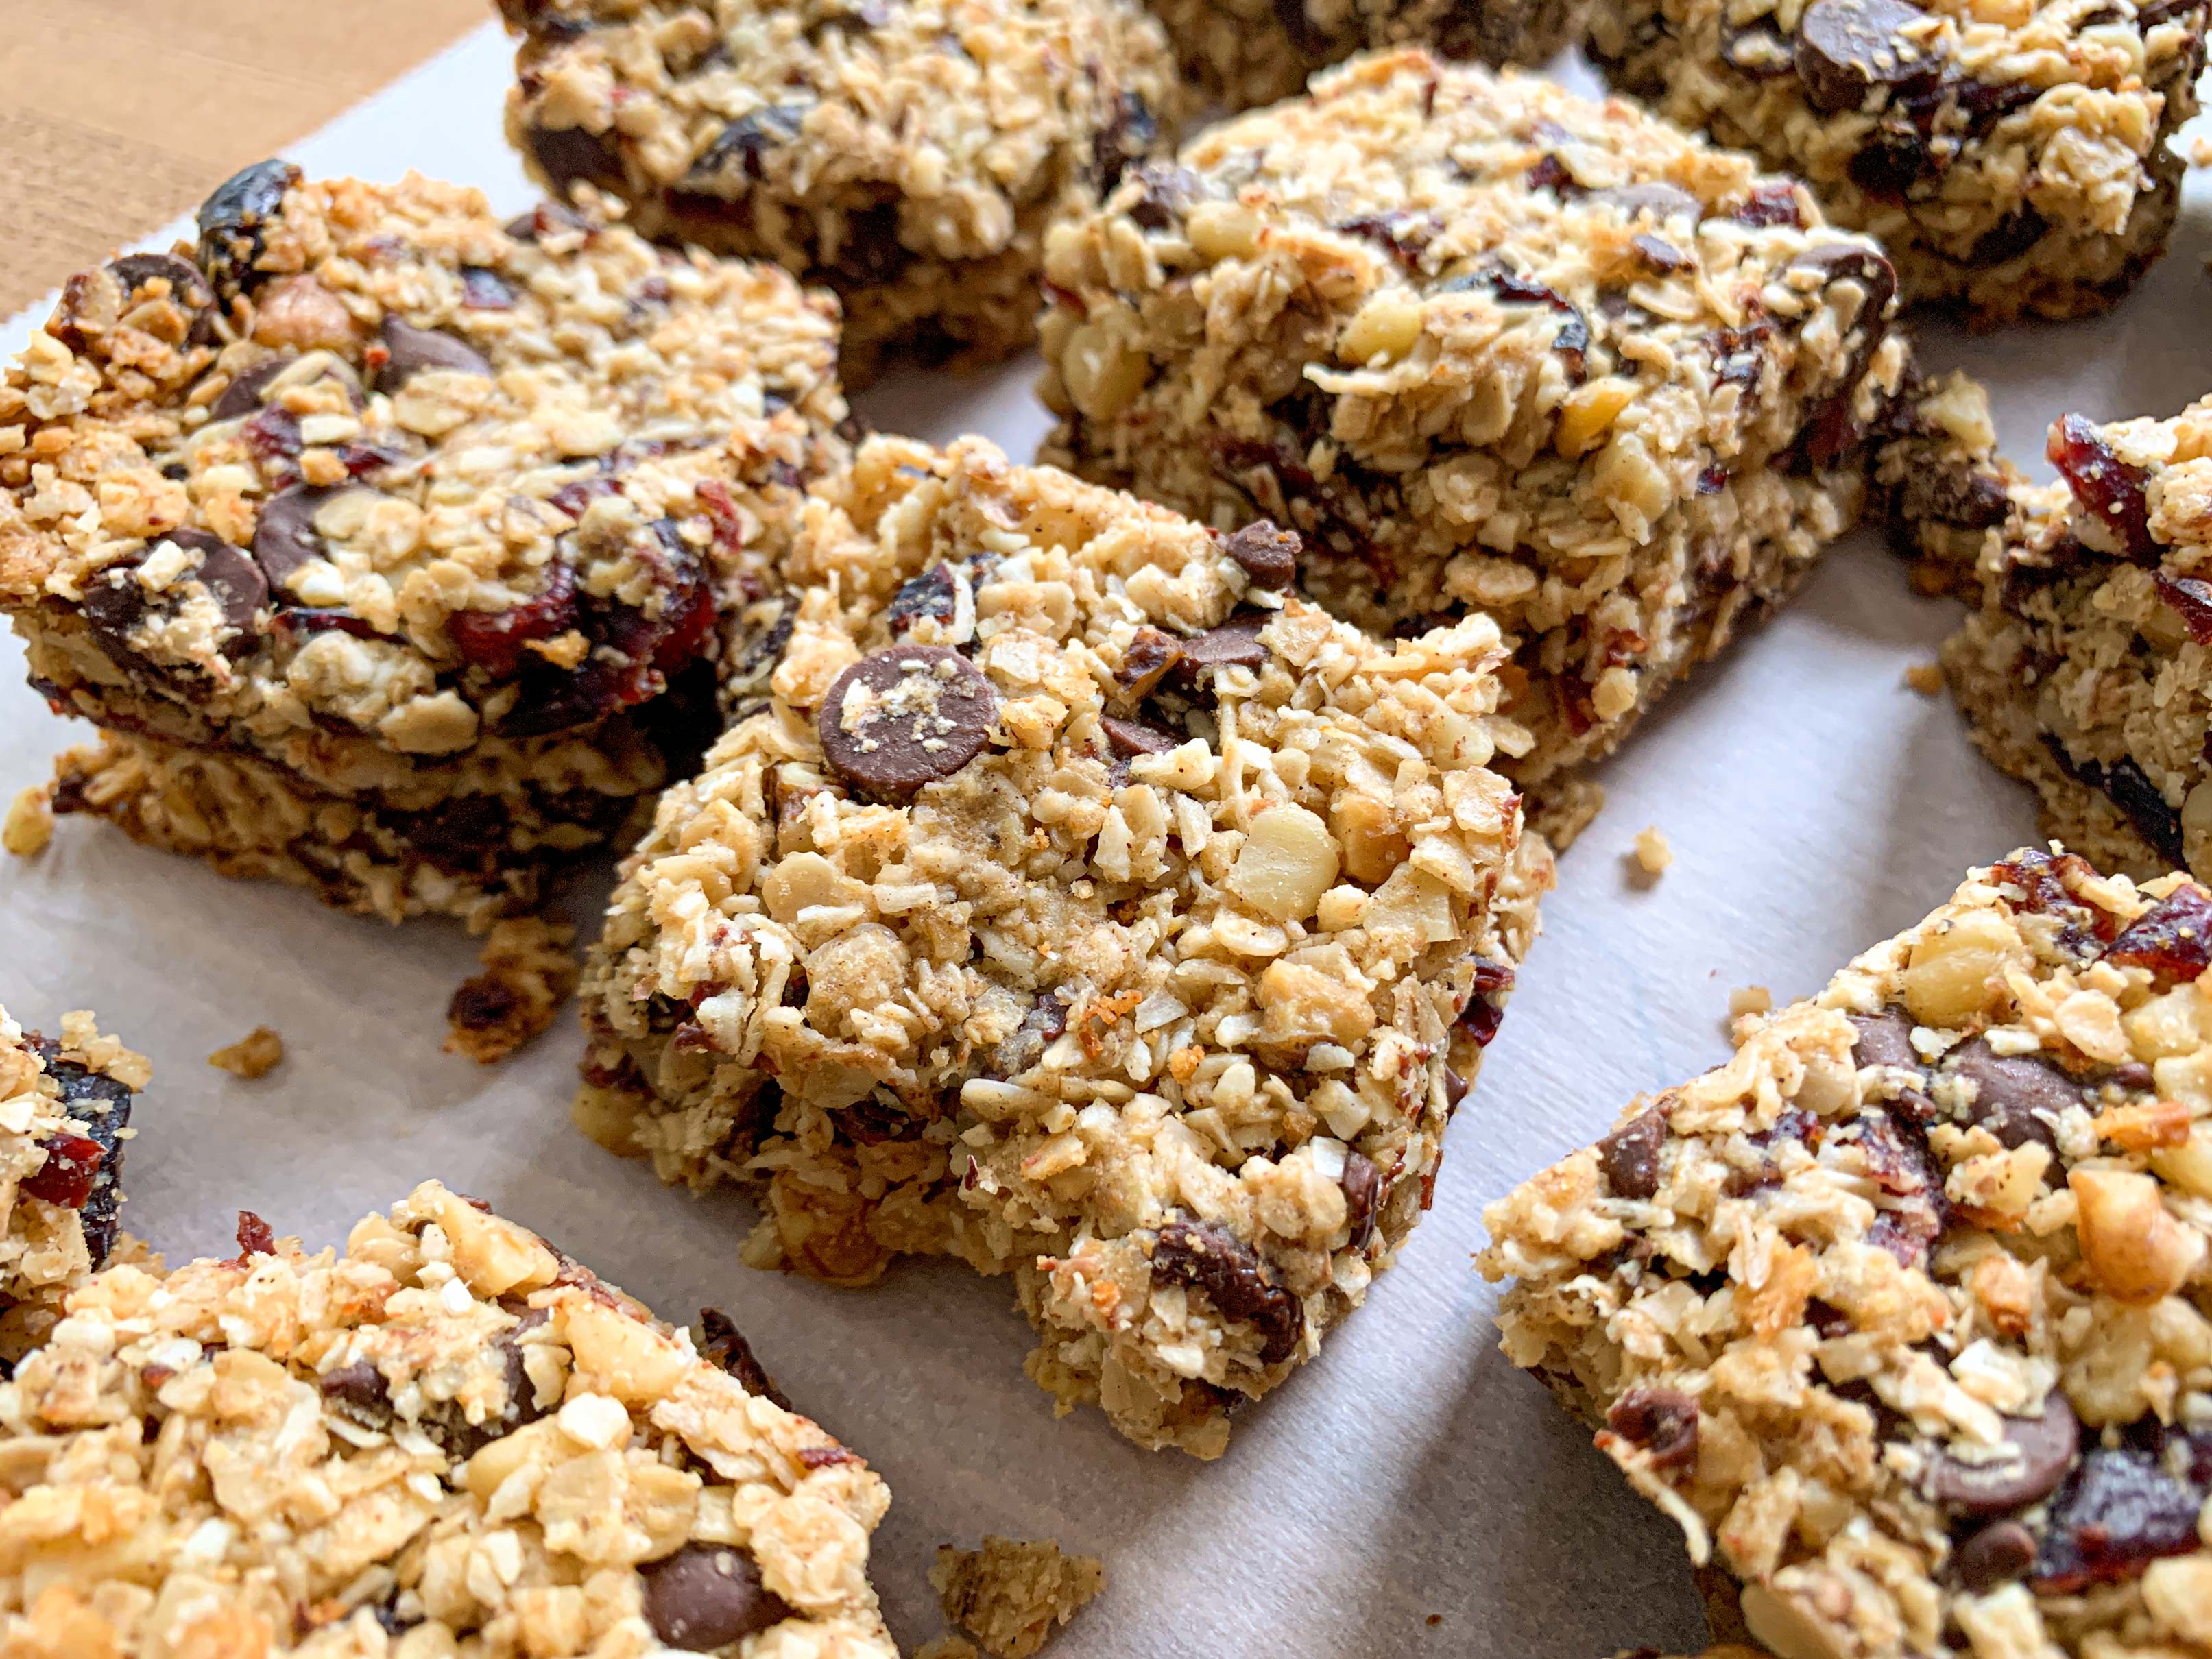
I did find them to a be a bit crumbly still, and a little on the thick side. I think I would prefer to make these in a 9×9 pan so that they are just a little bit thinner.
Overall I think they’re a good combination of salty and sweet, and the recipe is versatile enough that you can swap out a number of different ingredients for your preferred tastes. I would like to give these another go using coconut oil instead, making them a bit thinner, and seeing what I can tweak to try to make them a bit less crumbly.
Homemade Granola Bars
Ingredients
- 1 ¼ cup rolled outs
- ¼ cup oat flour (or finely ground rolled oats)
- ¾ cup dried unsweetened shredded coconut
- ⅓ cup uncooked millet (or quinoa, quinoa flakes, wheat germ, chopped nuts or just more oats)
- ½ tsp salt
- ¼ tsp cinnamon
- 1 cup chopped fried fruit (I used cranberries)
- 1 cup chopped dark chocolate or chocolate chips
- ¼ cup your preferred seed or nut or nutter (I used peanut butter)
- ¼ cup olive oil or coconut oil (warmed until liquefied)
- ¼ cup maple syrup, honey or golden syrup (I used honey)
Instructions
- Pre-heat your oven to 350°F. Line an 8x8 inch square pan with parchment paper, leaving extra length up the sides of the pan to use as handles. (This will yield bars just over ¾ inch thick. For slightly thinner bars, use a 9x9 inch pan).
- In a large bowl, combine all of the dry ingredients and mix until combined.
- In a separate bowl, whisk together the wet ingredients until smooth.
- Pour the wet ingredients over the dry ingredients and mix until well combined.
- Pack the mixture as tightly as you can into your pan.
- Bake for 25-30 minutes until the top is golden and the edges are light brown.
- Allow the bars to cool to about room temperature, and then transfer to the fridge to cool completely before cutting.