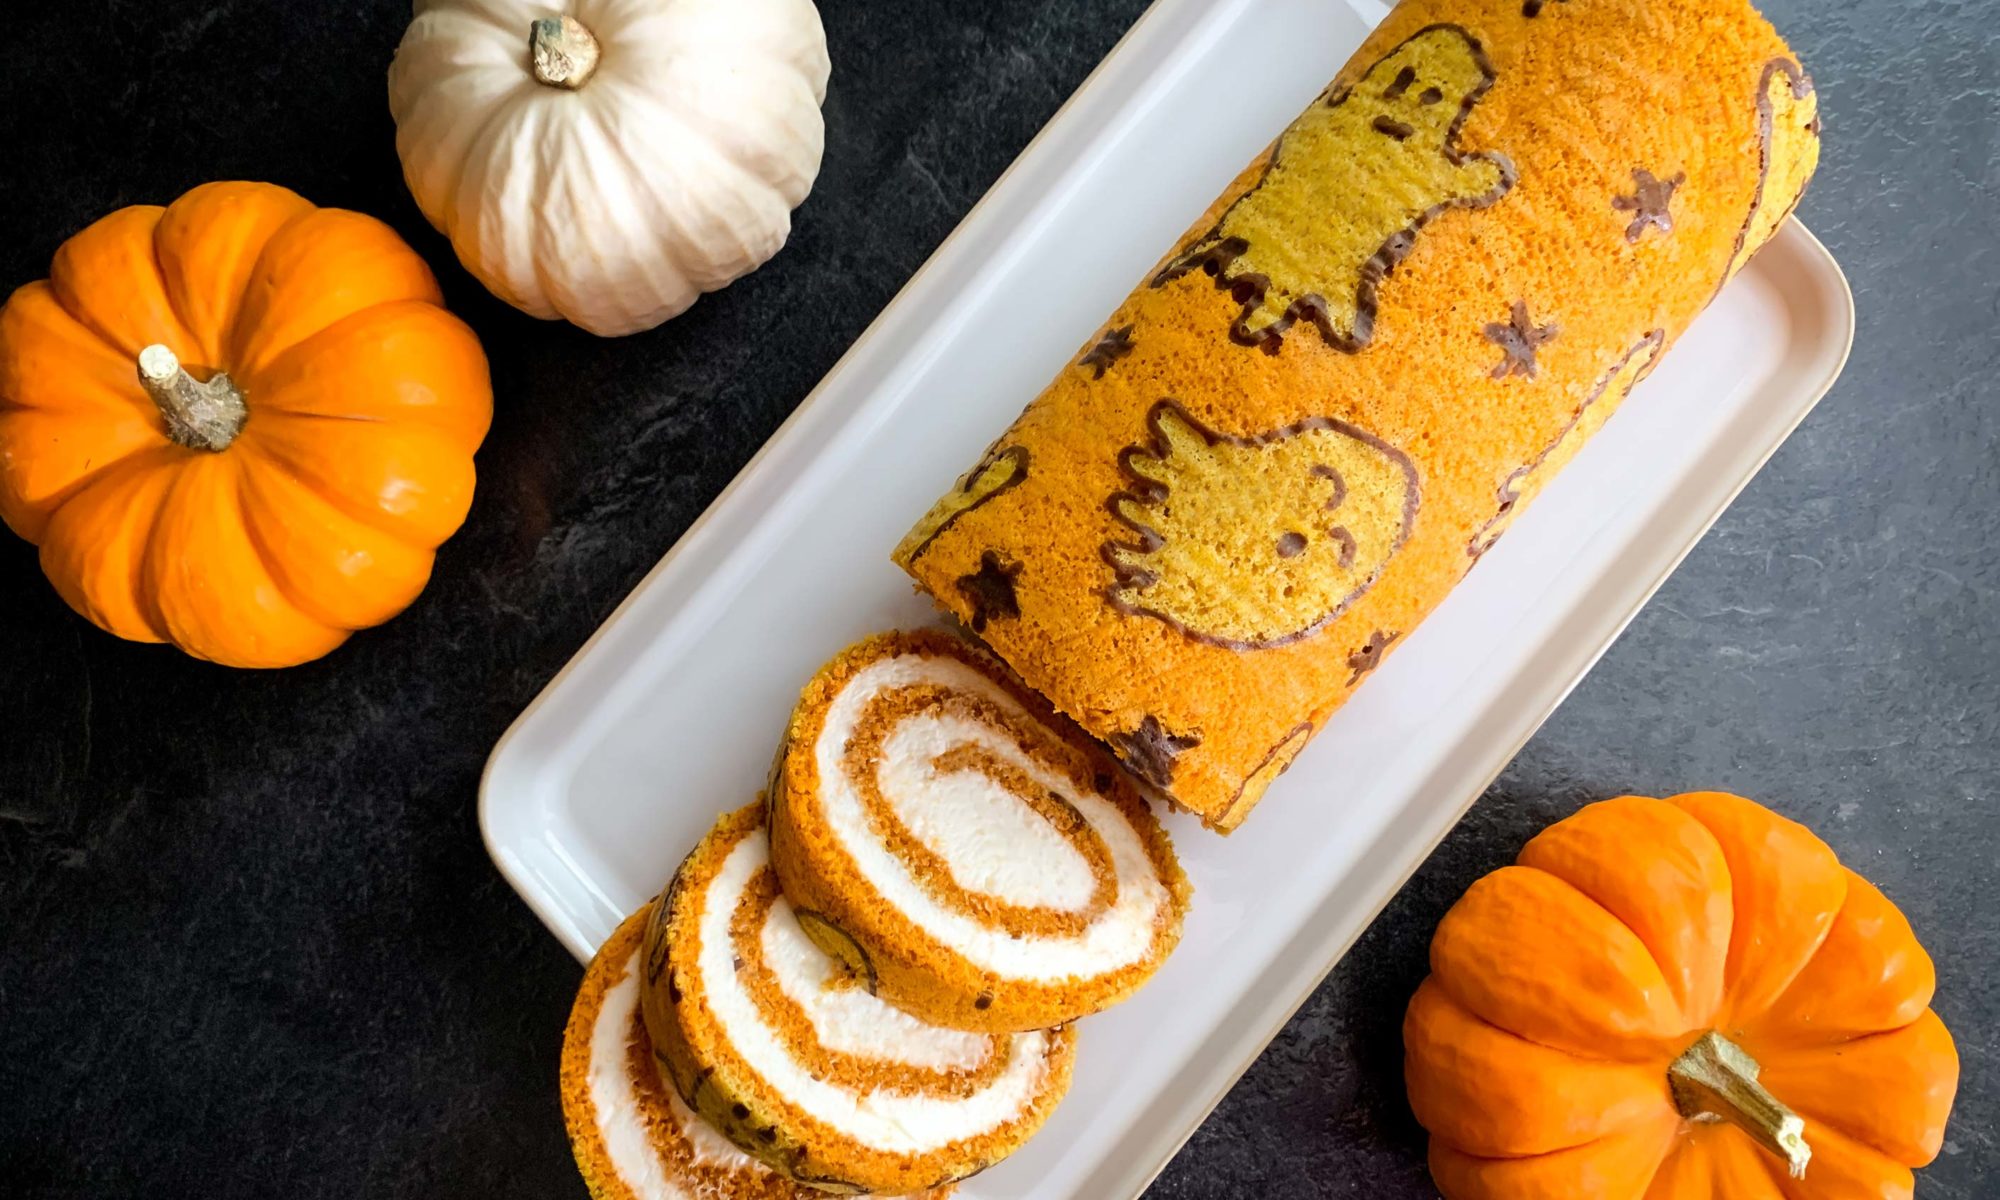
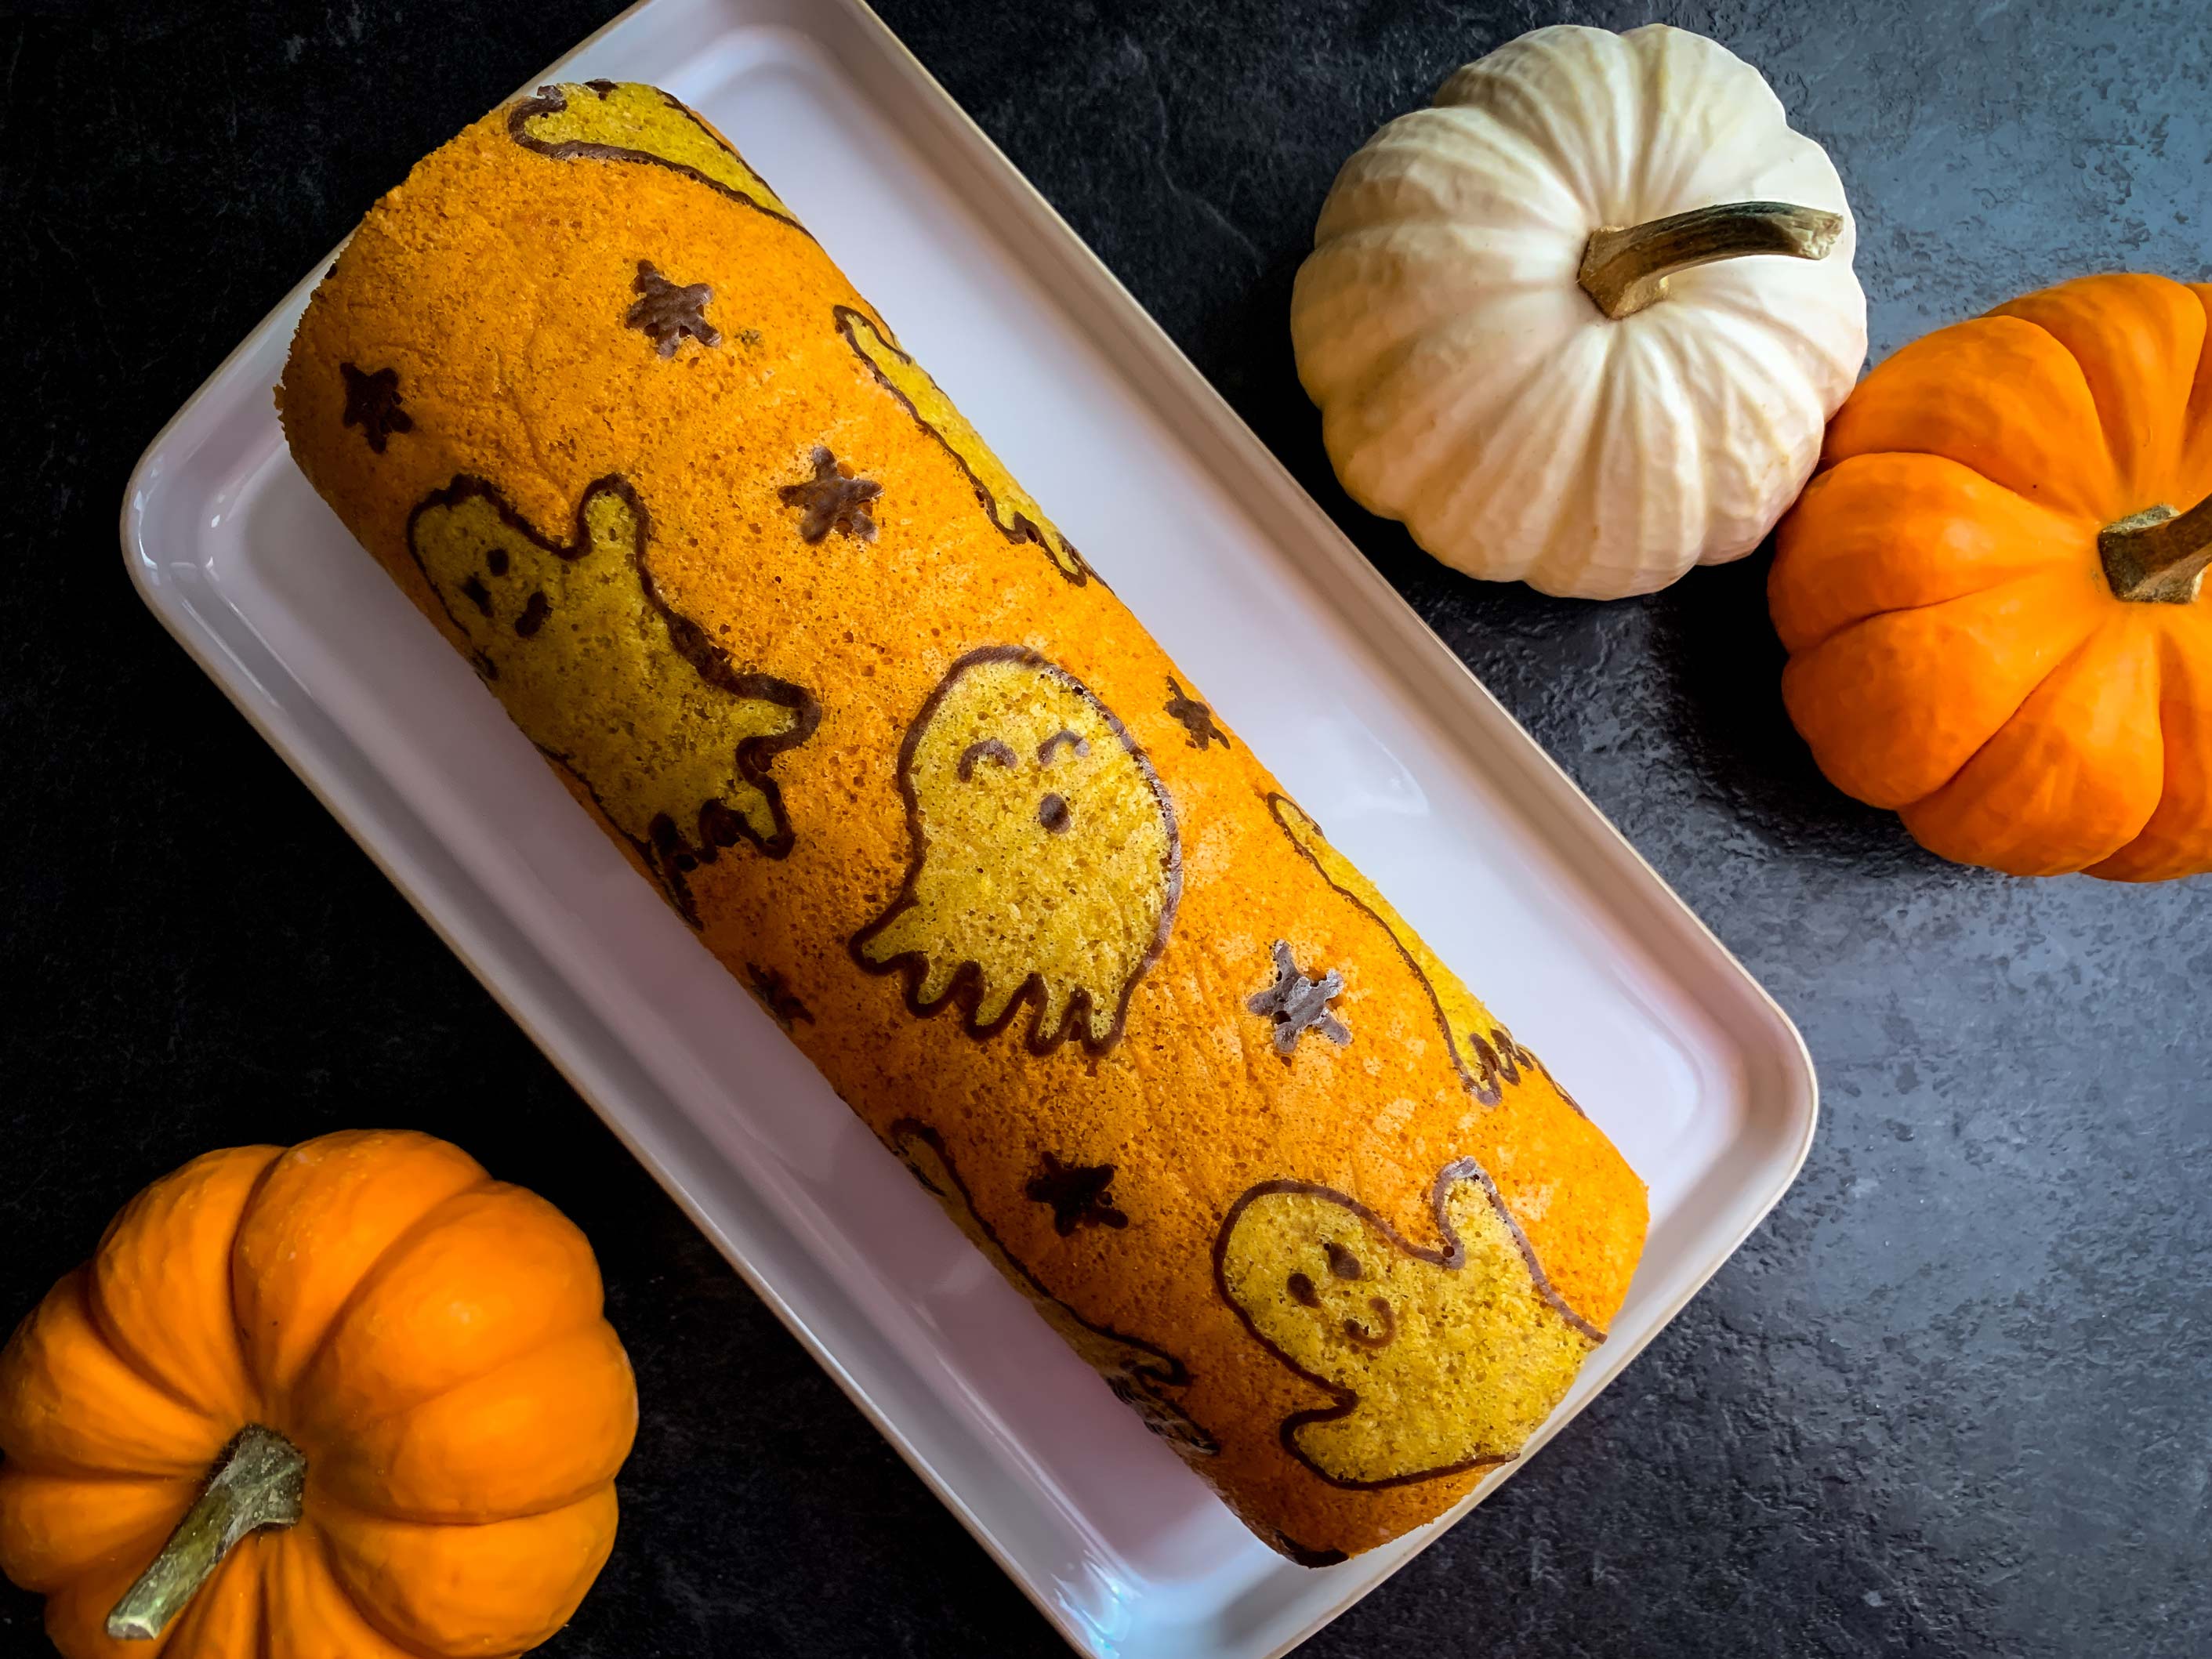
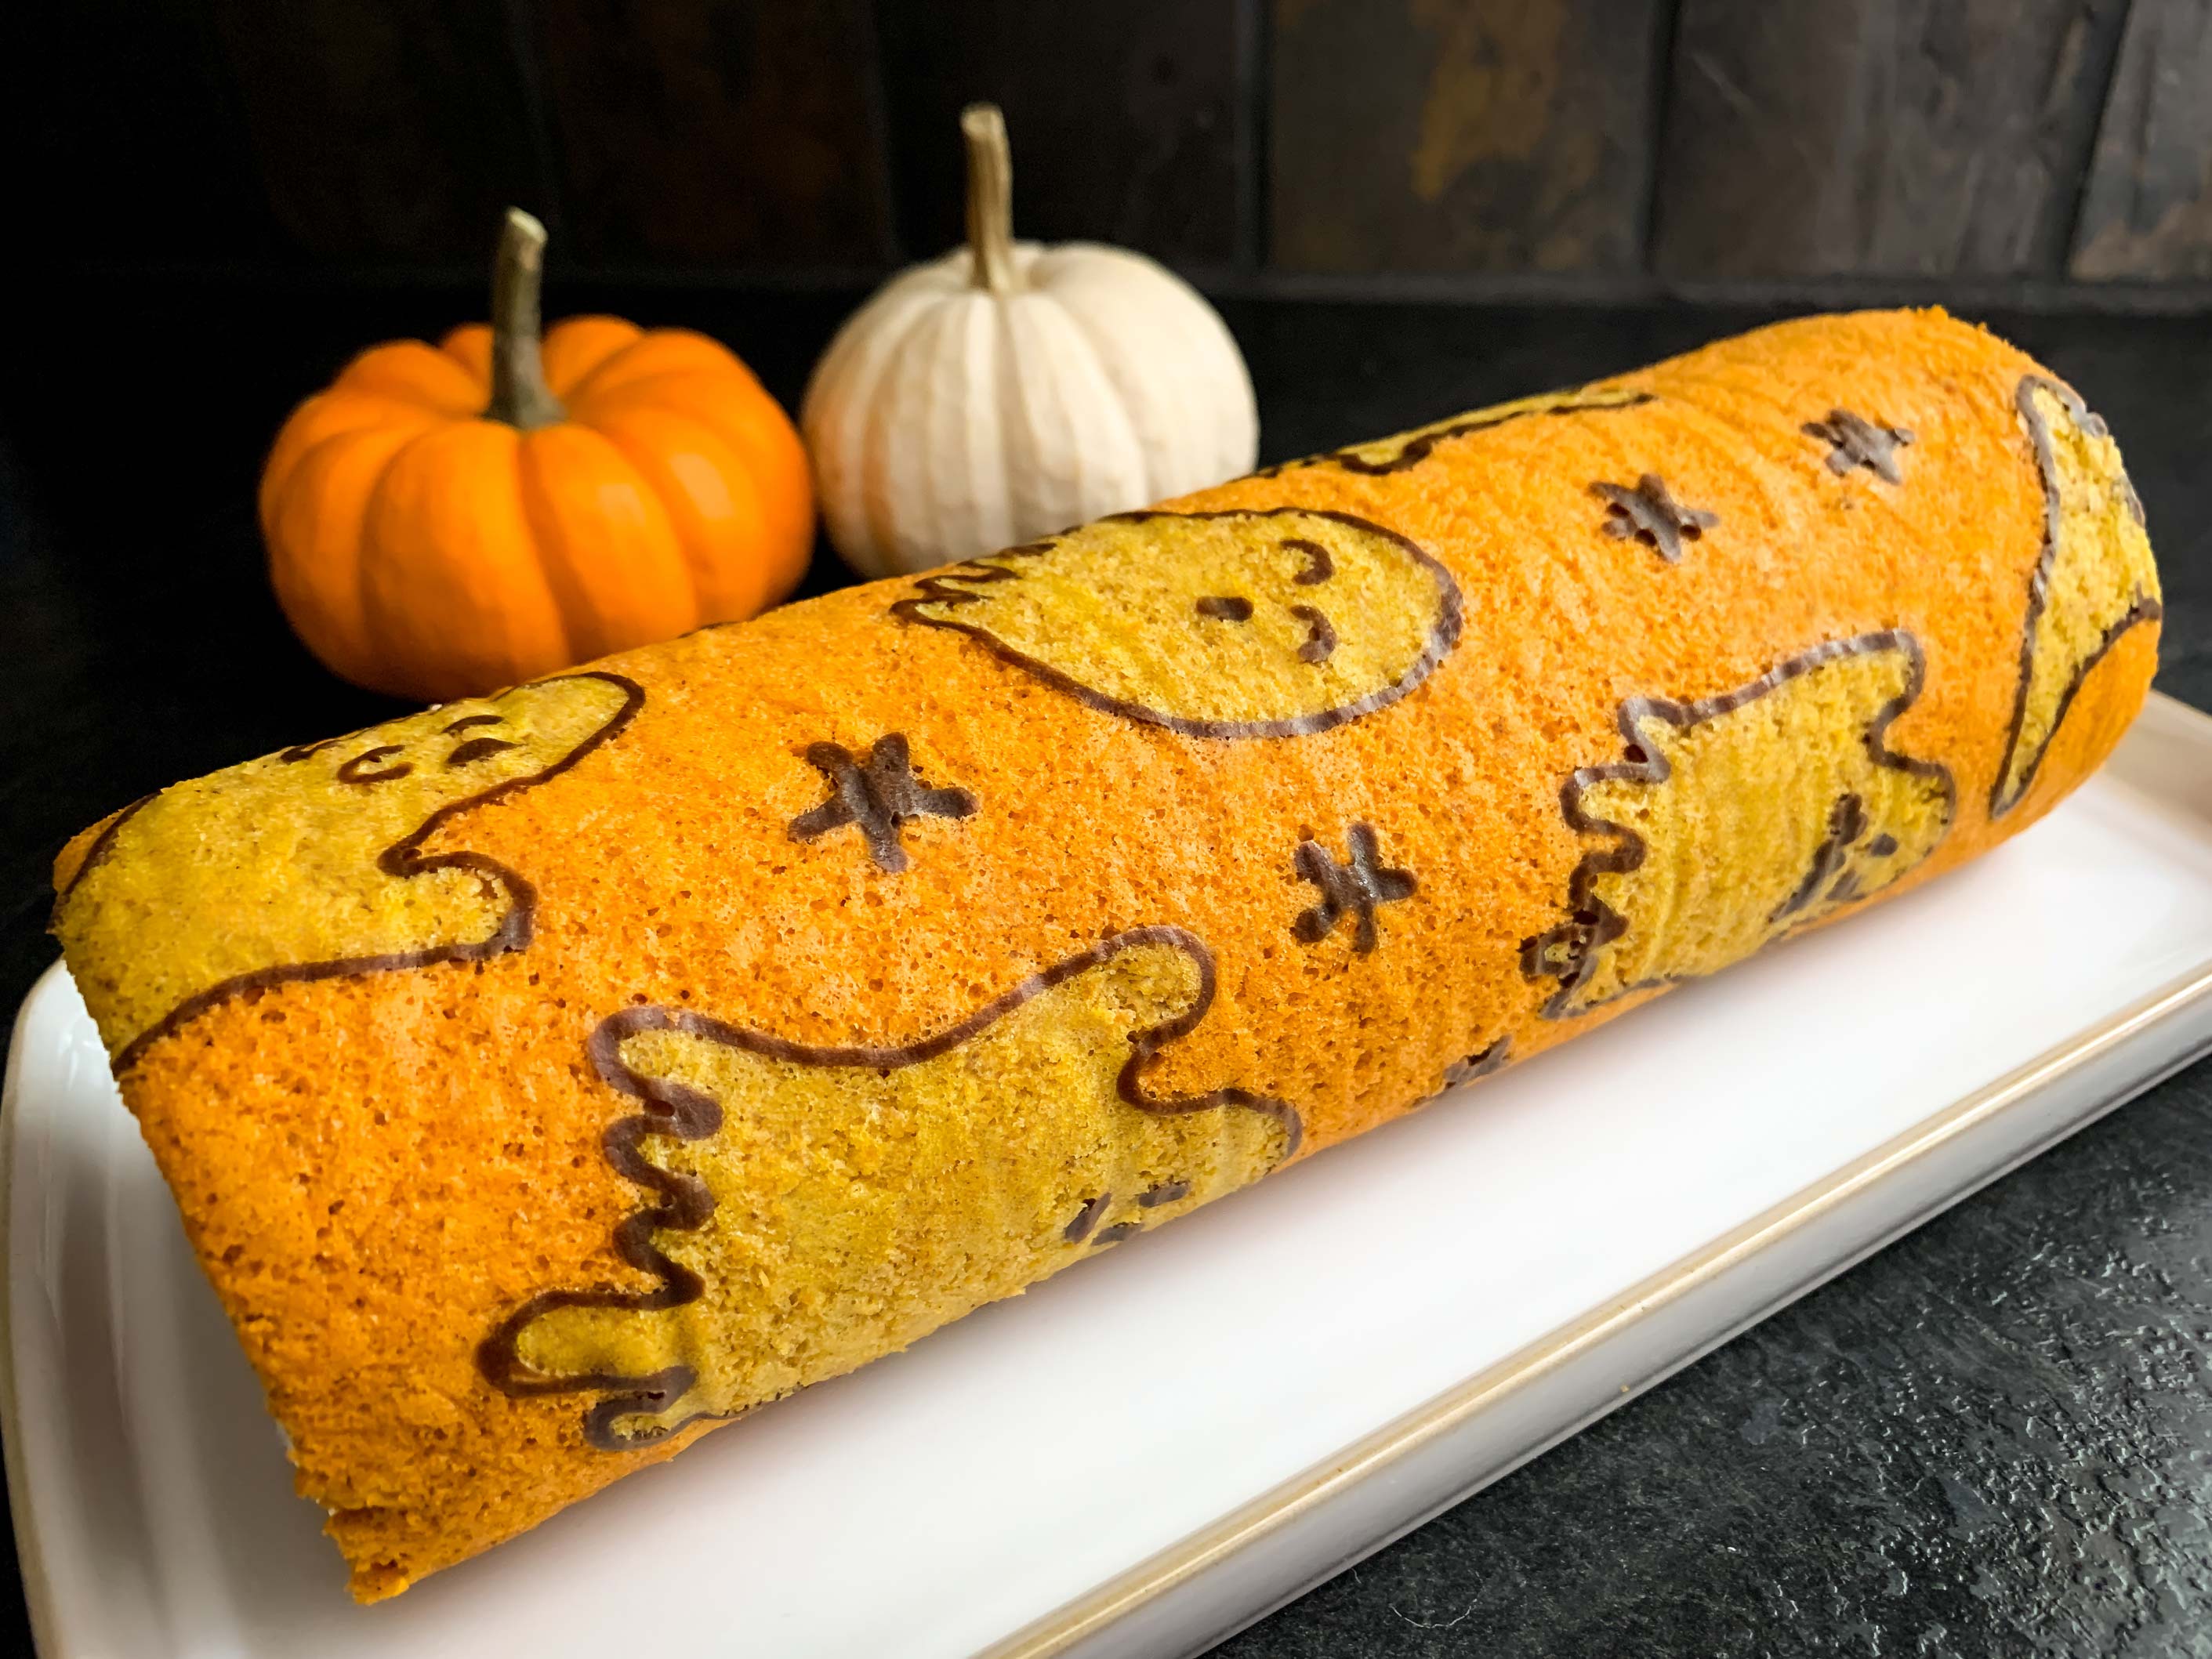
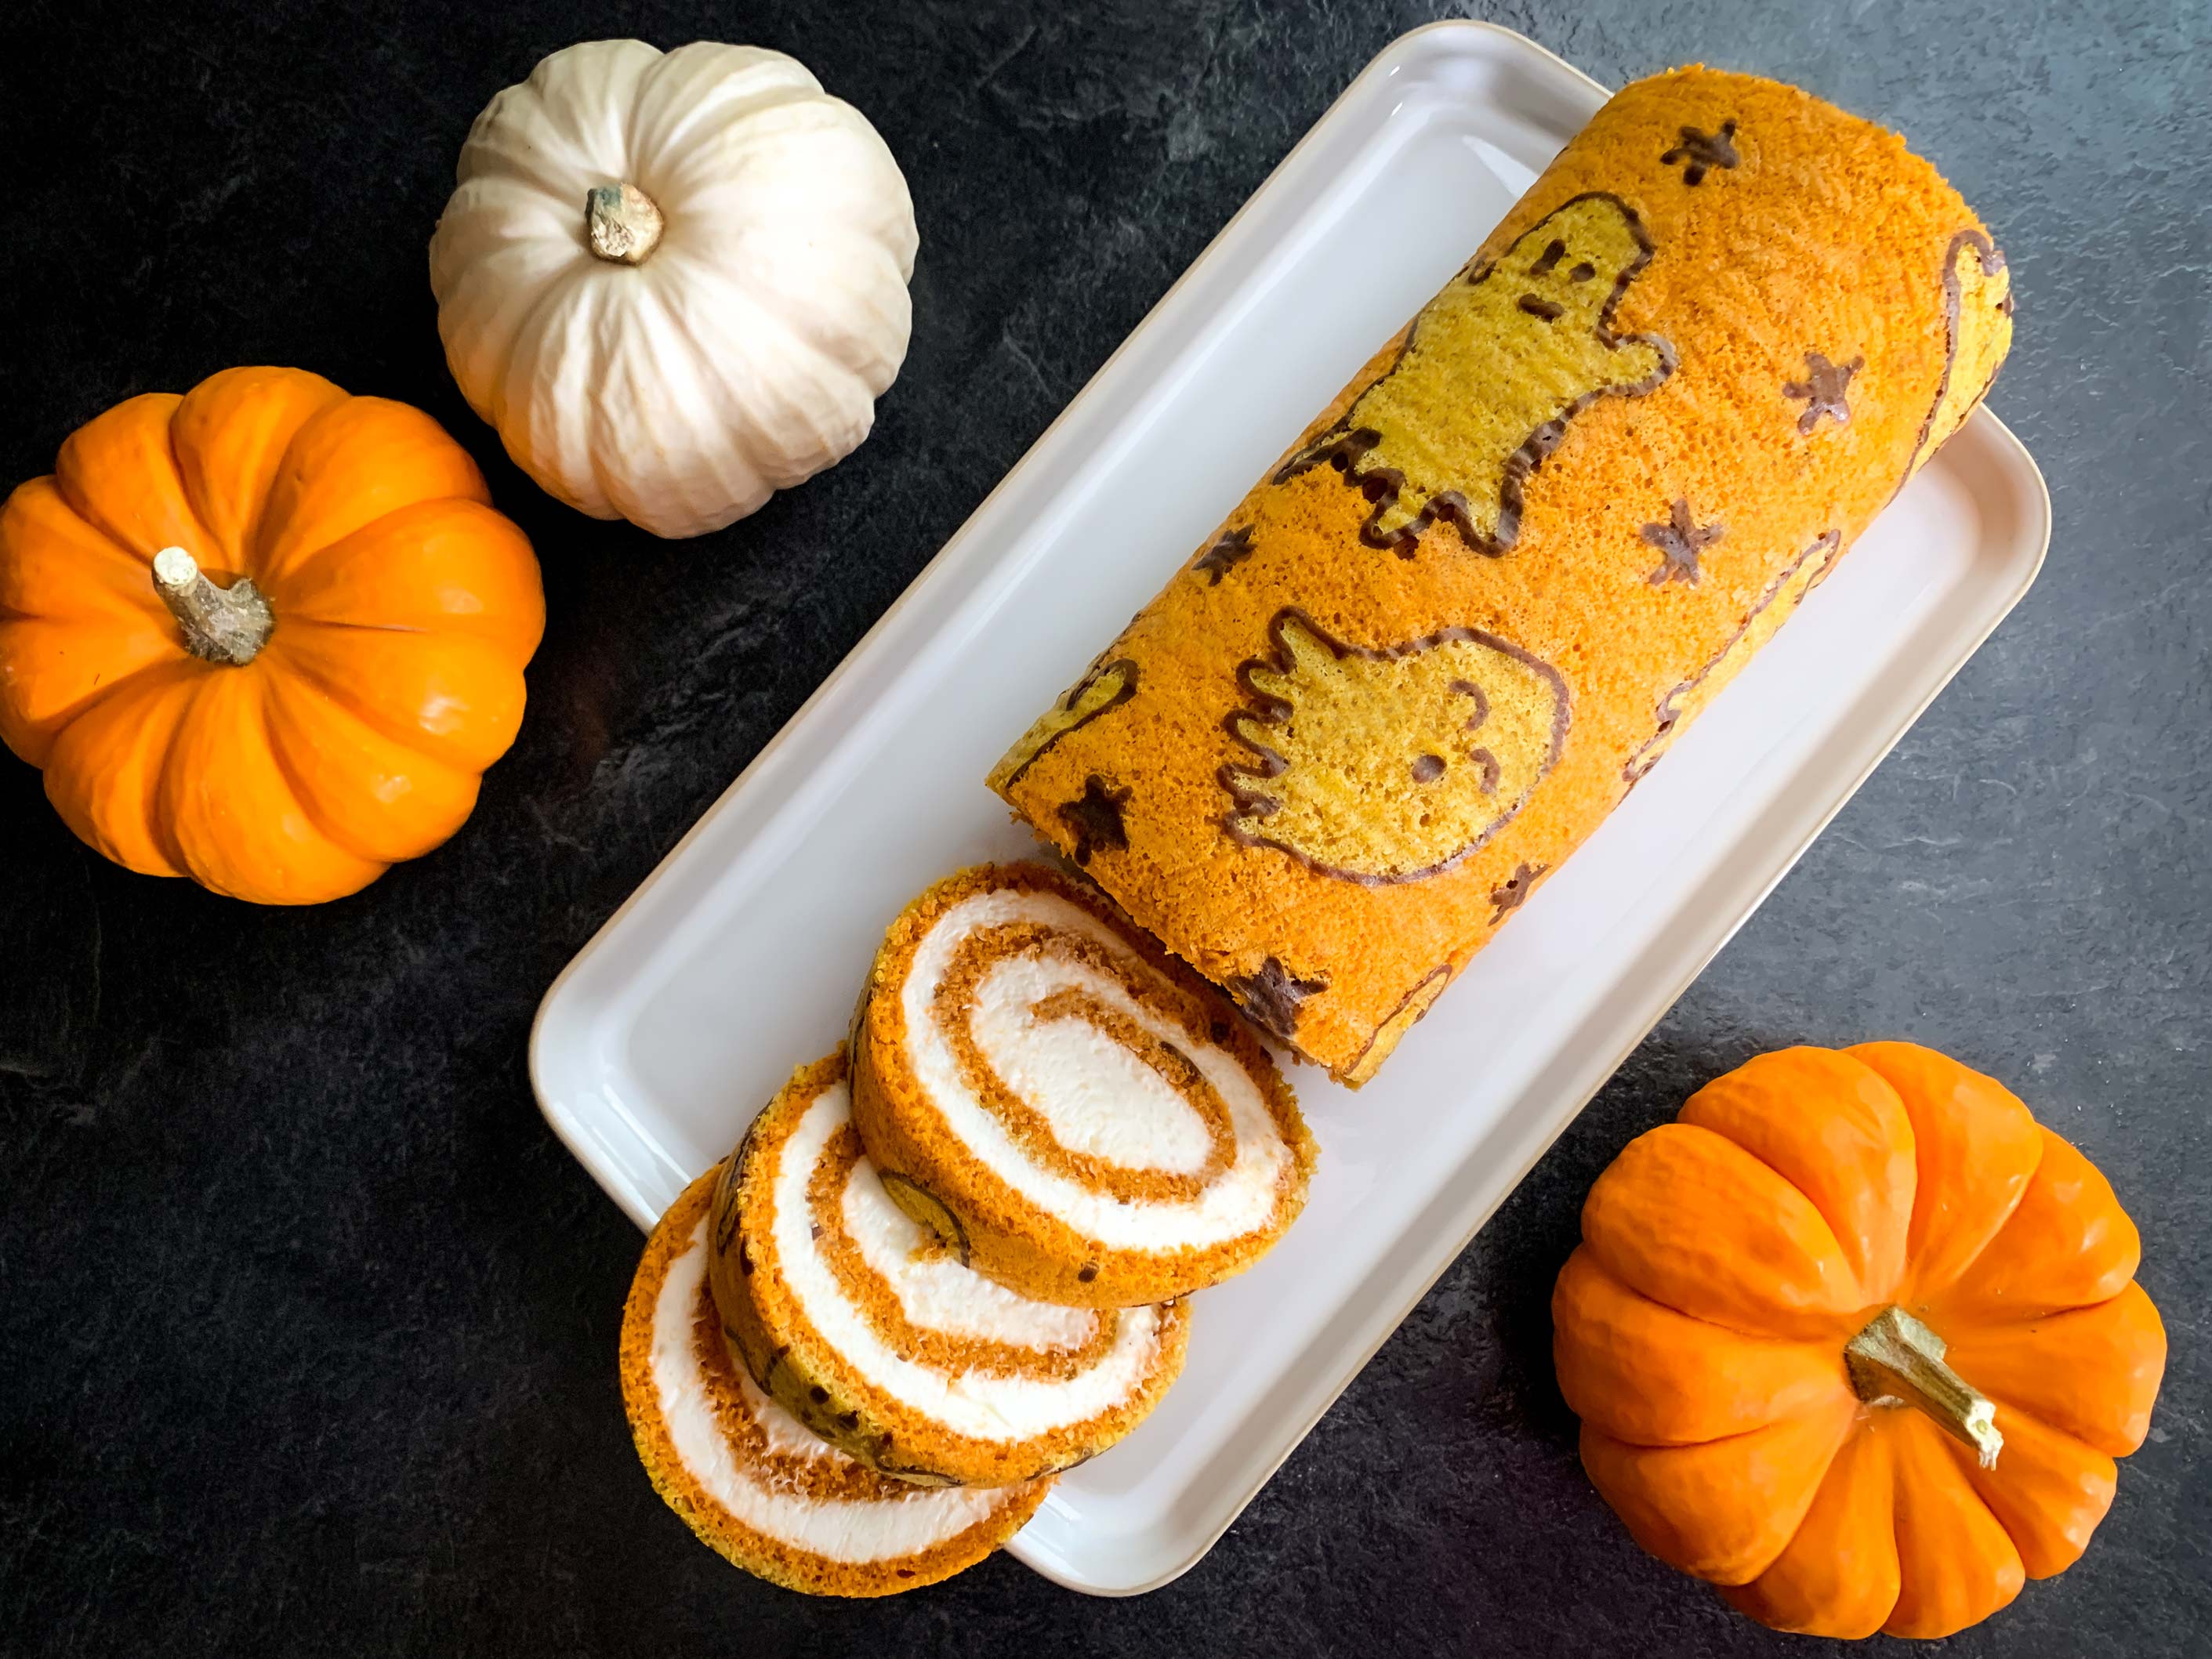
The Halloween baking continues my friends! This week I made a spooky pumpkin roll ghost cake with mascarpone whipped cream filling. You might be thinking its the ghosts that make this cake spooky, but in actual fact, it’s something else…
The really spooky part about this cake is how much of your soul gets sucked out of you while trying to make it. I had it in my head that this cake would be really simple to make. I’m not sure where I got that idea, but I was clearly out of my mind when it came to me.
It’s not that this cake is particularly complicated, it’s just a bit time consuming and results in a lot of dishes being created. Unless you’re a more experienced baker, I would recommend making this on a lazy weekend day, when you’re feeling particularly zen and have lots of time to spare. I would not recommend rushing through it in an evening after work, like I attempted to do.
I’m sure if I were to make this cake again, it would seem much easier on the second attempt (and yes, it was fun and tasty enough that I would actually consider repeating the process). But on the first go, this cake takes a fair bit of mental and physical energy.
So here’s how it all went down. I saw this recipe for a Pumpkin Cake Roll with Mascarpone Whipped Cream on the site Love & Olive Oil. It both looked and sounded amazing, so I thought I’d give it a go. The photos on the recipe show the cake with beautiful orange and black stripes. It’s very simple, but very elegant. It’s perfect just the way it is! However, I let my ambition get away with me, and I decided that I needed to explore a much more illustrative approach to my Halloween cake if I was going to go to the effort to make it.
I hummed and hawed a great deal about what I would draw before finally deciding on some little ghosties. Following the recipe got a little complicated because the instructions tell you how much batter to measure out for the black and orange stripe pattern (i.e. 1/2 cup for the black, 3 tbsp for the orange, and the rest left plain or the majority of the cake).
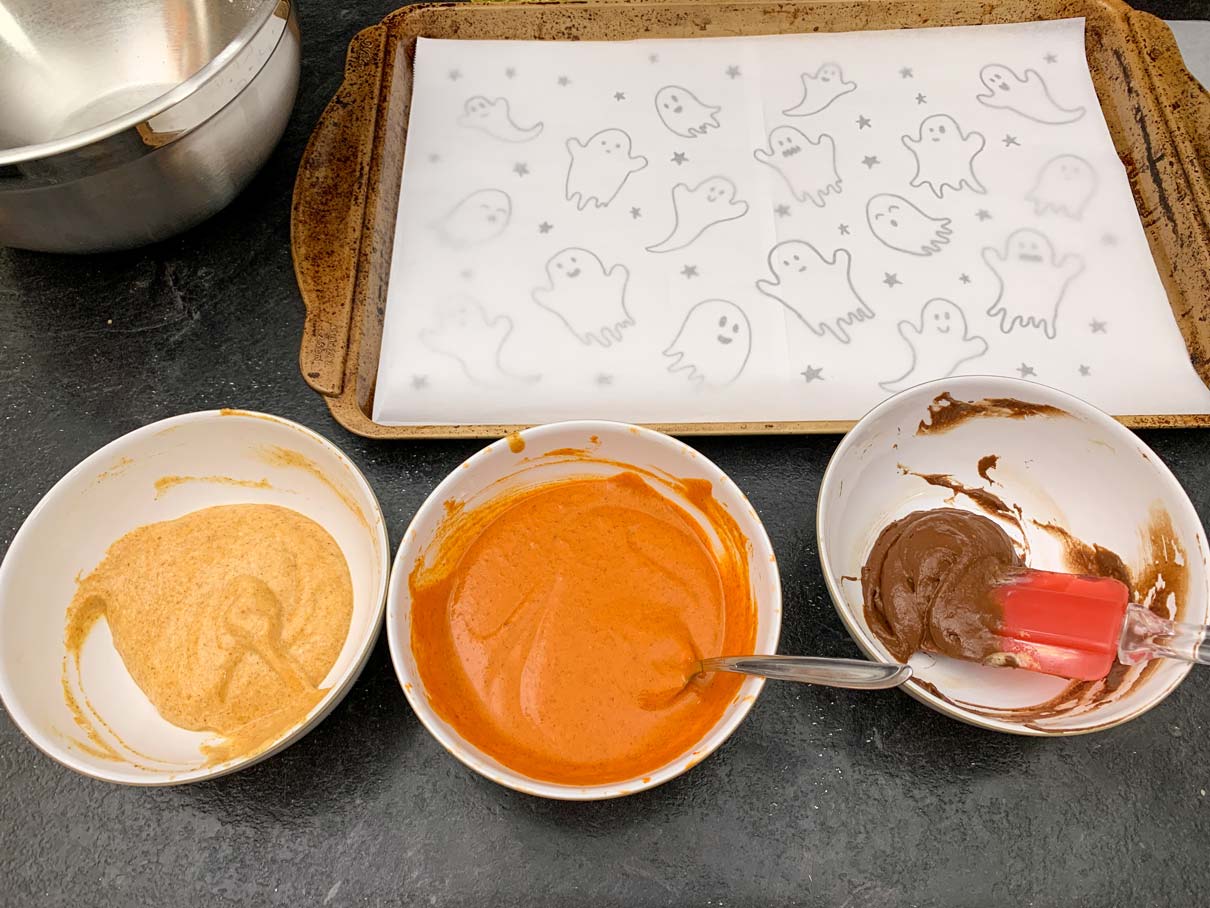
I decided to use black for my ghost outlines, plain uncoloured batter for the ghosts, and then orange coloured batter for the majority of the cake. For this I estimated I would need about 1/4 cup left plain, 1/8 cup for the black, and the rest coloured orange. I ended up with more plain and black batter than I needed, so I’ve reduced the recommended amounts listed below.
You’ll need a 10 x 15 inch jelly roll pan for this cake. The pan I used was about 11 x 17 inches. I was able to make it work, but the cake was a little thinner than it should have been, and I didn’t quite have enough batter to get all the way to the edge of the pan evenly.
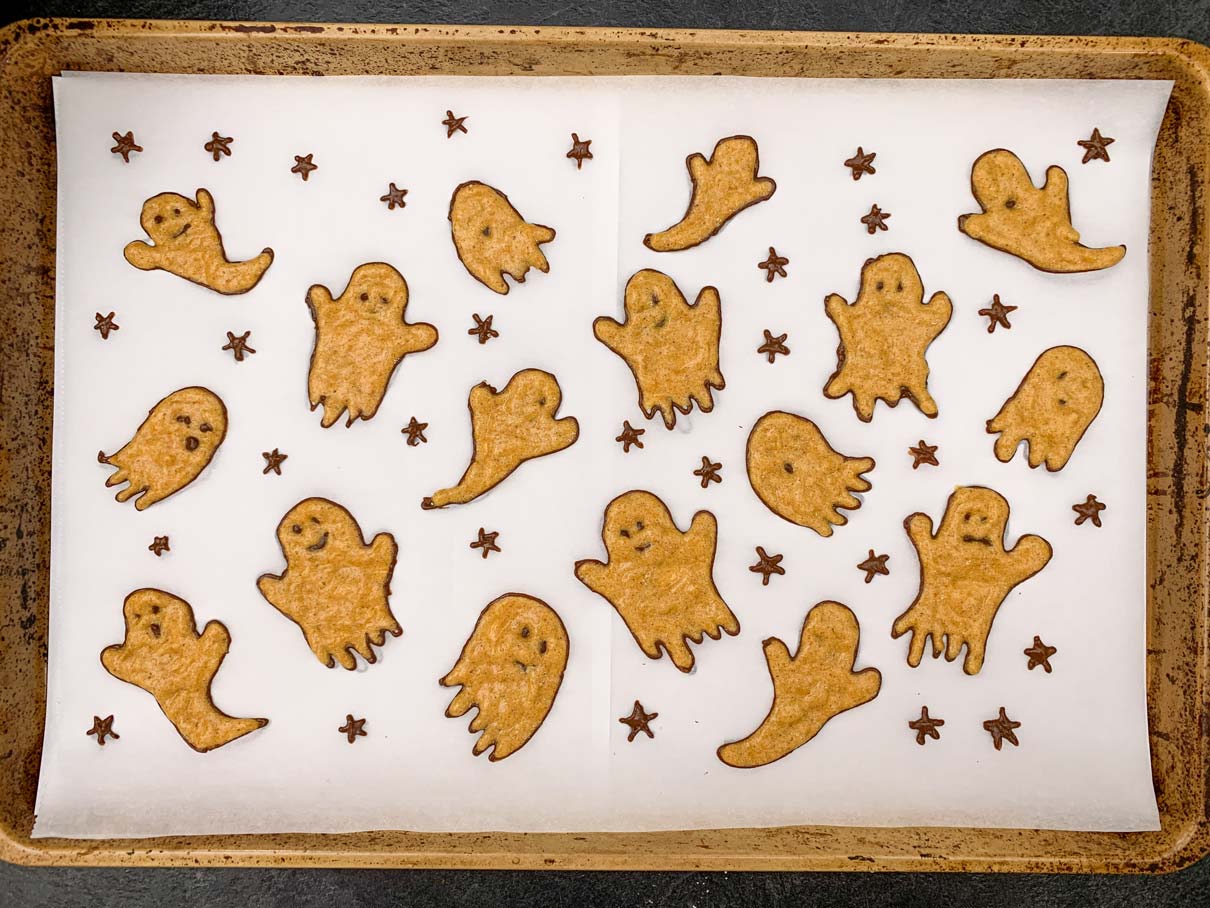
The fun (and easiest) part of this process was deciding on the pattern. I taped two 8.5 x 11 inch sheets of paper together to match the size of my pan. Then I drew my little ghost and star shapes all over with a thick black sharpie.
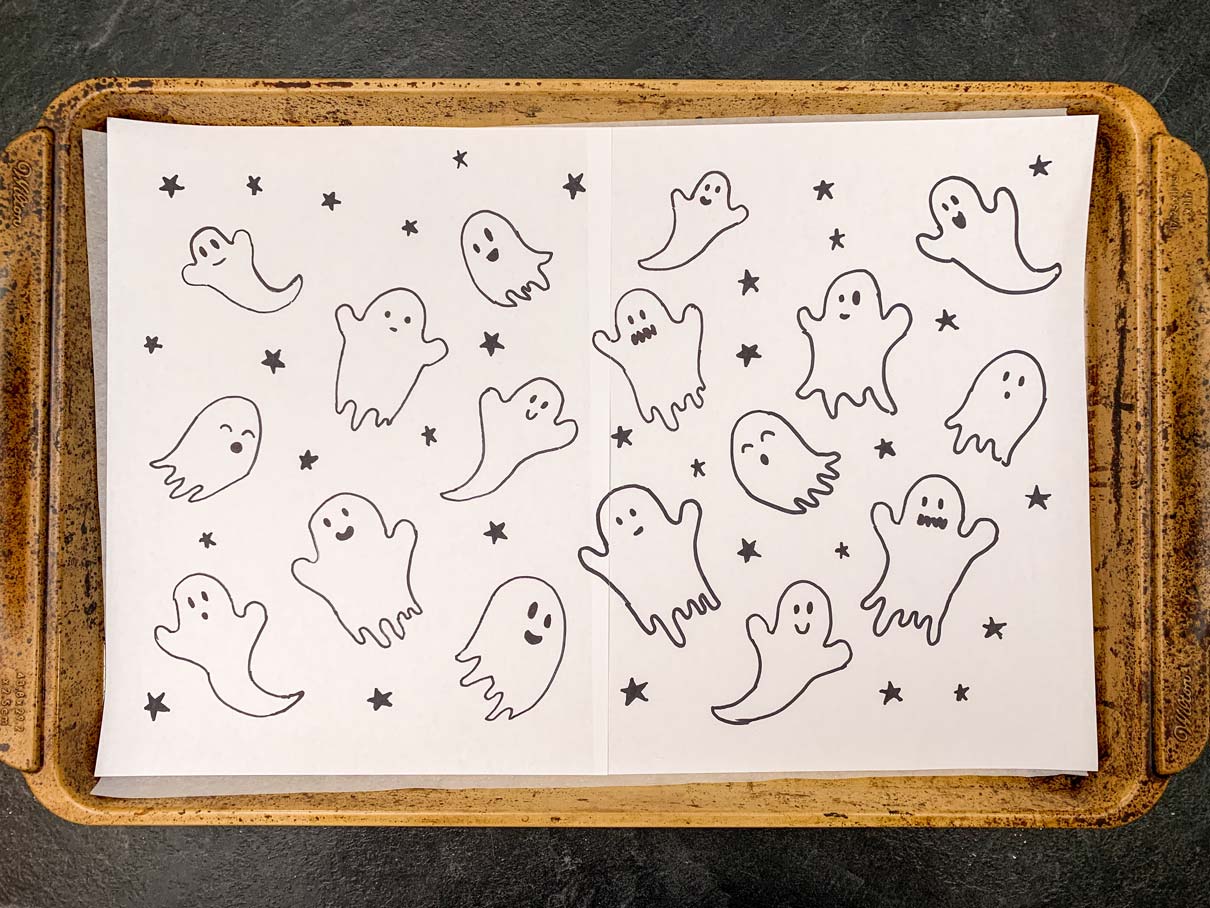
The drawing goes onto the jelly roll pan first, then you lay a sheet of parchment paper on top. You’ll be able to see your design through the parchment paper so that you can trace it with the batter later on.

I’d recommend using a sheet of parchment that is a little wider than the bottom of your pan. That way you have some extra parchment to use as handles to help lift the cake off the pan when it’s done baking. Once you’ve got a design picked out and prepped, you can start on the batter.
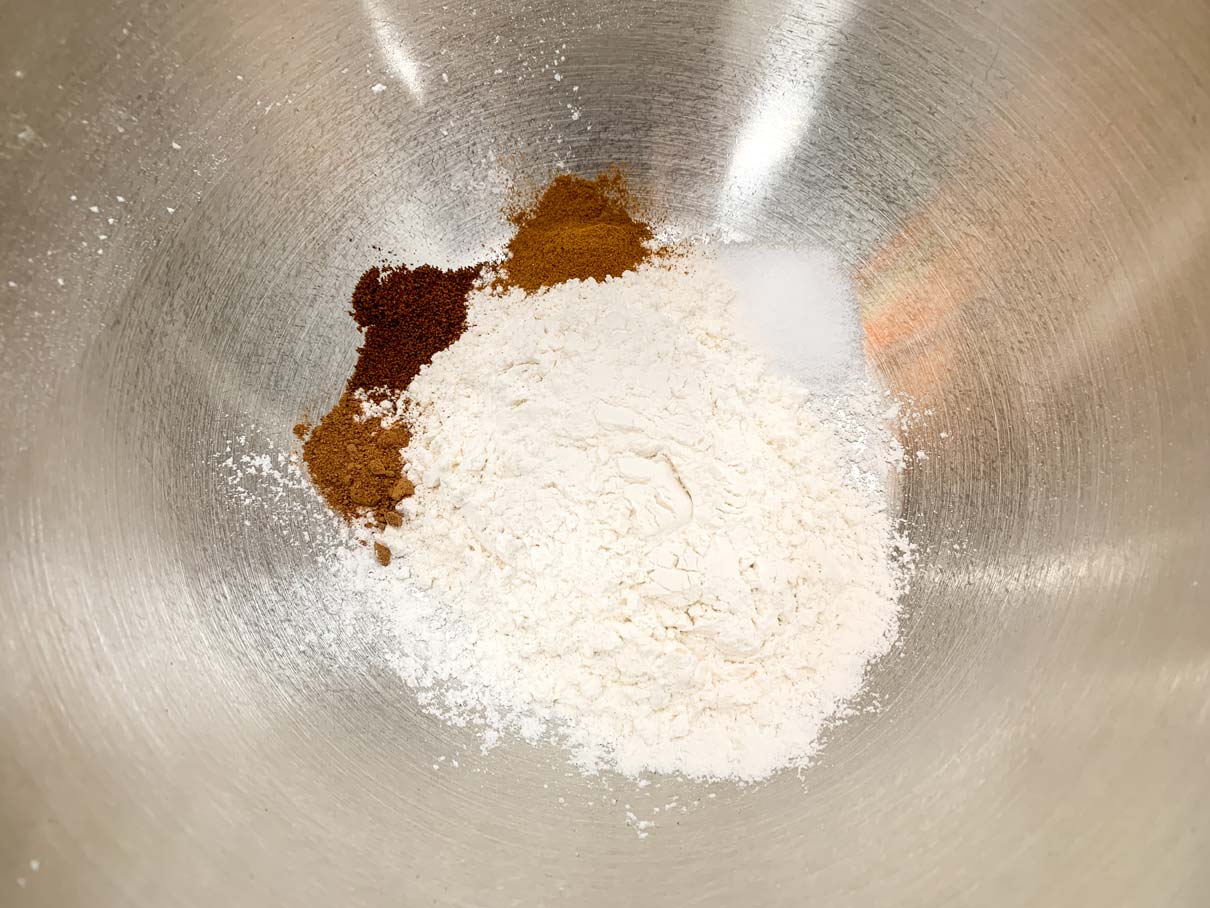
In a small bowl, whisk together a 1/2 cup of cake flour, 1/2 teaspoon salt, 1/2 teaspoon ground cinnamon, 1/8 teaspoon of nutmeg, and a 1/8 teaspoon of ground cloves. Set the bowl aside.
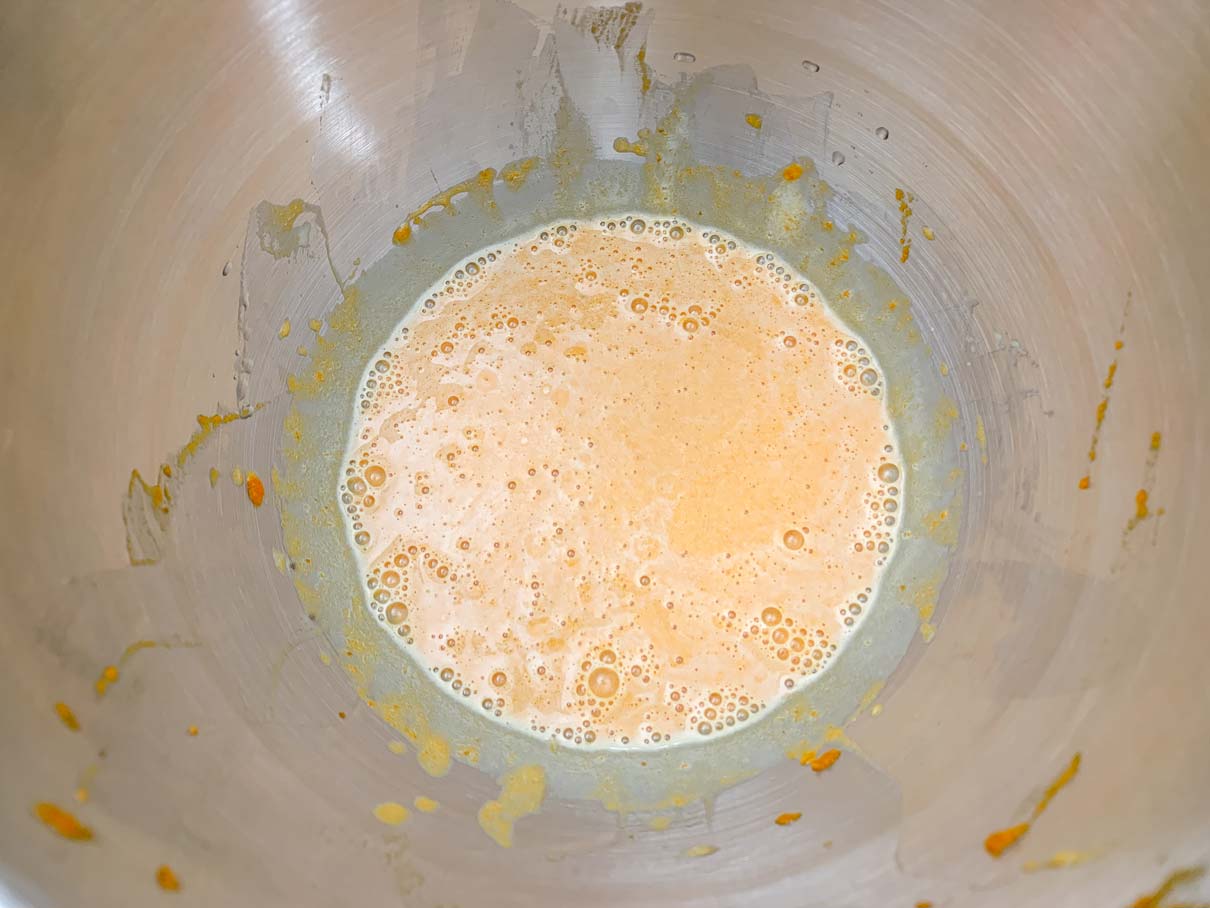
Separate the yolks and the whites of 3 eggs. Place the yolks in a medium sized bowl along with 6 tablespoons of sugar. Whisk them together until the sugar has dissolved and the yolks are a lighter colour.
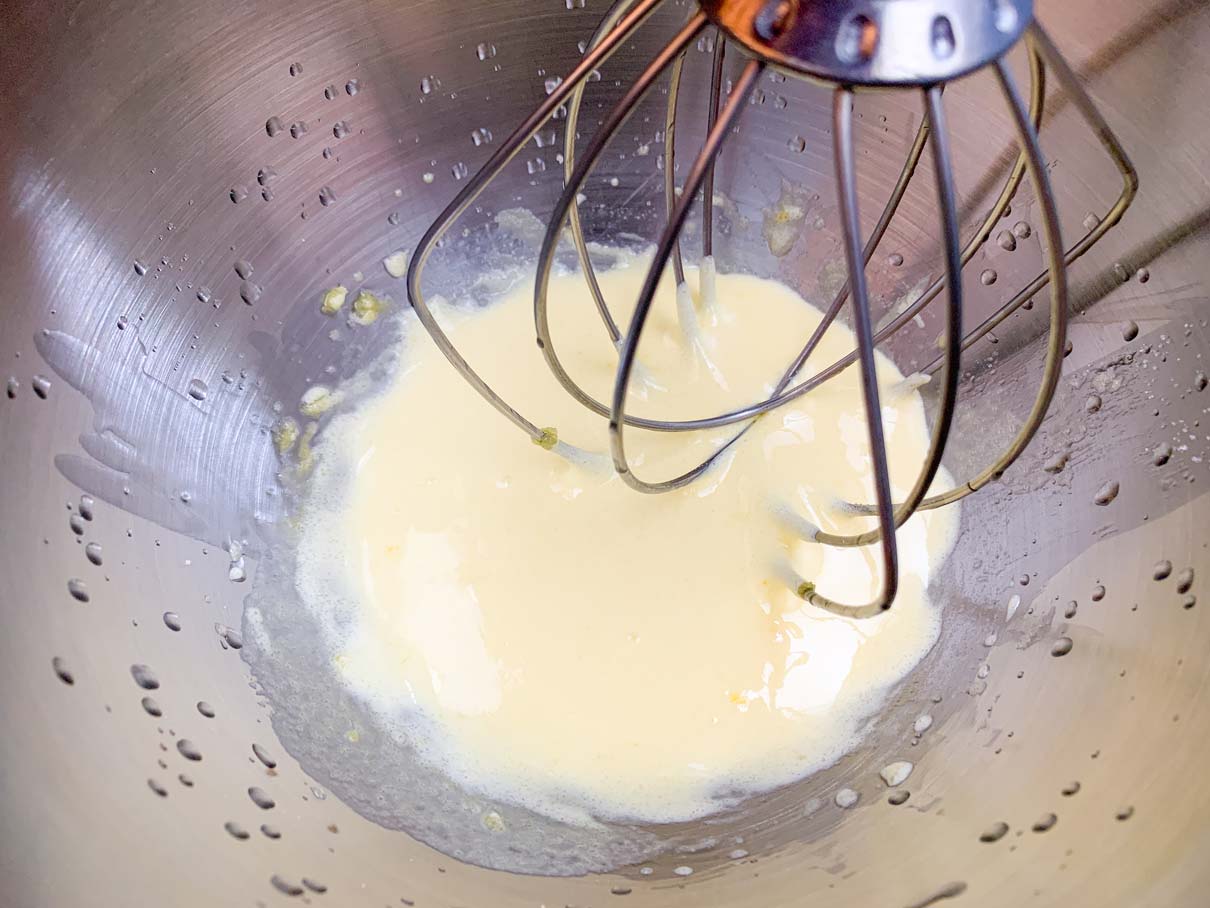
Drizzle in 1 tablespoon of vegetable oil while whisking constantly. Whisk until the oil is incorporated, then whisk in a 1/2 cup of canned pumpkin puree and 1 teaspoon of vanilla.
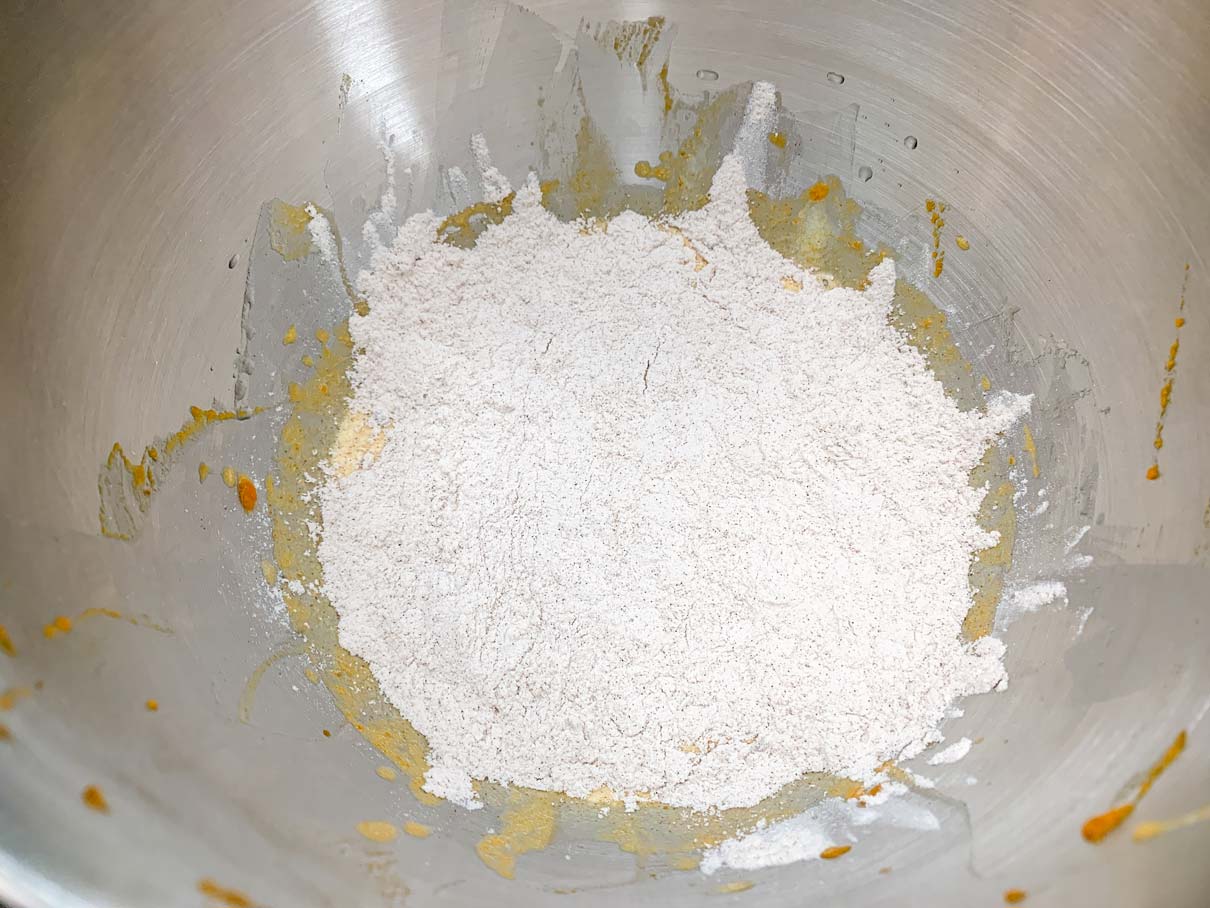
Add the flour to your wet ingredients and whisk until just combined. Now comes the part where you separate out the batter to get your different colours. I messed up my math here completely while making this cake and ended up with plain batter that was too runny, and black batter that was too thick. I was able to make it work, but here is what I should have done instead.
Take 1/3 cup of the batter and transfer it to a small bowl. This will be your plain batter for the ghosts.
Take 1/8 cup of batter and transfer it to another separate small bowl. This will be your black batter for the ghost outlines and stars.
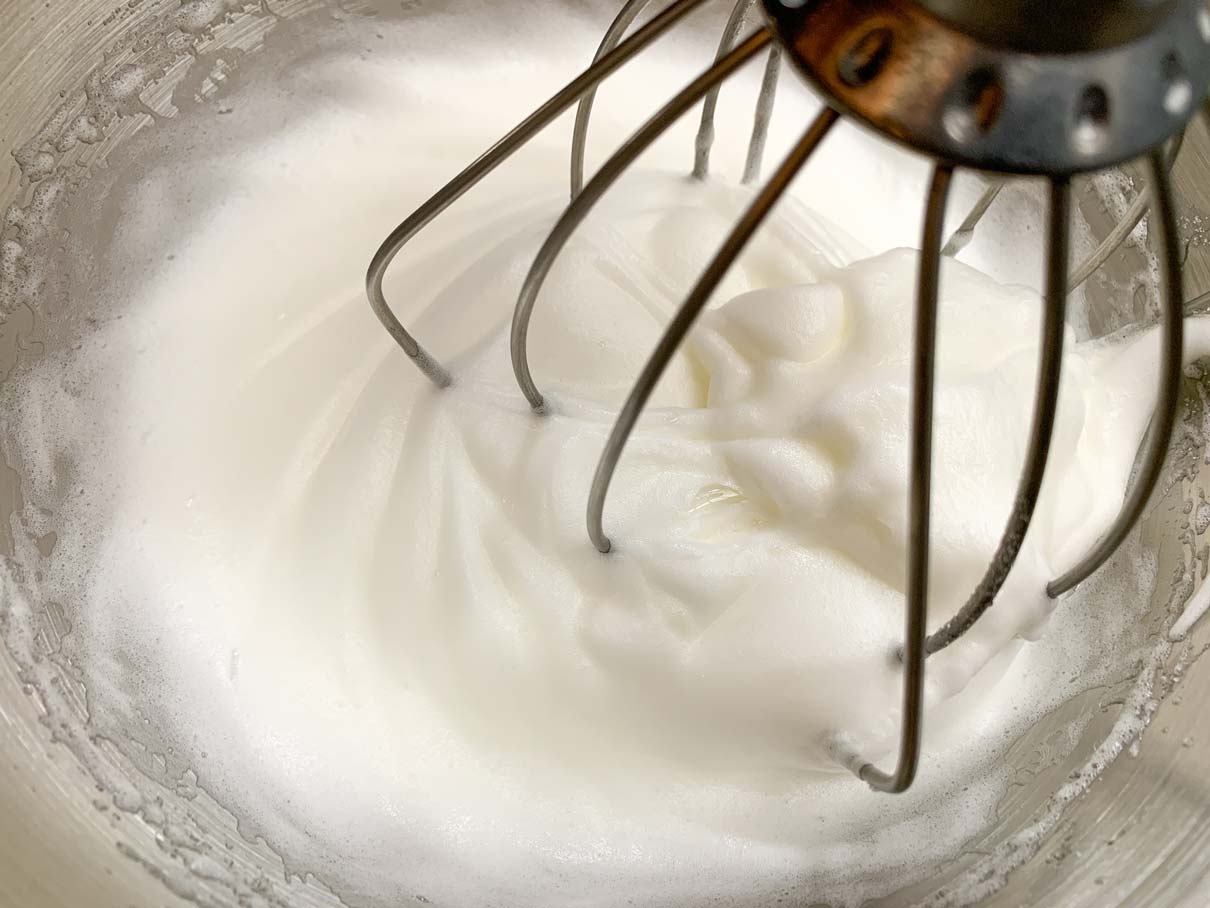
In the bowl of a stand mixer, fitted with a whisk attachment, add your 3 egg whites. Whisk them on medium high speed until frothy.

Add 2 tablespoons of sugar, and whisk on high speed until the egg whites hold medium peaks.
To your small plain batter bowl (the one with 1/3 cup of batter), whisk in 2 tablespoons of cake flour. Add two heaping tablespoons of the whisked egg white and fold until incorporated. Transfer this batter to a piping bag fitted with a small round tip (I used a Wilton #3).
To your small black batter bowl (the one with 1/8 cup of batter), whisk in 1/2 tablespoon of cake flour and 1/4 tablespoon of cocoa powder. Add 1 heaping tablespoon of egg white and fold until incorporated. Transfer this batter to a piping bag fitted with an even smaller round tip (I used a Wilton #1).
These smaller batches of batter should be slightly thick, but pipeable. You want the black batter to hold its shape when piped, so if it looks a little loose, stir in just a little more cocoa powder until it stiffens up a bit. If either looks way too thick to pipe, stir in a tiny splash of whole milk or cream to loosen it up.
You should still have a medium sized bowl of batter remaining. To this bowl, add some orange food colouring and mix well until combined.
Add half the remaining egg whites to this same bowl, and carefully fold them in until just incorporated. Add the second half of the egg whites, and fold them in as well.

Now onto the piping! With your black batter, trace the outlines of all your little ghosts and stars.

With your plain batter, fill in the ghost shapes.
Place your whole pan in the freezer for 10 minutes to let your design firm up. You can start pre-heating your oven now. You might also want to pour yourself a shot of something stiff and strong while you wait, because at this point you’ll really be wondering why the hell you decided to make this cake in the first place.
Take your pan out from the freezer and CAREFULLY REMOVE THE PAPER WITH YOUR DESIGN ON IT from underneath the parchment paper. You don’t want to bake your cake with your drawing paper still underneath.
Now pour the orange batter on top of your piped design. Spread the batter evenly across the pan, taking care not to disrupt the design below. The batter will bake in the exact shape you spread it into, and won’t flatten out on its own, so be sure to spread it nice and smooth and even.

Place the tray in your pre-heated oven and bake for 12-14 minutes until the cake is springy and just barely starting to brown at the edges. At this point you’ll be thinking to yourself: “I’m almost done! The worst is over!”.
Ha. No.
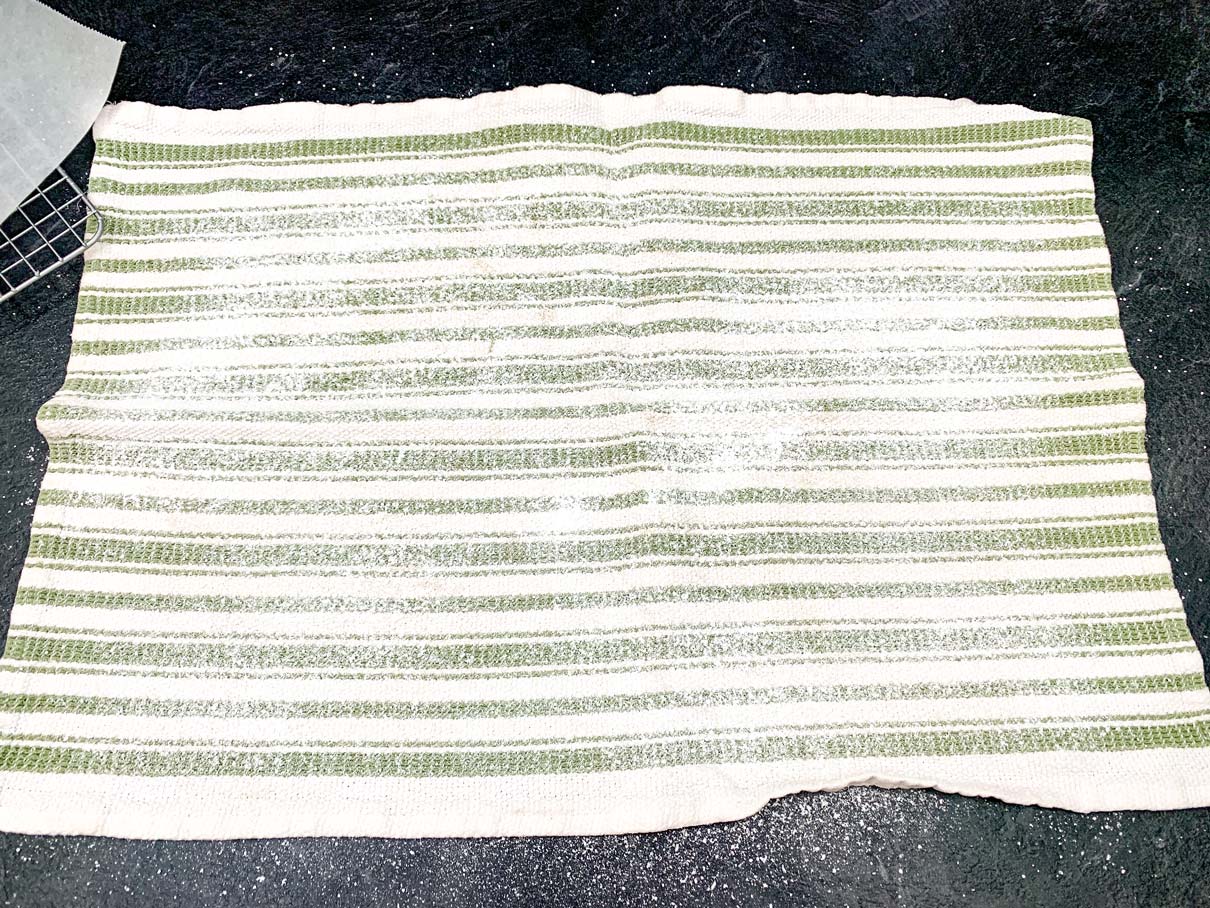
While the cake is in the oven, grab a clean tea towel, lay it flat on the counter, and generously dust it with icing sugar.
When the cake is done baking, you’re going to want to flip it onto another sheet of parchment. I found it worked well to lay a piece of parchment on top of the baked cake, along with an upside down cooling rack. Then I flipped the whole tray together. Kind of like what you would do when flipping an upside down cake.
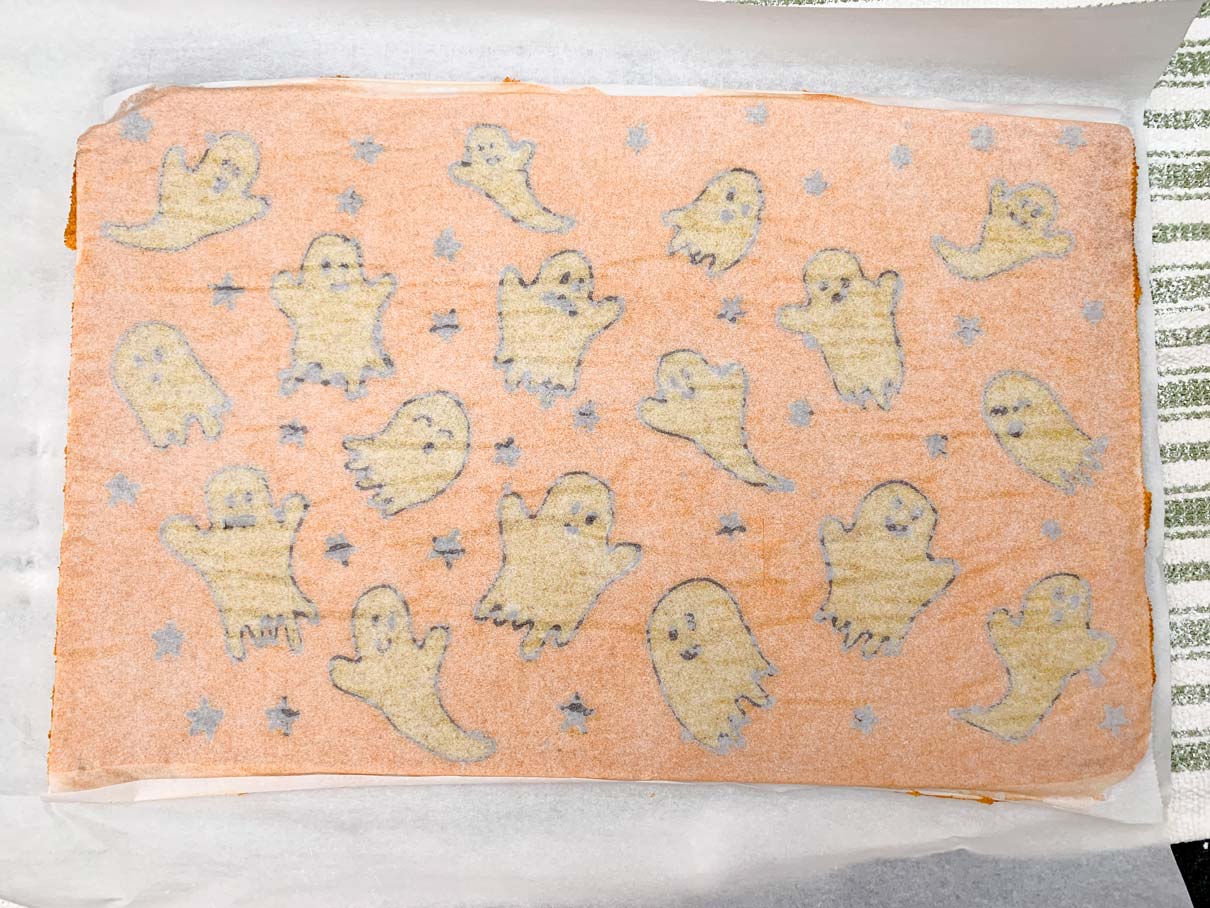
After flipping the cake, carefully remove the parchment paper that the cake was baked on. This is the big reveal moment, where you’ll realize whether your design was an epic win or an epic fail. I’ll leave it for you to decide whether or not you want to take another shot of something stiff and strong at this point.

Now it’s time for another cake flip. Place your cake DESIGN SIDE DOWN onto your icing sugar dusted tea towel.
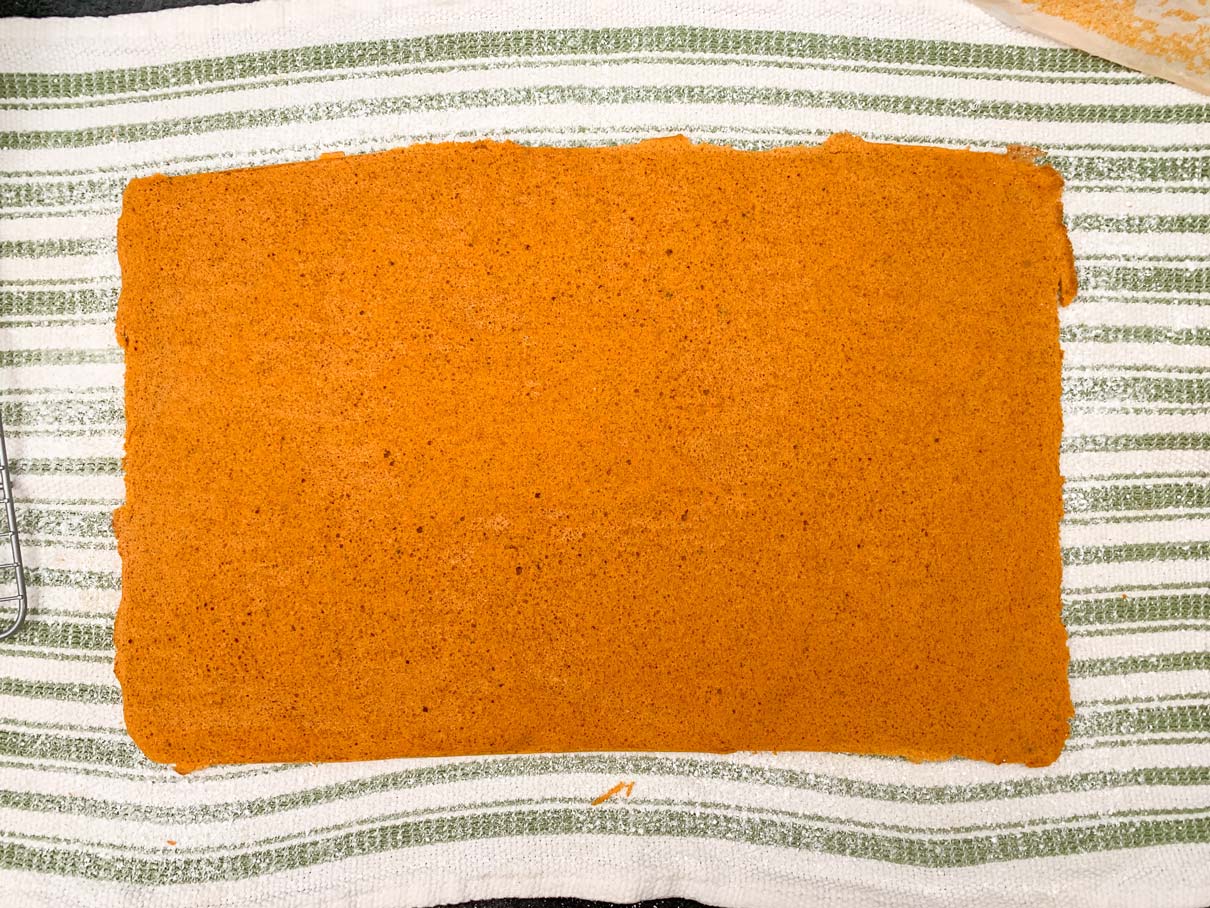
Roll the cake, along with the tea towel, into a log. In case you’re second guessing yourself, yes the tea towel should be rolled in between the cake, not just wrapped around the outside of the cake.
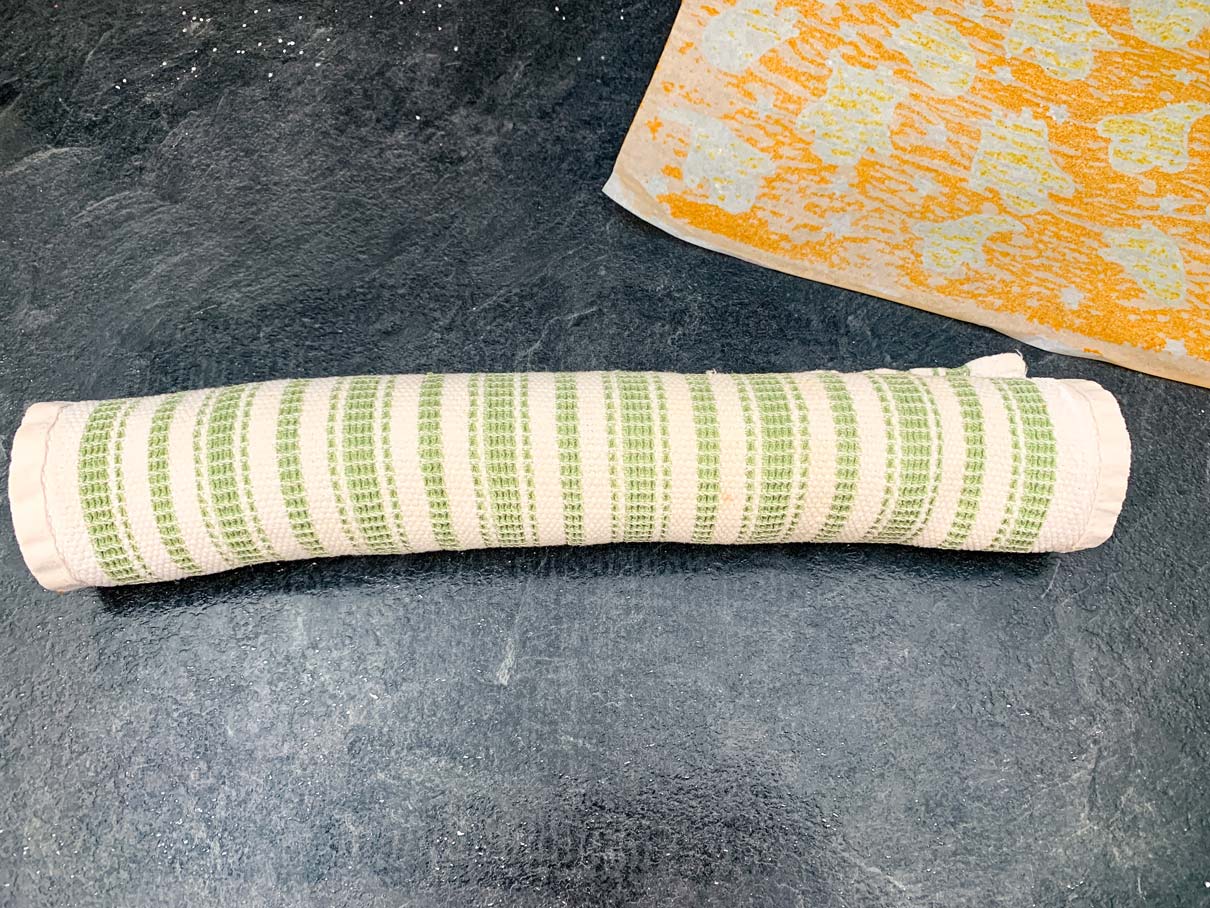
Let the cake cool completely in its wrapped up state for about an hour.
Now it’s time to start on the filling. (Honestly, just re-telling this process is wearing me out…are you feeling as exhausted as I am right now?)
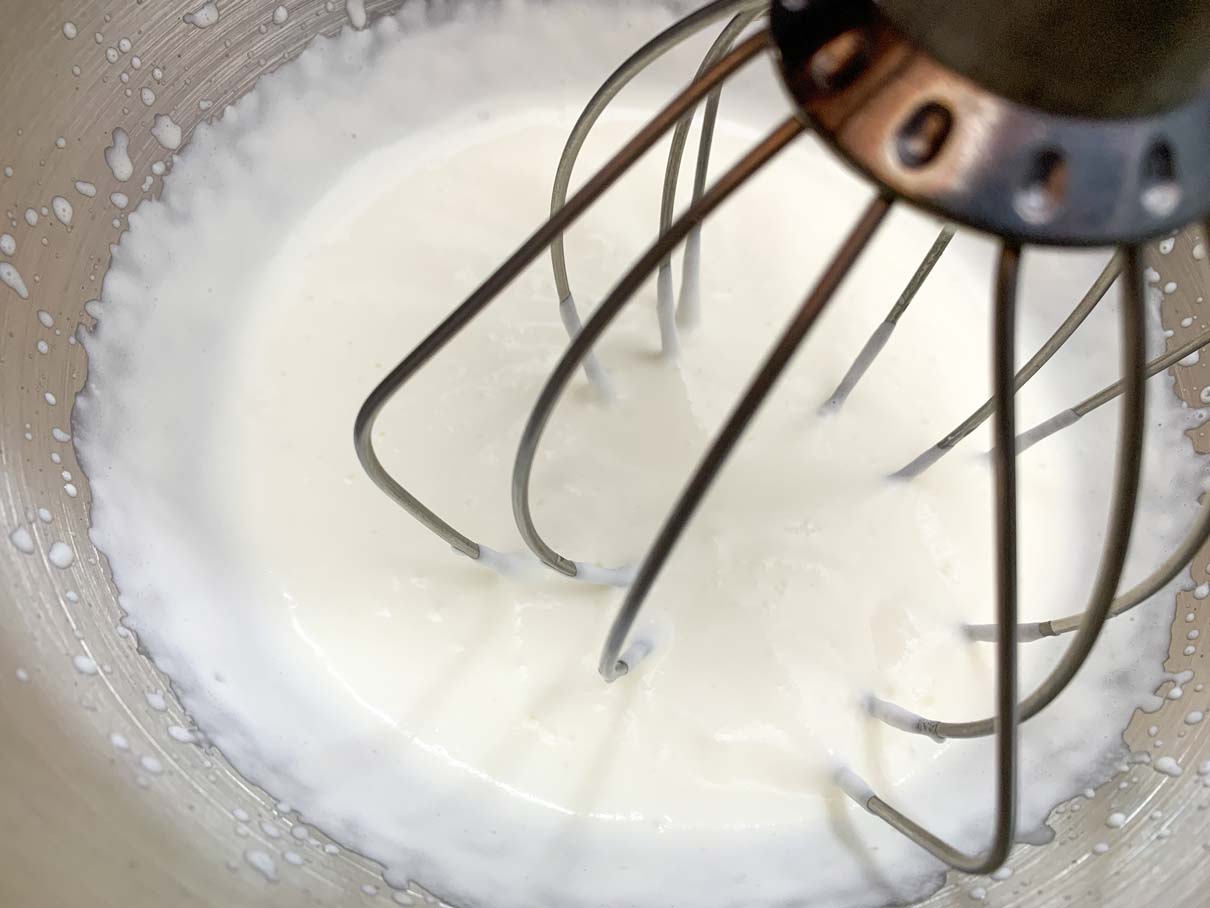
In the bowl of a stand mixer, fitted with a whisk attachment, whisk a 3/4 cup of cold whipping cream until it thickens to soft folds.
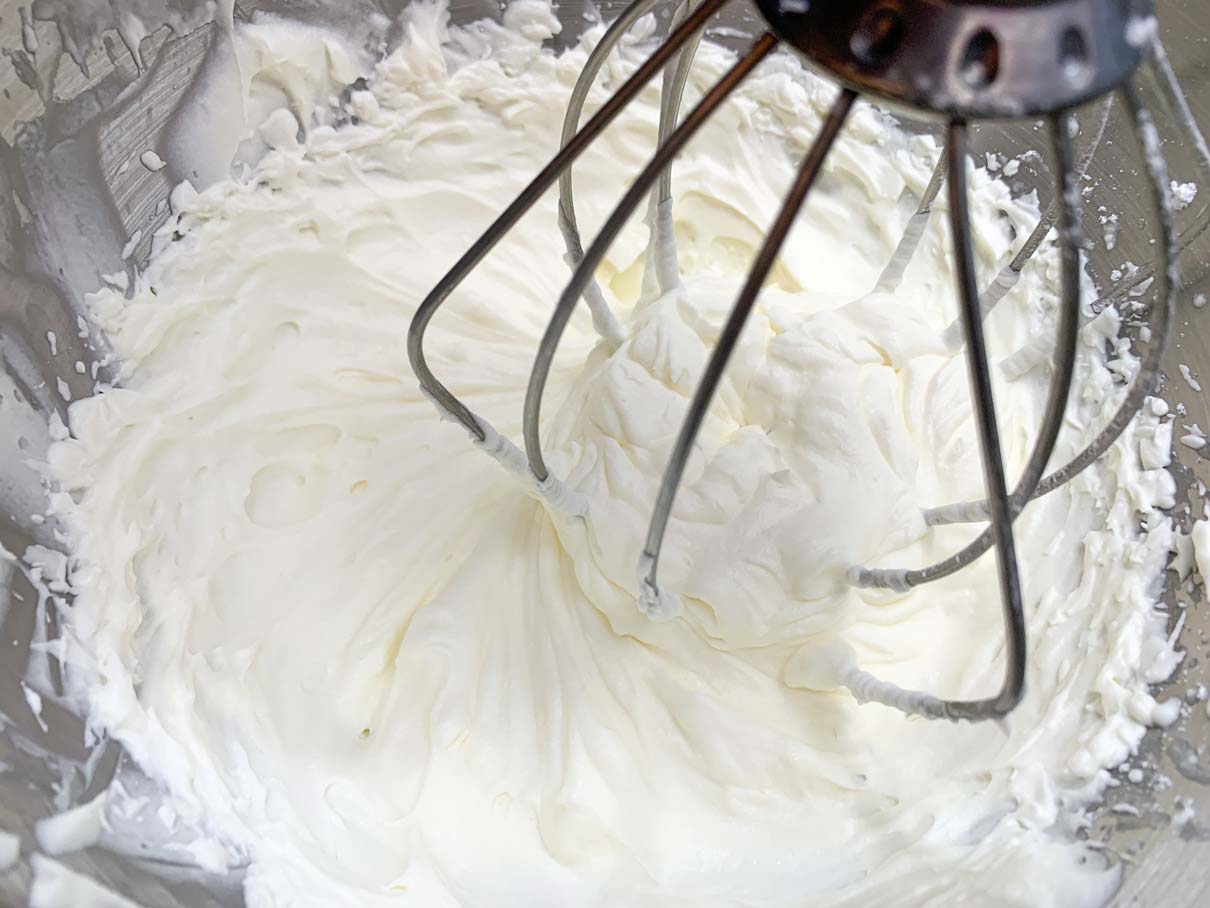
Add a 3/4 cup of icing sugar to the cream and continue to whisk until it forms medium-stiff peaks.
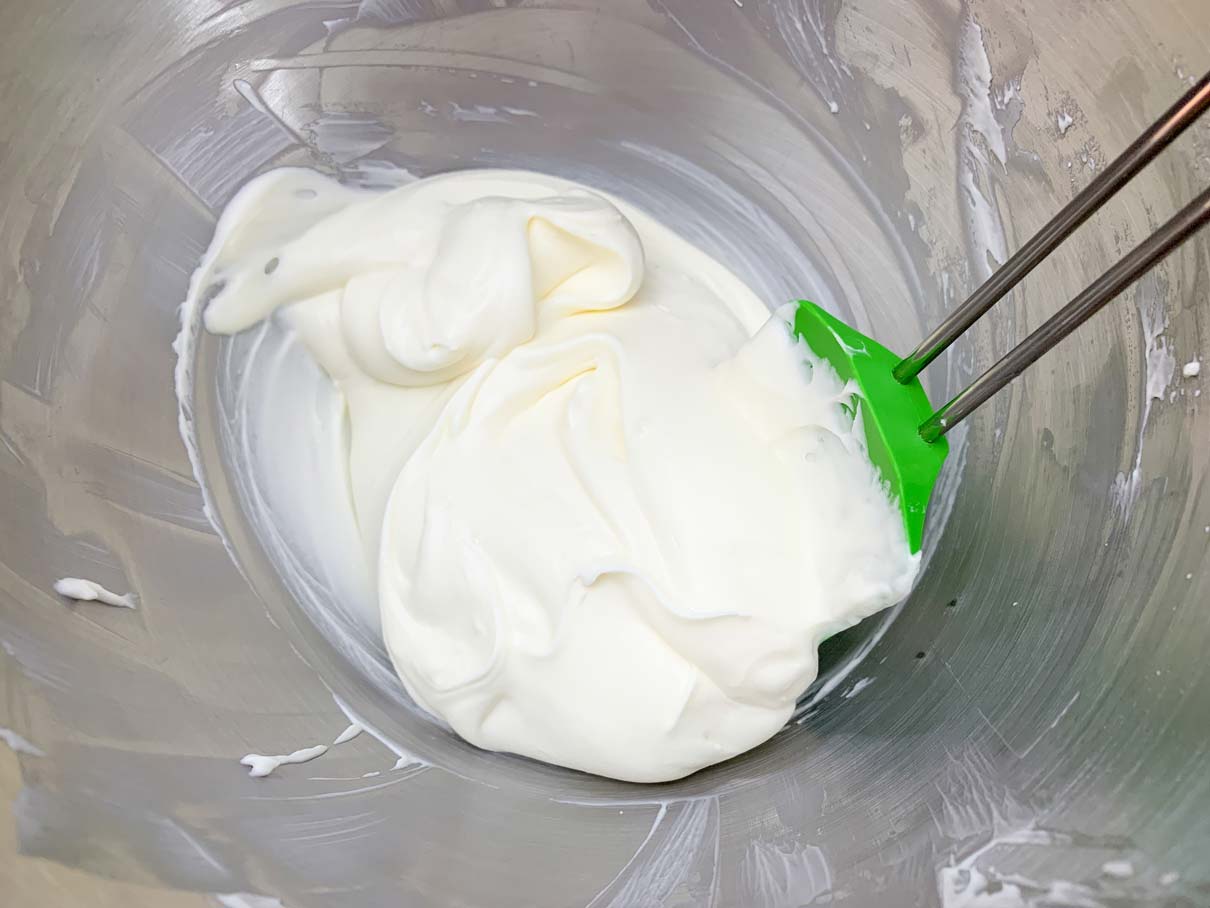
In a large bowl, stir together a 1/2 cup of mascarpone cheese with a pinch of salt and splash of cream.

Add about 1/2 of the whipped cream to the bowl with the mascarpone and fold it in until combined. Add the reaming half the cream and fold in until fully incorporated.
Unroll your completely cooled cake from its tea towel. It may try to roll back up on it’s own a little bit. Just gently hold the curling end down to keep it in place.

Spread the filling evenly across the entire cake, except for about the last 1/2 inch or so at the far end (i.e. the edge of the roll that will be on the outside of the cake).

Gently roll the whole cake back up into a log (this time without the tea towel).
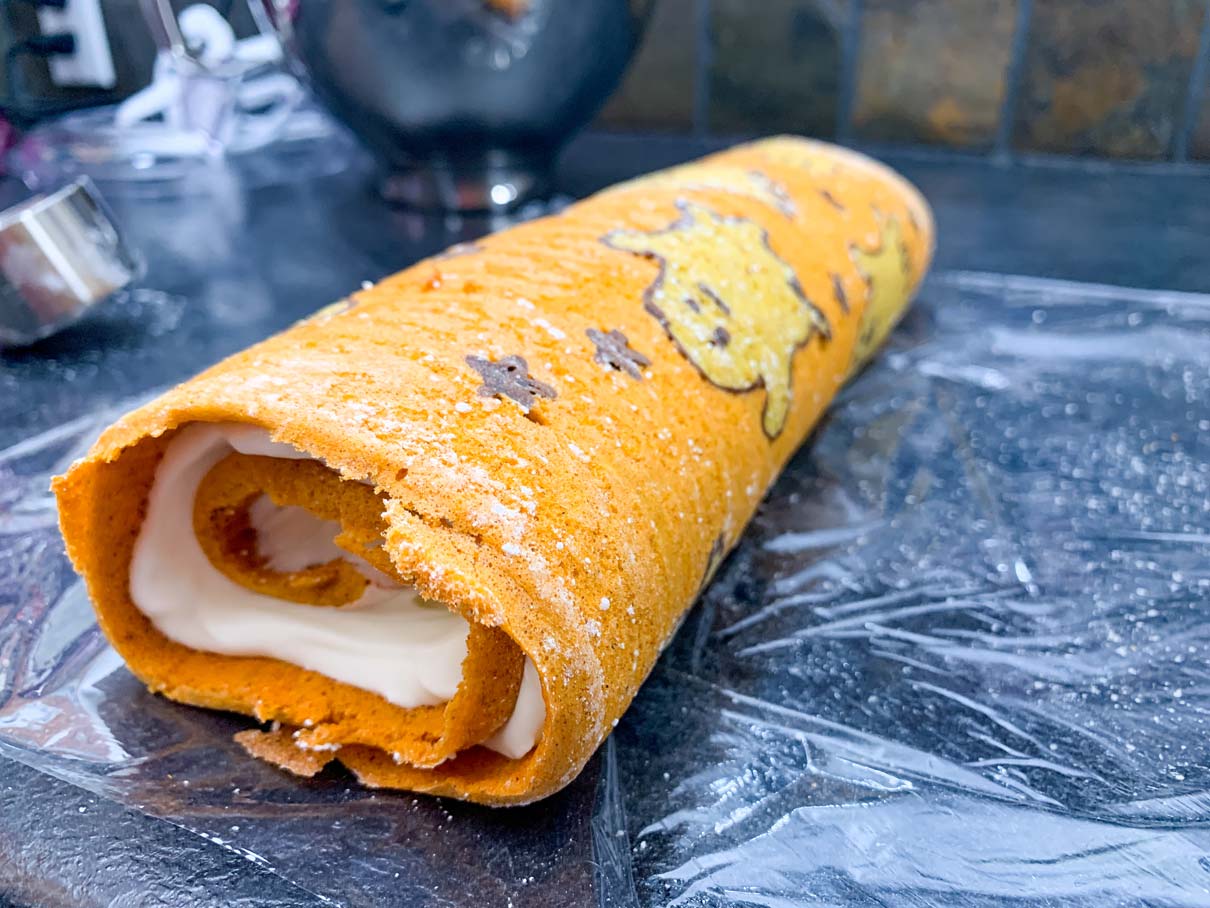
Wrap it tightly in plastic wrap and refrigerate it for two hours, or overnight, to let the filling set.

I highly recommend having a nap while your cake chills. You’re going to need it! When you wake up, you’ll be feeling much less stressed and cranky about the whole cake making process and you can finally enjoy a slice of your cake in peace. Until you look over at the kitchen sink and see your pile of dishes that is….See? SpooOOooky!
Happy Halloween!!!

Pumpkin Roll Ghost Cake with Mascarpone Whipped Cream
Ingredients
For the Cake
- 1/2 cup + 2.5 tbsp cake flour (divided)
- 1/2 tsp salt
- 1/2 tsp ground cinnamon
- 1/8 tsp ground nutmeg
- 1/8 tsp ground cloves
- 3 large eggs (separated)
- 6 + 2 tbsp granulated sugar (divided)
- 1 tbsp vegetable oil
- 1/2 cup canned pumpkin puree
- 1 tsp vanilla extract
- 3/4 tsp cocoa powder
- Orange food colouring
For the Filling
- 3/4 cup + 1-2 tbsp heavy whipping cream
- 3/4 cup icing sugar
- 1/2 cup mascarpone cheese
- Pinch of Salt
Instructions
- Cut a piece of paper to fit a 10 x 15 inch jelly roll pan. Draw your design on the paper with a a black sharpie. Place the paper on the jelly roll pan with a sheet of parchment paper over top. The parchment paper should be a bit wider than your pan so that it comes up the edges of the pan slightly.
- In a small bowl, whisk together a 1/2 cup of cake flour with the salt, cinnamon, nutmeg and cloves. Set bowl aside.
- In a medium sized bowl, whisk the egg yolks with 6 tablespoons of sugar until the yolks are lighter in colour, and the sugar has dissolved.
- Add the vegetable oil and whisk until fully incorporated.
- Add the pumpkin puree and vanilla. Whisk to combine.
- Add the flour mixture to your pumpkin mixture. Whisk together until just combined. Set bowl aside while you prepare the egg whites.
- In the bowl of a stand mixer, fitted with a whisk attachment, whisk the egg whites on medium high speed until foamy.
- Add 2 tablespoons of sugar and whisk on high speed until the egg whites hold medium peaks.
Prepare the plain batter for the whites of the ghosts
- Grab your bowl of pumpkiny cake batter. Transfer 1/3 cup of the batter to a small bowl. This will be your plain batter for the whites of the ghost. Stir in 2 tablespoons of cake flour until combined, then add 2 heaping tablespoons of your egg whites. Fold in the egg whites until just combined. Transfer the batter to a piping bag fitted with a small round tip (Wilton #3).
Prepare the chocolate batter for the ghost outlines
- Transfer another 1/8 cup of the main cake batter to a separate small bowl. This will be the chocolate batter for the black ghost outlines and stars. Stir in 1/2 tablespoon cake flour and 3/4 tsp of cocoa powder until combined, then add 1 heaping tablespoon of egg whites. Fold in the egg whites until just combined. Transfer the batter to a piping bag fitted with a small round tip (Wilton #1). ***See notes below about batter consistency.
Prepare the orange batter for the rest of the cake
- Take your remaining bowl of batter, and stir in some orange food colouring until your desired colour is reached.
- Add half of the remaining egg whites to the batter, and carefully fold them in until just incorporated.
- Add the other half of the egg whites and fold them in as well.
Prepare the design
- Using the black, chocolate flavoured batter, pipe your design onto the parchment paper, tracing the drawing that you've already prepared.
- Fill in the shape of the ghost outlines with the plain batter from the other piping bag.
- Transfer the whole pan to the freezer to firm up for about 10 minutes. Meanwhile, start pre-heating your oven to 350°F.
- Take the pan out of the freezer, and carefully remove your paper drawing out from under the parchment paper.
- Pour the orange batter on top of your piped design. Spread the batter evenly across the pan, taking care not to disrupt the design below. The batter will not settle or flatten on its own, so try to get it as smooth and as even as possible.
- Bake for 12-14 minutes until the cake is springy, and is just barely starting to brown at the edges.
- Lay a clean tea towel onto your counter top and generously dust it with icing sugar.
- When the cake comes out the oven, lay a fresh sheet of parchment on top, and place a cooling rack, upside down, on top of the parchment. Flip the whole tray over so the cake is now resting on the cooling rack with the design face up.
- Carefully peel the parchment paper off the top of the cake (the side with the design).
- Flip the cake again, so the design is facing down, onto the sugar dusted tea towel.
- Roll the cake and tea towel up together to form a log. Set aside and allow the cake to cool completely, still wrapped, for at least an hour. Once the cake has cooled, you can start on the filling.
Prepare the filling
- Whip 3/4 of a cup of whipping cream until it thickens to soft folds.
- Add 3/4 of a cup of icing sugar, and continue to whip until medium-stiff peeks form.
- In a large bowl, add a 1/2 cup of mascarpone cheese with a pinch of salt. Stir in 1-2 tablespoons of whipping cream to loosen up the cheese.
- Add half of the whipped cream to the mascarpone, and fold in. Add the remaining half of the whipped cream and fold in until fully incorporated.
- Unroll your cake onto a piece of plastic wrap (the design should still be face down).
- Spread the filling evenly across the entire surface of the cake, except for about the last 1/2 inch or so at the far end (i.e. the edge of the roll that will be on the outside of the cake).
- Gently roll the whole cake back up into a log.
- Wrap the log tightly in the plastic wrap that you initially laid it down on. Transfer the log to the fridge to chill for at least two hours or overnight. Be sure to set the log down so that the end of the cake is on the bottom.
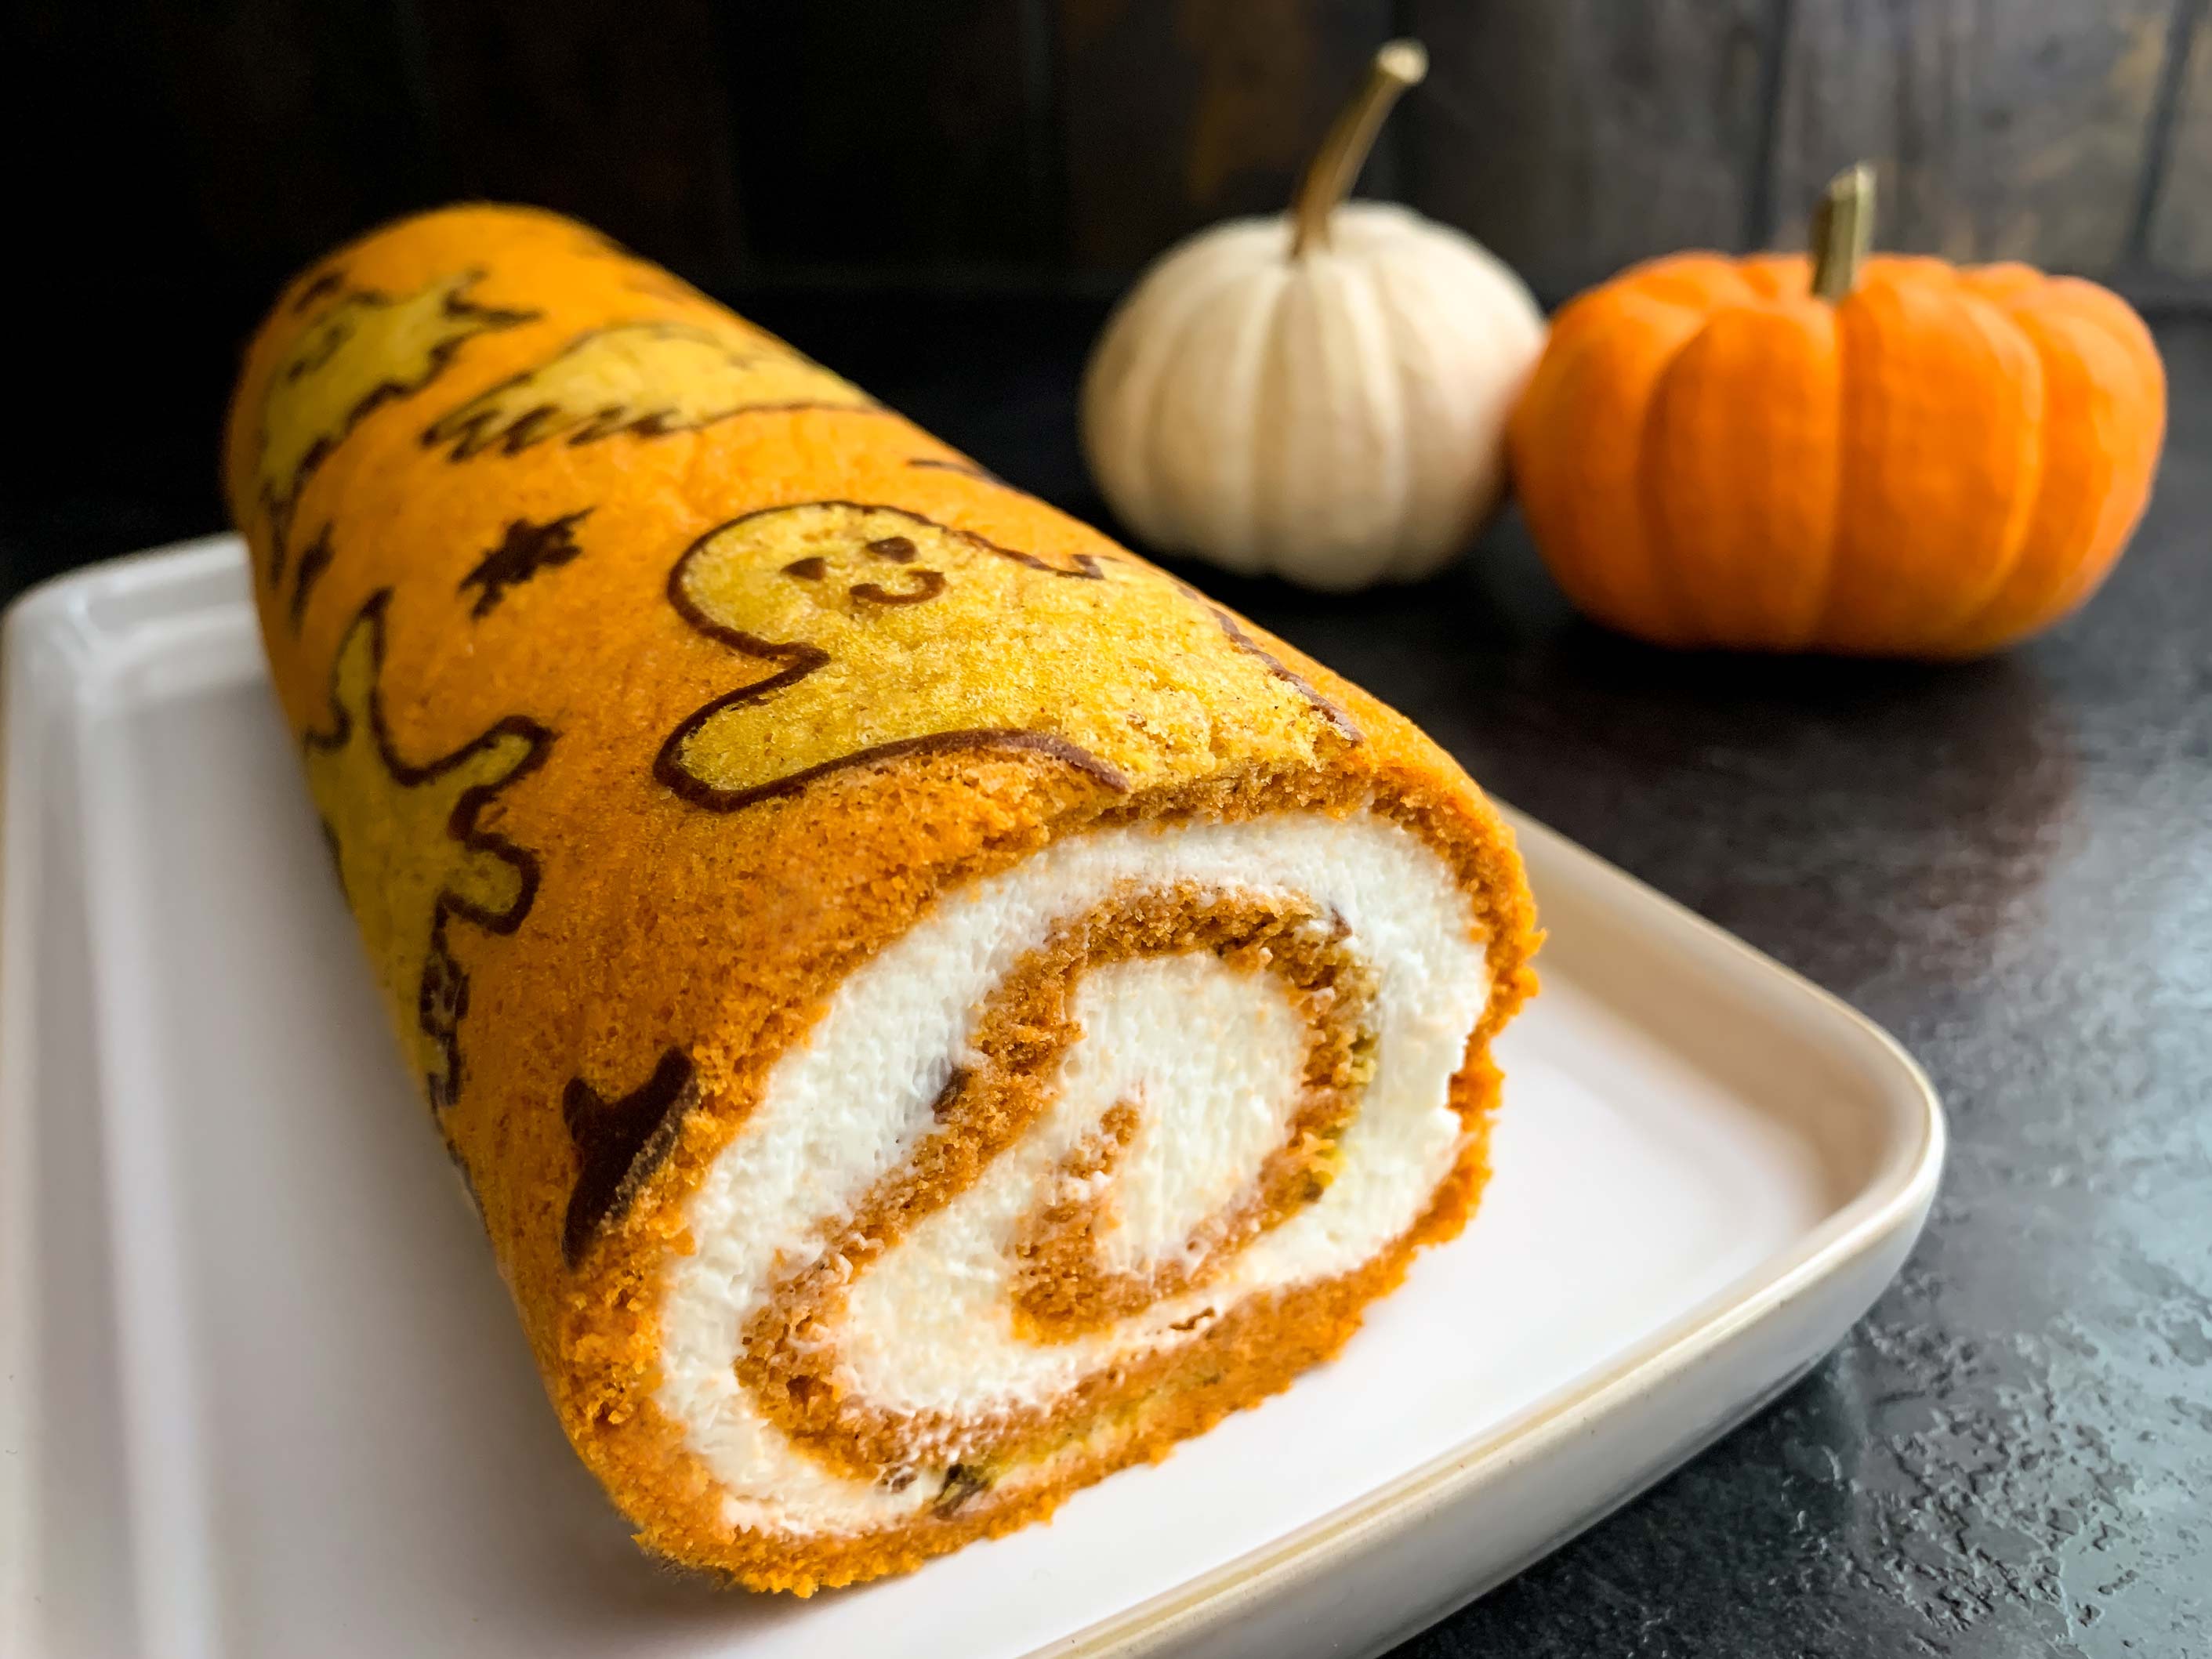
- Slice the chilled cake with a sharp knife to get nice clean cuts. You may want to trim a thin slice off either end of the cake to clean them up and give the cake a nice sharp appearance before serving.