
Last week I made this decadent hot chocolate, and I couldn’t stop thinking about how it would taste with a giant homemade marshmallow on top. I’ve never made marshmallows before, so now seemed like the perfect opportunity to give it a go!
I looked up a whole bunch of marshmallow recipes to see if there was much variation in ingredients or preparation method. All the ones I looked at seemed to contain very similar ingredients, in very similar quantities, with the biggest variation being how much vanilla to add.
The core ingredients consist of unflavoured gelatine, water, sugar, corn syrup, salt and vanilla (or other flavoured extract). You’ll also need lots of icing sugar for dusting.
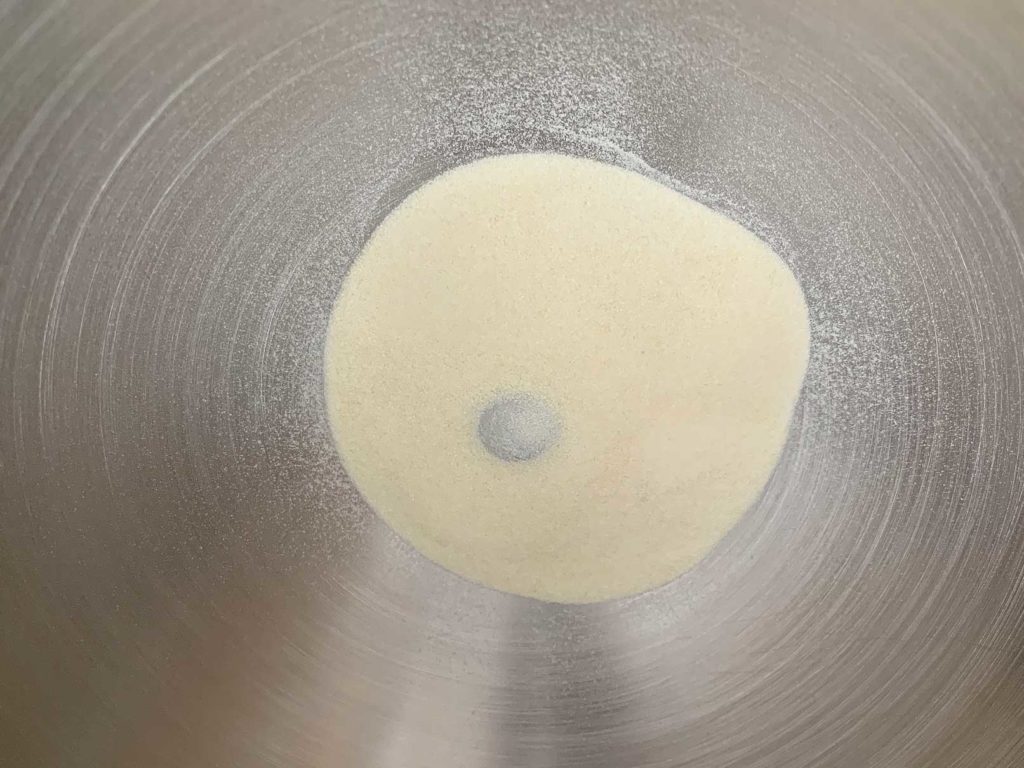
Start by adding your gelatine and some water to a bowl of a stand mixer. Give it a good stir and leave it to soak up the water. You’ll notice that it doesn’t take long to start getting really thick.
Next, prepare your baking dish. You’ll want to do this ahead of time, as you need to work quickly with the marshmallow mix. You won’t have time to stop and mess about greasing a pan once your marshmallows are ready.
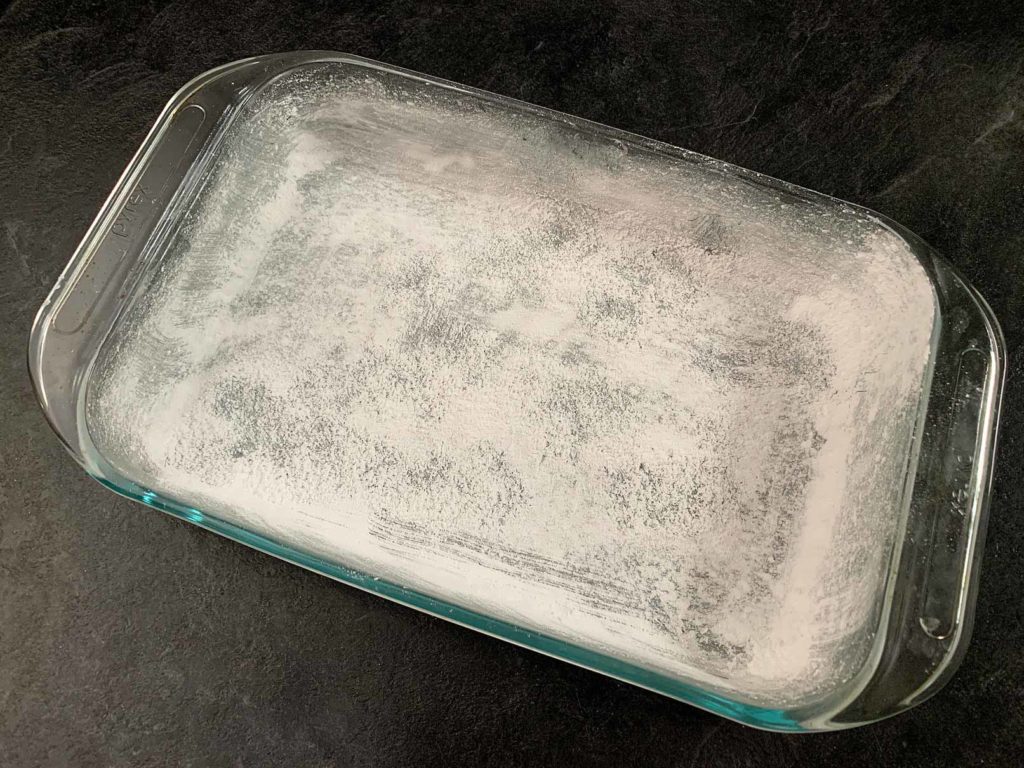
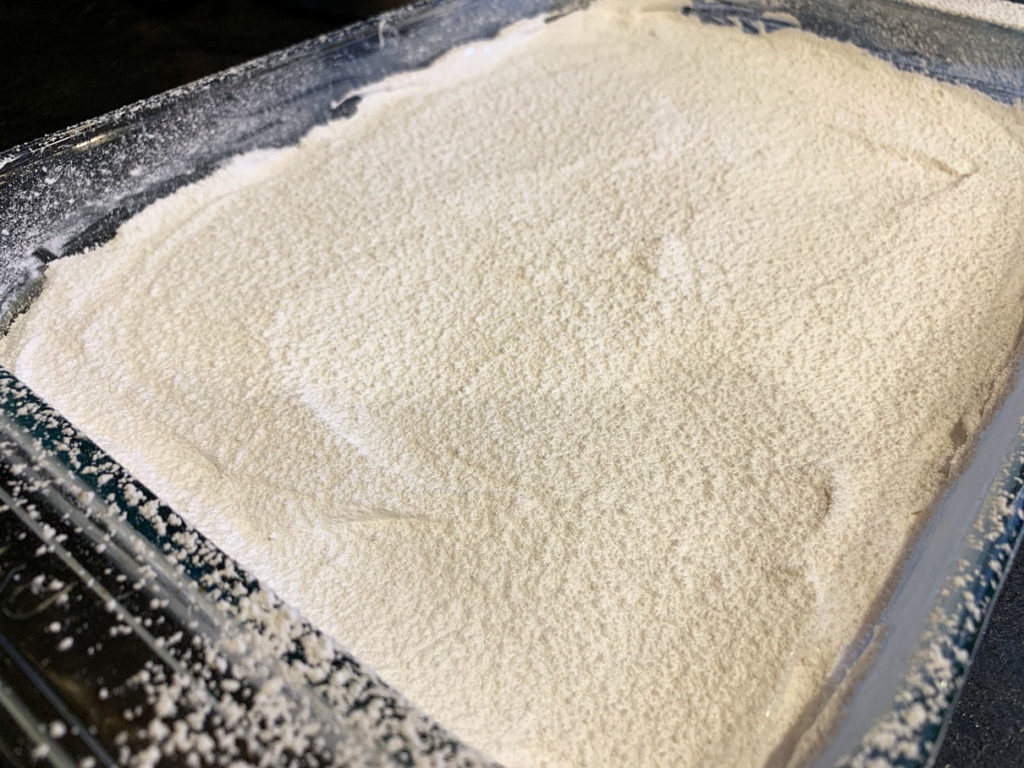
Grease a 9″ x 13″ non-metal dish really, really well and then give it a heavy dusting of icing sugar. The easiest way to do this is by using a sieve to sprinkle the icing sugar evenly over the dish. The trick here is to coat the dish with WAY more icing sugar than you think is necessary. You see how I coated the pan below? This was not enough icing sugar and my marshmallows ending up sticking. So don’t be stingy – really go to town on it!
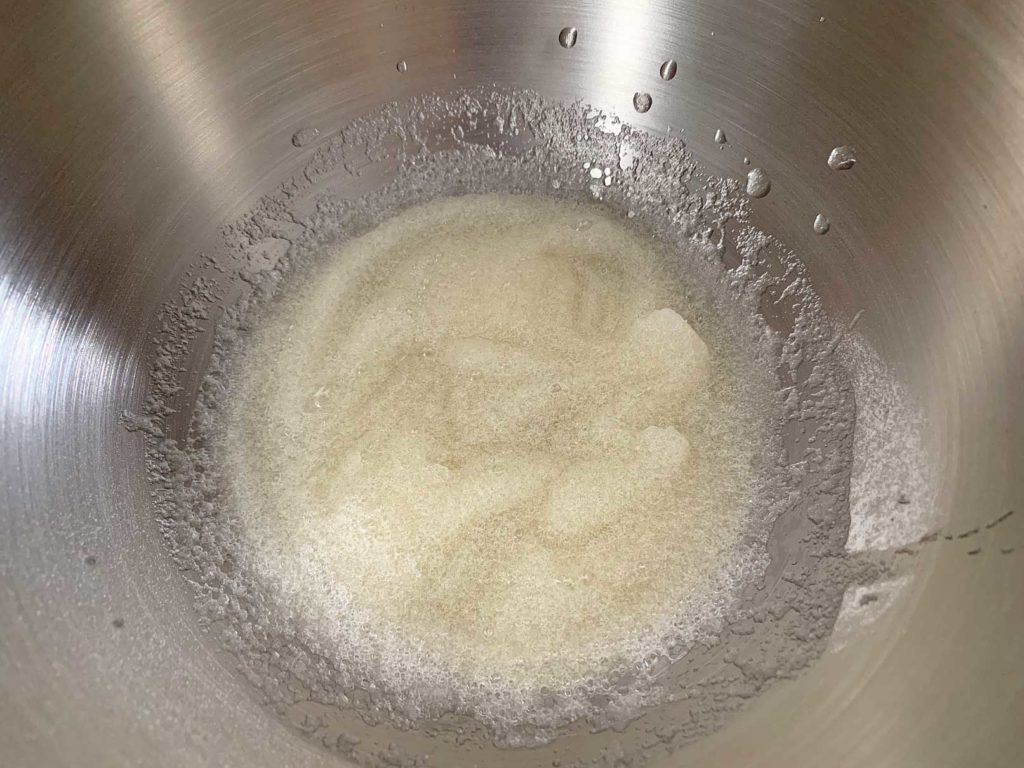
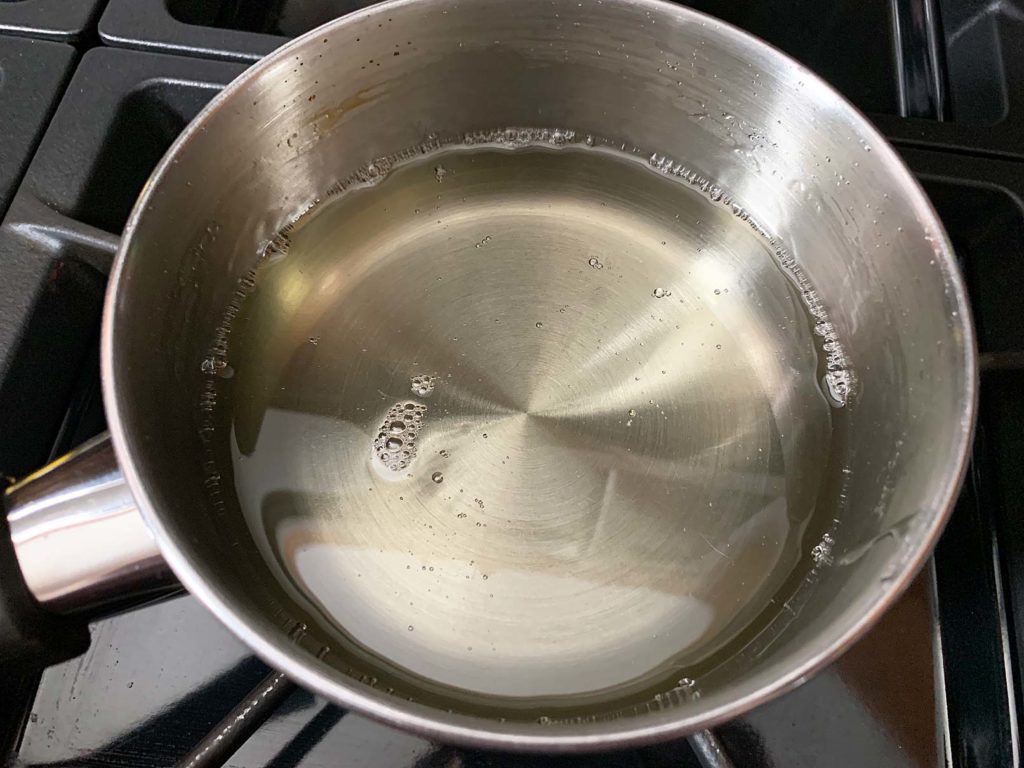
Once your pan is ready, you can start preparing your syrup. Add some water, corn syrup, sugar, and salt to a small saucepan and mix well. Your sugar/water mix should fill the pot about half way. If your pot is too full, you risk it boiling over. If your pot is too big, and the syrup sits shallow, you risk it cooking too quickly.
Heat the mixture over medium high heat, until the sugar starts to dissolve, and then crank the heat to high. Once the syrup is boiling, try to avoid stirring it. Agitating the mixture can cause your sugar to crystallize.
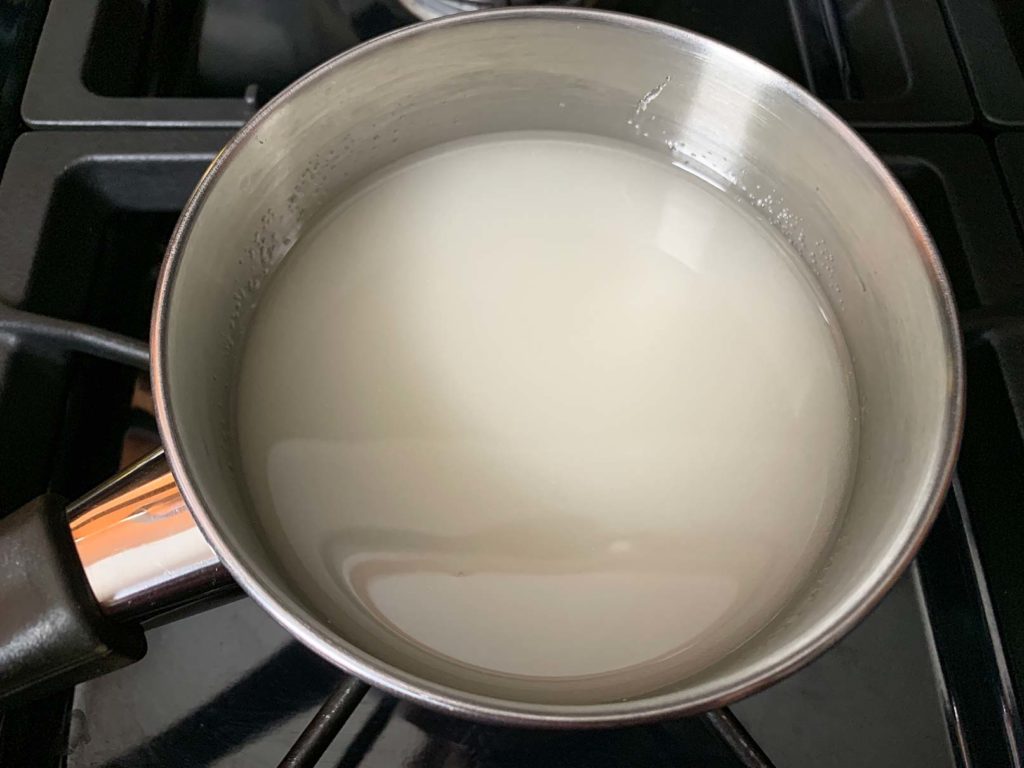
The syrup should boil until it reaches a temperature of 240°F. This can take 7-8 minutes. At this temperature, your sugar should be in what they call the soft-ball stage. If you don’t have a thermometer, you can drop a little blob of the syrup into cold water. You’ll know it’s ready because the sugar will form a soft, flexible ball that, when held in your hand for a few moments, flattens out again.
The next stage is called firm-ball. At this stage, the syrup will still form a ball when dropped in water, but when removed won’t flatten out again. It will however, be malleable and can be flattened out when squished between your fingers. At this stage, the syrup is a little over done, but still useable. Just try to aim for the soft-ball stage.
Once your syrup is hot enough, remove it from the heat and let it stand just long enough to stop bubbling. Be careful not to let it sit too long, or it might cool down too much.
Take your syrup over to your stand mixer where your gelatin has been sitting. Make sure your mixer is fitted with a whisk attachment, and then turn it on to low speed. Slowly pour in the sugar mix, ensuring that the stream hits the side of the bowl, and runs into your gelatine. Don’t pour it directly onto the gelatine, as the heat can cause the texture to alter.
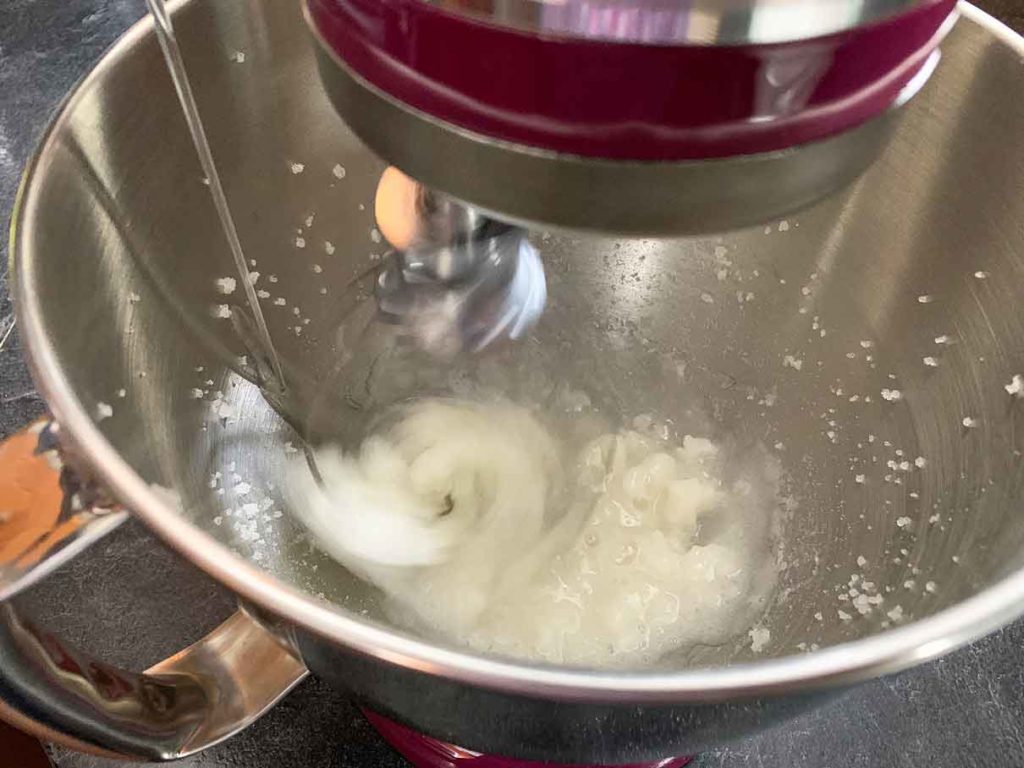
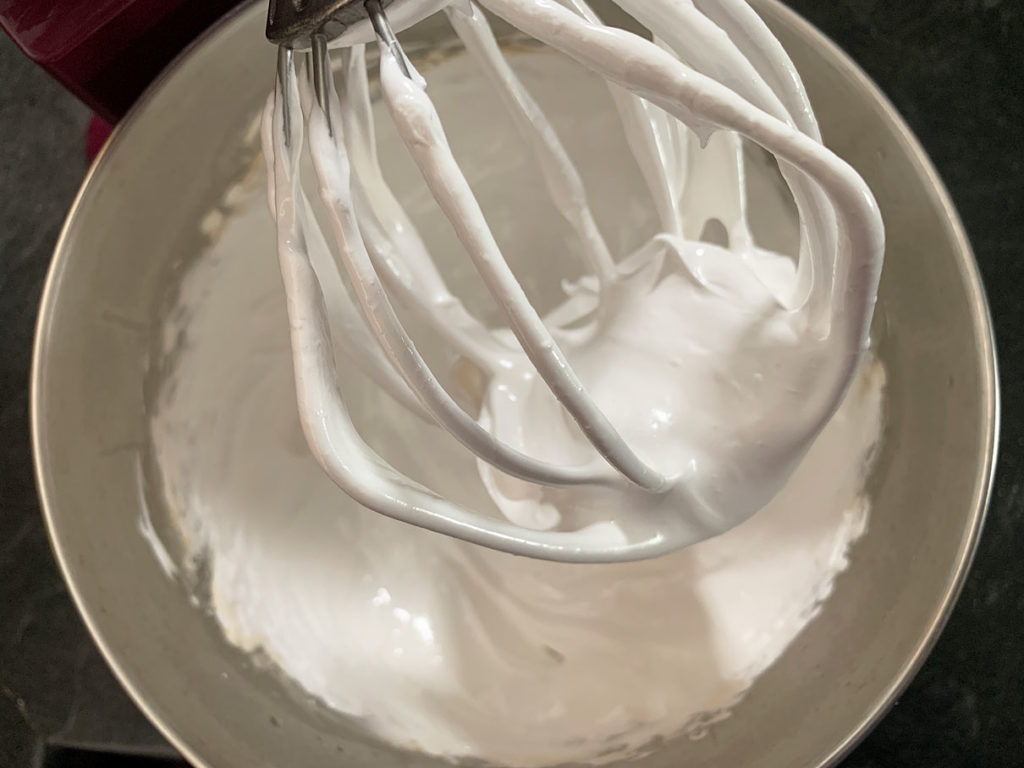
When all the syrup has been poured in, turn your mixer up to high speed and whip the marshmallow for about 12-15 minutes. You want the mixture to roughly triple in size, and to cool down to a luke warm temperature. You’ll notice lots of steam coming off for the first few minutes. Don’t panic, that’s perfectly normal!
In the last minute of whipping, add the vanilla, or other preferred flavouring. Now congratulate yourself on the big, pillowy, mountain of marshmallow goodness that you have just created.
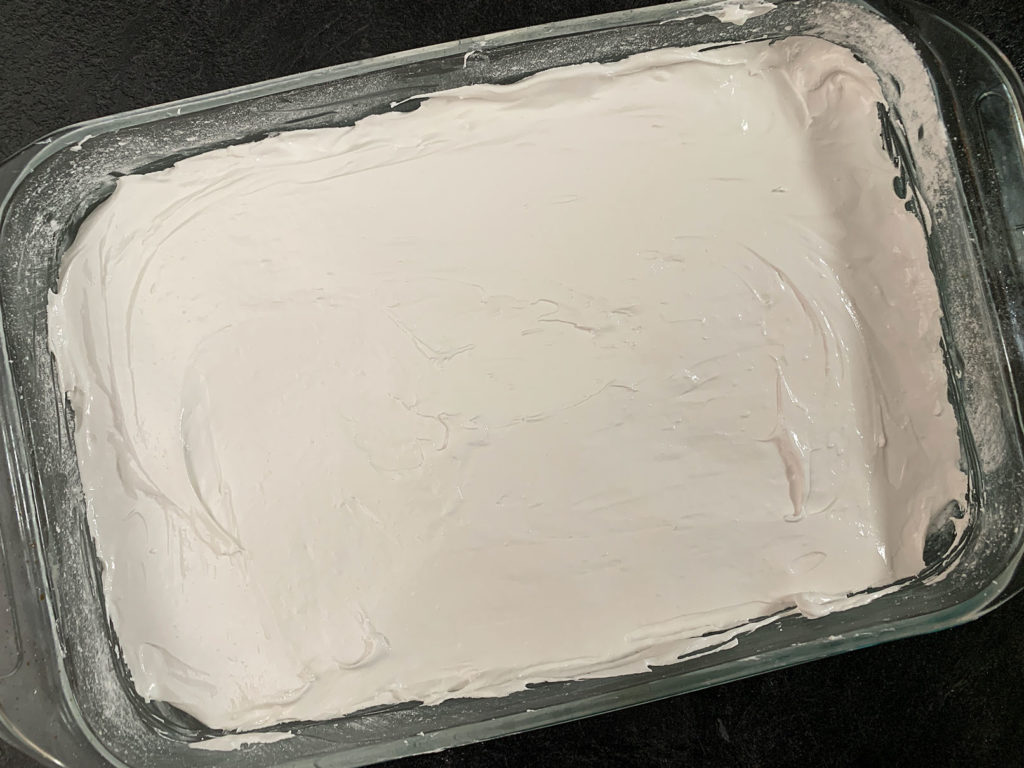
Scrape your marshmallow mix into your prepared pan. I used a rubber spatula to scrap the mix out of the bowl, and then a flattened metal spatula to smooth it out in the pan. It helps to grease up whatever utensil you are using to spread the mixture, to help prevent it from sticking.
As a side note, don’t fuss too much about getting a perfectly smooth top. No matter how much you spread it around, you’re going to end up with a few bumps and lines. There are much more important things you could be doing with your time than obsessing over the smoothness of your marshmallow surface, and it’s going to taste the same no matter what. I’m not going to tell you how long I fought with this sticky goo, trying to get it nice and smooth, but I am going to tell you, it’s just not worth it. Move on with your life! Trust me!
If you’re heeding my advice, you should have only spent a few minutes smoothing out your marshmallow goo. If you’ve gone and ignored me, know that I am slowly shaking my head at you in disappointment right now. Either way, it’s time to generously dust the top of your smoothed out marshmallows with some more icing sugar. Now leave them uncovered for at least 4 hours, or overnight, to firm up.
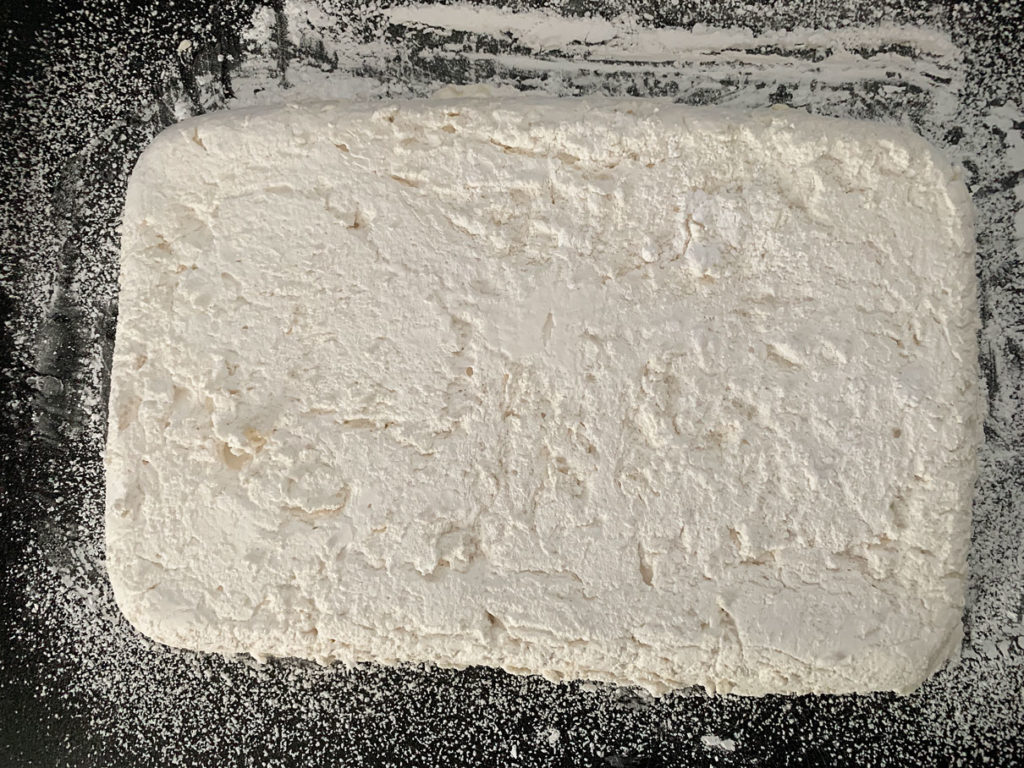
After the marshmallows have set, dust a cutting board with some more icing sugar, and then flip your marshmallows on to the board. You’ll notice in my picture below that the bottom of my marshmallow block is very bumpy. This is because I didn’t dust the pan with enough icing sugar, and the marshmallows stuck. As I mentioned before, don’t be afraid to really coat your pan!
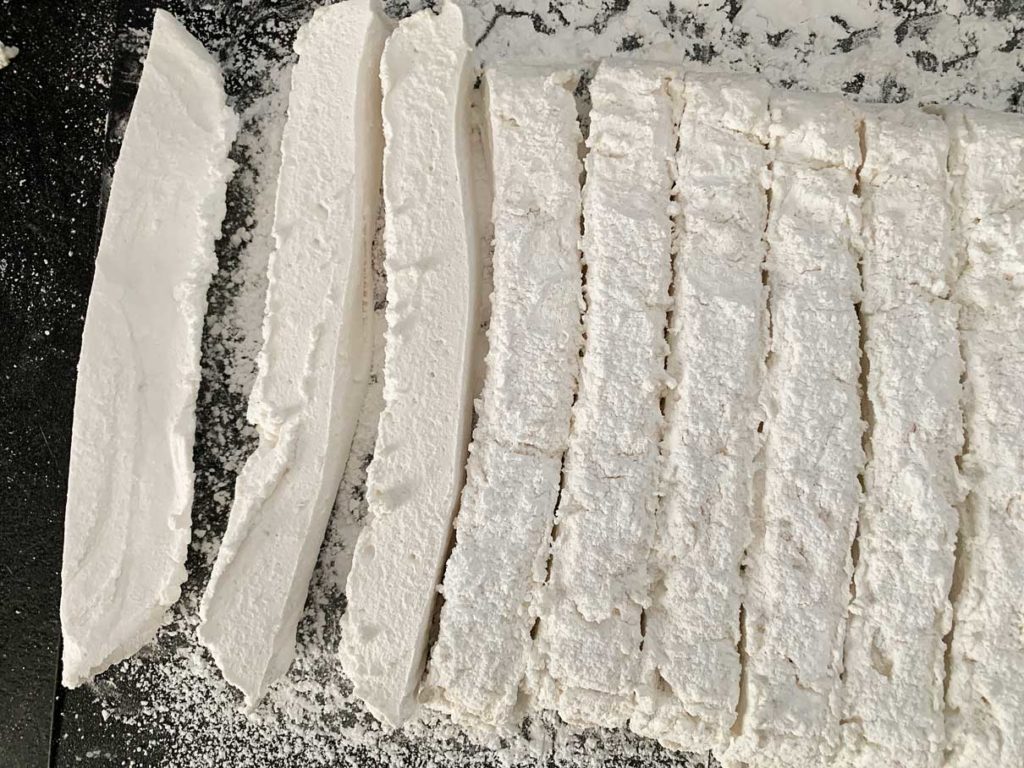
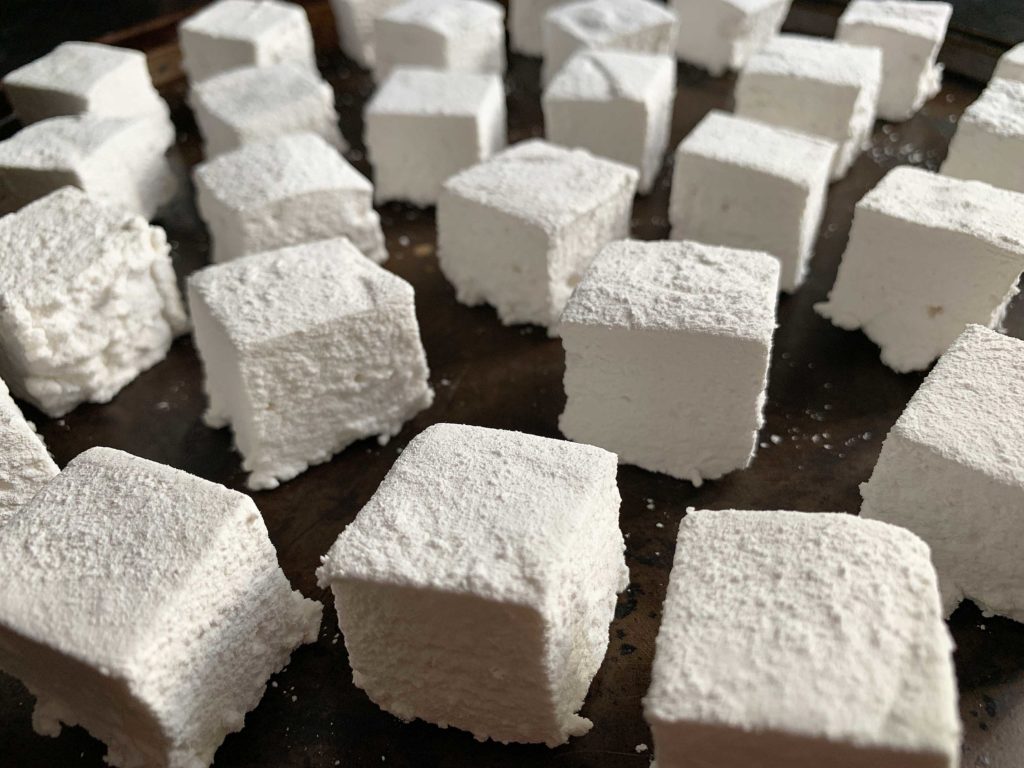
Use a sharp knife, or a pizza cutter, to cut the marshmallows into your preferred size. Roll the marshmallows in more icing sugar to coat all the sides and to prevent them from sticking together.
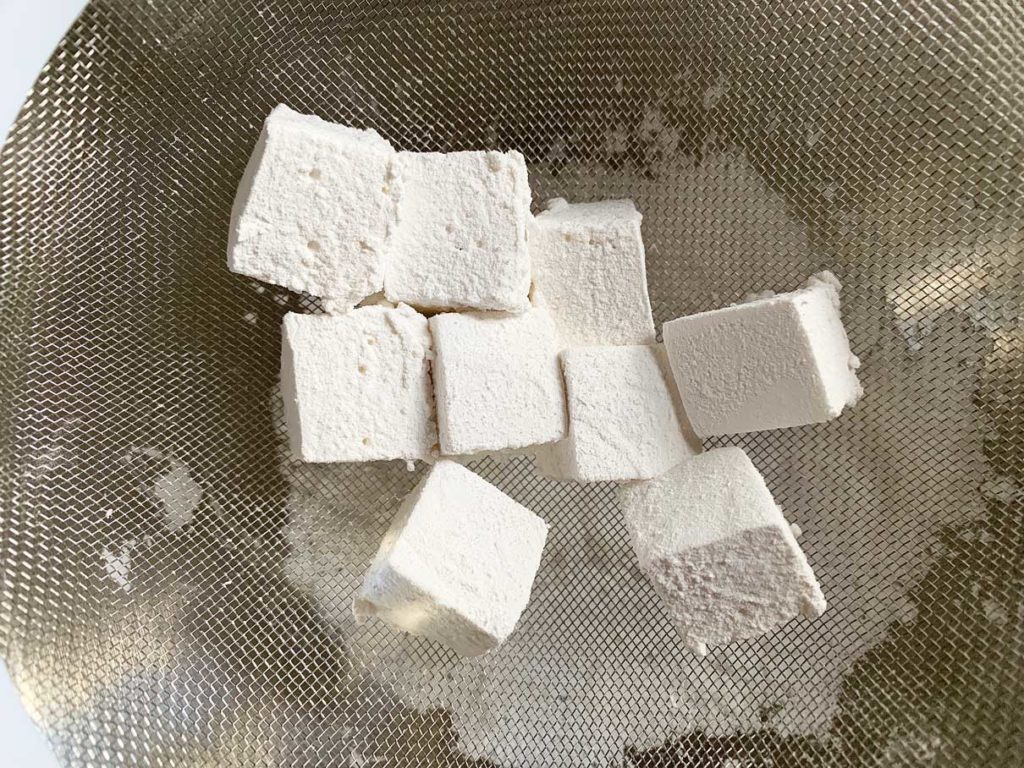
You can shake off the excess sugar by tossing your marshmallow cubes into a sieve, a few at a time, and giving them a good shake.
You can leave the marshmallows as is, or decorate them up by dipping them in some melted chocolate, and sprinkling them with crushed peppermint candies, nuts, sprinkles, or just about anything else your heart desires!
Homemade Marshmallows
Ingredients
- 3 packages unflavoured gelatine (I used Knox brand)
- 1 cup cold water (1/2 cup for gelatine, 1/2 cup for syrup)
- 1 1/2 cups granulated sugar
- 1 cup light corn syrup
- 1/4 tsp salt
- 1 tbsp vanilla extract
- confectioners sugar for dusting (about 1 cup total)
Instructions
- Thoroughly grease a 9" x 13" non-metal baking pan and dust heavily with icing sugar. Set aside.
- Add the gelatine powder and 1/2 cup cold water to the bowl of an electric mixer, fitted with a whisk attachment. Stir briefly then leave to sit while you start on the syrup.
- Combine 1/2 cup cold water, sugar, corn syrup and salt in a small saucepan (your mixture should fill the pot just a little less than half way). Stir well. Set over medium-high heat until the sugar mixture starts to dissolve, then increase heat to high. Cook until the syrup reaches 240°F (about 7-8 minutes). Avoid stirring the mixture once it is boiling. Remove from heat and let sit for just a moment until the syrup stops bubbling.
- Set your mixer to low speed, then slowly pour in the sugar syrup. Ensure the stream hits the side of the bowl while pouring, instead of making direct contact with the gelatine.
- Turn the mixer on to high speed and whip for 12-15 minutes, until very thick and luke warm in temperature. In the last minute of whipping, add the vanilla and mix thoroughly.
- Evenly spread the marshmallow mix into your prepared pan. Dust the top heavily with icing sugar and then leave to sit, uncovered, for 4 hours or overnight.
- Once the marshmallows are set, dust a cutting board with icing sugar then flip the pan onto the board. Cut your marshmallows into your preferred size. Roll them in more icing sugar and shake off the excess.