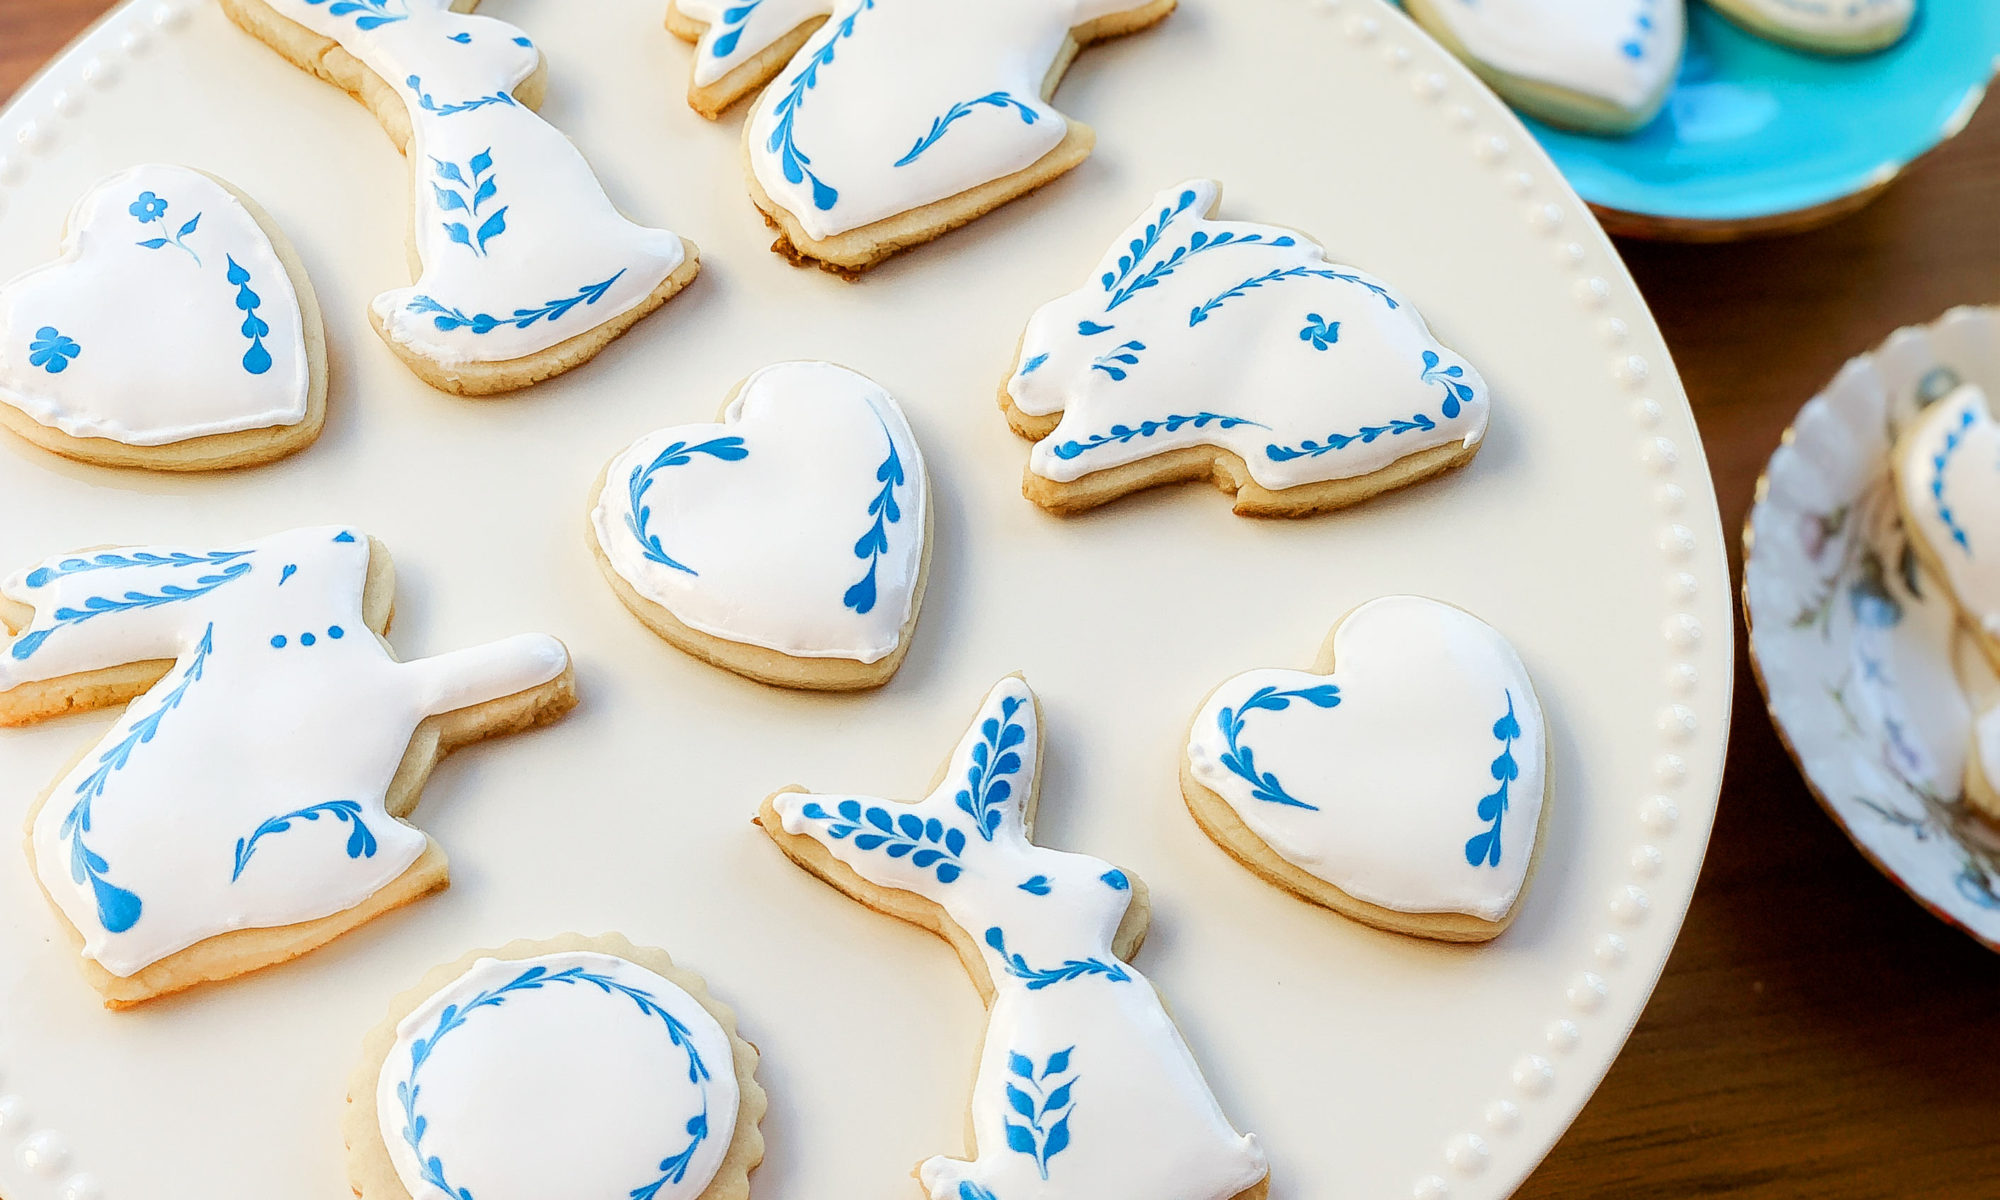
As you may or may not know, I love bunnies. I mean, really love bunnies. Everything about them, from their wiggly little noses, to their fluffy cotton tails. They are hands down, the cutest little fluff nuggets to hop around on this earth. So naturally I felt the need to pay homage to these adorable creatures by making a batch of bunny cookies!
It was actually a pair of bunny pyjamas that inspired me to make these particular cookies. I was out one day, minding my own business, when I saw some blue and white bunny pj’s in a store. I couldn’t help myself. I had to have them. It was non-negotiable. In fact, I was so in love with these pj’s that I had to get two pairs.
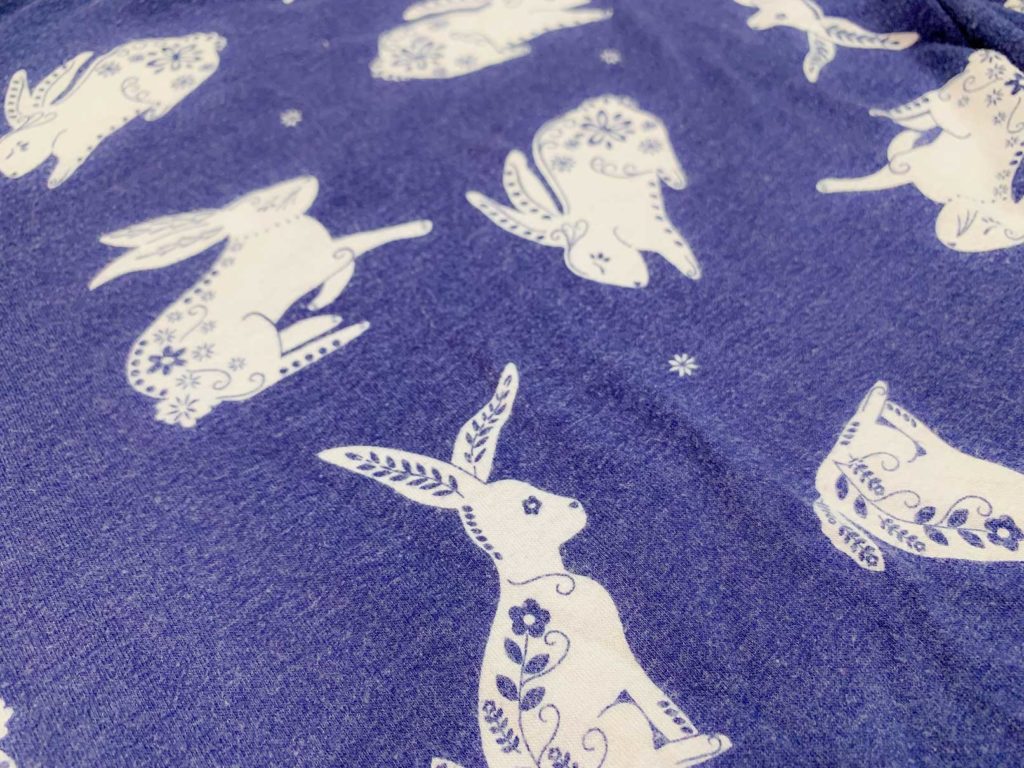
They are my absolute favourite pj’s, not only because they’re covered in bunnies, but because they are ridiculously comfy as well. I was wearing these pj’s while contemplating what to bake this week. That’s when I decided I should make a sugar cookie version of the bunnies I was wearing!
I’ve made sugar cookies before, but I’ve only ever decorated the odd one. I’ve always wanted to try the flood icing technique, where you make a runnier icing that spreads out over the top of your cookie, giving it an ultra smooth, flat finish. Now seemed like a good opportunity to give it a go!
The sugar cookie recipe I used was from In Katrinas Kitchen. It’s the first time I’ve made this recipe and it was quite good. The recipe is easy to follow, the dough doesn’t require chilling, and it rolled and cut beautifully.
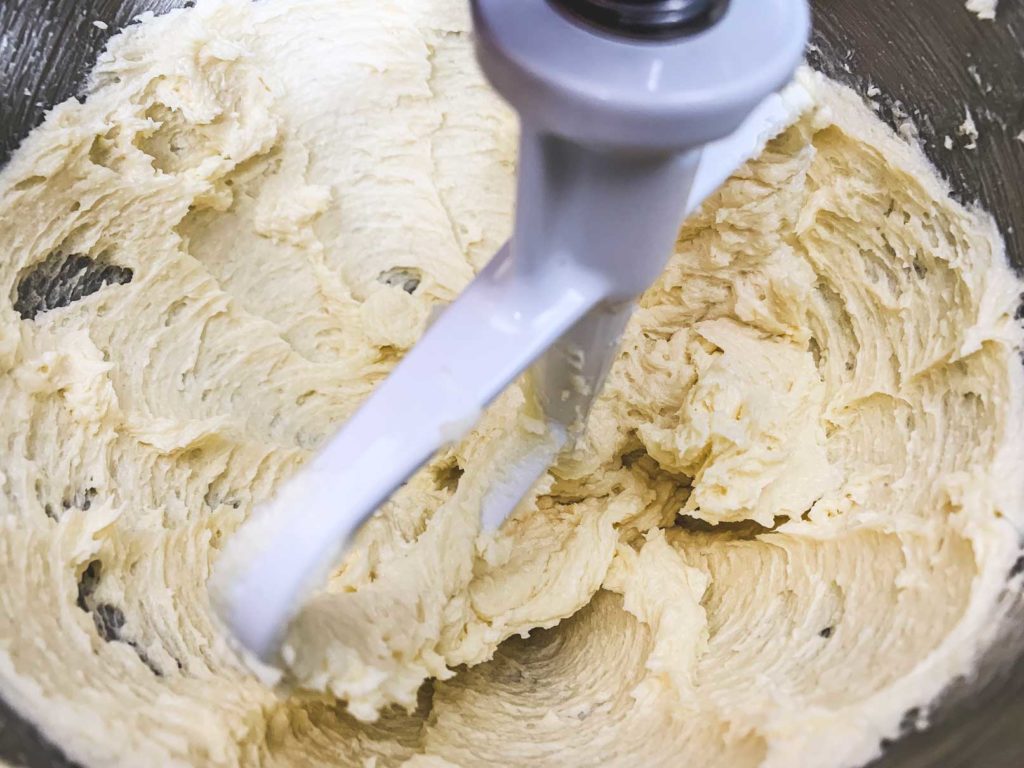
For the dough, you start by creaming together some butter and sugar until nice and smooth. Throw in an egg and some vanilla and almond extract and beat well.
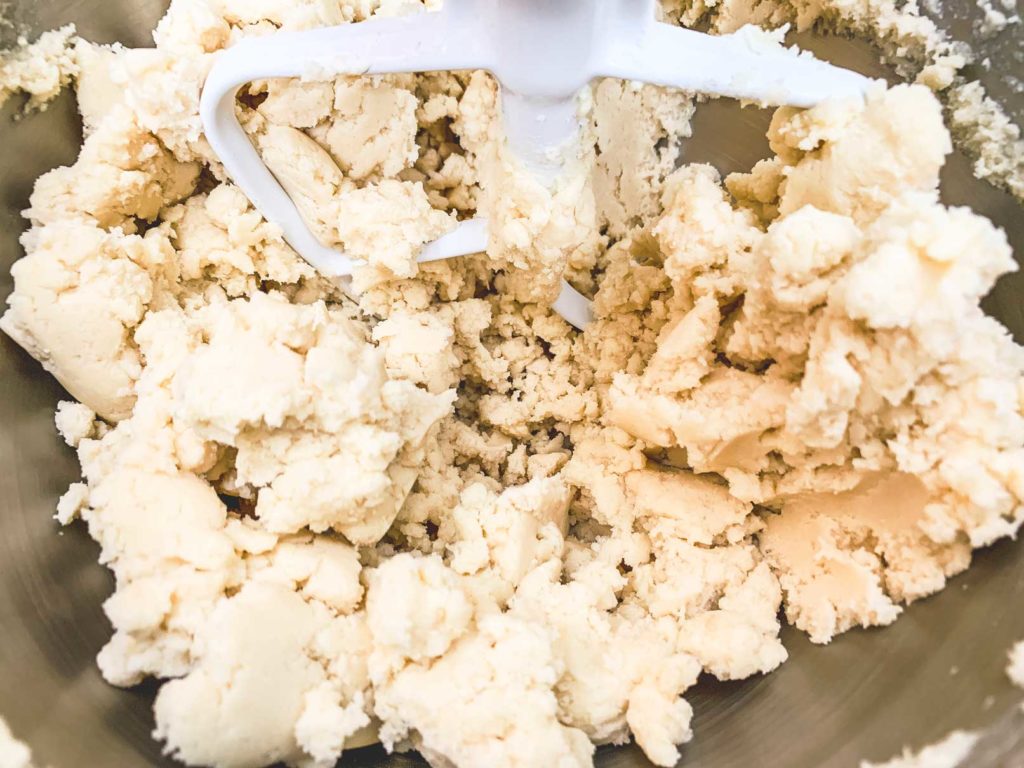
Next you add your dry ingredients a little at a time until the dough comes together. The dough is very thick, and depending how sturdy your mixer is, you might have to knead the dough a bit by hand to get all the flour to incorporate. I didn’t have any issues with mine though, and the dough came together really easily.
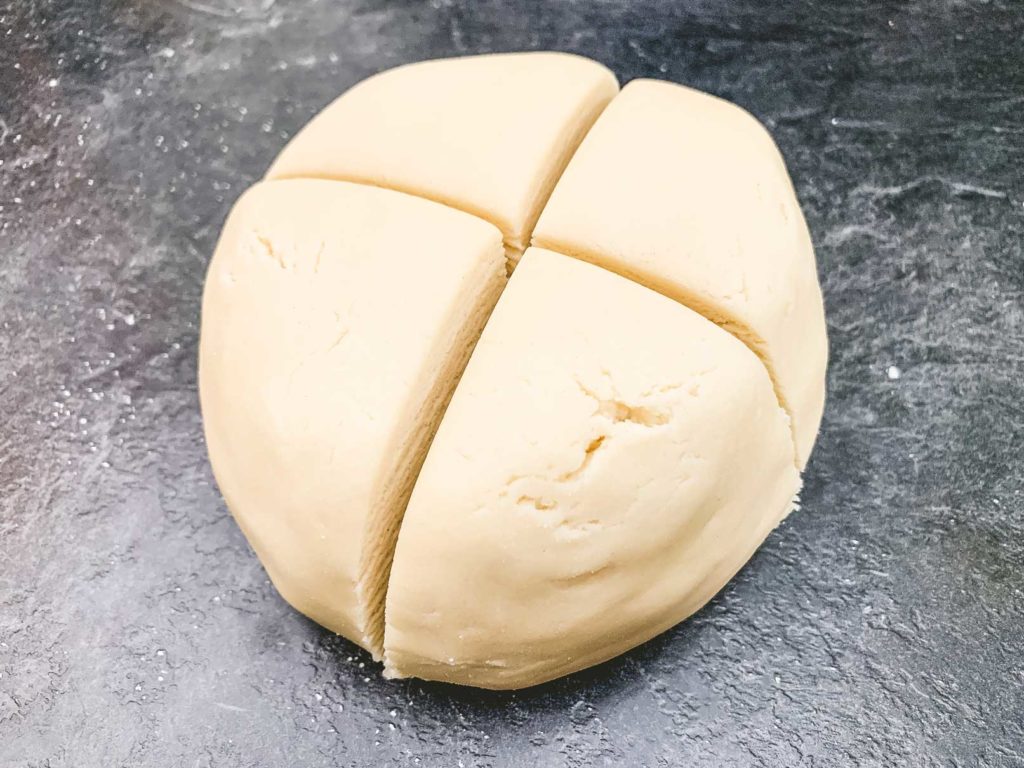
Once you’ve got a nice smooth ball of dough, divide it in half or quarters. This gives you a smaller batch of dough to work with, making it a little easier to handle. I divided mine into quarters, but I think half would have been just as easy to work with.
Lightly flour your work surface and then roll the dough out just a little thinner than a 1/4 inch thick. I found the dough really easy to roll out as was, but if for some reason yours is getting sticky, just sprinkle it with a little more flour.
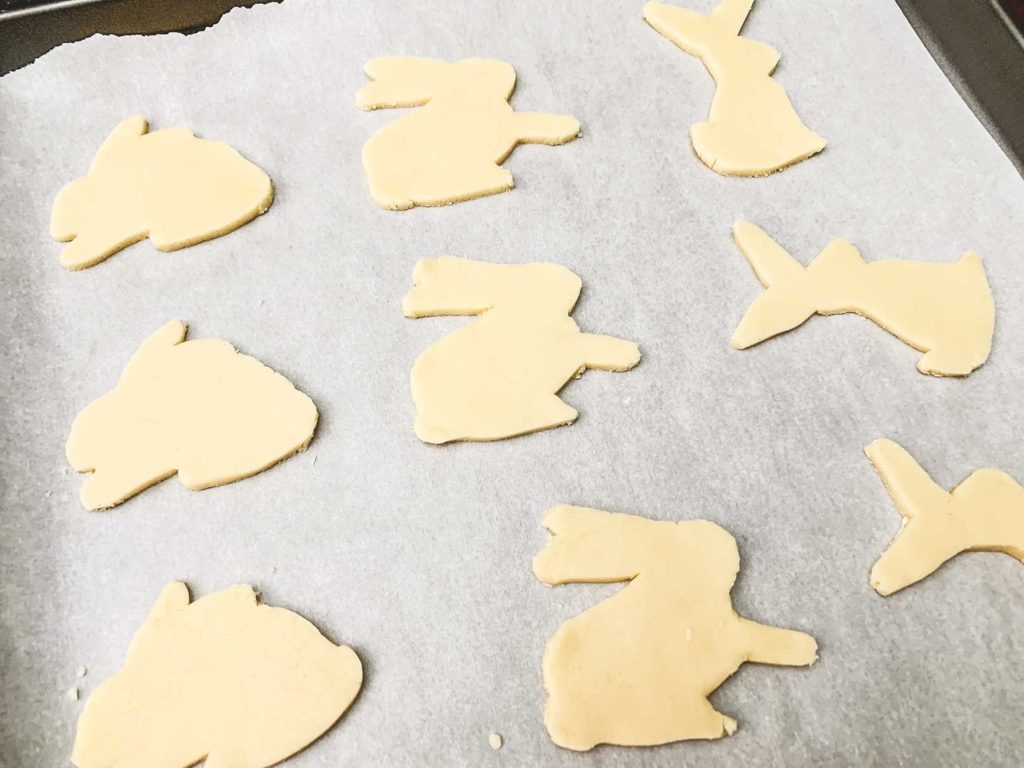
Use cookie cutters to cut the dough into whatever shapes you want, and then place them on a parchment lined baking tray. Bake for 6-8 minutes at 350°F. They should be just barely golden at the edges.
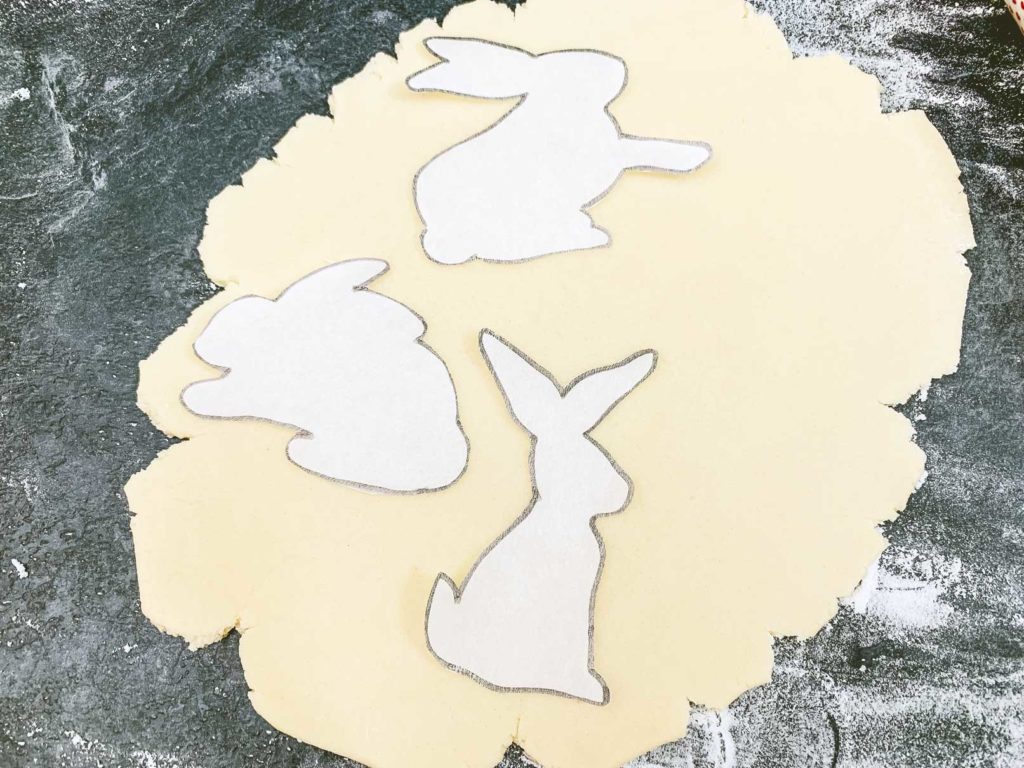
I didn’t have any cookie cutters that matched the shape of the bunnies on my pj’s, so I ended up tracing the bunny shapes on a piece of parchment paper. I cut the bunny shapes out and placed them on top of the dough as a template. I then used a sharp, thin knife to cut around the parchment.
I’m not doing to lie…this was super tedious and time consuming. Using a cookie cutter would be about 1000x faster. But the bunnies are adorable, so it was worth it!
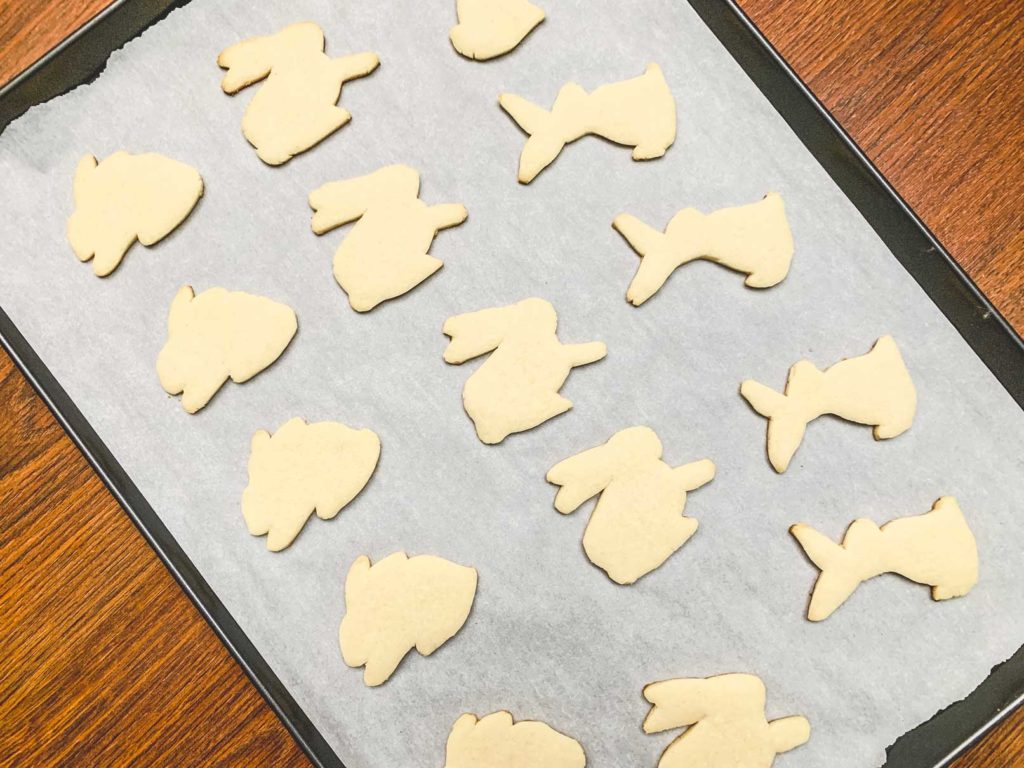
Once you’ve baked your cookies, let them cool on the pan for a few minutes before transferring them to a wire rack to cool completely. Then you can start on the frosting prep.
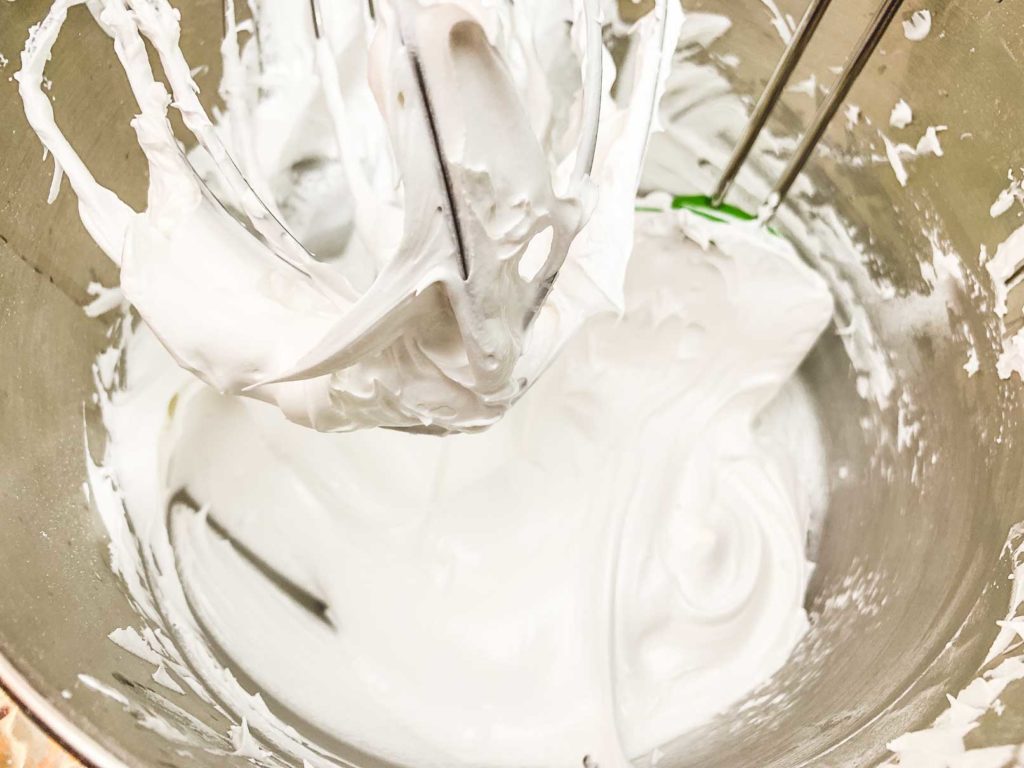
I used an icing recipe from Baking a Moment. It calls for meringue powder, which I’ve never tried before.
You whisk together the meringue powder and a little bit of water until it gets foamy, then add icing sugar and whip it until it gets very thick and stiff.
I wanted to make the frosting into two consistencies – one thicker, for piping around the edge of the cookie, the other thinner, for flooding the cookie. I made the recipe as specified and found with the measurements provided, it was going to be too thick for me to pipe. I kept adding just a little splash more water until it was the consistency I wanted for piping. I also added a splash of almond and vanilla extract, as the icing didn’t seem to have much flavour on its own.
When the icing reached piping consistency, I transferred a few large spoonfuls of it into a piping bag. I then added a little more water to the remaining icing until it reached the consistency that I wanted for flooding.
I transferred about 2/3 of the flooding icing into a a piping bag. The remaining 1/3 I tinted blue with some gel food colouring before transferring to a third piping bag. All three bags I fitted with small, round piping tips.
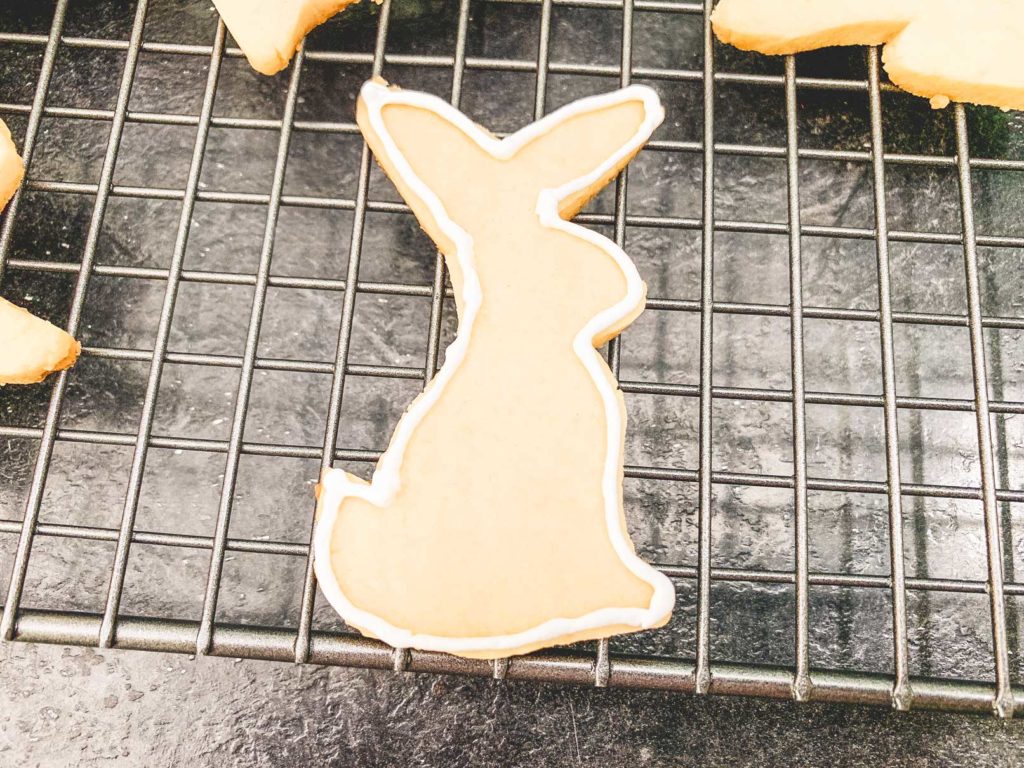
I picked up my first cookie, and piped a thin border around the edge with the piping icing.
Next, I used the white flooding icing to fill the centre of the cookie. I used a toothpick to spread the icing around a bit to ensure the whole top of the cookie was covered.
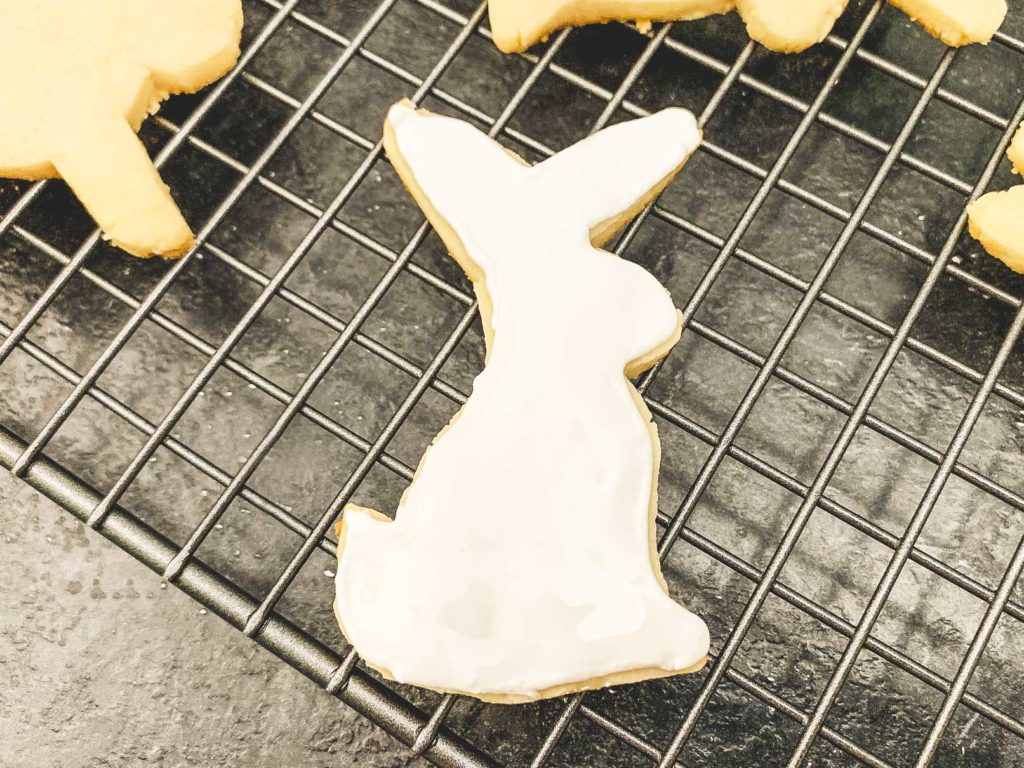
In hindsight, I probably should have made my icing just a little runnier than I did. I still found it fairly thick to pipe. It also seemed to have an almost frothy texture, so I wonder if I did something wrong. Generally it seemed to work okay, but it wasn’t quite what I was expecting.
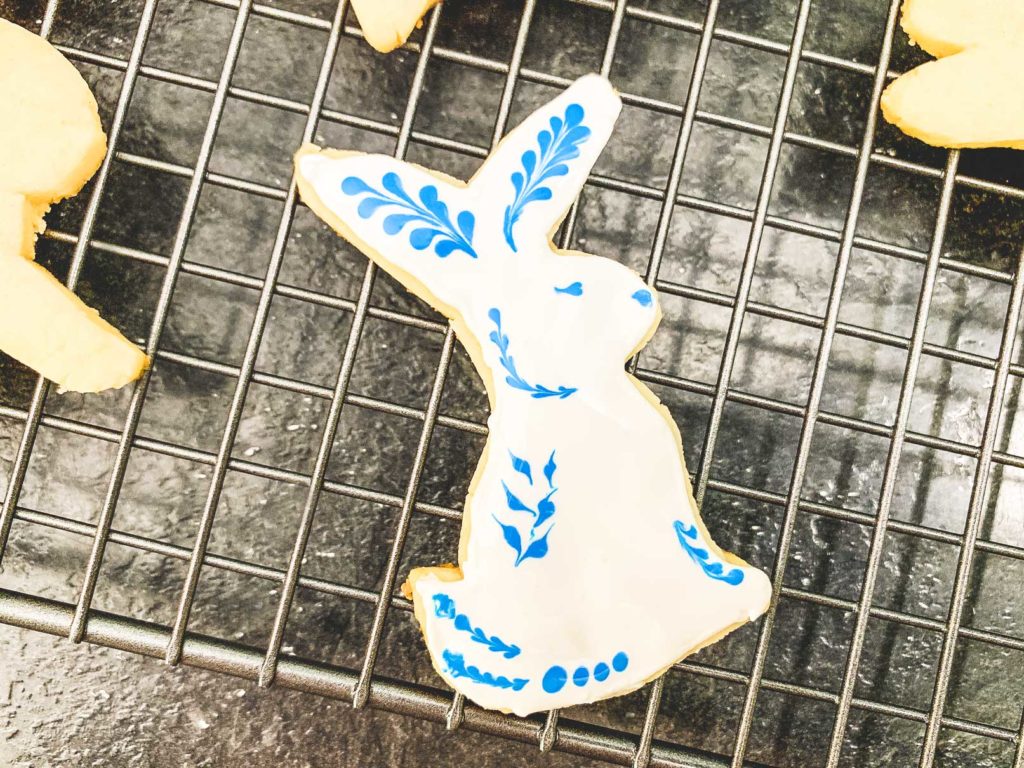
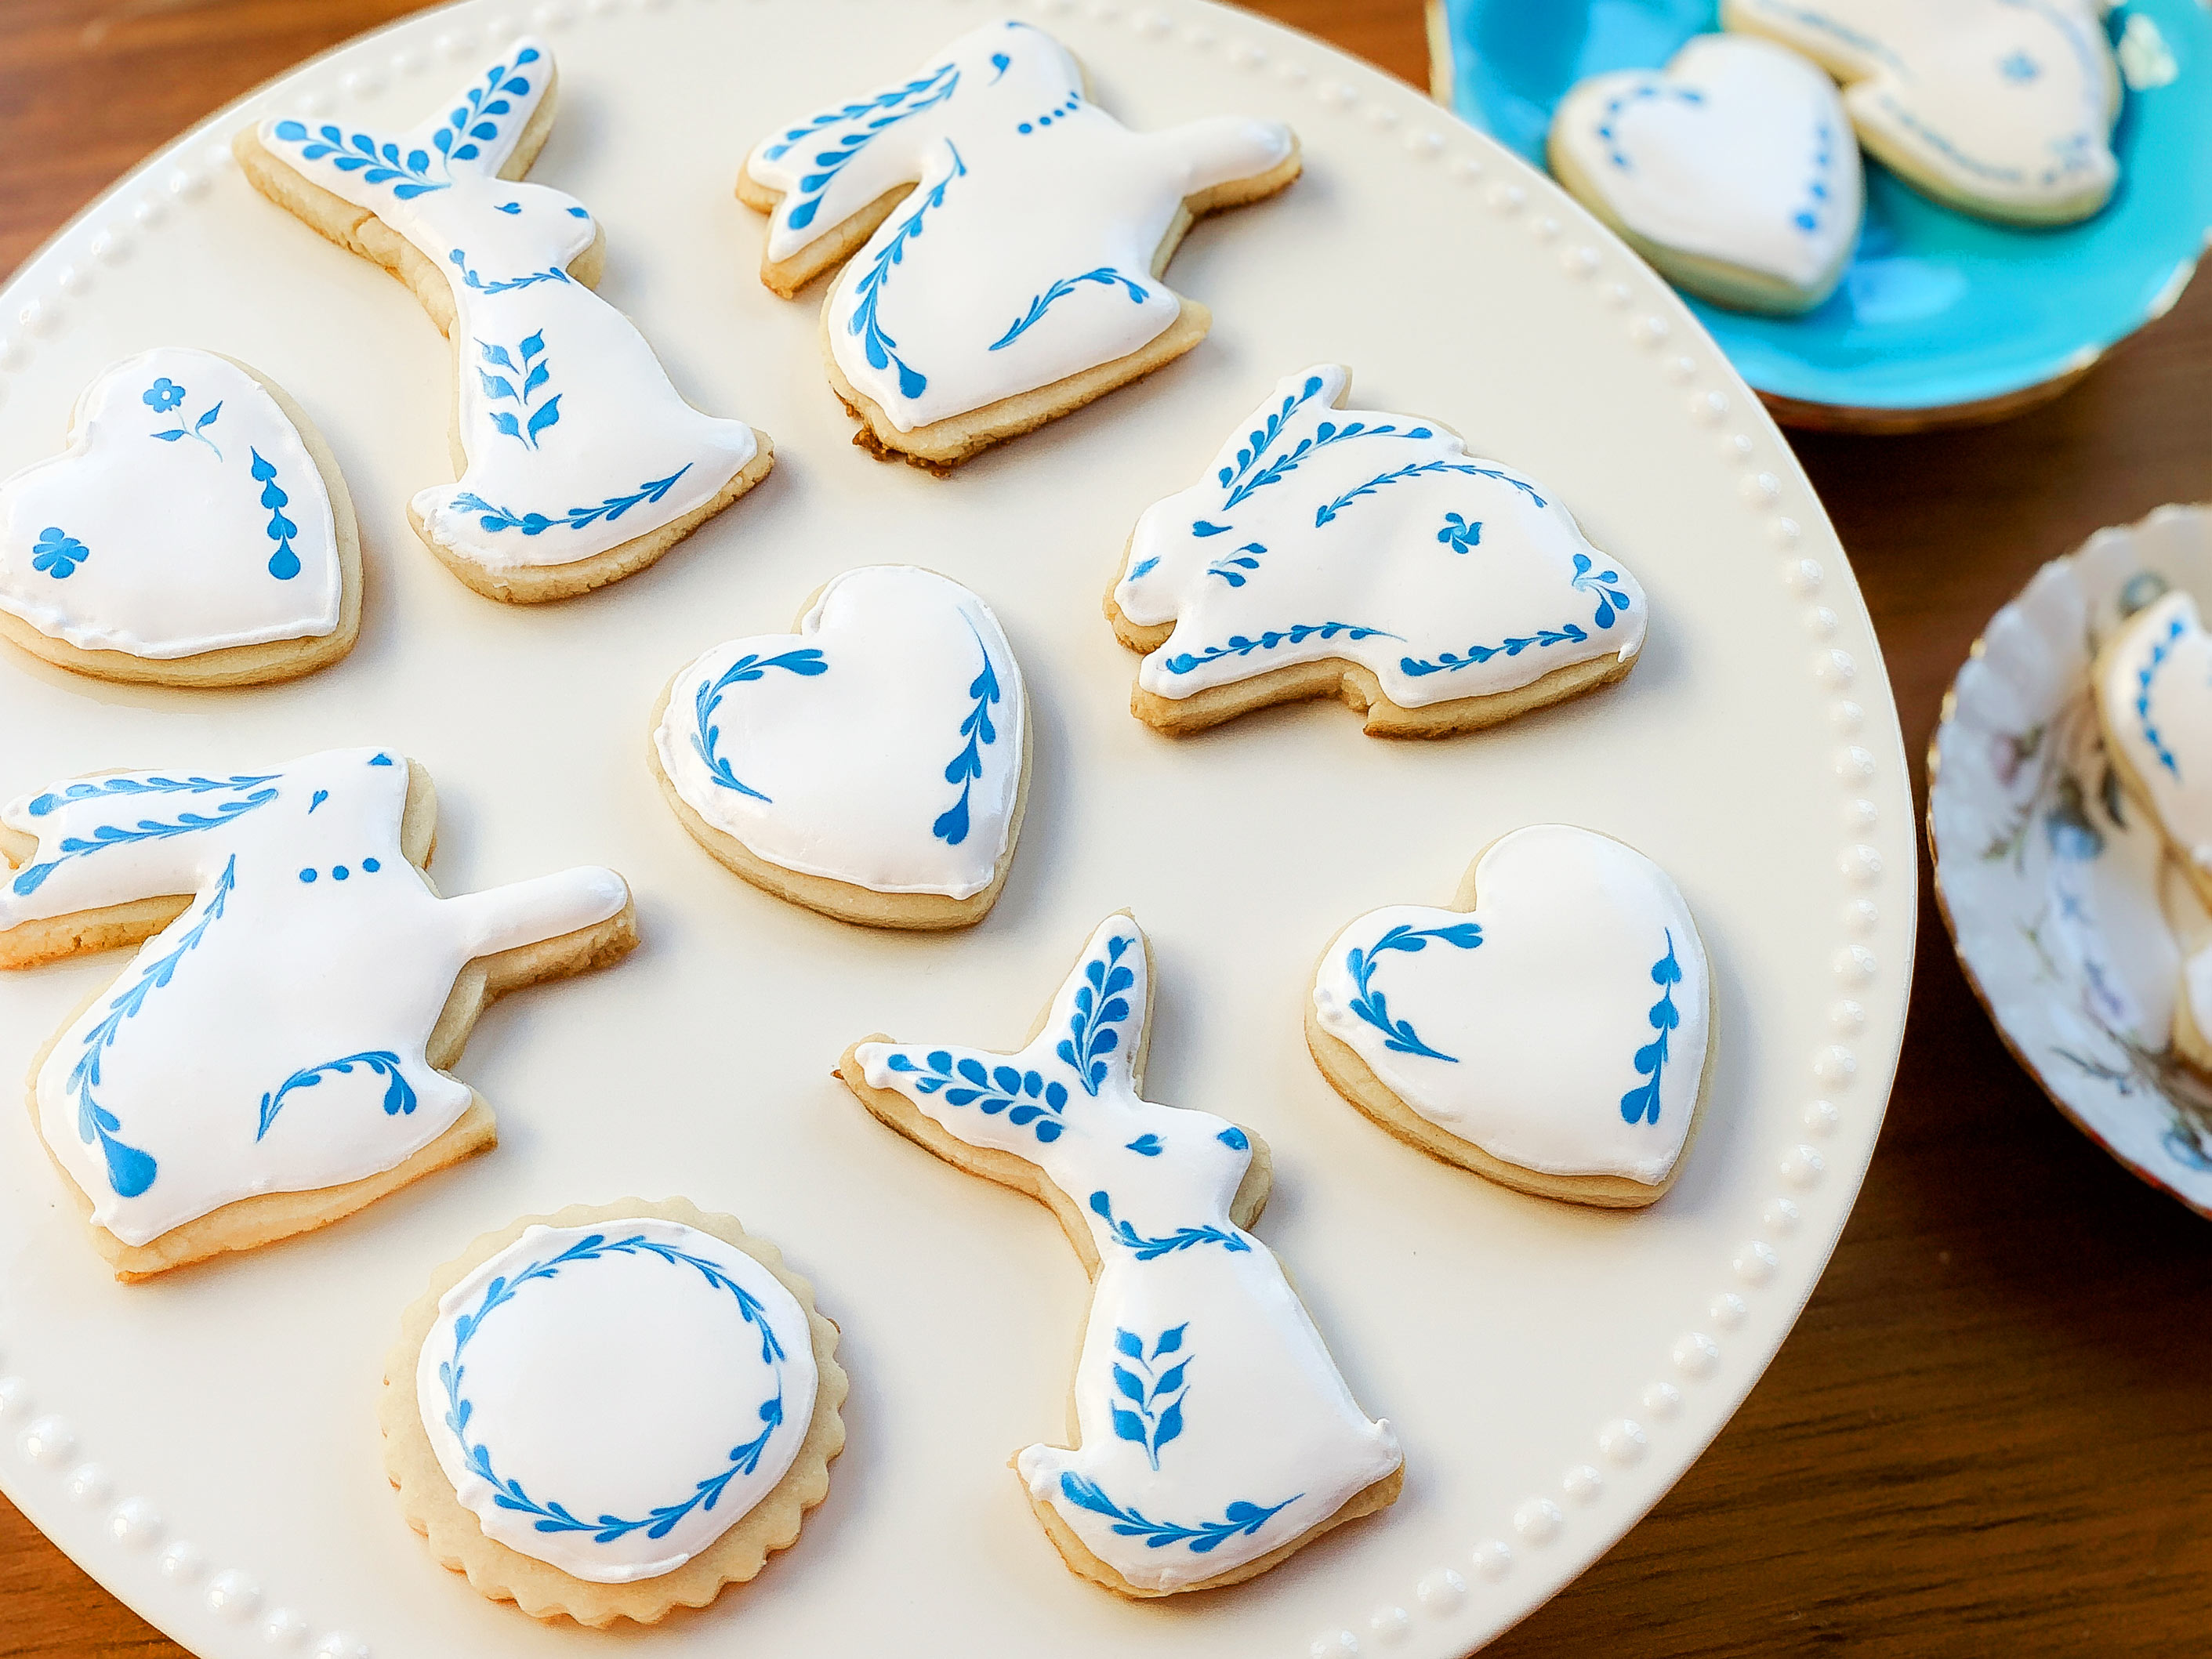
Once the cookie was covered in the white flooding icing, I started to decorate it with the blue icing. At first, I was trying really hard to replicate the pattern of the bunnies on my pj’s, but I quickly realized my hands were not steady enough for that. I also couldn’t get some of the lines as fine as I wanted.
I gave up trying to replicate them exactly, and just started playing around with some different patterns. The first half of the cookies I decorated were definitely a little wonky. By the time I got to the second half of the cookies, I’d gotten the hang of working with the icing a bit more, and my patterns began to look a little more purposeful and not so haphazard.
Making these cookies has given me a whole new level of respect for cookie artists everywhere. Decorating cookies this way is very time intensive and tedious. It took me over six hours to make this one batch! Although I have to say it was fun experimenting with a technique that I hadn’t tried before.
If I were to make these same cookies again, I think I would try a different icing recipe. I’d also like to try the same flooding technique for the white icing base, but then I’d let it dry completely and try piping the blue detail on top afterwards with icing that is more of a piping consistency.

Rolled Sugar Cookies
Ingredients
- 1 cup unsalted butter
- 1 cup granulated sugar
- 1 tsp vanilla extract
- 1/2 tsp almond extract
- 1 egg
- 3 cups all purpose flour
- 2 tsp baking powder
- 1/2 tsp salt
Instructions
- Pre-heat your oven to 350°F and line a cookie tray with some parchment paper.
- In the bowl of a stand mixer, beat together the butter and sugar until smooth (about 3 minutes).
- Add in the vanilla extract, almond extract and egg, and beat to combine.
- In a separate bowl, whisk together flour, baking powder and salt.
- Add the flour mixture to your butter/sugar mixture a little at a time, mixing until well combined. The dough will be very thick.
- Turn the dough out onto a clean, surface. Knead it a few times until it comes together in a smooth ball. Divide the dough into smaller, workable batches (half or quarters).
- Take a portion of your dough and roll it out onto a lightly floured surface. Roll it a little thinner than a 1/4 inch thick. Cut shapes out of the dough with cookie cutters.
- Transfer the shapes to your parchment lined tray and bake for 6-8 minutes, until the edges are just barely golden brown. Let cool on the tray for a few minutes before transferring to a wire rack to cool completely.
- Decorate with your preferred icing.
Notes
- Recipe source: In Katrina's Kitchen.
- If using salted butter, omit or reduce the amount of salt in the recipe.