
Earlier this week, we were invited over to my best friend’s house for a belated birthday celebration for her mum. My friend is an insanely good cook, and she prepared an incredible meal of roast lamb, chicken, veggies and saffron rice. As stuffed as we were, we still managed to finish the meal with an epic dessert featuring not one, but six cheesecakes!
It was decided ahead of time that everyone should bring a different type of cheesecake to share, and that we’d vote on which one we thought was the best. Whoever brought the winning cheesecake was awarded bragging rights. Honestly, I’m not sure why we haven’t done this before. I think every birthday party should feature a dessert competition from now on.
Collin is not really a cheesecake fan, so he opted not to try any of the cheesecakes (I’m as confused as you, but hey, more cheesecake for the rest of us!). Instead, he remained an impartial participant, helping cut the cakes into sample sized squares, and plating them in an order from 1 to 6. The rest of us hung out in the next room to ensure the cakes remained anonymous.

Once all the cakes were cut and plated, we gathered back in the dining room and ate our way clockwise around our little sample plates, At the end of our sampling we voted on which one we thought was the best. There was an almost unanimous first place vote, myself included, for an amazing salted caramel cheesecake, which was unlike anything I’ve had before.

I was tied between that one and a no-bake peach cheesecake. The peach cheesecake had one layer of plain cheesecake, and another layer with peach puree mixed in. The top was beautifully decorated with thinly sliced peaches and sealed with a layer of Prosecco gelatin. It was beautiful and delicious!
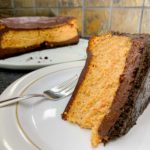
Our contribution to this tasting event was a Smitten Kitchen recipe for a chocolate peanut butter cheesecake. This was my third time making this cheesecake, but unfortunately it was my least successful attempt.
The other two times I’ve made this cake, I felt as though I over-baked it slightly. This time I definitely did! Like, for sure. To the point where I nicknamed it the desert cake because the edges were so dry.
I’ve learned that I have a really hard time knowing when cheesecake is done. The rule of thumb I’ve been told is that if you shake the pan, it should appear set around the edges, but the centre should still jiggle slightly.
Well, I shook my cake every 10 minutes after the expected baking time was past, but the whole thing seemed really wobbly still. The top was turning a darker and darker brown every time I checked it, so I finally made the call to just turn the oven off. Alas, the damage was already done. It was nearly midnight so there was no way I was going to try a second attempt. We were just going to have to eat dry cake.
Don’t let my mistake put you off though! This cake is generally delicious, and not all that hard to put together. Just don’t leave it in the oven long enough that it can camouflage against a sand dune.
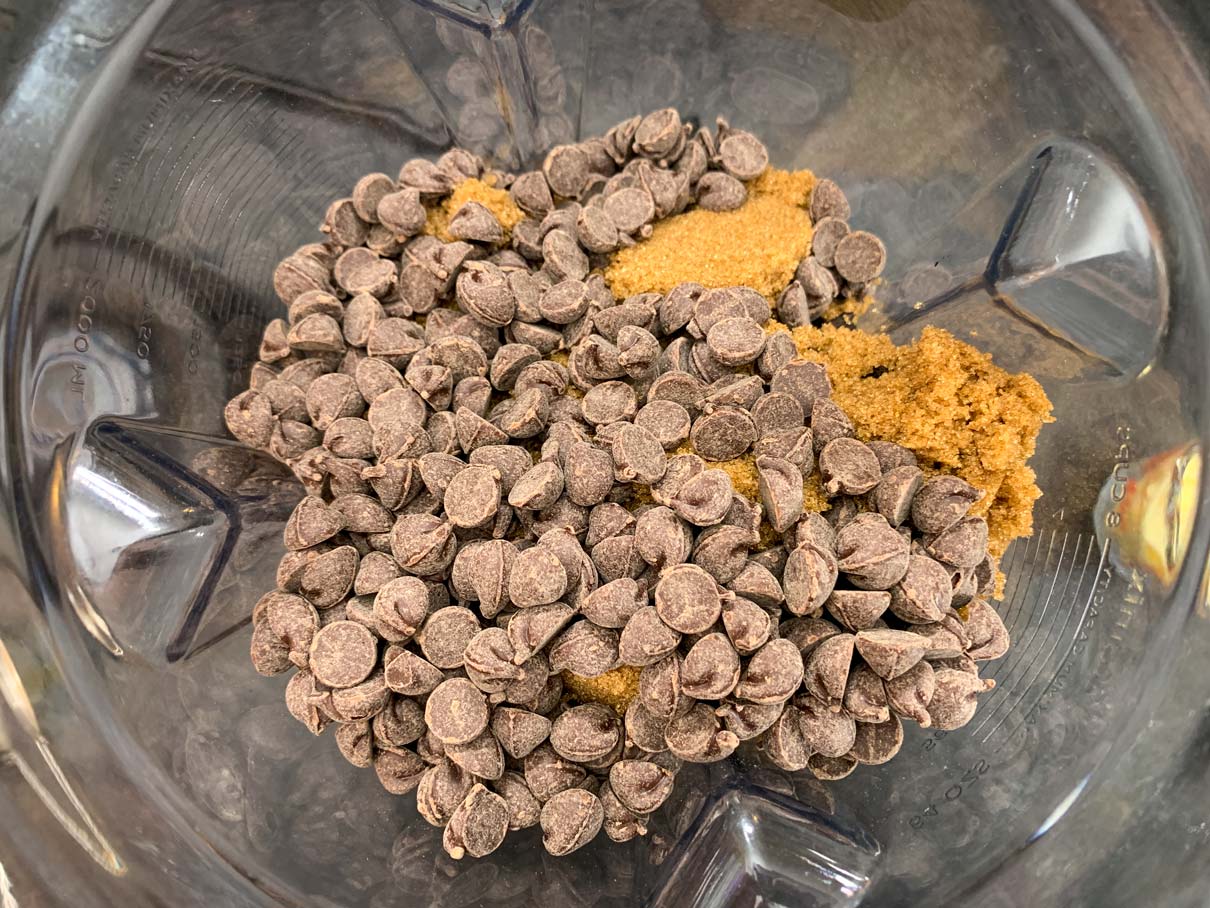
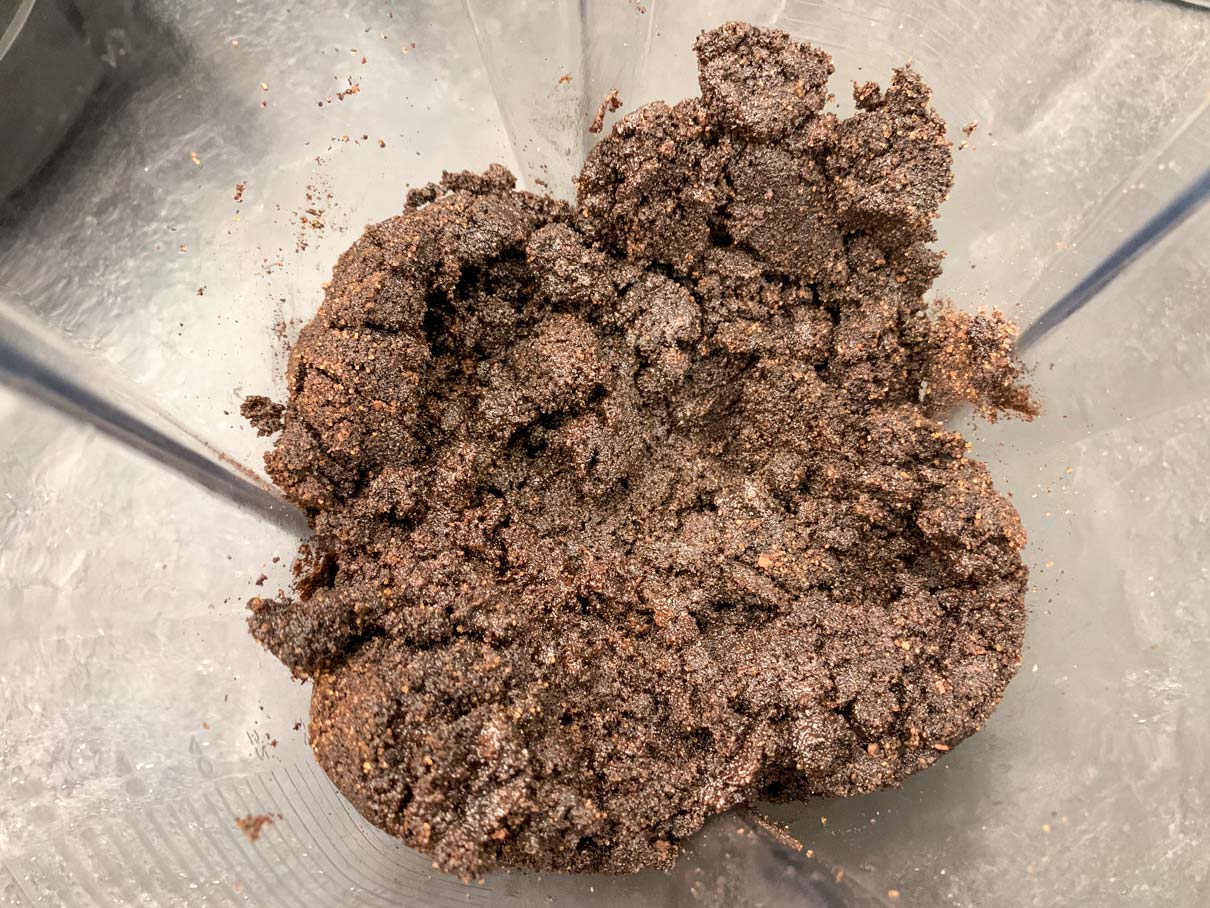
Start by preparing the crust. Combine chocolate wafers, semi-sweet chocolate and dark brown sugar in a blender or food processor. Blend them up until they’re finely ground, then blend in some melted butter so the crumbs hold together.
Transfer the crumbs to a 9 inch round, 3 inch deep spring form pan. Press them down so they form a layer on the bottom of the pan and up the sides. I found it worked really well using our largest measuring cup to press the crumbs down, as the bottom was wide and flat, and the curved sides mirrored the shape of the walls of the pan.

As an aside, my springform pan is only 2 1/2 inches deep. It barely fits this cake. I highly recommend using a 3 inch deep pan. Each time I’ve baked this, the cake has risen up a bit higher than the top of the pan while baking. When it does this, it also pushes the side crumb wall up a bit, resulting in some crust loss around the top. Do as I say, not as I do. Get the deeper pan.

Once your crust is prepped, stick it in the fridge to chill while you prepare the bottom ganache layer.
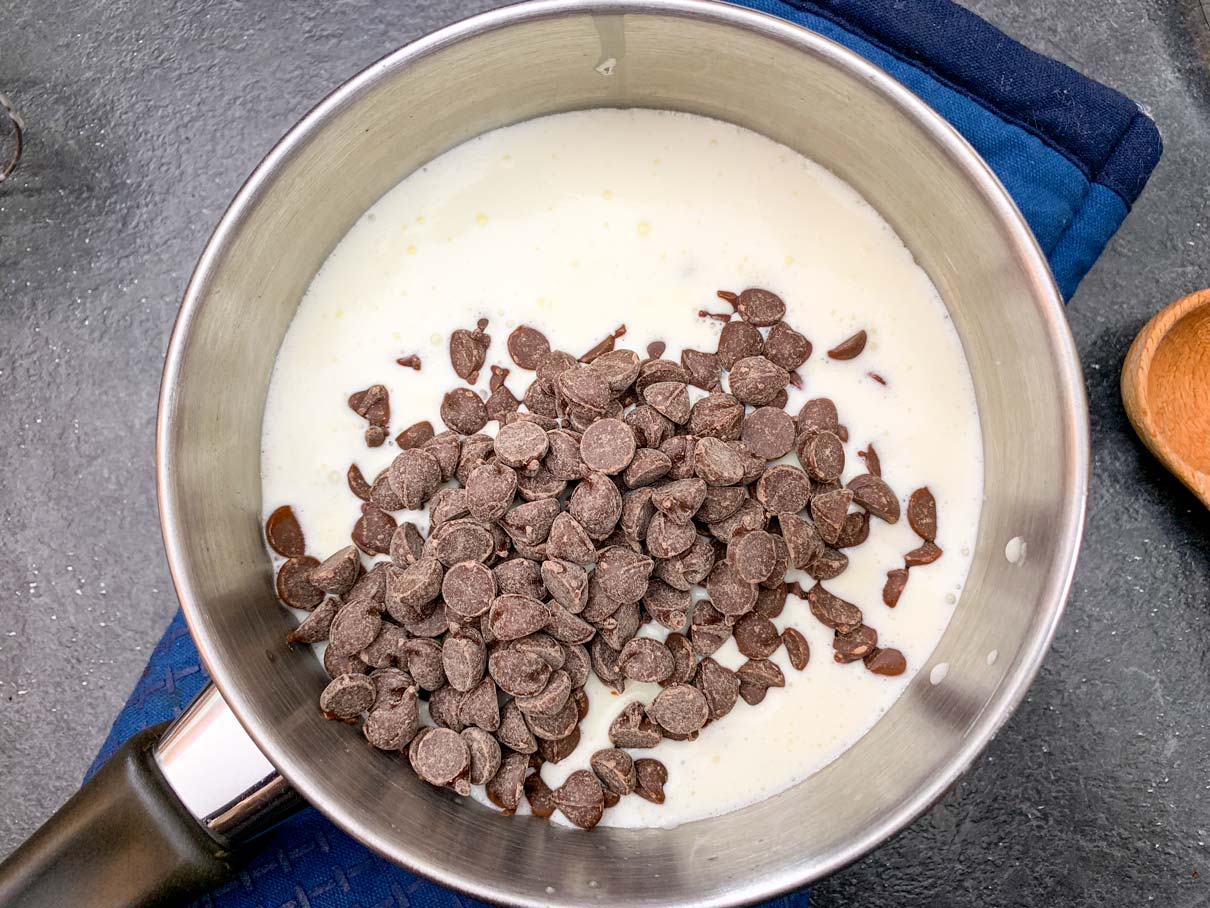
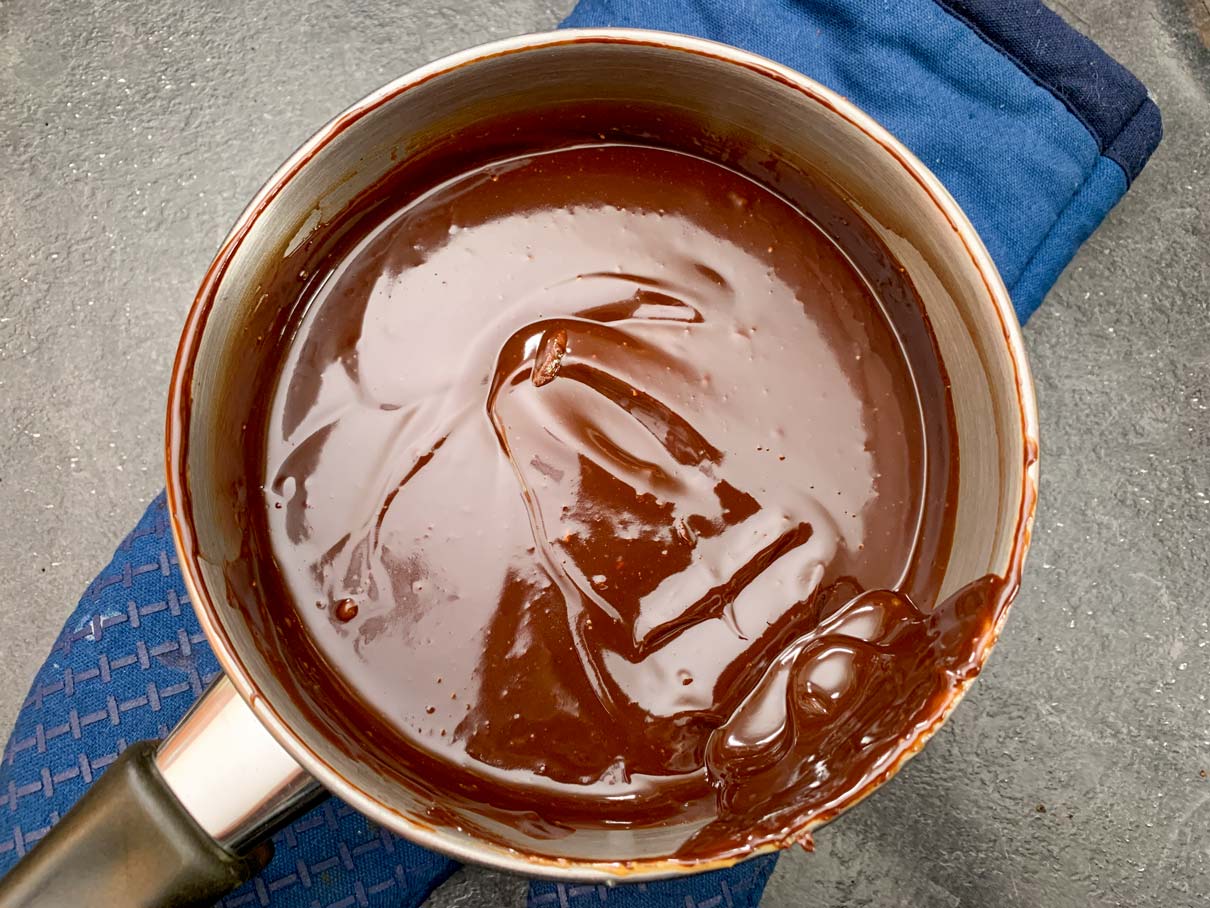
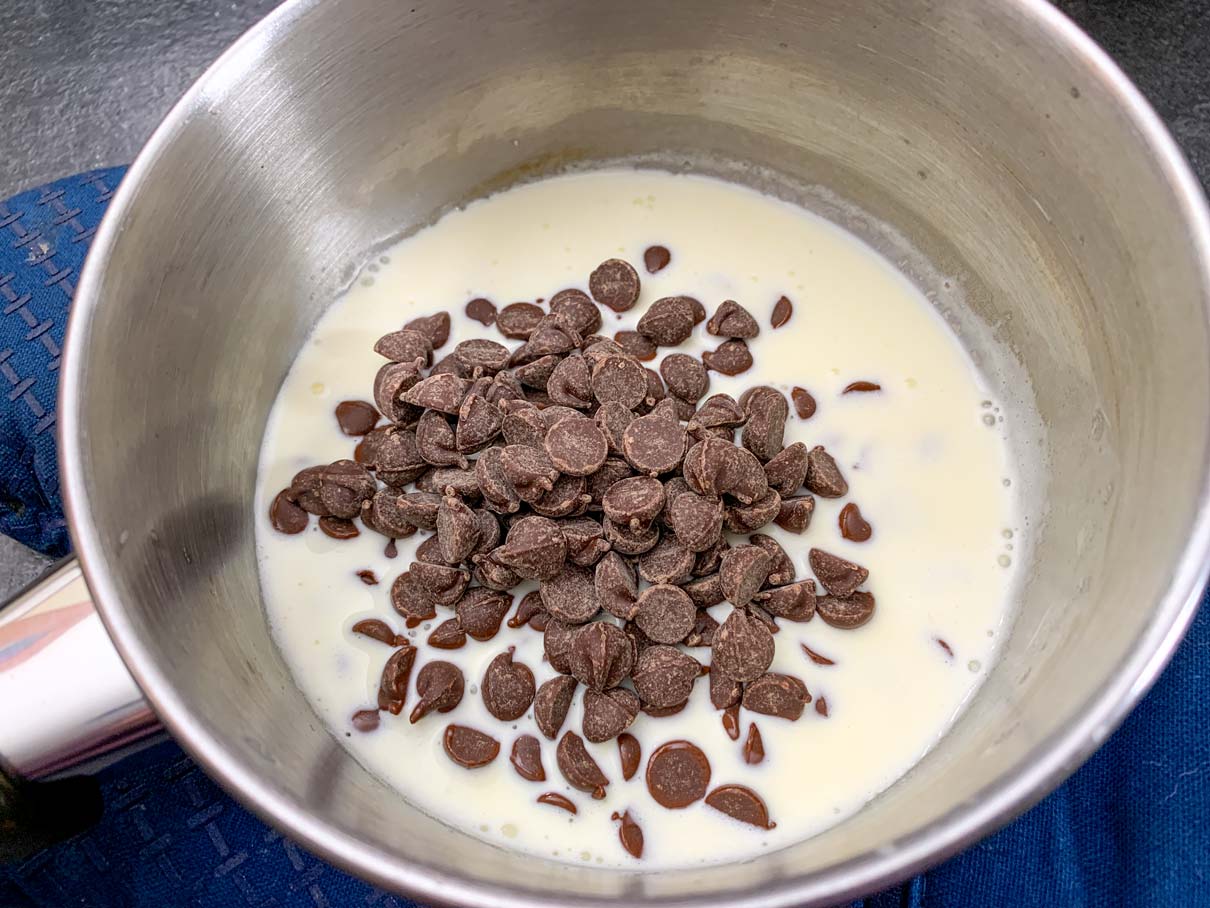
This part is super simple. Heat some cream in a small saucepan until it just starts to simmer. Remove it from the heat, and then whisk in some chocolate and peanut butter until smooth.
Pour the mixture into your springform pan on top of your crust layer. Spread it around until its nice and even, then stick the pan in the freezer so that the ganache layer can firm up for about 30 minutes. You want this layer to be chilled and firm, but not frozen solid.

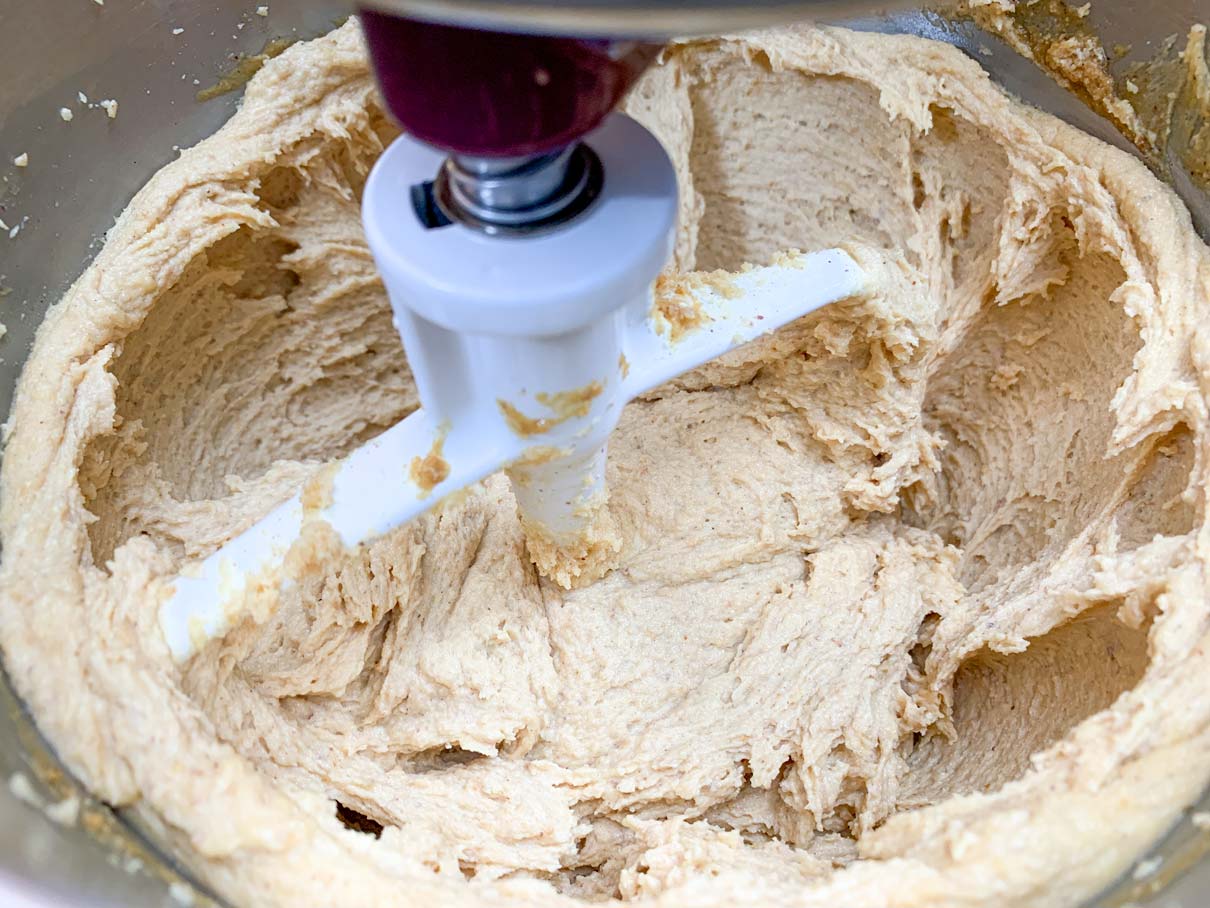
For the cheesecake layer, beat some cream cheese, peanut butter and sugar together until fluffy.
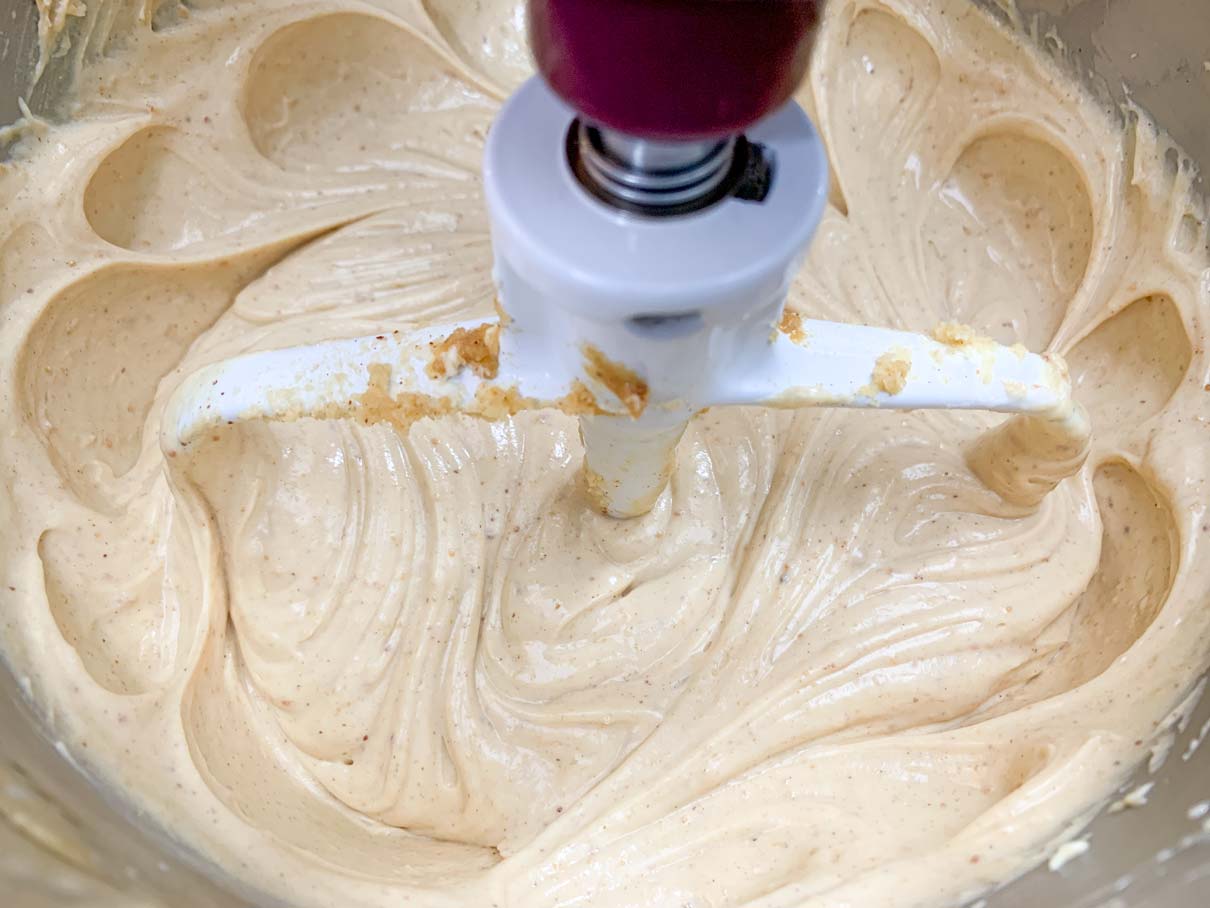
Beat in some sour cream, eggs and vanilla until the mixture is smooth.
Pour the cheesecake mixture overtop of your ganache layer. Give the pan a little tap on the counter to level out the batter.

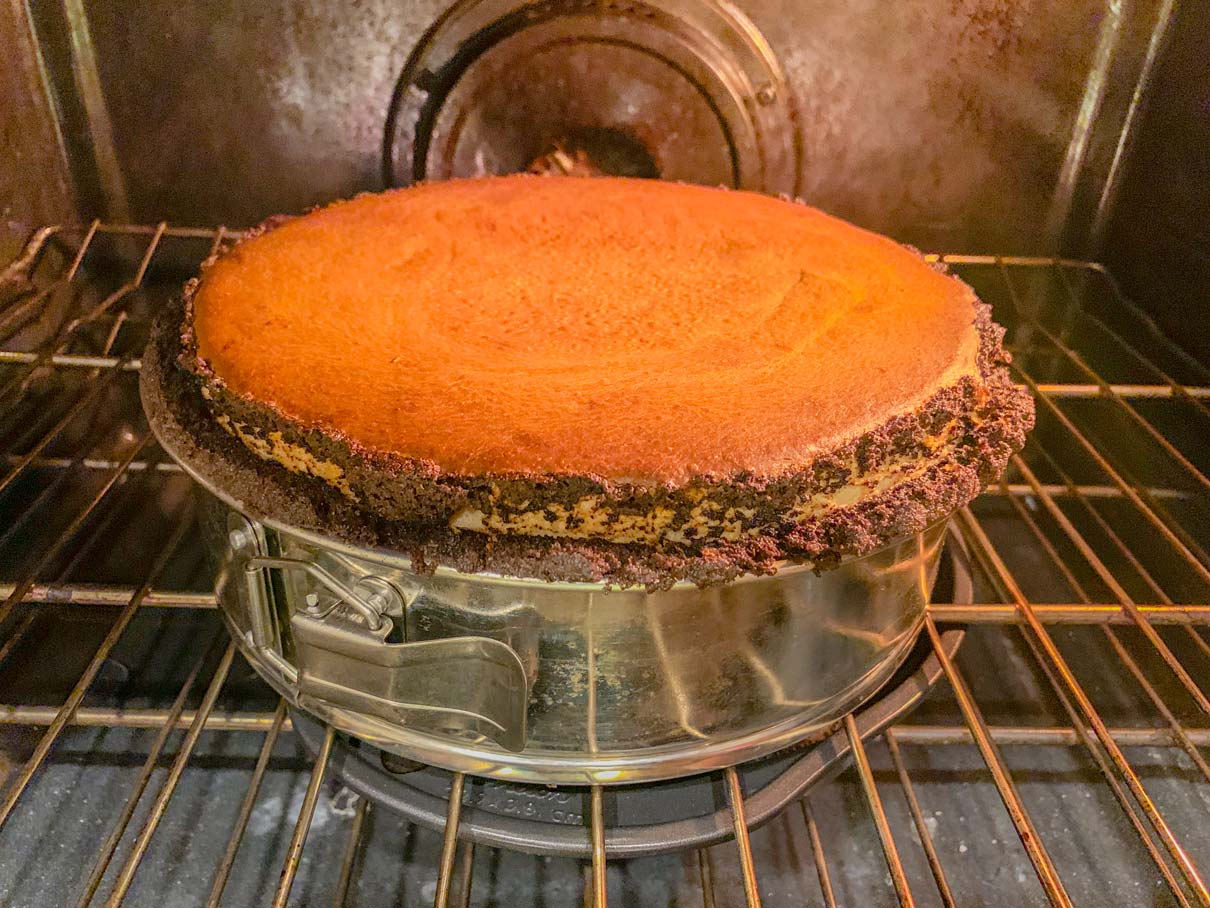
Bake the cheesecake at 325°F for 75-90 minutes. As I mentioned before, the edge of the cake should appear set, and the centre should still be slightly jiggly. You can see in the picture below how the cake has risen up over the top of the edge of the pan, and the crust is starting to escape a bit. This is why you need the deeper pan!
I ended up leaving my cake in the oven for just under two hours, which was undeniably way too long. I think the trick is learning the subtle difference between a wobble and a jiggle. While a wobble is okay, a jiggle is still too runny. Clearly I haven’t learned that difference yet, but hopefully one day I’ll get it all sorted.
Once your cake reaches the appropriate level of doneness, it’s time to cool it down. I’ve been told that sudden temperature changes can increase the likelihood of a cracked cheesecake, so it’s best to cool it down slowly.
The tip I’ve been given before is that rather than pulling the cake out of the oven right away, you should just turn the oven off and leave the door cracked open a bit for about an hour. At that point you can pull the cake out of the oven, finish cooling it to room temperature, and then cover it and put it the fridge to chill completely.
I half attempted this, but by 2:00 AM my cake was still not quite room temperature. My desire to sleep won out and I shoved the cake in the fridge and went to bed. My cheesecake did end up with a giant crack, although I’m pretty sure this was mainly due to the fact the cake was majorly overbaked.

Even if your cake cracks, the beauty of this recipe is that it gets topped with another layer of chocolate ganache, so you aren’t going to see the cracks anyway!
Once your cake has fully cooled, you can prepare the ganache topping. Just as you did with the previous ganache layer, heat some cream until it is just simmering, and then whisk in some chocolate until smooth.
Pour the ganache on top of the cheesecake and spread it into an even layer. Return the cheesecake to the fridge until the ganache has set.

Even though this cheesecake was way overbaked…and had a giant crack…and a sunken top…it still tasted pretty good! Of course, I would have been much happier if I had pulled it out of the oven sooner, but what this proves is how forgiving this cake really is. Even if you botch it, it’s still pretty tasty.
In future I really need to get myself a deeper springform pan. The next time I tackle this cake, I will be much more mindful of the baking times. I’d also like to try testing a couple of things with this recipe including:
- Reducing the volume of all the ingredients to make a smaller 6 inch version (This recipe makes a beast of a cake. It’s very rich and you don’t need a large slice to fill up on it.)
- Reducing the thickness of the crust slightly
- Using bittersweet instead of the semi-sweet chocolate
Chocolate Peanut Butter Cake
Ingredients
Chocolate Crust
- 255 g chocolate wafers
- 6 oz bitter or semi-sweet chocolate (I used semi-sweet)
- 1/2 cup packed dark brown sugar
- 7 tbsp melted butter
Bottom Ganache Layer
- 1 cup whipping cream
- 13 oz bitter or semi-sweet chocolate (I used semi-sweet)
- 2 tbsp smooth peanut butter (unsweetened)
Cheesecake Layer
- 2 x 8 oz packages ceam cheee (room temperature)
- 1 1/4 cup smooth peanut butter (unsweetened)
- 1 cup granulated sugar
- 3/4 cup sour cream
- 3 large eggs
- 2 tsp vanilla extract
Ganache Topping
- 1/3 cup whipping cream
- 4 1/2 oz bitter or semi-sweet chocolate (I used semi-sweet)
Instructions
For the Chocolate Crust
- Blend the wafers, chocolate and brown sugar together in a blender or food processor until finely ground. Add the melted butter and blend until combined.
- Transfer the crumbs to a 9 inch round, 3 inch deep, springform pan. Press the crumbs into an even layer on the bottom of the pan and up the sides, leaving a 1/2 inch gap at the top. Place the pan in the fridge to chill while making the bottom ganache layer.
For the Bottom Ganache Layer
- In a small saucepan, heat the cream until it just starts to simmer. Remove from heat and whisk in the chocolate and peanut butter until smooth.
- Pour the mixture into your crust lined pan and spread it into an even layer. Place the pan in the freezer until the ganache layer is firm (about 30 minutes),
For the Cheesecake Layer
- Pre-heat your oven to 325°F.
- In the bowl of a stand mixer, beat together the cream cheese, peanut butter, and sugar until fluffy.
- Add the sour cream, eggs and vanilla and beat until smooth.
- Pour the mixture over your chilled ganache layer.
- Bake for 75-90 minutes until the edges of the cake appear set, but the middle 2-3 inches is still slightly jiggly.
- Turn the oven off, crack the door open a bit and leave the cake to cool in the oven for about an hour. Transfer the cake to a wire rack to finish cooling to room temperature. Once the cake has reached room temperature, you can cover it and put it in the fridge.
For the Ganache Topping
- Once your cake has cooled, you can prepare the ganache. In a small saucepan, heat the cream until just simmering. Remove from heat and whisk in the chocolate until smooth.
- Spread the ganache into an even layer across the top of the cake. Chill the cake again until the ganache has set before serving.