I’ve come to realize that peppermint flavoured cookies are something that people either love or hate. I personally quite enjoy them, which is why these cookies made it onto my cookie baking marathon list before Christmas.
The chocolate part of this dough isn’t overly sweet, and the peppermint flavour comes through quite strong. They are a firmer cookie, made slightly chewy by the melted candy canes mixed in throughout. While I do like the taste of the peppermint and chocolate together, I mostly just love the look of them with the light and dark dough swirled together.
To make these cookies, start by beating the sugar and butter together in the bowl of a stand mixer until light and fluffy. Add an egg and a tablespoon of milk and beat to combine.

In a separate bowl, sift together the flour, baking powder and salt. Add the flour mixture to the butter mixture and beat until just combined.
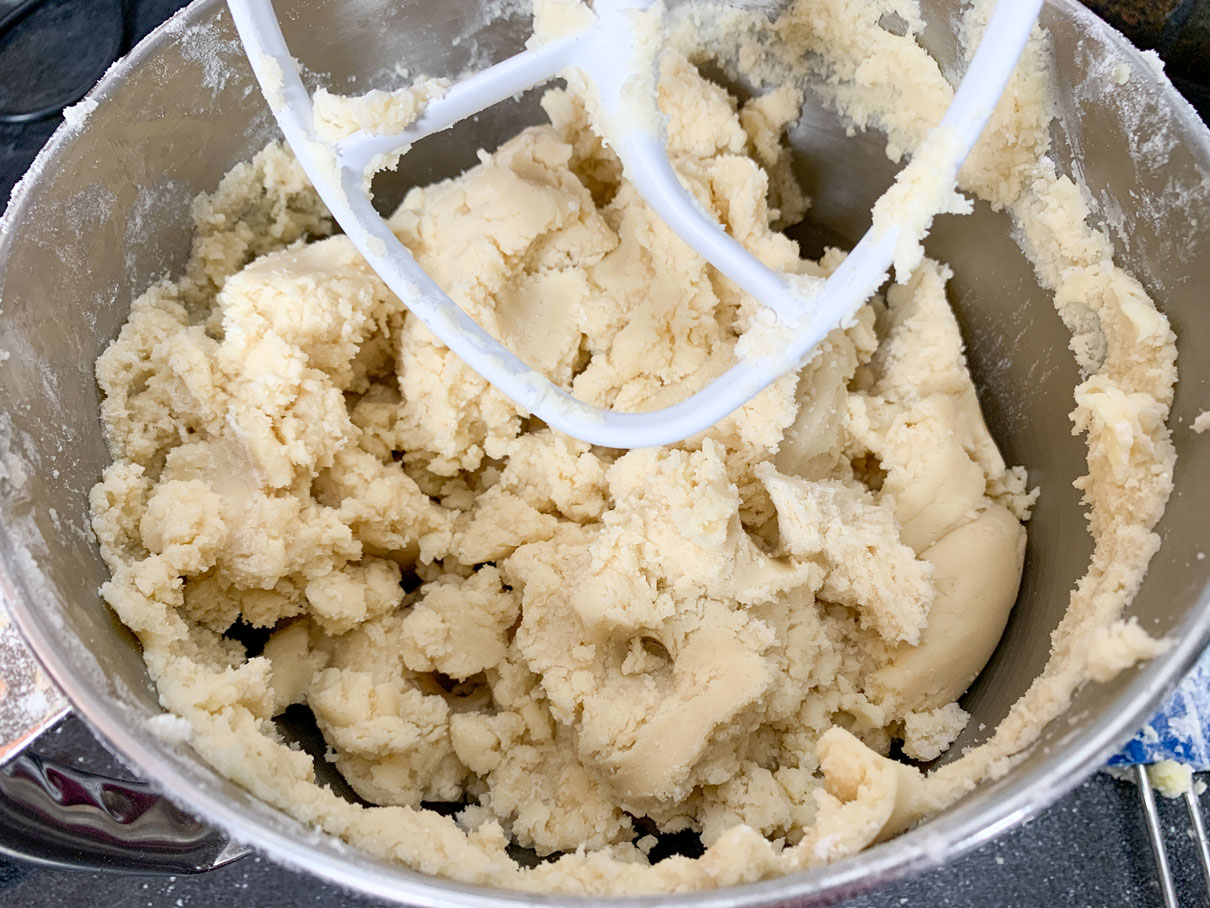
Remove the dough from the bowl and divide it into two equal halves. Add one half back to the mixing bowl along with an egg yolk, some peppermint extract and some crushed candy canes. I prefer to use just the red and white candy canes because I like the look of them better, but I could only find the red/green/white striped ones this year. While I don’t find the little flecks of green in them visually appealing, it doesn’t affect the taste at all.
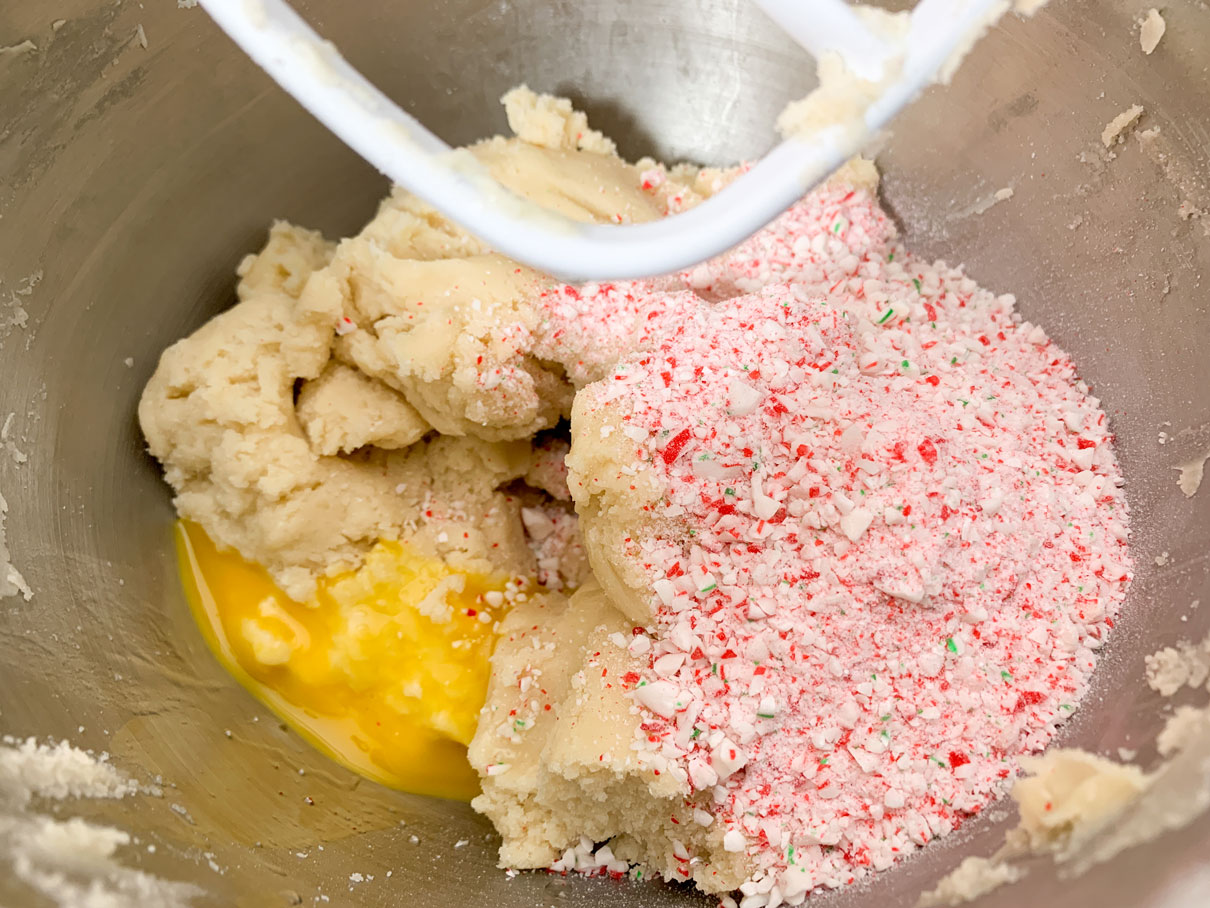
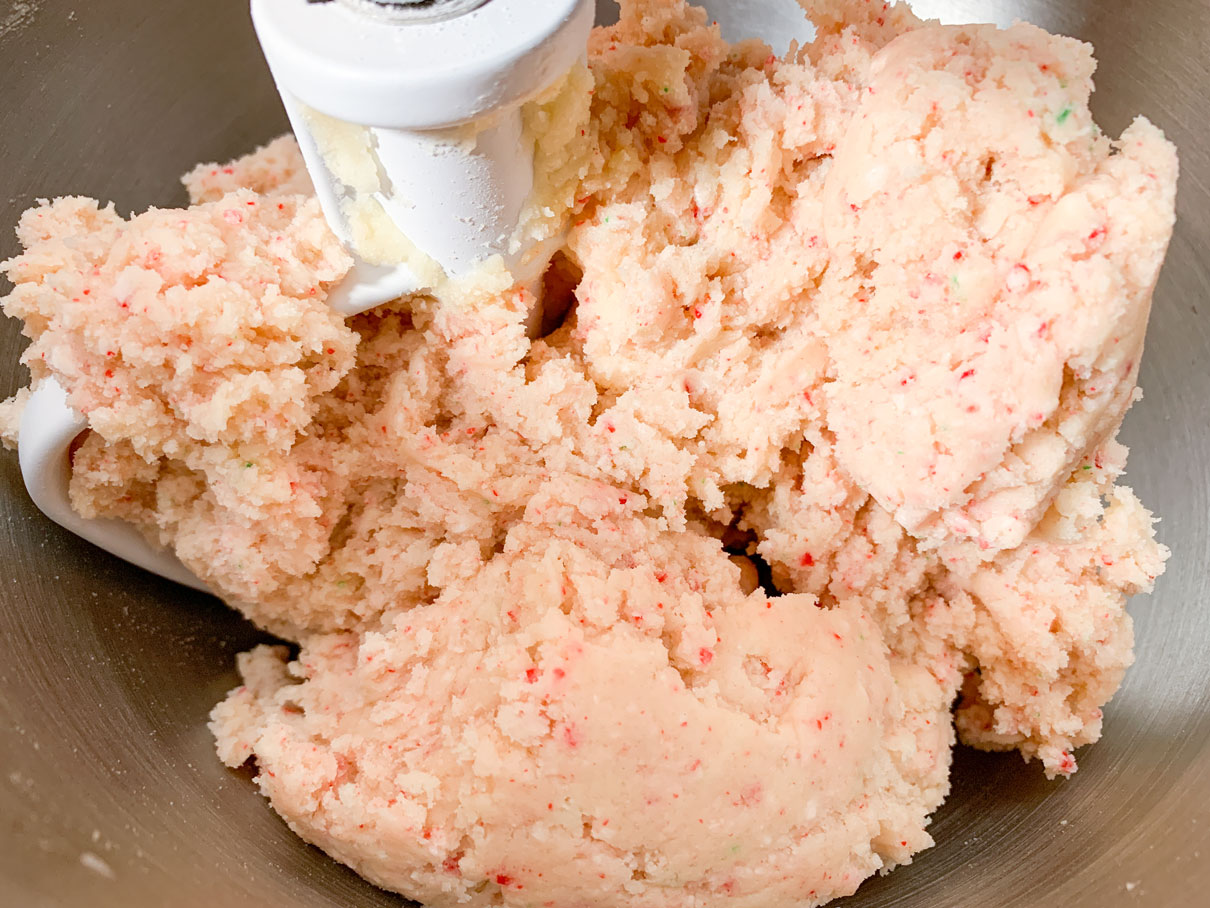
Beat the ingredients together until just combined, then remove the dough from the bowl and set it aside.
Add the other half of the dough to the mixing bowl along with some melted, unsweetened chocolate and some vanilla extract.
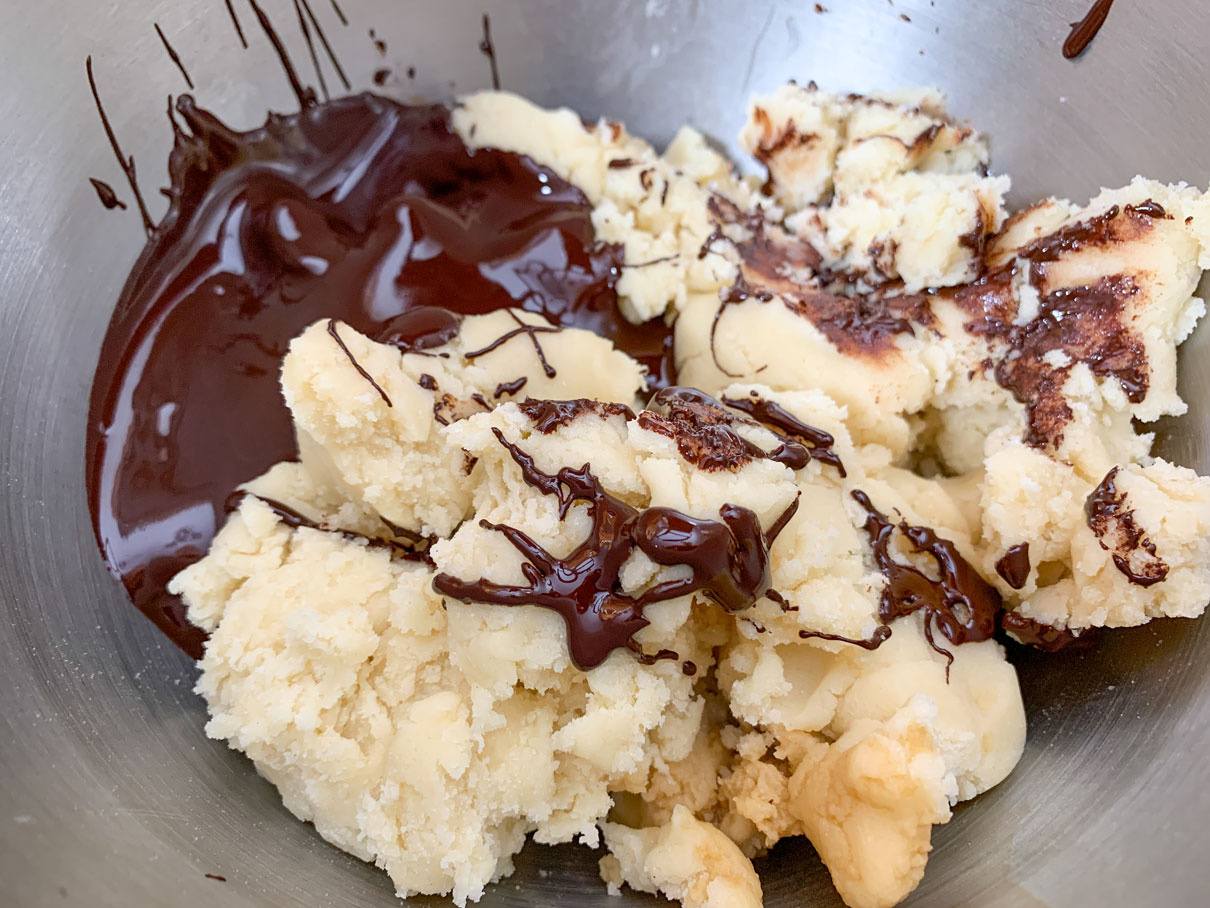
Beat until just combined and then remove the dough from the bowl.
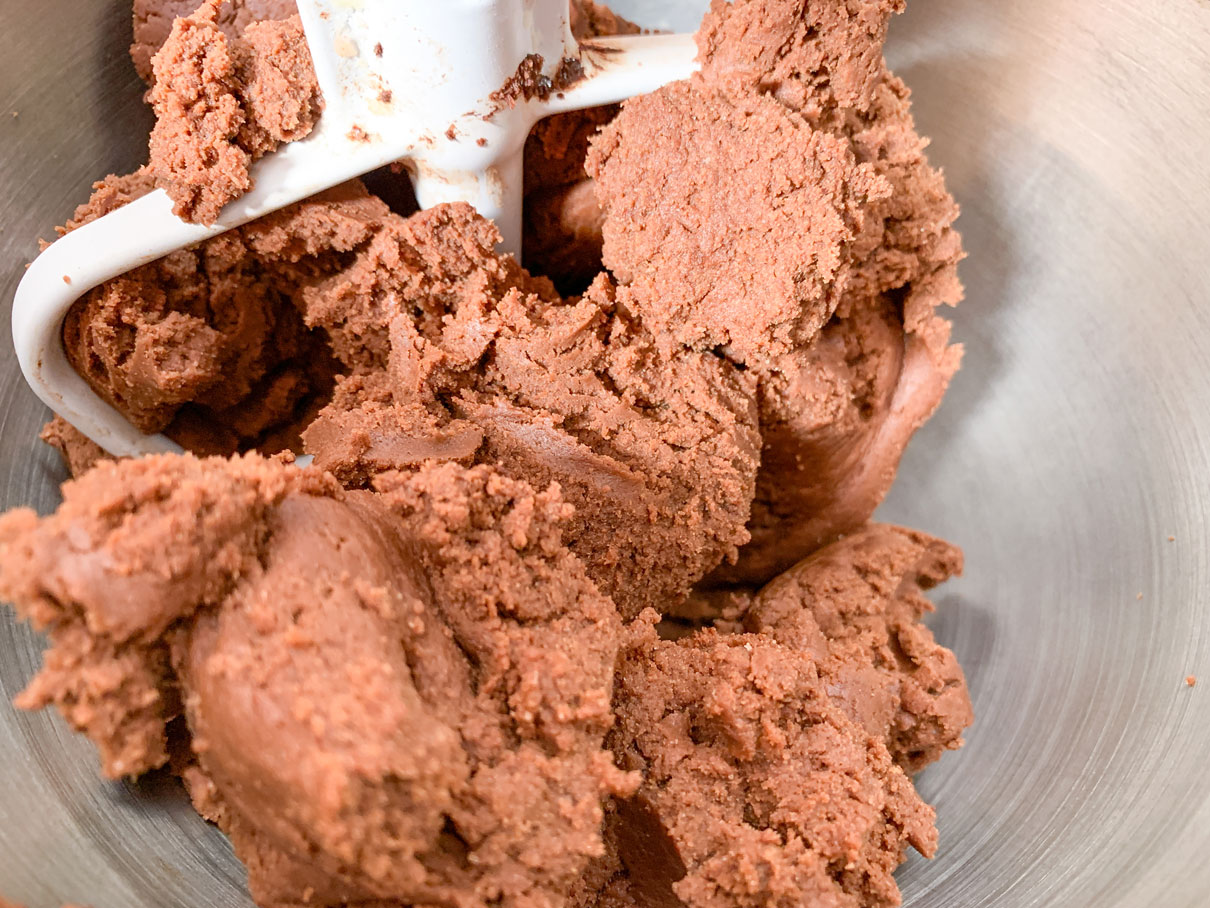
You should now have two balls of different flavoured doughs. Flatten them out a bit into a sort of disc shape, and then chill them in the fridge for about 20-30 minutes. I found the chocolate dough was a bit softer than the peppermint, so you might need to chill that one a bit longer to make it easier to handle.

Once your dough has chilled, you’ll need to roll each flavour out into a long, rectangular shape, a little thinner than 1/4 inch thick. Your goal is to get both flavours rolled out into as similar a shape and size as possible.
At first I tried rolling the dough out directly onto a floured countertop. It rolled out really nicely, but when I went to move it, I found it was a bit soft and hard to handle (maybe because I was impatient waiting for it to chill). It ended up falling apart and turning into a big mess.
I gathered up all the dough and tried rolling it out a second time, but this time I did it onto a piece of parchment paper. I found this worked really well because I could then lift the whole piece up easily.
I rolled the peppermint dough out first, and then stuck it back in the fridge to chill a bit more while I rolled out the chocolate dough.
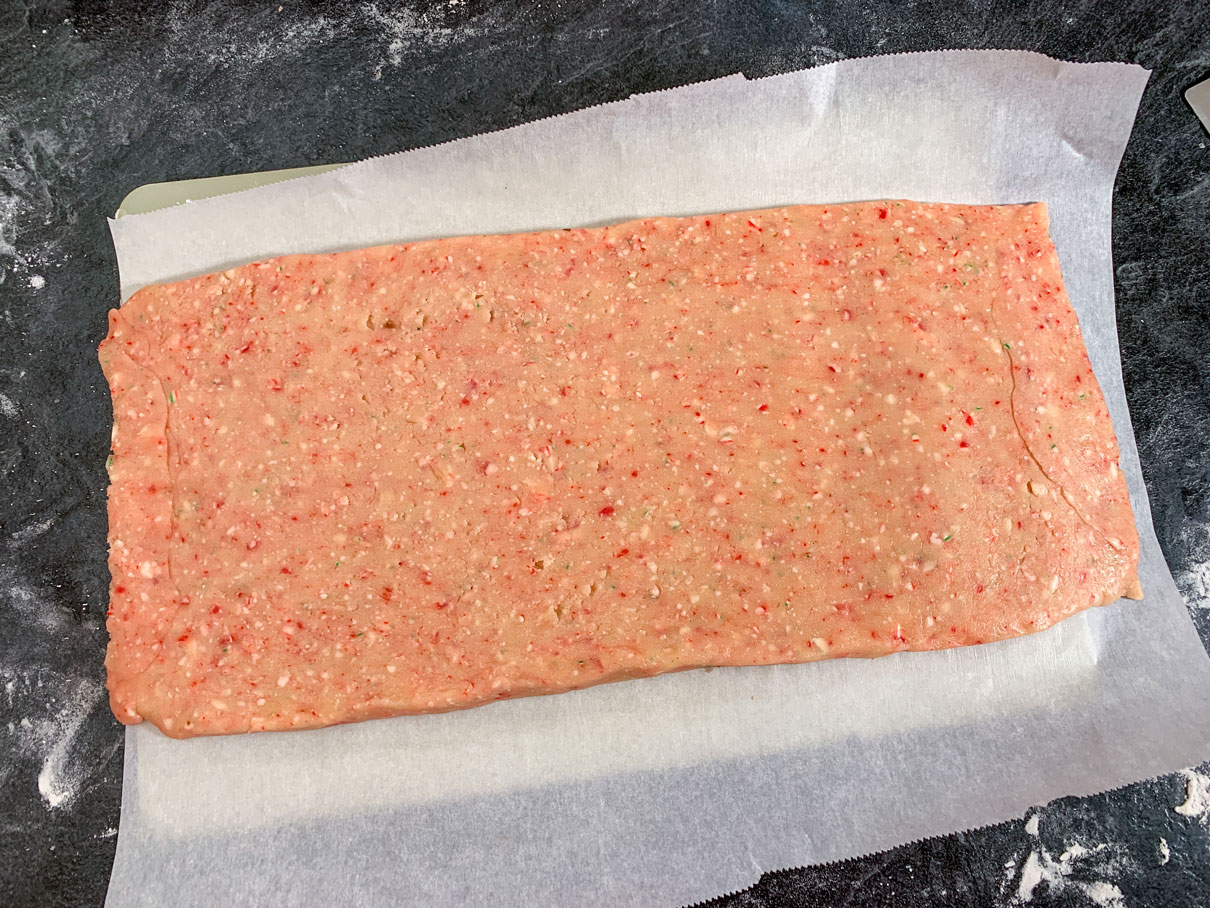
To get the really square/straight edges, I kept pushing the edges into shape with a dough scraper. I would roll the dough out part way, then push the edges in a bit. Roll again, shape again, etc, until the dough was rolled out to the right thickness.

Once both doughs are rolled out into the right size and shape, stack the peppermint dough on top of the chocolate dough, and press it down slightly to help them stick together. I found it helpful to gently roll over the stacked layers with a rolling pin. Apply just enough pressure to help stick the two sheets of dough together without rolling it out extra thin.
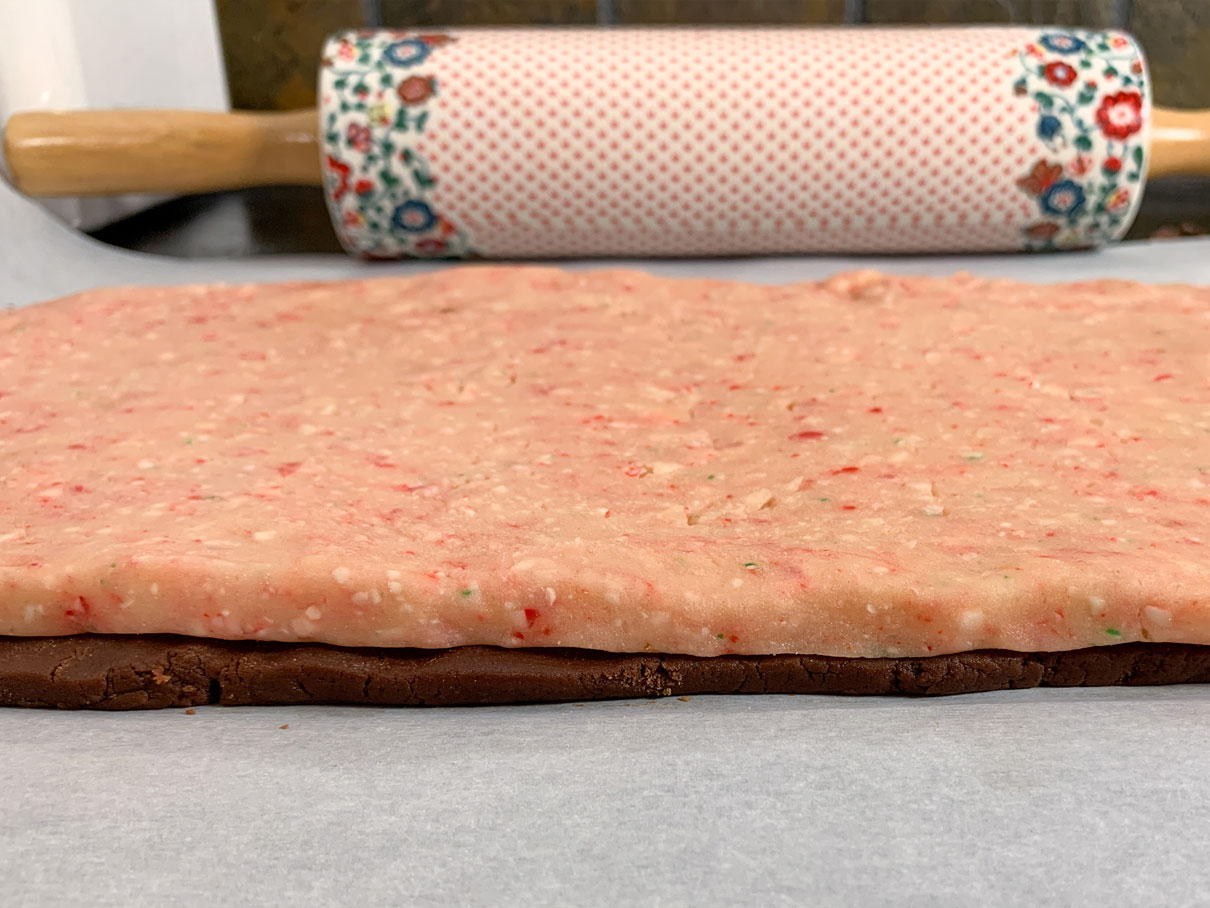
Now it’s time to shape the dough into a log. If you’ve rolled the dough sheets out onto parchment paper, you can use the same sheet that the bottom layer is resting on to help you roll and shape the log. You’ll want to roll the dough along its longest side so you have a long log, not a short log.
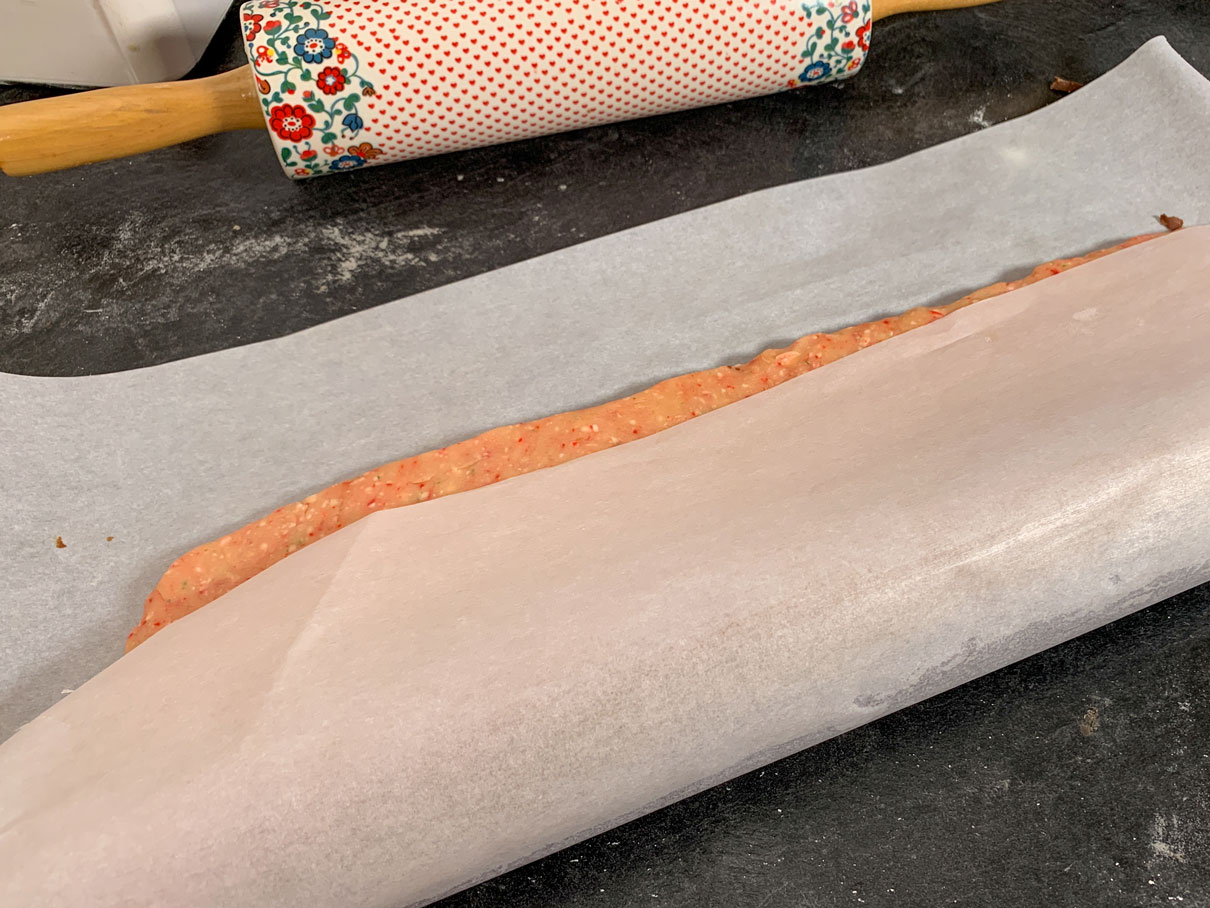
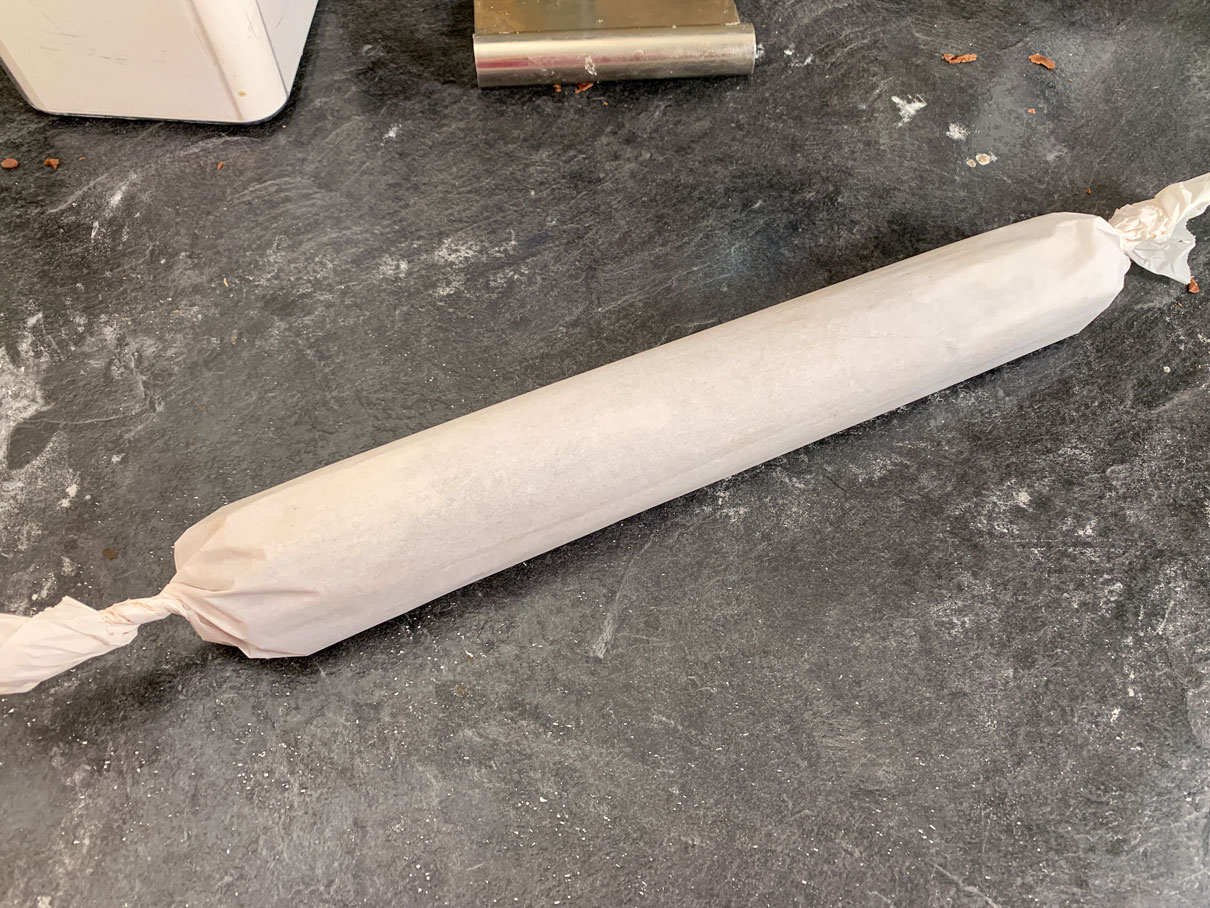
When the dough is rolled up, twist the ends of the parchment paper together to seal up the log. Transfer the log to the fridge and chill for at least an hour. If you want your cookies to stay extra round, you can insert the log into a mailing tube to help it keeps its shape as it chills.
When the dough has chilled, unroll it from the parchment paper and cut it into 1/4 thick slices. You should be able to see the nice spiral shape in the dough now.
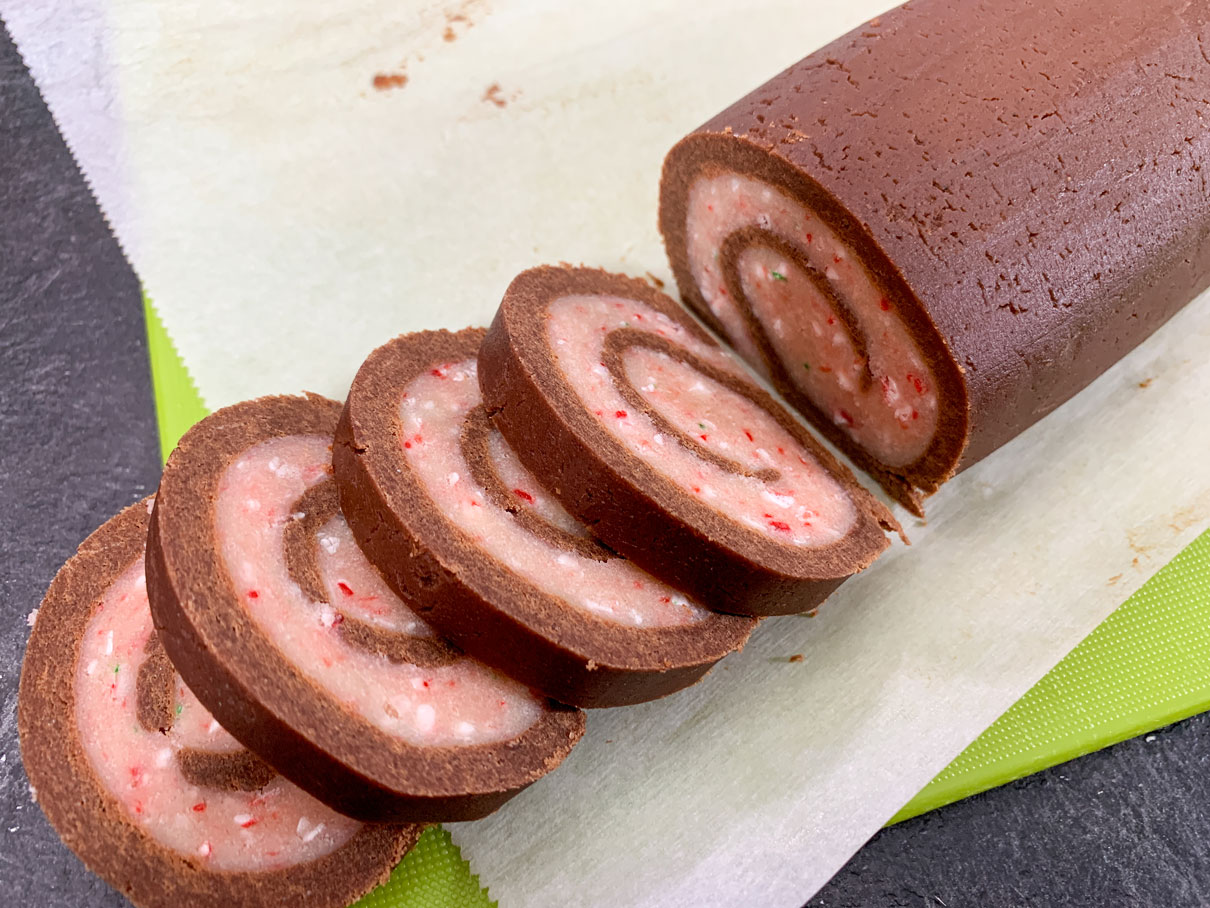
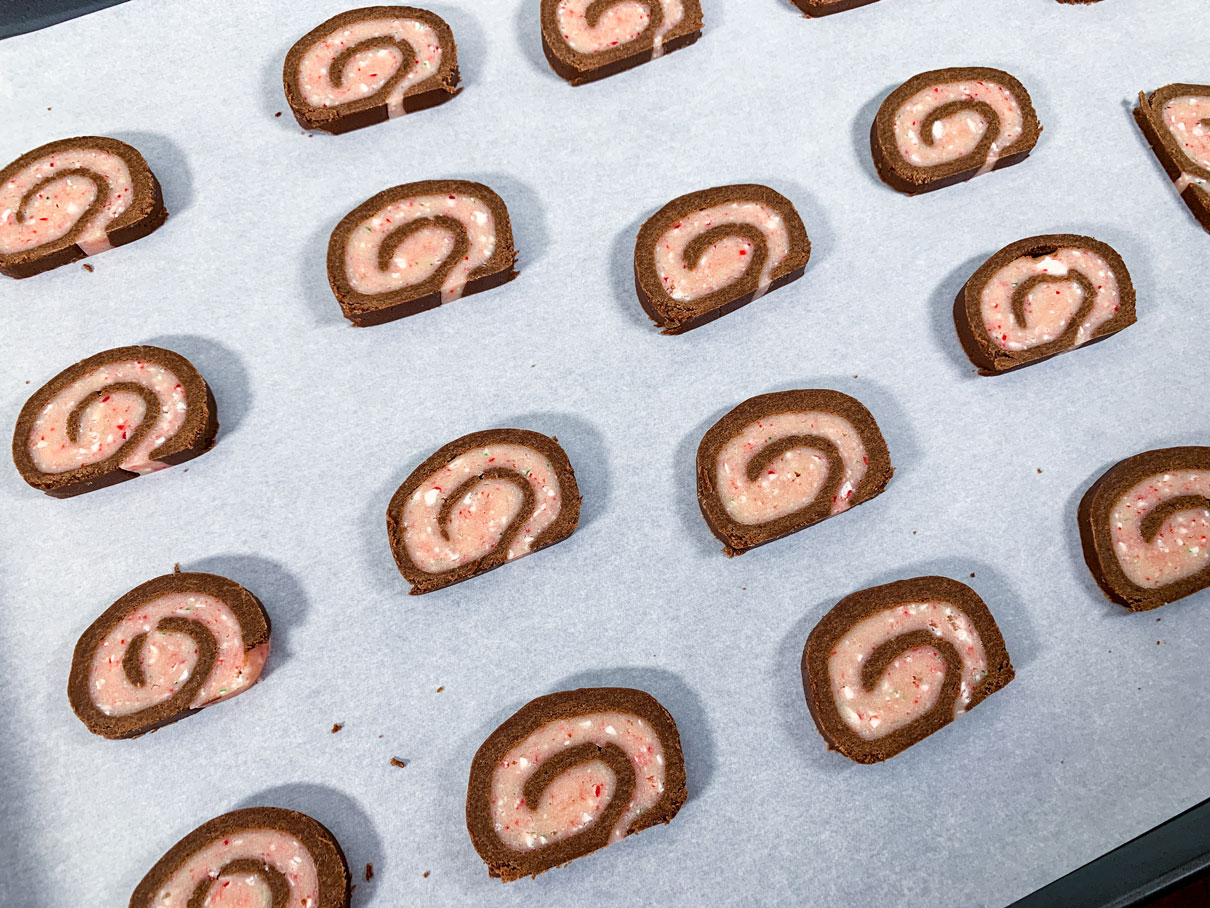
Place the dough slices 2 inches apart on a parchment lined baking tray.
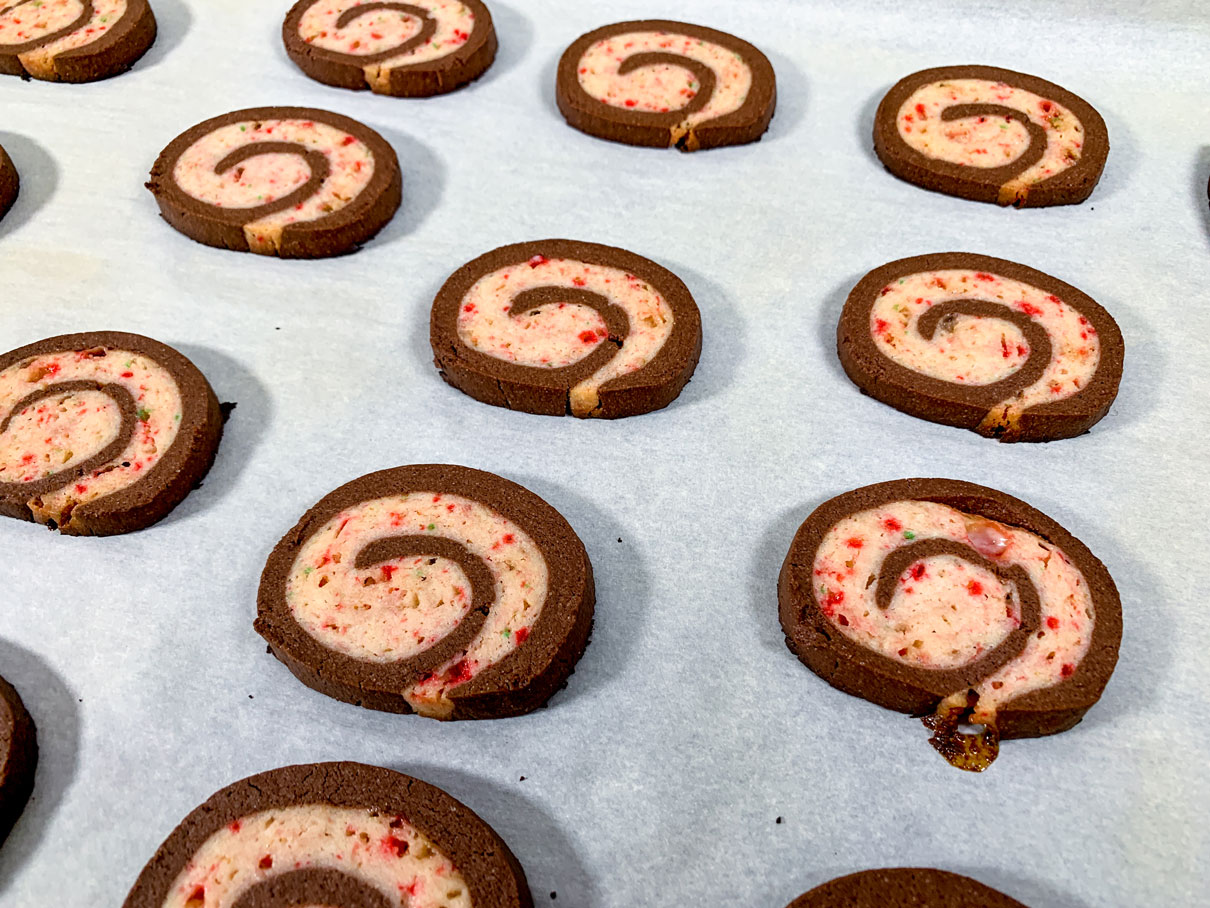
Bake the cookies at 375°F for 12-13 minutes, or until the edges are slightly golden brown. Allow the cookies to cool on the baking tray for a few minutes before transferring them to a wire rack to cool completely.
The most finicky part about these cookies is getting the two sheets of dough rolled out to the same size and then trying to get them stacked on top of each other. Once you’ve got that part done, it’s smooth sailing from there!

Peppermint Pinwheel Cookies
Ingredients
- 3 cups flour
- 3/4 tsp baking powder
- 1/8 tsp salt
- 1 cup butter
- 1 cup sugar
- 1 egg (beaten)
- 1 tbsp milk
For the Peppermint Dough
- 1 egg yolk
- 1 tsp peppermint extract
- 1/2 cup crushed peppermint candies/candy canes
For the Chocolate Dough
- 3 oz unsweetened chocolate (melted)
- 1 tsp vanilla extract
Instructions
- In a medium sized bowl, sift together flour, baking powder and salt.
- In the bowl of a stand mixer, beat together the butter and sugar until light and fluffy.
- Add 1 egg and 1 tablespoon of milk, and beat to combine.
- Add the dry ingredients and stir until combined.
- Remove the dough from the bowl and divide it into two equal halves.
- Add one half back to the bowl and add the egg yolk, peppermint extract and crushed candy canes. Stir until combined. Remove the dough from the bowl and set aside.
- Place the other half of the dough in the mixing bowl. Add the melted chocolate and vanilla extract and stir until combined. Remove the dough from the bowl.
- Shape each half of the dough into a disc and chill in the fridge for about 20-30 minutes.
- Take the chocolate dough and roll it out onto a lightly floured surface (or onto a sheet of parchment paper) to 1/4 inch thickness. Roll it into a long rectangular shape about 6 inches wide.
- Take the vanilla peppermint dough and roll it out the same size and shape as the chocolate dough.
- Lay the sheet of peppermint dough on top of the sheet of chocolate dough. Use a rolling pin to gently roll over the stacked dough sheets to press them together.
- Roll the now stacked dough into a log shape (starting along the longest side, so the log is nice and long). Wrap in a sheet of parchment paper and twist the ends together tightly. Place the log in the fridge to chill for at least an hour.
- Once the dough has chilled and firmed up, pre-heat your oven to 375°F. Take the dough log out of the fridge and unwrap it from the parchment. Use a sharp knife to cut the log into 1/4 inch thick slices.
- Place the dough slices about 2 inches apart on a parchment lined baking sheet and baked for 12-13 minutes. Allow the cookies to cool on the baking sheet for a few minutes before transferring to a wire rack to cool completely.


