Believe it or not, I don’t spend my entire day looking at pictures of food, making food, and eating food, although I know sometimes it appears that way. My 9-5 weekday hours are instead spent working as a product manager at a software company.
When I was younger, I had no idea this type of work existed. I sort of fell into it through a series of happy accidents. Every day I’m learning something new, and there’s lots of problem solving involved, which I love. Most importantly though, I work with a really fantastic group of people.
I know a lot of people who don’t have that same luxury of enjoying the company of their co-workers. I feel lucky in that sense, but it also makes is more difficult when one of them leaves. This week, we unfortunately had two people move on to seek new opportunities. Naturally, I had to bake them both a cake.
I used my favourite go-to chocolate cake recipe from Add a Pinch, paired with a vanilla buttercream frosting. I’ve made this cake numerous times before in various sizes and shapes, and it has never failed me.
I baked two separate cakes, one in a 9×13 pan, the other in 9 inch rounds. I started with the 9×13 and was so pleased with how quickly I got the batter mixed up and in the oven. I was well ahead of schedule!
I prepped the batter for the round cake so that I could get it in the oven as soon as the 9×13 was ready. When my timer went off, I checked the first cake. It looked perfect! I pulled it out, set it aside to cool and got the round cake in the oven next.
I started puttering around the kitchen, tidying up, and waiting for the first cake to cool a bit before I flipped it onto a wire rack. When I went to check if the cake had cooled enough, I noticed that while I had been washing dishes, my poor cake had sunk deeper than the Titanic. There was a MASSIVE crater in the centre.
I read through the recipe again, wracking my brains to try and figure out what I might have done wrong. The only thing I could think of that I had done differently from previous times was that I had recently bought a new brand of cocoa powder.
I double checked the label and realized what I’d bought was Dutch-processed cocoa powder. Now here’s some fun information about cocoa powder. Natural cocoa powder is made from roasting cocoa beans and grinding them into a powder. It’s fairly acidic, with a pH level between 5 and 6. Dutch-processed cocoa powder is very similar except that the beans are washed in a potassium solution, which neutralizes their acidity to a pH around 7.
The type of cocoa powder you use becomes important depending on the type of leaver your recipe calls for. Natural cocoa powder is typically paired with baking soda, whereas Dutch processed cocoa is paired with baking powder.
This is because baking soda requires an acid to work properly (such as lemon juice, buttermilk or natural cocoa powder). Whereas baking powder is a combination of baking soda, acid and cornstarch. Since it already contains an acid, it does not need any additional acid ingredients as part of the recipe.
The recipe does call for a mix of both baking powder and baking soda, so in theory, I think it should have been okay. But regardless, my cake had sunk a huge amount, and I’m fairly certain that was the only change I had made.
I rushed out and bought some of my regular cocoa powder, mixed up another batch of cake and baked it again. This time it didn’t sink after cooling! By this time, it was starting to get late and I had to try and frantically cool the cakes enough so I could frost them and go to bed.
While the cakes were cooling, I mixed up a big batch of vanilla buttercream. I transferred a little bit of it into a piping bag to use for decorating, and then the rest I tinted blue with food colouring.
One trick I’ve learned for filling piping bags is to start by folding the top of the bag over itself.
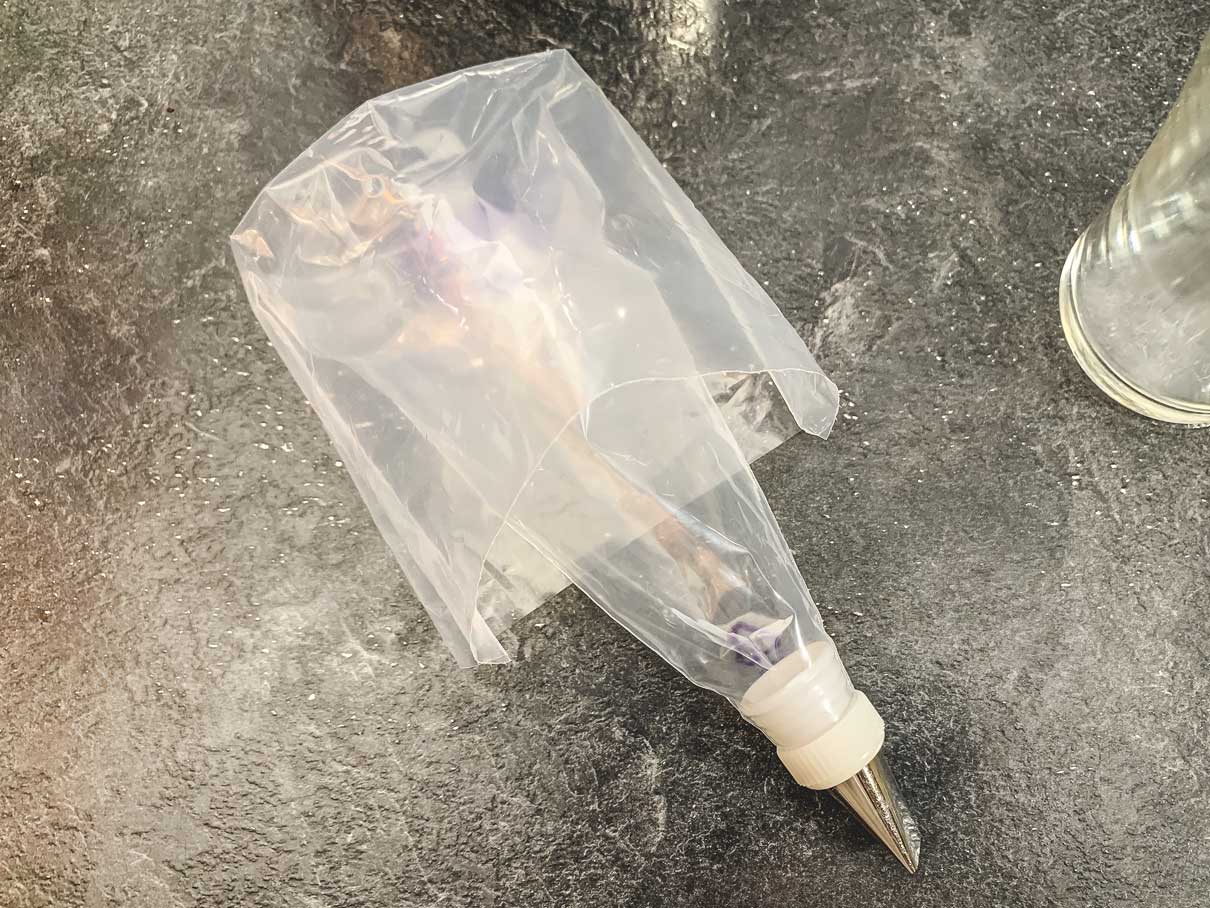
I then place the bag in a glass so that it stands upright. This makes it super easy to scoop mounds of frosting into the bag. You can also just hold the bag as you fill it.
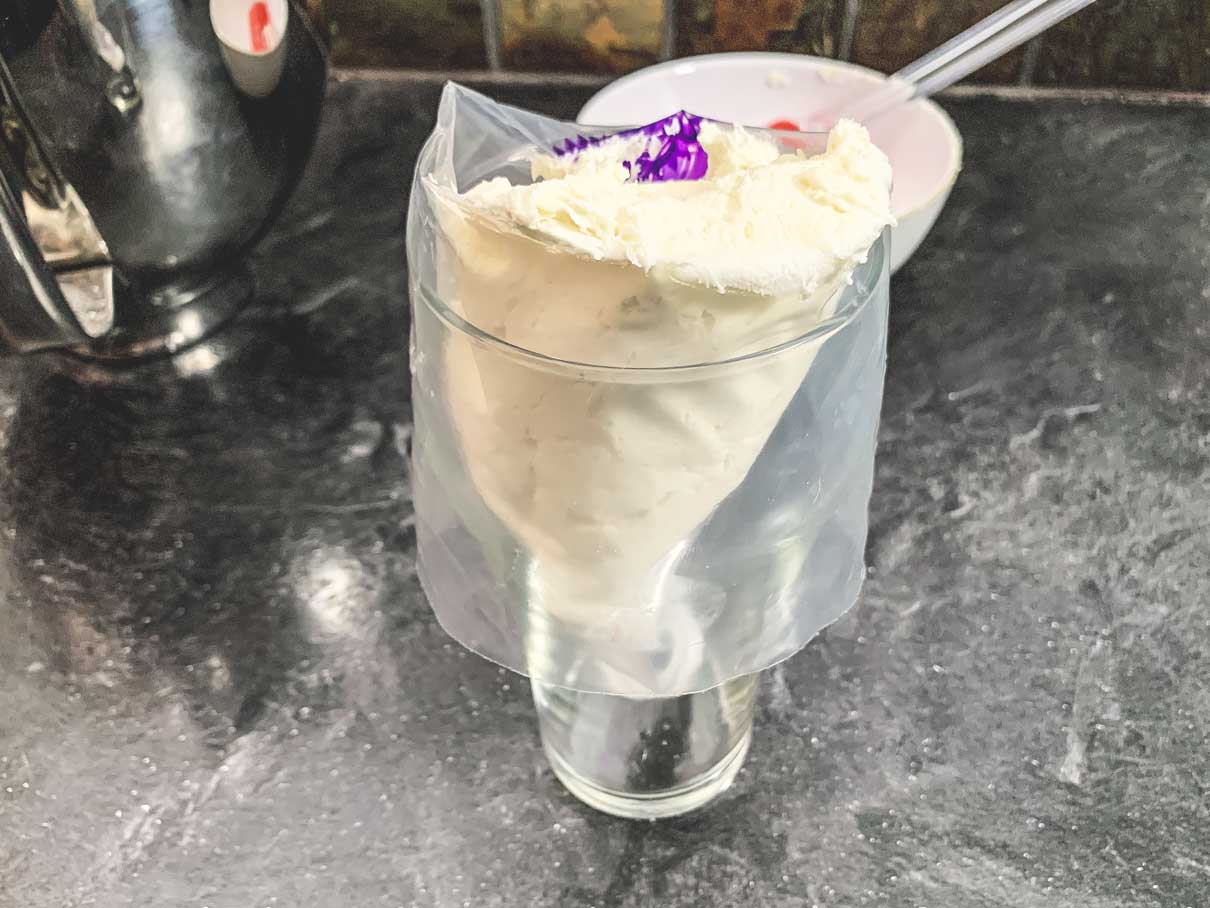
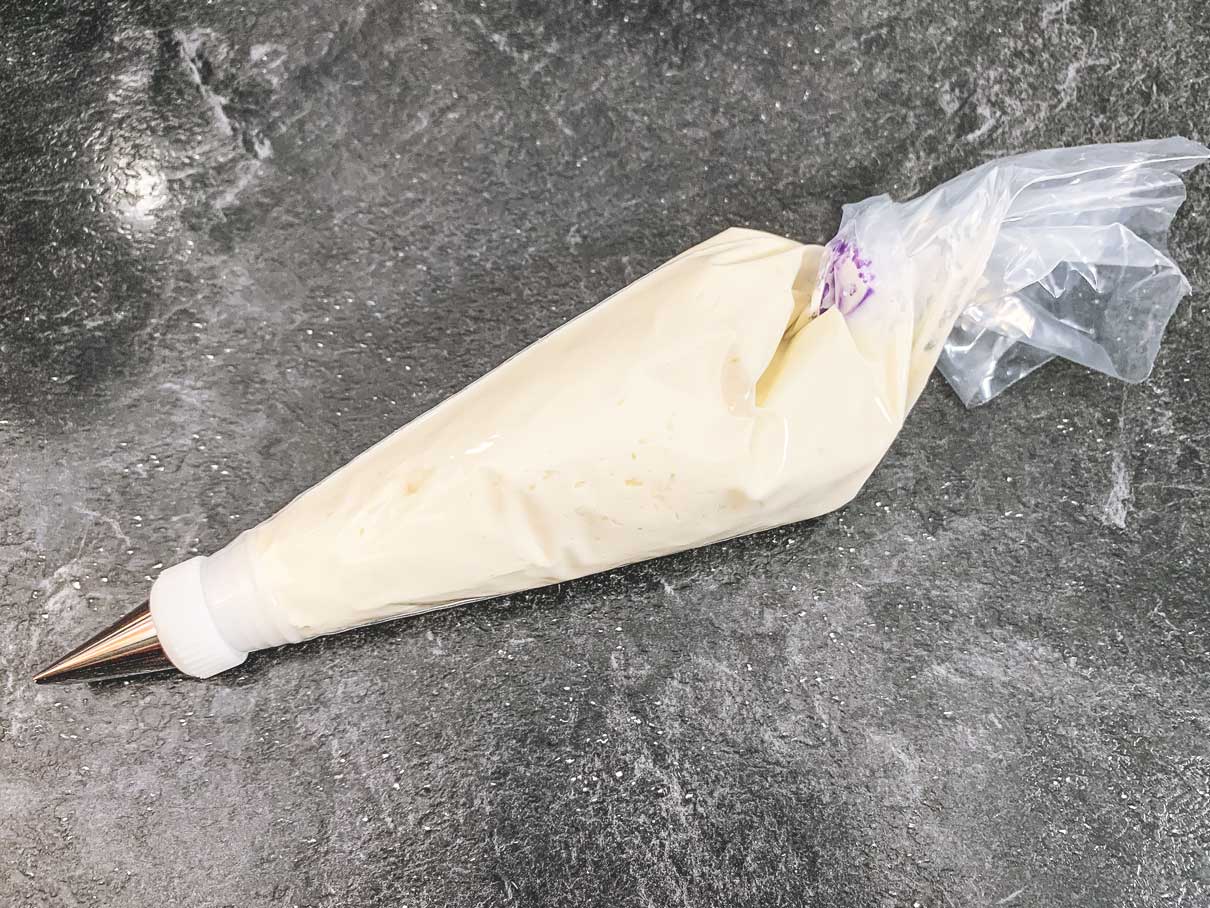
When you’ve got your buttercream in the bag, unfold the top part that you’d originally folded over. Twist the top of the bag shut, and you’re good to go! Keeping the top folded over while filling the bag helps keep the top edges clean so you don’t end up with bits of frosting oozing out back while you’re decorating.
The most important thing to remember when frosting a cake, is that you have to left it cool completely first, otherwise the warmth of the cake will melt the butter and you’ll end up with a big mess.
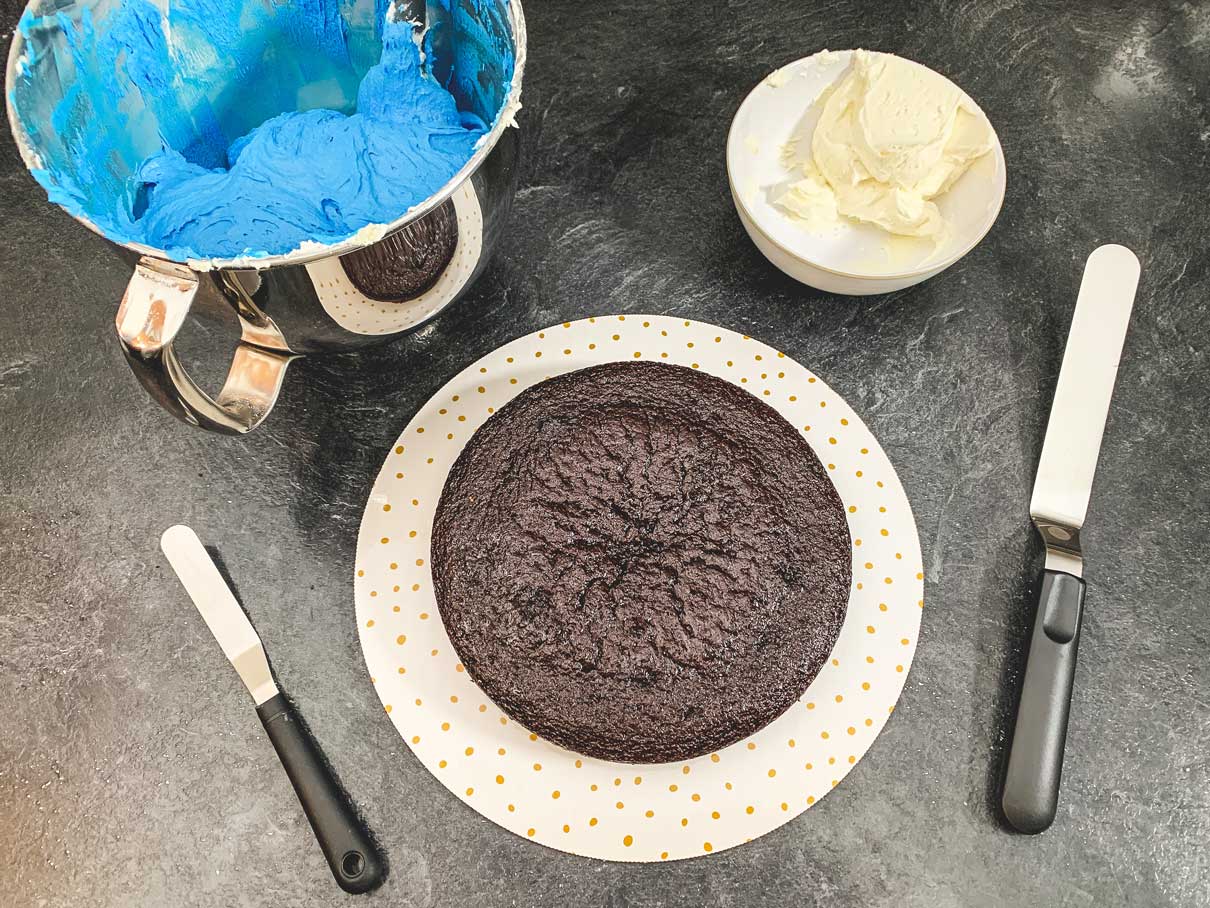
Once the cakes had cooled completely, I covered them each with a thin crumb coat of blue frosting, then put them in the fridge to chill for a while before doing another layer of frosting.

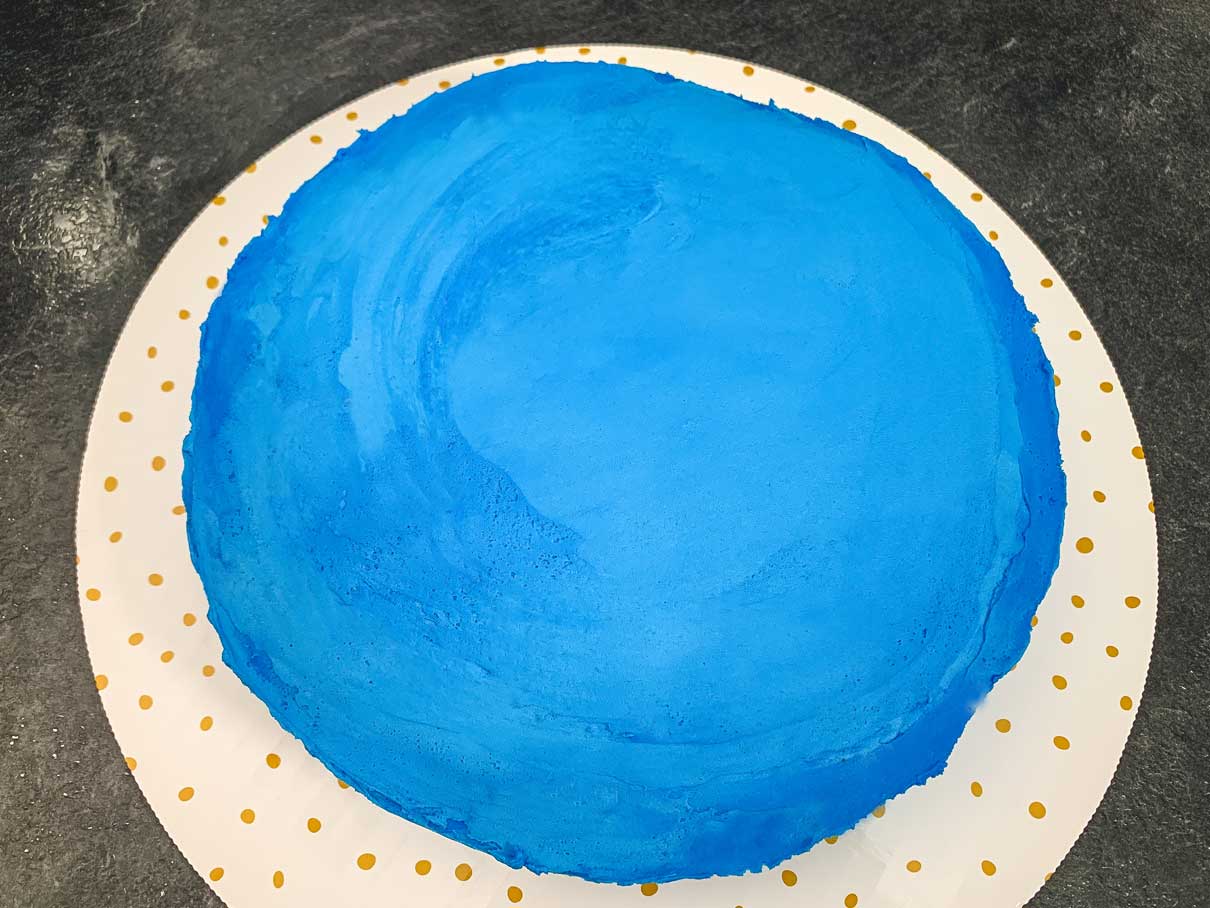
After adding the second layer of blue frosting, I piped our team’s logo onto the round cake. This cake was for one of my immediate team members who was leaving.

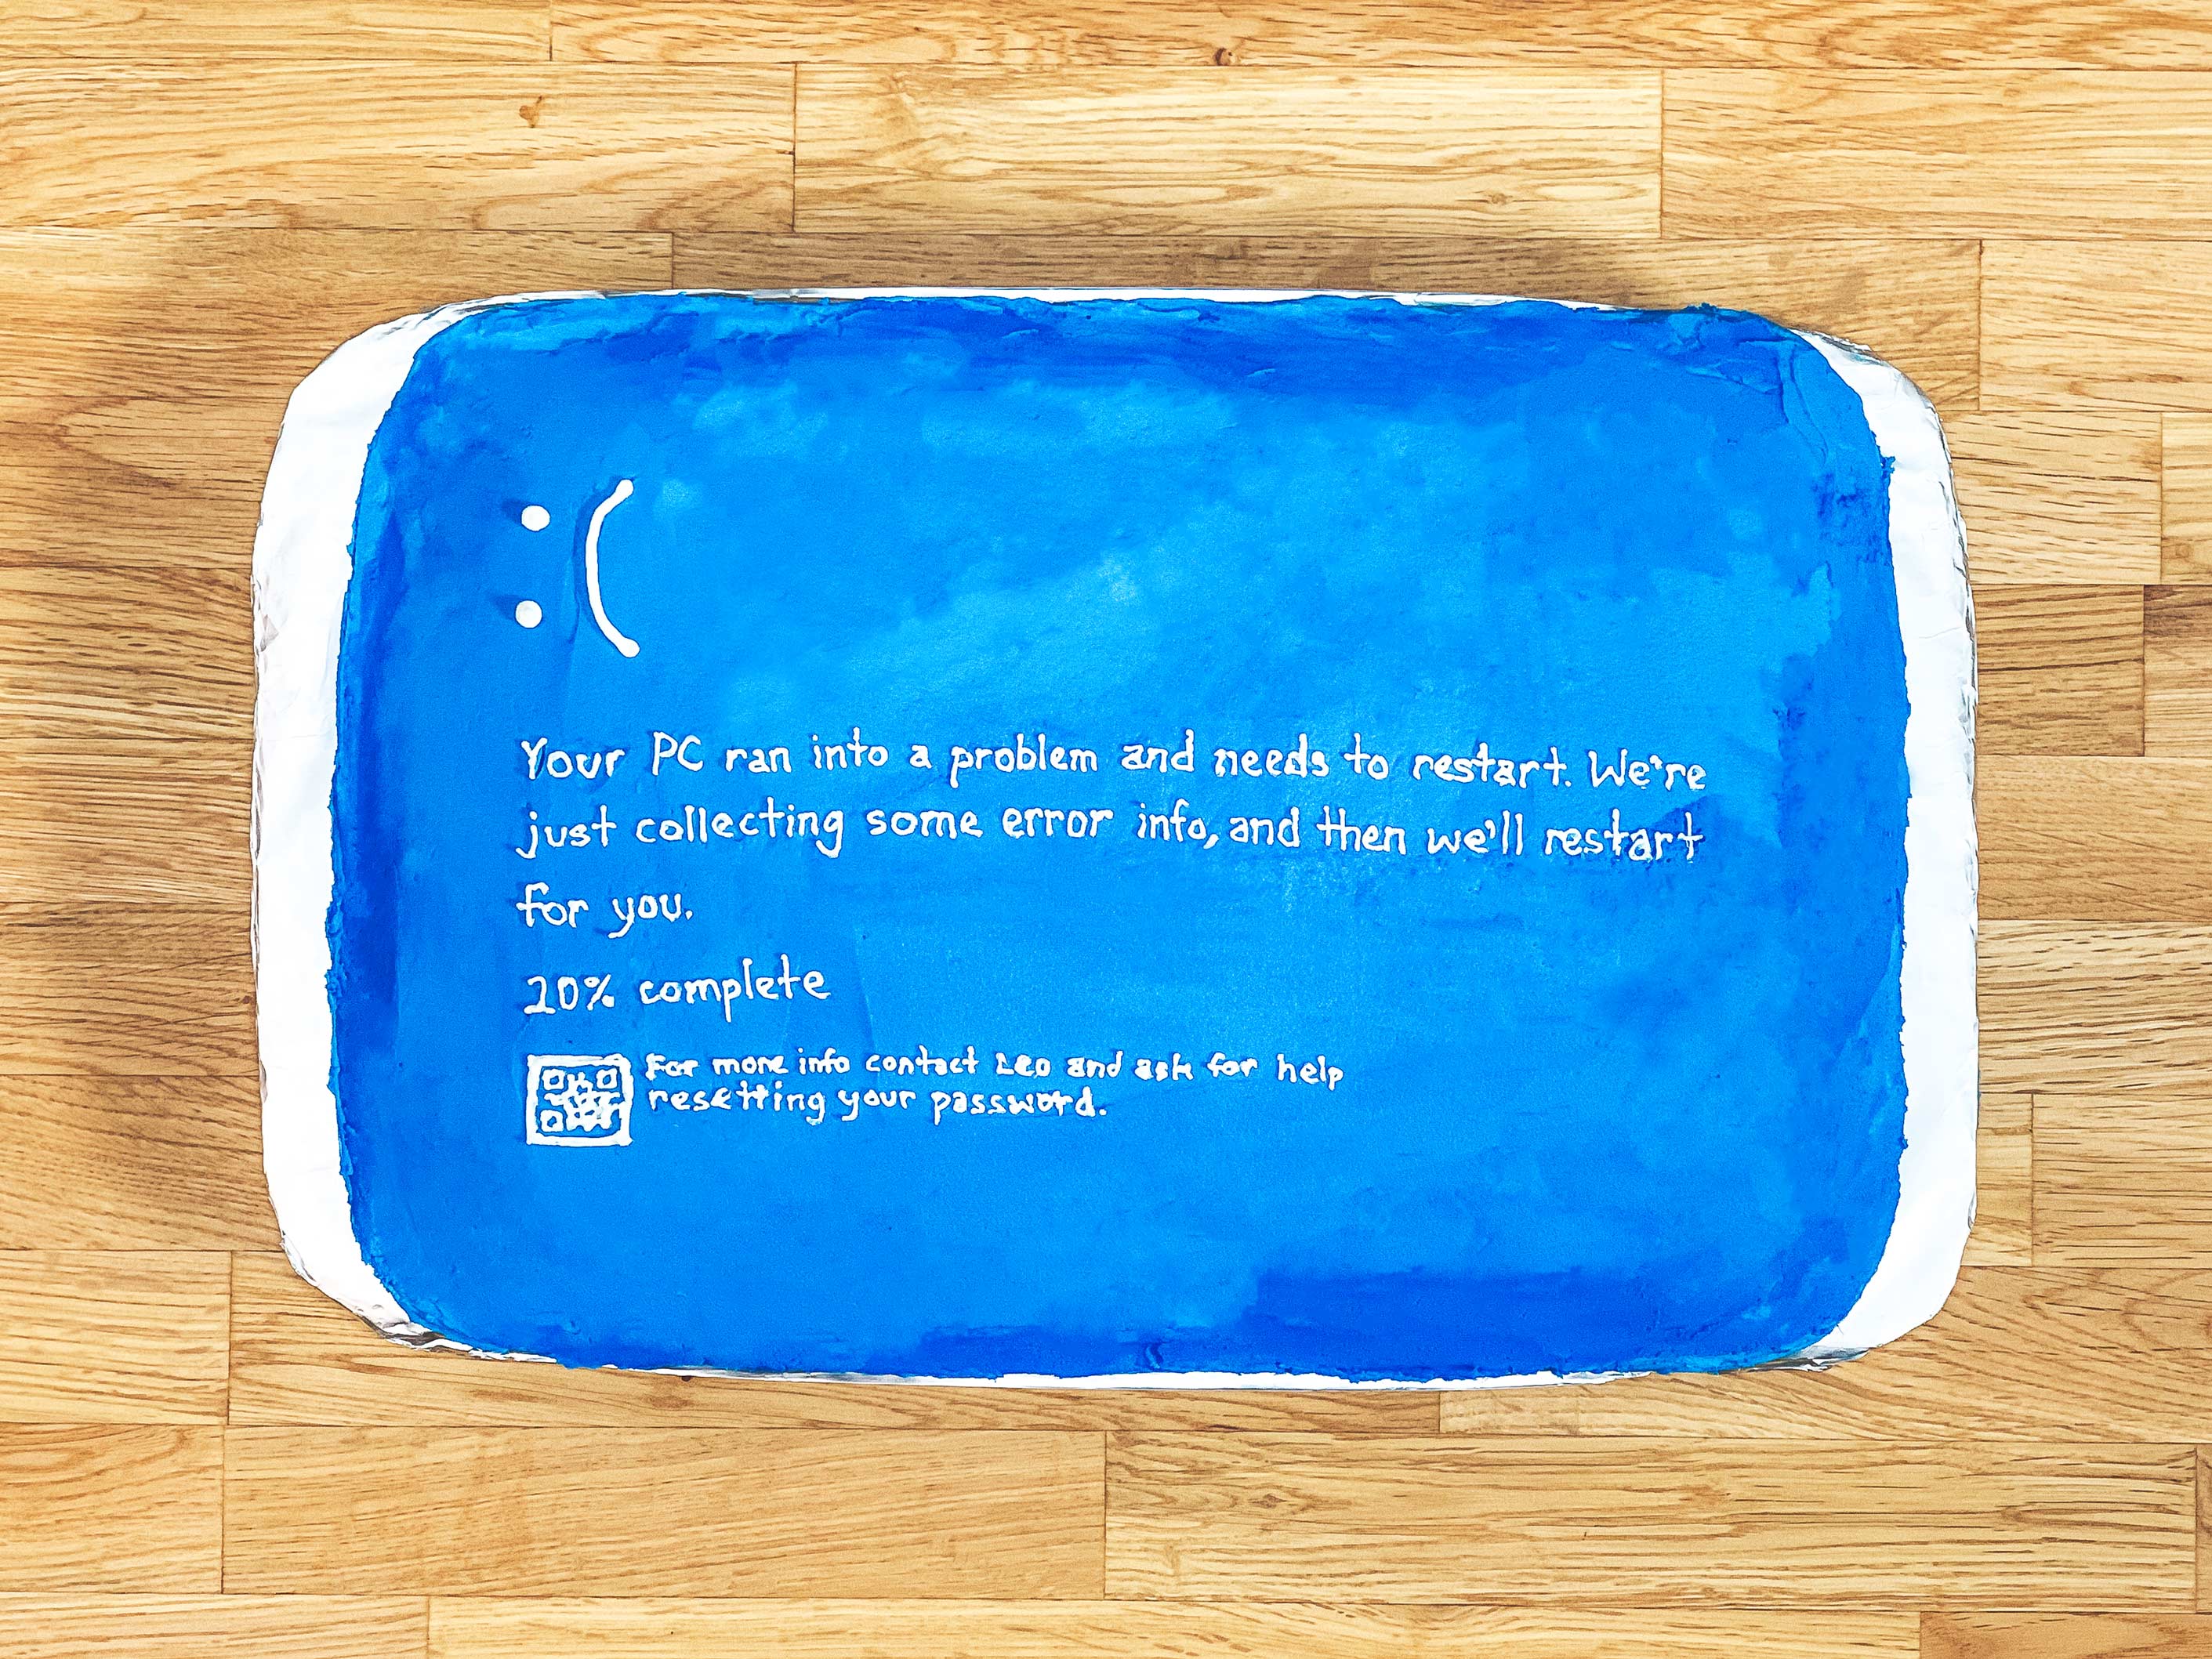
On the rectangular cake, I carefully copied out an error message from the Blue Screen of Death. This cake was for one of our IT support staff.
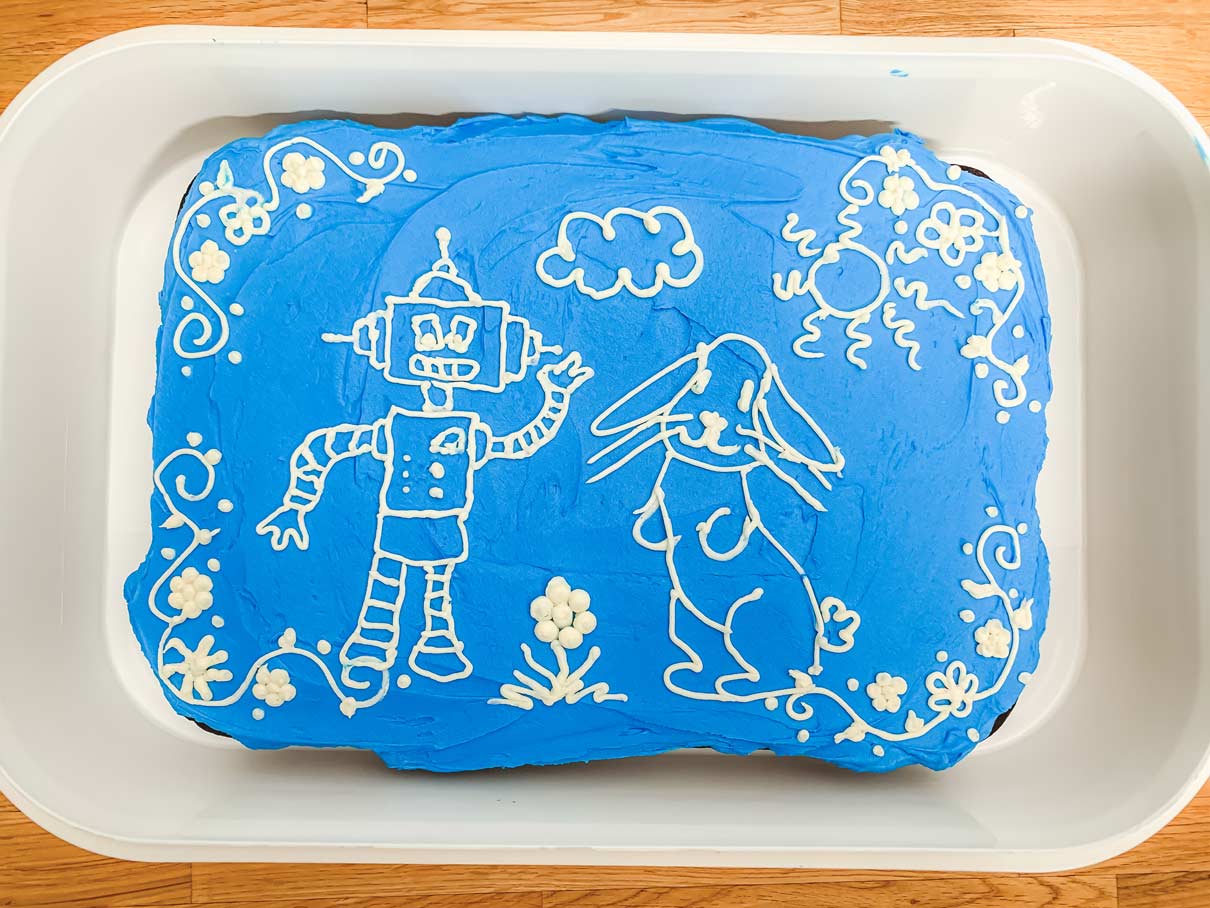
I ended up with a lot of leftover buttercream (I doubled the recipe), and I still had a sad sunken cake to deal with. Collin and I ended up having some fun decorating it with what was leftover. It was nice being able to just doodle and draw whatever we wanted after having painstakingly written the tiny error message on the previous cake.
This week was a pretty busy week around here, so I’m not sure how I managed to squeeze in making three cakes, but I’m glad I did! While these may not have been the fanciest cakes I’ve ever made, they were a lot of fun to put together.

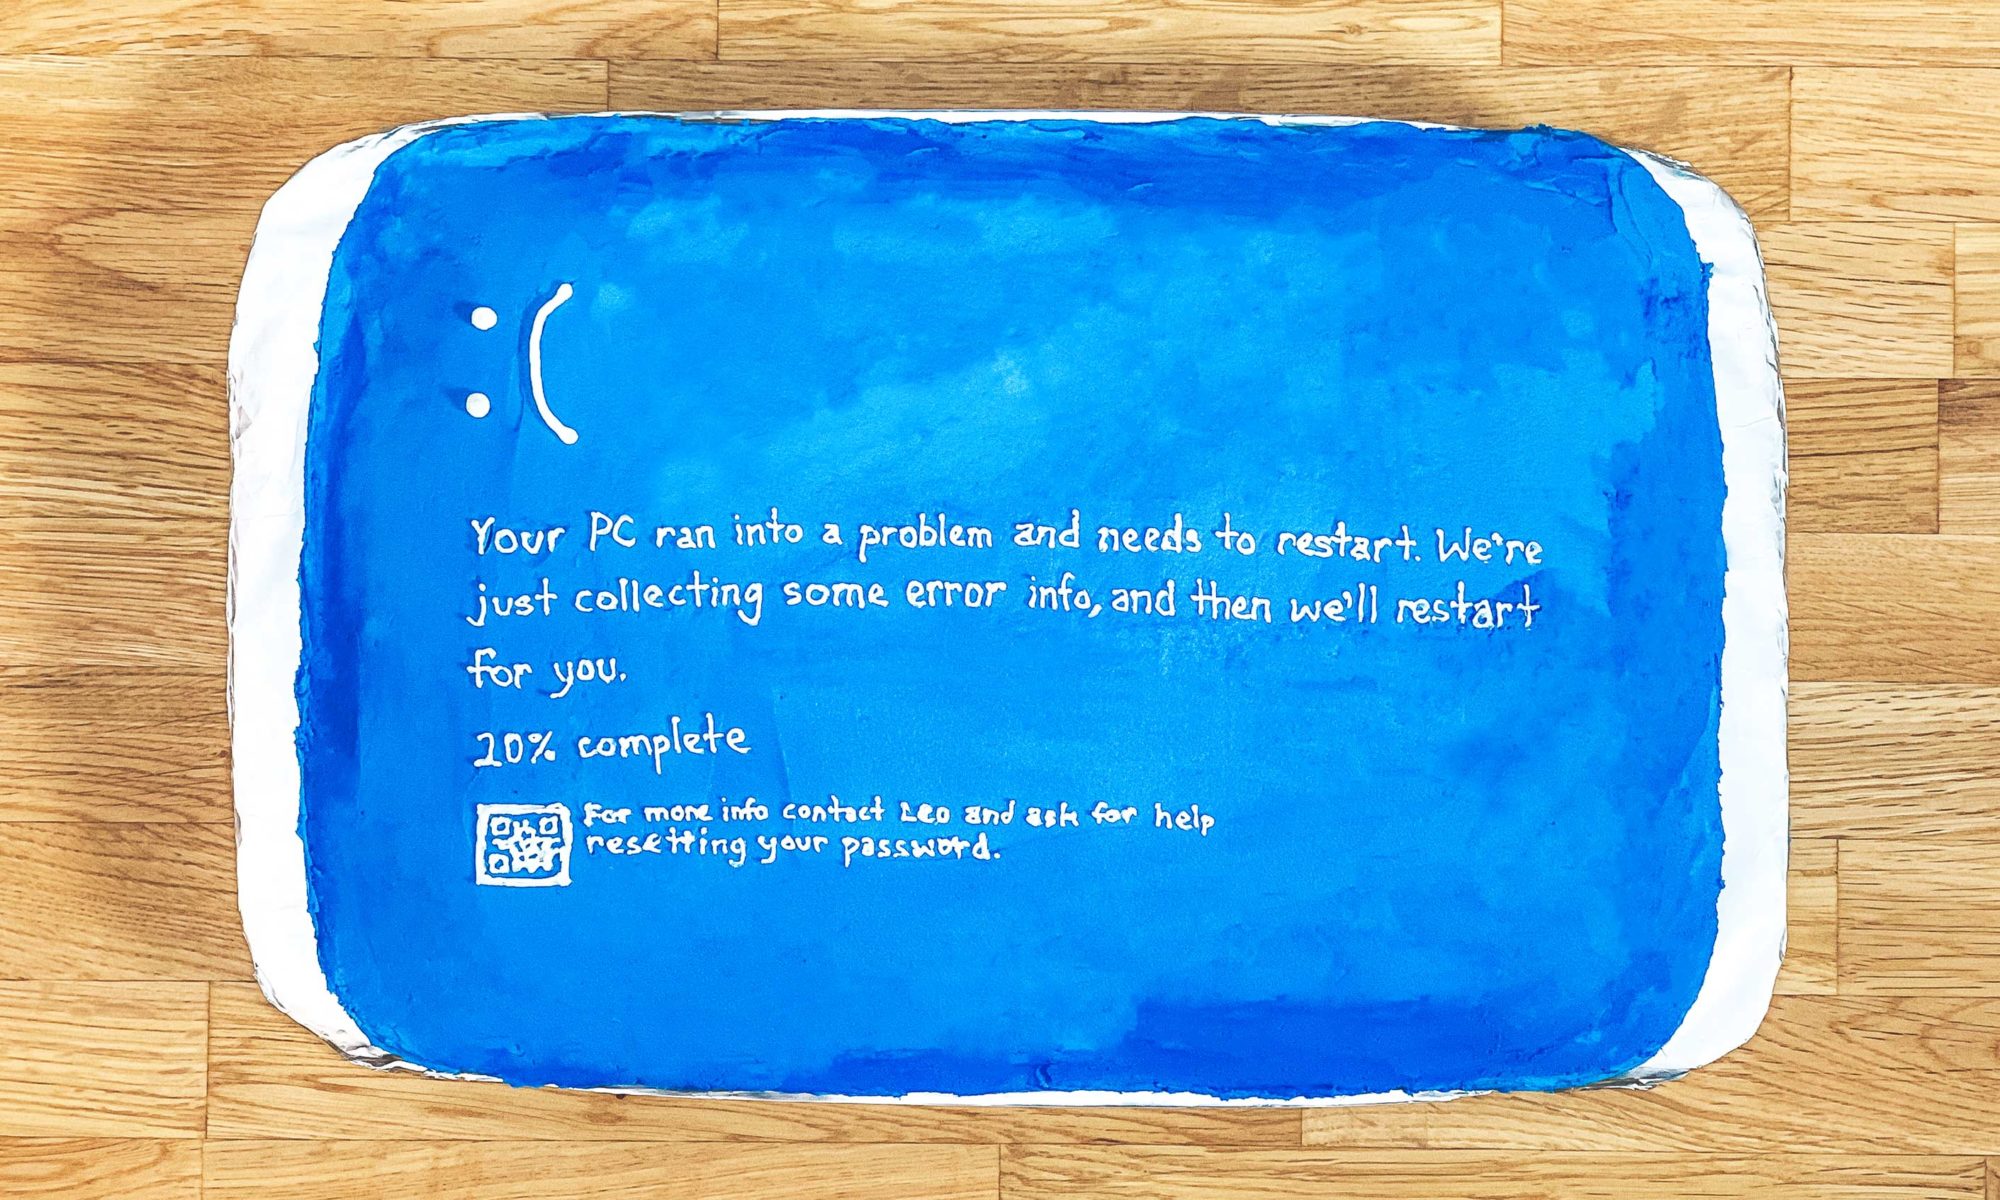
Blue Screen Of C A K E