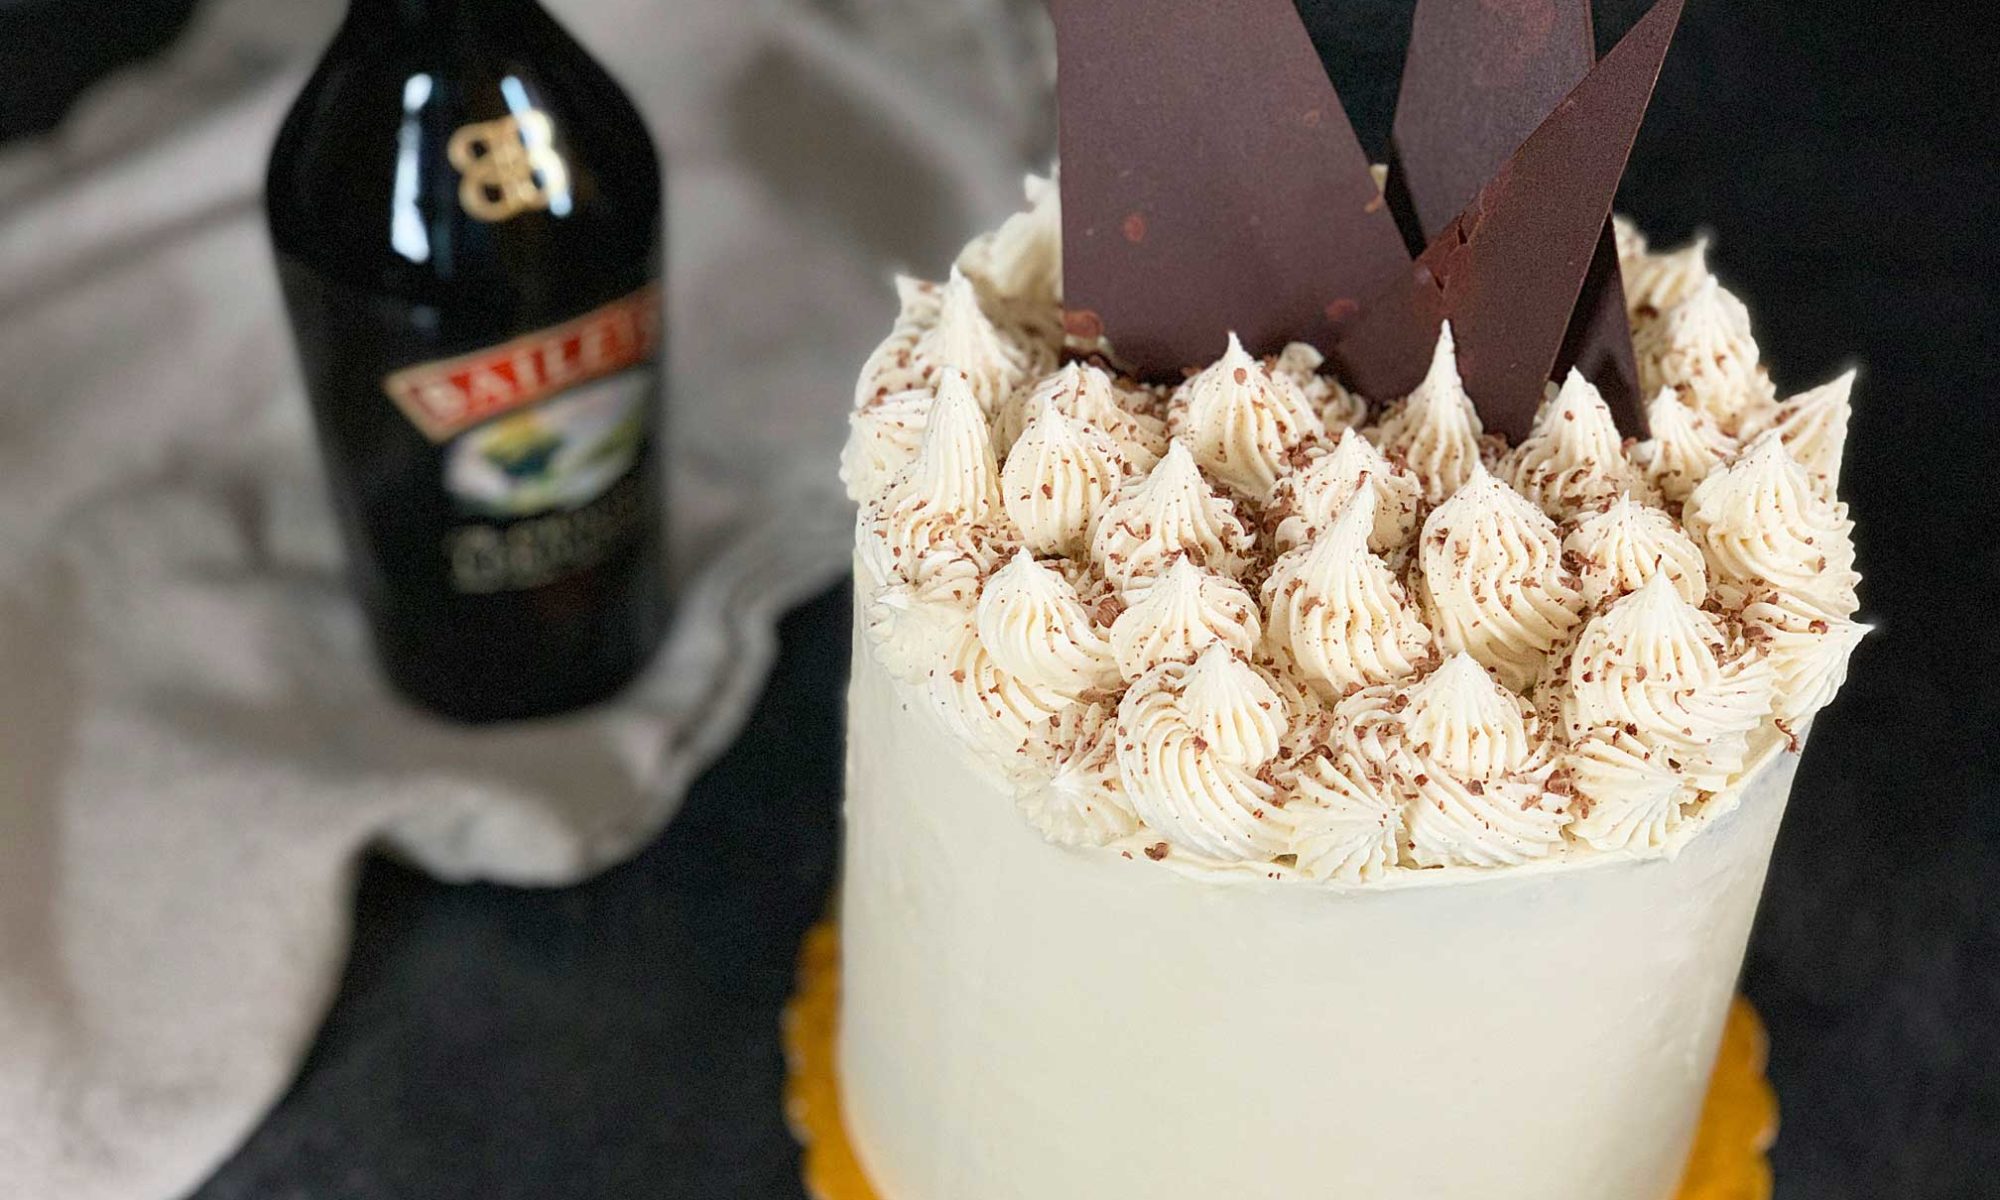
This past week we had the pleasure of celebrating the birthday of one of our favourite humans! No birthday celebration is complete without a cake, so I baked this chocolate Baileys cake and frosted it with a baileys infused buttercream.
The chocolate cake is an ever so slightly modified version of the Best Chocolate Cake Ever recipe from Add a Pinch. I simply swapped out a portion of the required milk for baileys instead.
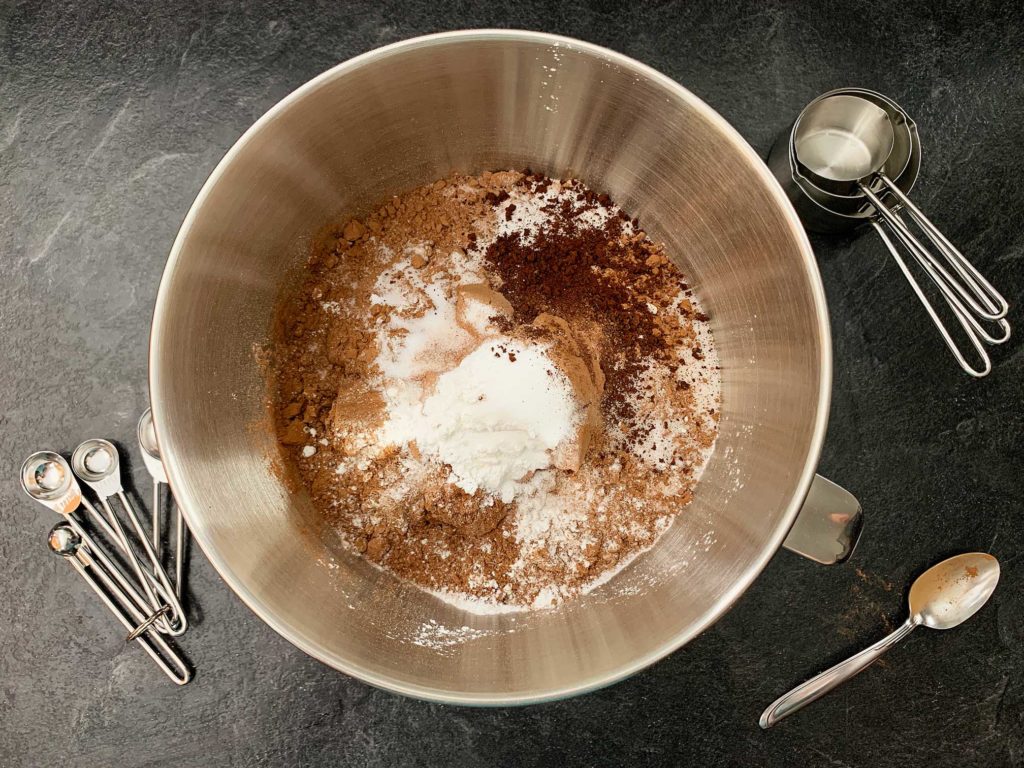
This cake is an amazing one bowl wonder! It’s so quick and easy to make. Start by whisking together all of your dry ingredients.
Add the milk, baileys, vegetable oil, eggs and vanilla to your dry mix. Beat at medium speed until well combined. Reduce the speed to low and slowly add some boiling water (yes, actually boiling, not just hot from the tap). Stir until completely mixed. Your batter should be quite runny.
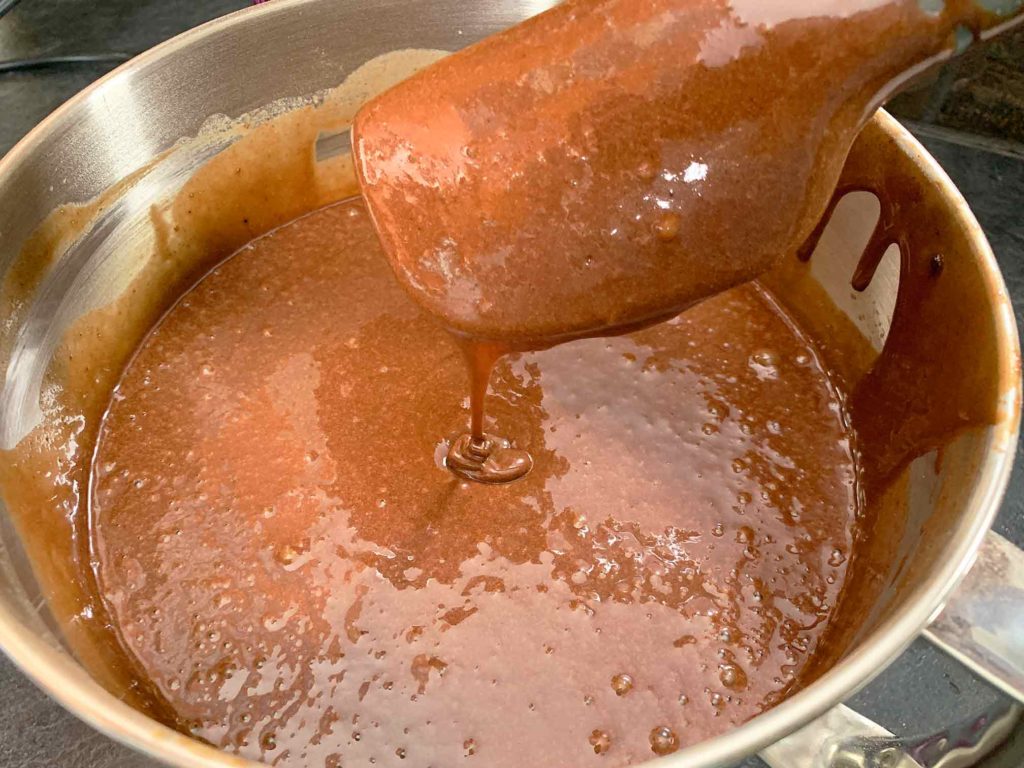
This recipe makes enough batter for two 9 inch round cake pans. If you want to keep things simple, divide the batter evenly across the two pans, and then bake as directed. For this particular endeavour, I decided to make things a bit more complicated.
I wanted to make a taller, skinnier cake, as well as some mini cupcakes. To get enough batter, I made one and a half times the recipe. I then distributed just under half my batter across three 6 inch round cake pans, and used the rest to make mini cupcakes.
If you’re ever wanting to make a cake in a size/shape that is different from what is listed in your recipe, there is a great article on Food52 about How to Make Your Baking Recipe Fit Your Pan Size. I used this as a reference to figure out how much batter to split across the pans I had.
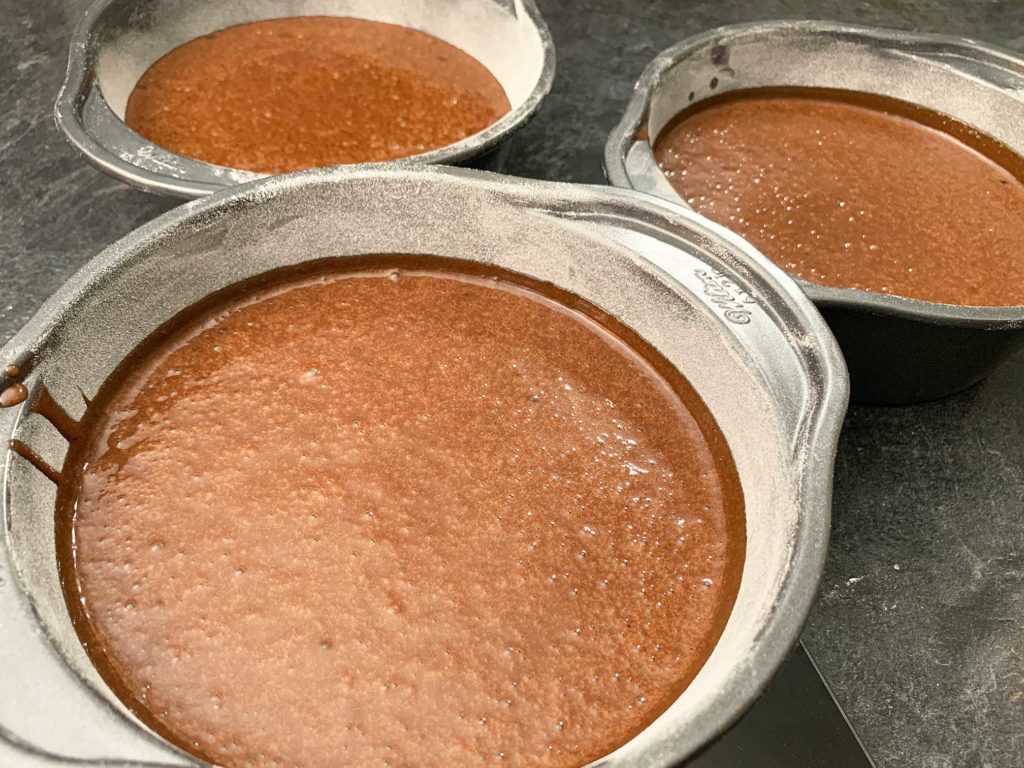
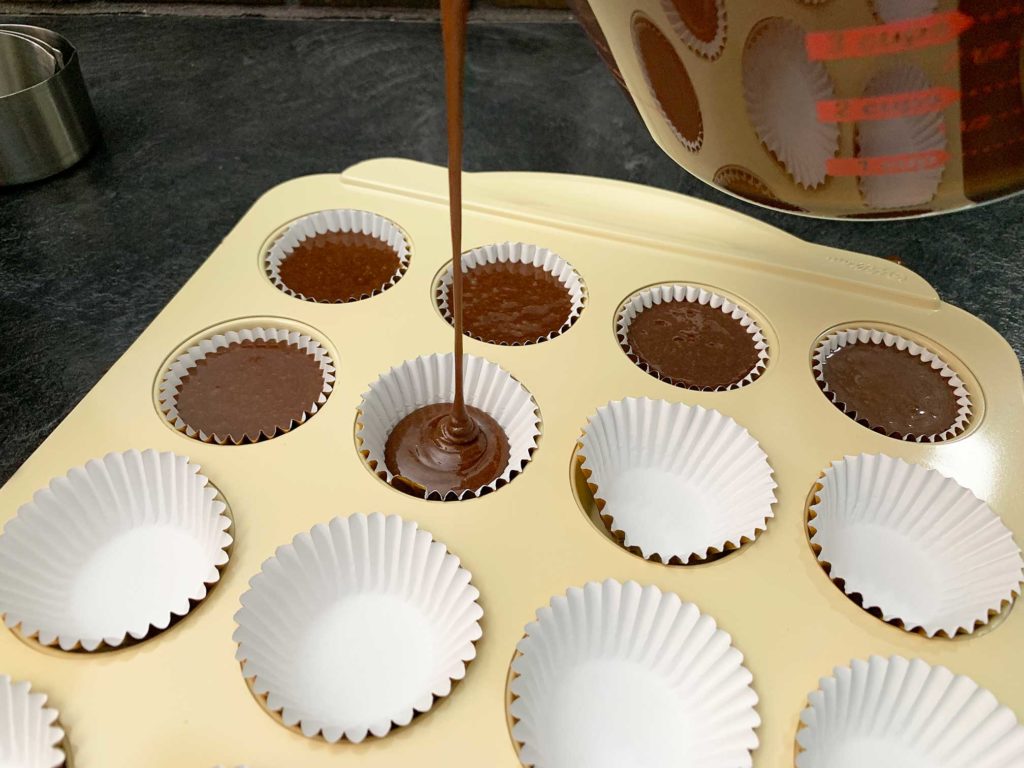
Pro tip! Since this batter is quite thin and runny, it is super easy to pour into cupcake tins. I transfer the batter to a jug with a spout, and then just pour the batter into the cups. I find this is usually a lot faster and tidier than trying to scoop spoonfuls of batter.
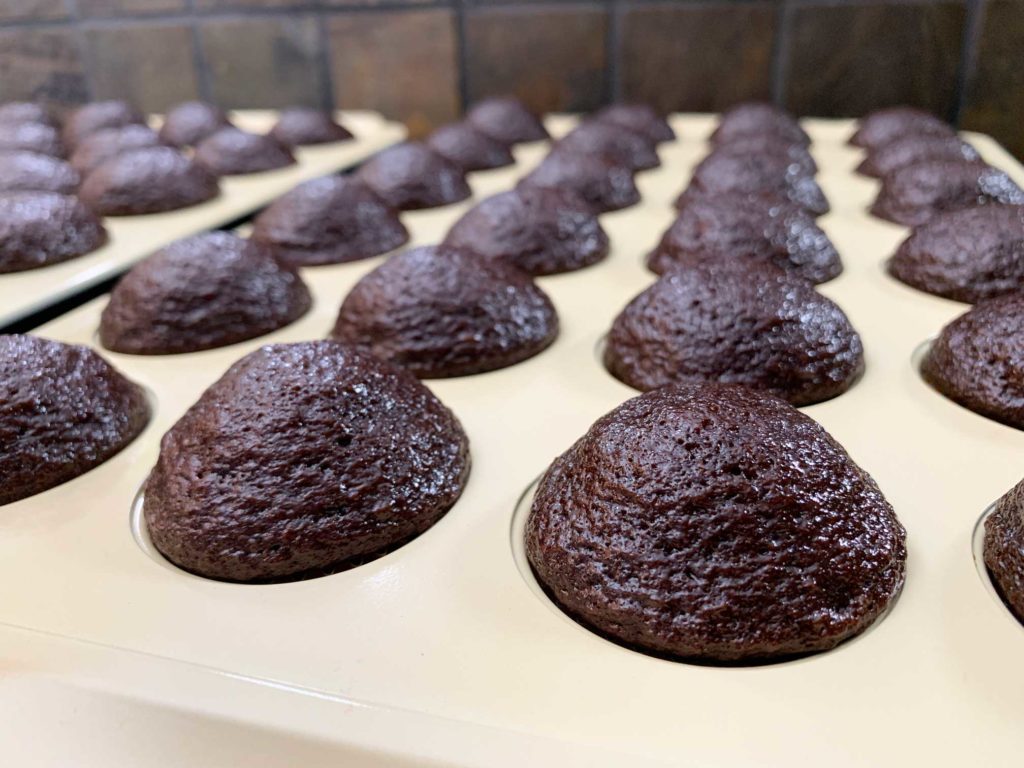
I baked the cupcakes first for about 9 minutes, followed by the cakes which took closer to 30-35 minutes.
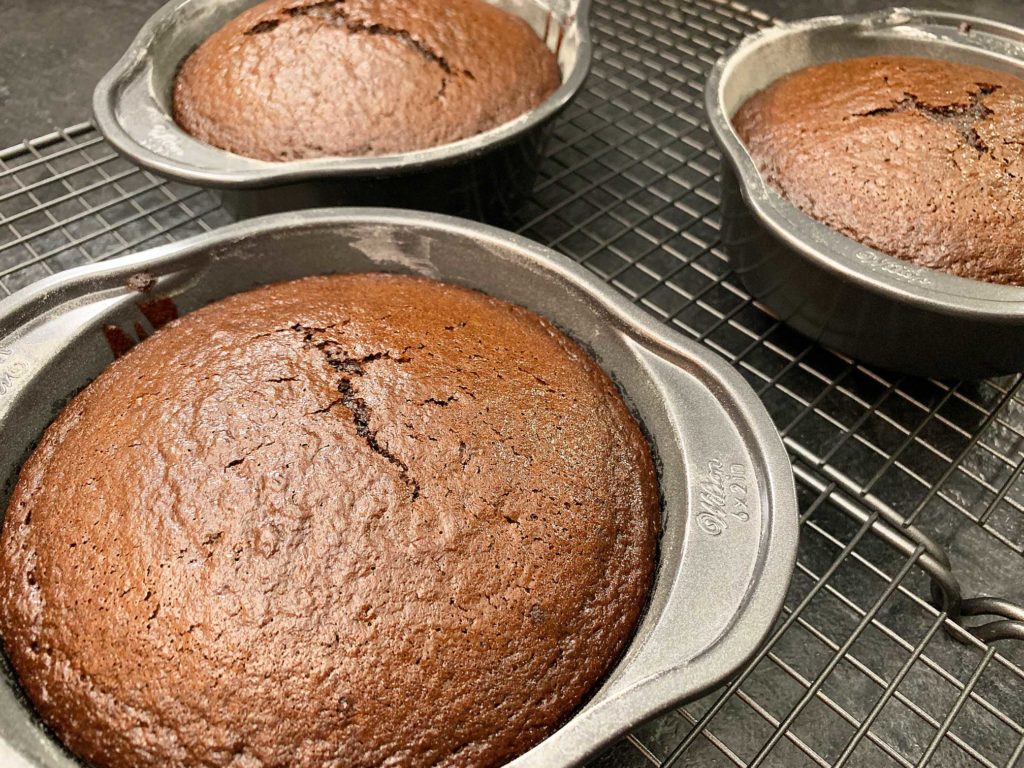
I let both the cupcakes and the cakes cool thoroughly before I started making the frosting. You never want to frost a warm cake or it will turn into a gooey mess!
To make the buttercream, beat together some butter and icing sugar until well combined. Next, add a little vanilla, and a hefty dose of baileys, and beat on high speed until nice and fluffy.

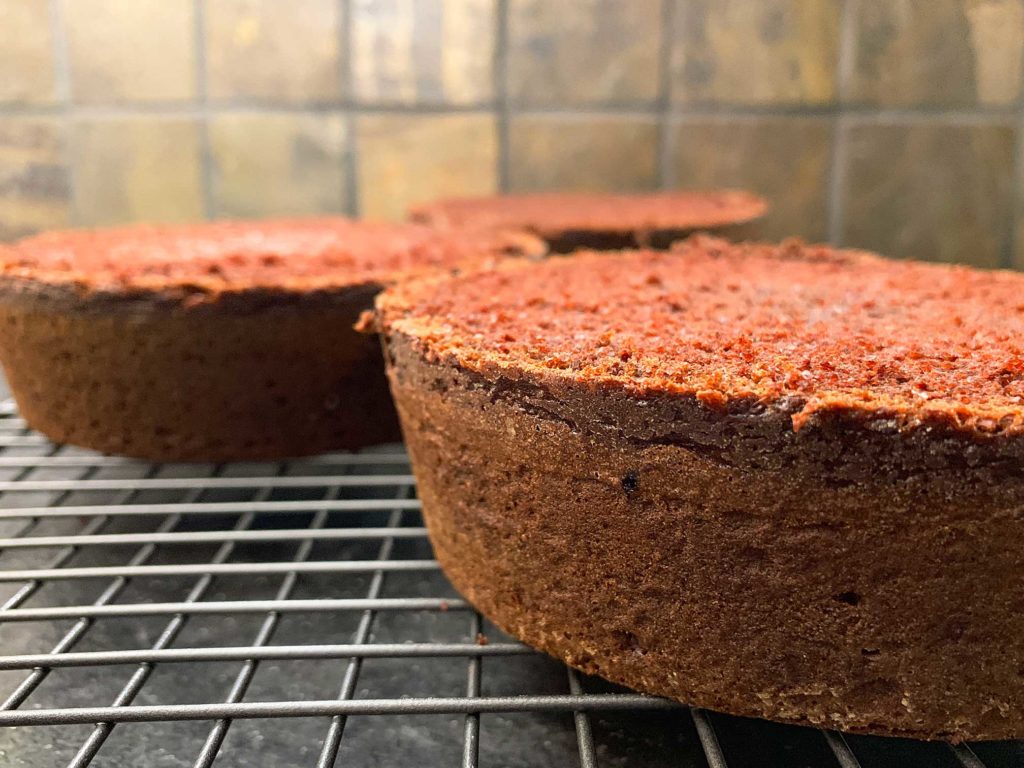
Most cakes tend to bake with a little bit of a domed top. Before you start frosting and stacking your cakes, you’ll want to trim the tops a bit so that they’re nice and level. This will ensure you get a really evenly shaped cake, and it will make your frosting/stacking process a lot easier. Plus you get to eat the scraps, so that’s just a bonus.
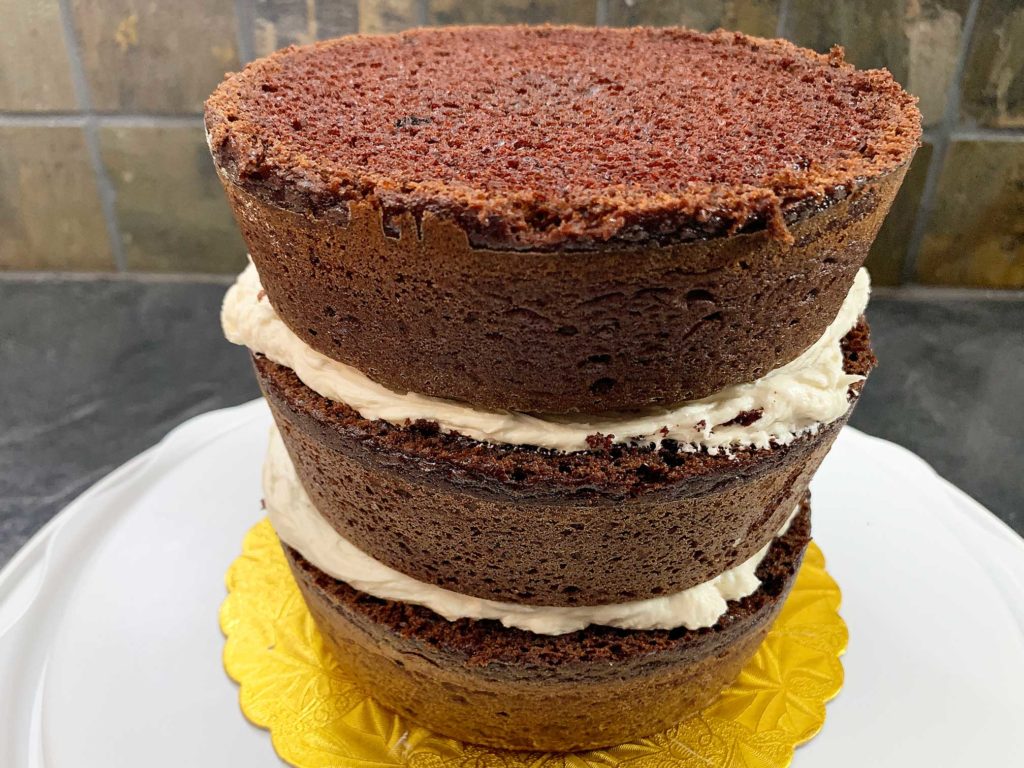
Now it’s time to stack your layers! Put a little bit of buttercream onto your plate or cake board to sort of “glue” your first cake layer in place. Then spread a pile of buttercream evenly across the top of your first cake layer.
Stack the second cake layer on top and make sure it lines up straight with the bottom layer. Repeat for as many cake layers as you have.
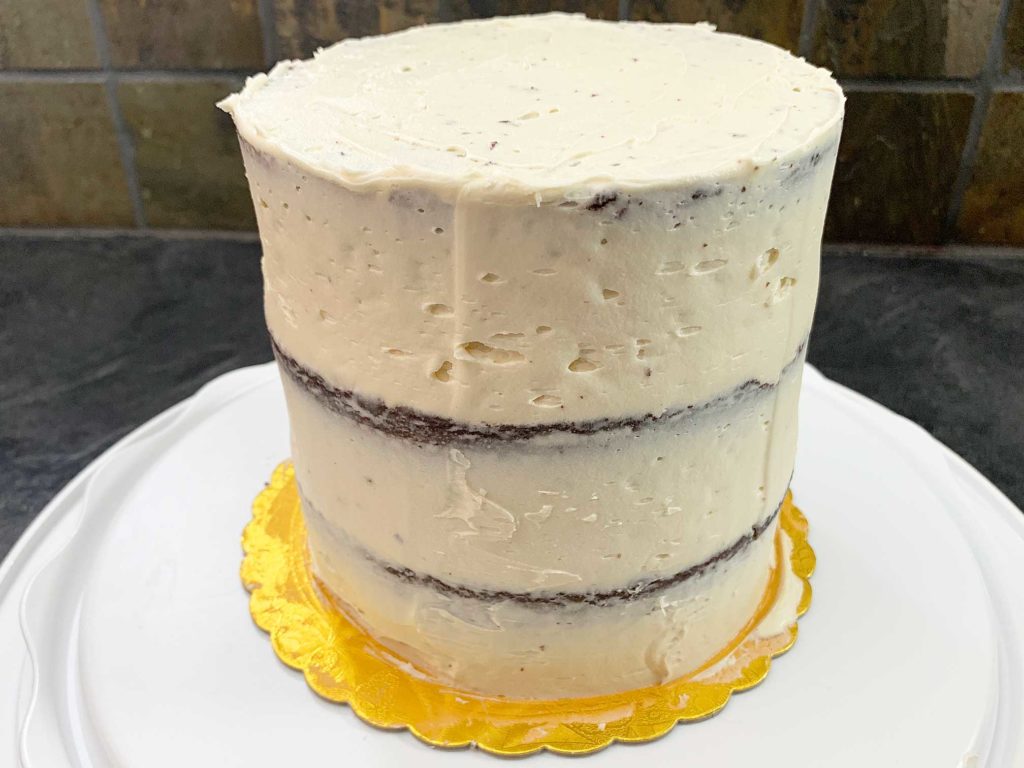
Once your cake layers are all stacked and filled, it’s time to do something called a crumb coat. This is where you apply a really thin layer of frosting to the whole outside of the cake to sort of seal in the crumbs. Smooth it out as much as you can, and then throw it in the fridge for 15-20 minutes to firm up.
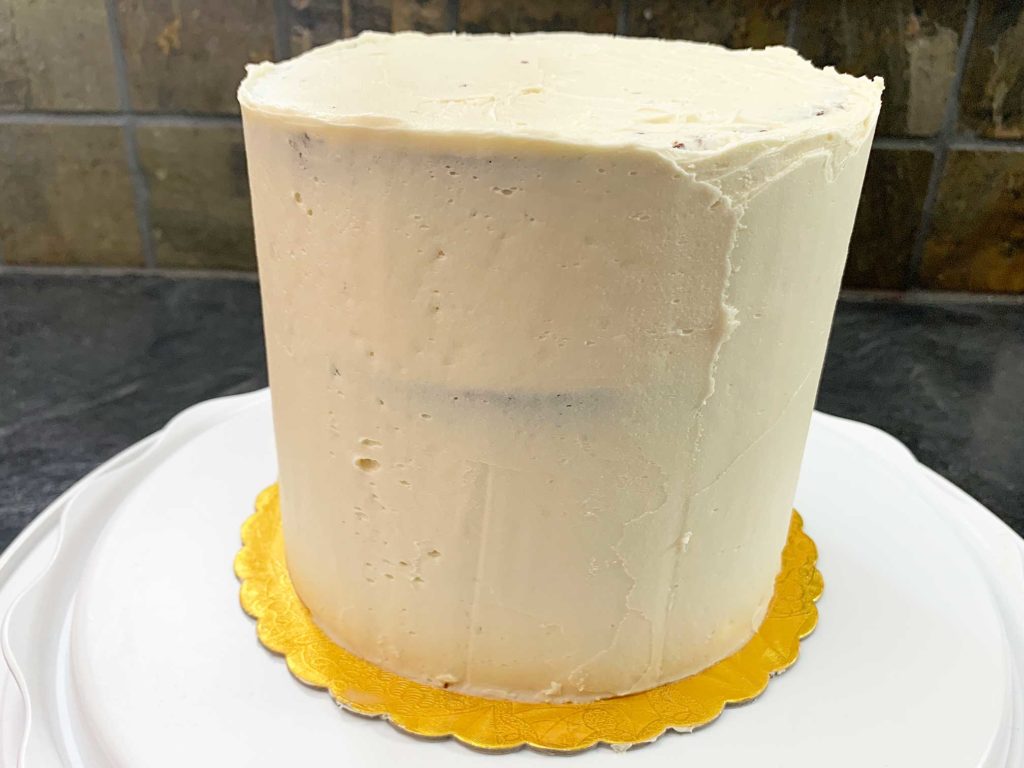
Once your crumb coat has firmed up, apply another layer of buttercream. I’ve watched countless videos on how to do this, and people always make it look so easy. You’re supposed to start by piping a solid coating of buttercream all over your cake. Next, you take a big flat scraper, and hold the edge straight up against your cake. Then, you spin your cake plate so the scraper drags over the surface of the frosting, smoothing it out as your cake turns.
I’m pretty sure there is at least an ounce of witchcraft involved here because it doesn’t seem to matter how many layers of buttercream I add, or how carefully a spin my cake around, I can never get a perfectly smooth surface. Some people say it just takes practice. I say it takes some kind of sorcery. But hey…Tomato tomahto, right?
Anyhow, once you have a more or less smooth cake surface, you can pipe on some extra buttercream for decoration. I used a 4B piping tip to get the little swirls pictured below.
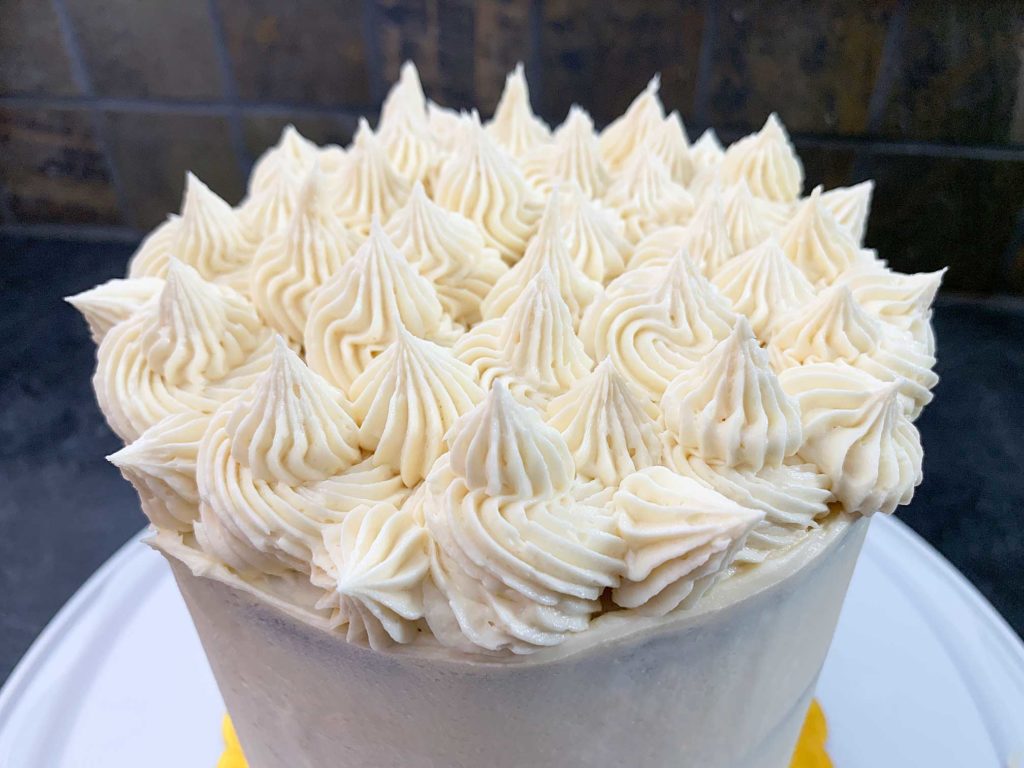
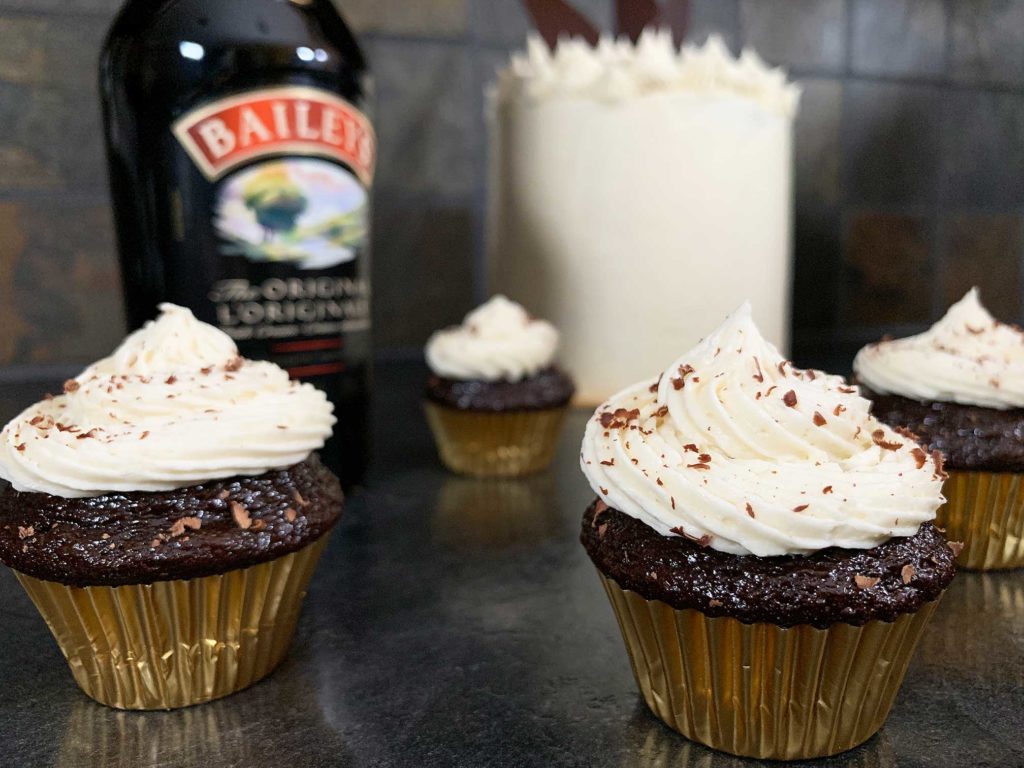
I used the same piping tip to make the little swirls on top of the mini cupcakes as well.
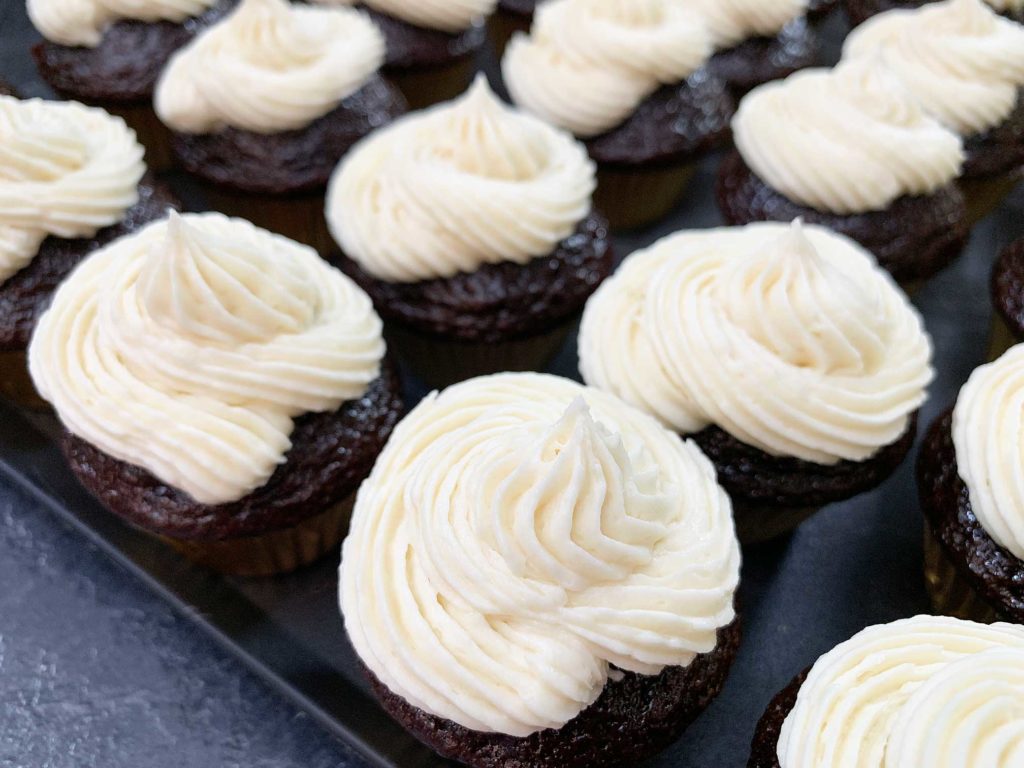
The best part about cakes is that you can really decorate them any way you like. For this cake, I wanted to add some decorative chocolate pieces to go on top. To do this, I started by lining a baking tray with some parchment paper. Then I melted some dark Lindt chocolate (70% cocoa), and spread it out thin with a flat metal spatula.
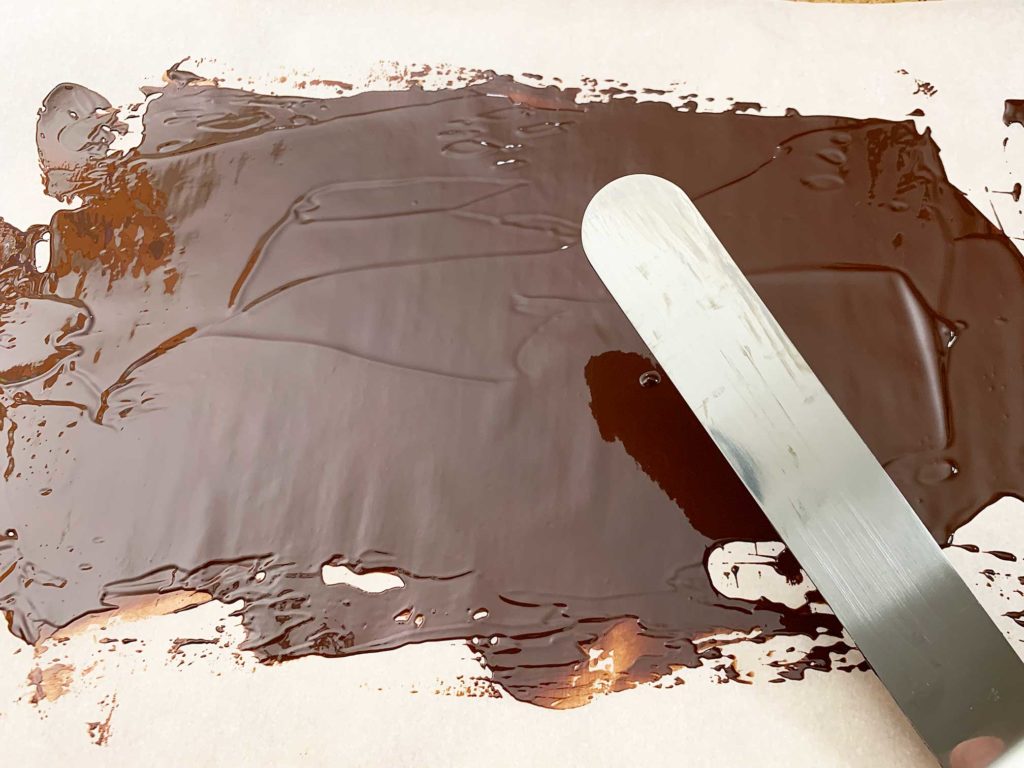
I read a tip online that suggested laying another sheet of parchment on top of the melted chocolate and lightly pressing it down to remove any air bubbles. This is supposed to help give your chocolate a really smooth surface.
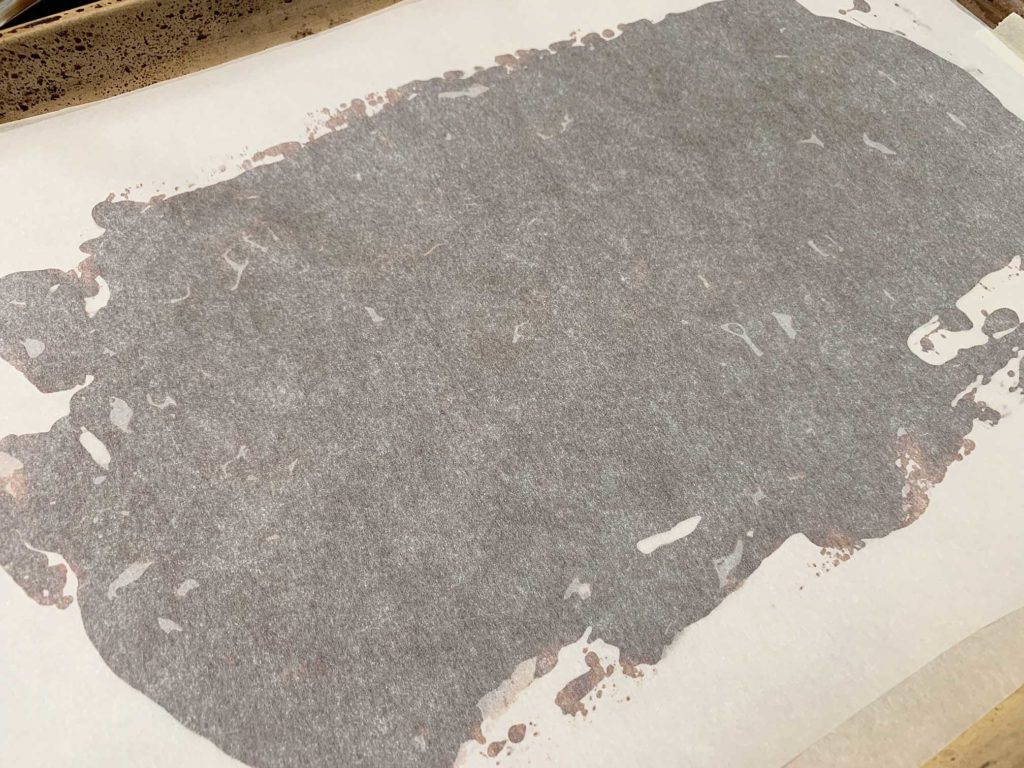
I chilled the chocolate in the fridge until it was set and then removed the top layer of parchment. It certainly did help smooth out the surface of the chocolate, however I spread my chocolate a bit too thin in some areas. I would like to try this technique again, but I’d be sure to leave my chocolate a bit thicker.
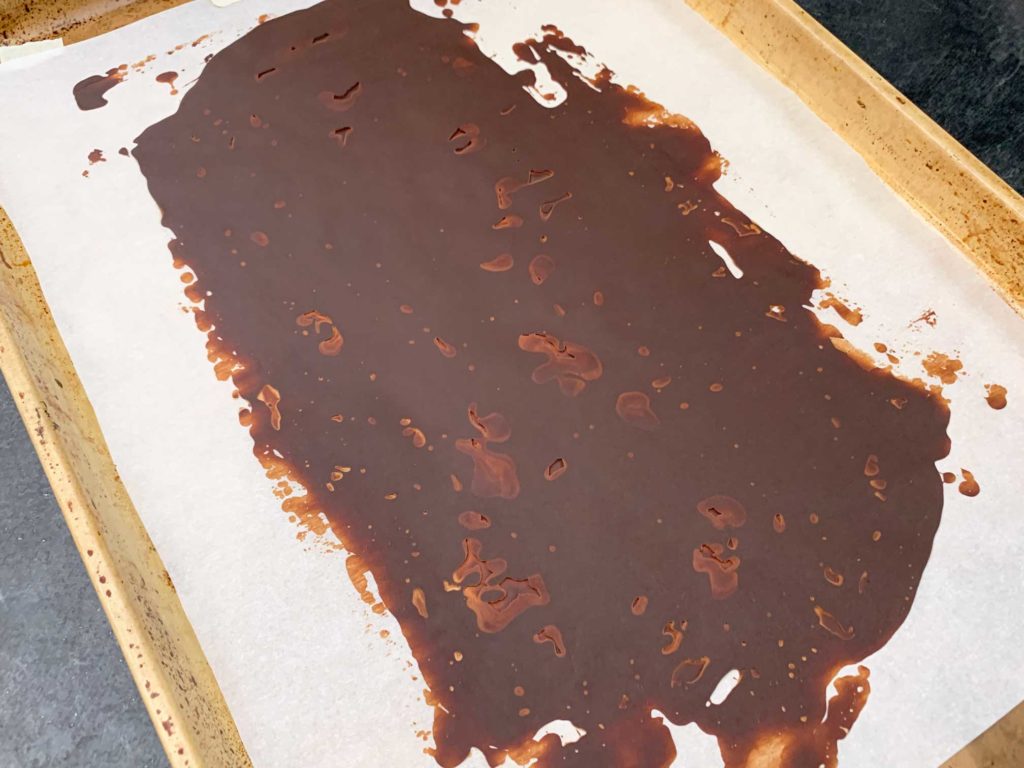
I used a sharp knife to cut the chocolate into large sort of triangle shapes which I carefully set into the top of the buttercream. Since I’d spread the chocolate so thin, the triangles started to bend and wilt a little bit not long after they had been placed on the cake. I’m quite sure that making the chocolate slightly thicker would keep the triangles firm and upright.
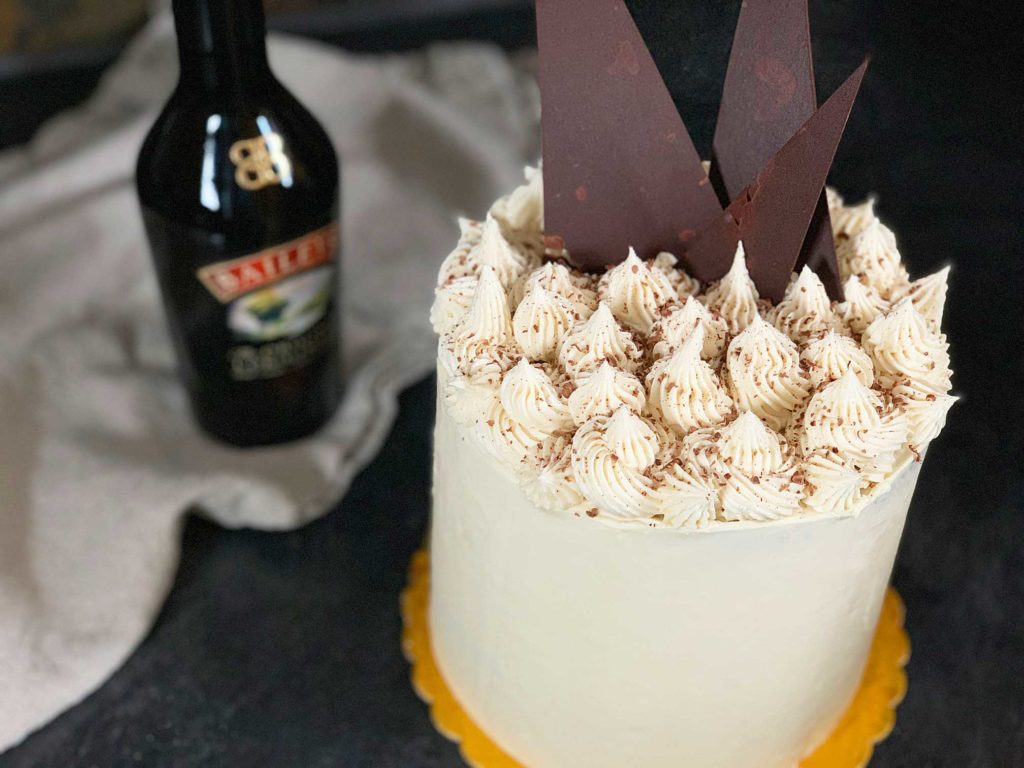
Lastly, as a final touch, I used the fine side of a cheese grater to grate some of the remaining Lindt chocolate to make some tiny chocolate shavings. I sprinkled these on top of both the cake and the cupcakes.

Chocolate Baileys Cake
Ingredients
Chocolate Baileys Cake
- 2 cups all purpose flour
- 2 cups sugar
- 3/4 cup unsweetened cocoa powder
- 2 tsp baking powder
- 1 1/2 tsp baking soda
- 1 tsp salt
- 1 tsp espresso powder
- 3/4 cup milk
- 1/4 cup baileys
- 1/2 cup vegetable oil
- 2 eggs
- 2 tsp vanilla extract
- 1 cup boiling water
Baileys Buttercream
- 1 cup butter
- 3 cups icing sugar
- 1/3 cup baileys
- 1 tsp vanilla extract
Instructions
Make the cake
- Pre-heat oven to 350°F. Lightly grease and flour two 9 inch round baking pans.
- In the bowl of a stand mixer, stir together the flour, sugar, cocoa powder, baking powder, baking soda, salt and espresso powder.
- Add the milk, baileys, vegetable oil, eggs and vanilla extract to the dry ingredients. Beat on medium speed until well combined.
- With the mixer set to low speed, slowly add the boiling water, stirring until combined.
- Divide the cake batter between the two baking pans. Bake for 30-35 minutes, or until a tester comes out clean.
- Let the cakes cool for about 10 minutes before removing from pans. Ensure the cakes are completely cooled before frosting.
Make the buttercream
- Beat the butter in the bowl of a stand mixer on medium speed until softened.
- Add the icing sugar and beat on medium speed until combined.
- Add the baileys and beat on high speed until the buttercream is light and fluffy.
- Frost the cooled cakes with the buttercream.

