
This sweet, citrusy cake makes a perfect summer time dessert. I’ll admit, this is the only pineapple upside-down cake recipe I have ever made but I have no desire to try a different one because I love this one so much.
I pulled this recipe from one of my mum’s well worn cook books, now yellowed and falling apart at the seams. The cover has long since gone missing and I’m not even sure which book it is, but it’s the recipe my mum has always made and I shall continue to make because it is undeniably delicious.
If you’re not a pineapple fan (I won’t judge…much) you can substitute sliced peaches instead. I’ve also tried using sliced pears and toasted almonds with a hint of cardamom, but the pears weren’t particularly flavourful and the cake needed a little something extra. There are endless possibilities which I’m sure I will one day explore, but I think the pineapple will still always be my favourite.
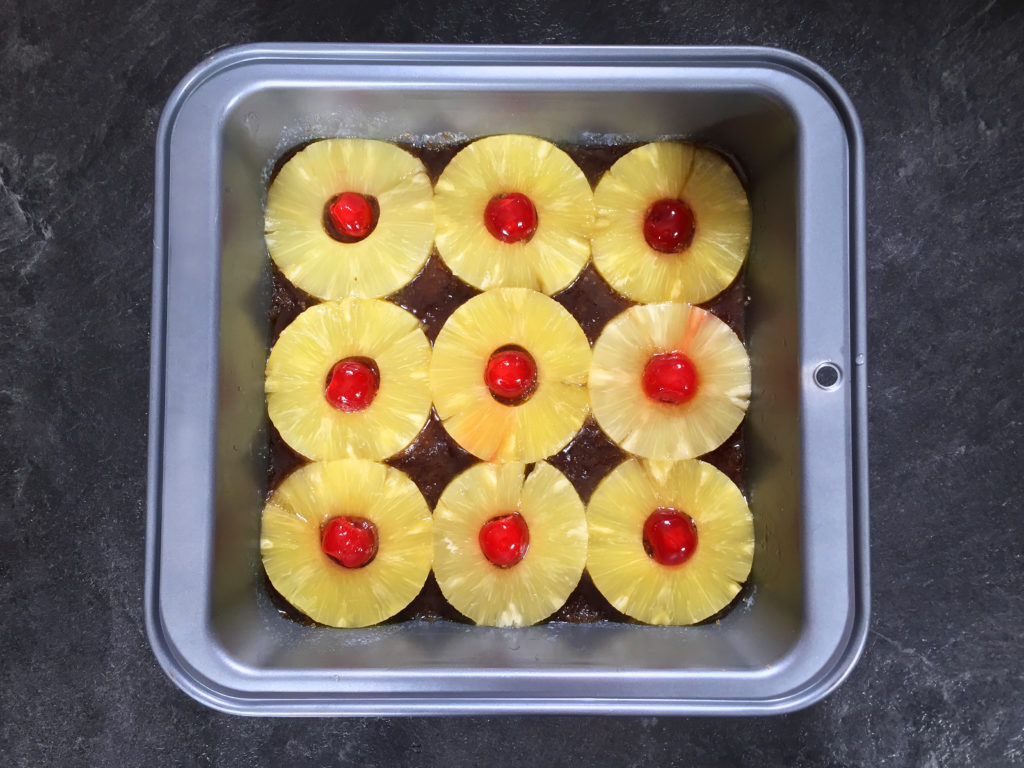
Nine pineapple rings fit very nicely into a 9″x9″ pan. I only had an 8″ square pan on hand which also works but not quite as well. The rings don’t fit unless you trim them and arrange them differently. I kind of like having the rings all neatly arranged side by side, but really you could cut them up and arrange them anyway you like. Have fun with it! I would still recommend using a 9″ pan though because the 8″ pan gives you a deeper cake which doesn’t bake through quite as quickly and the edges get a little browner than I would prefer.
Once it comes out of the oven you’ll need to flip it right away onto a plate or board. If you leave the cake to cool, it will stick to the pan and won’t come out properly. To flip it, place your plate or board upside down on top of the cake then just flip the whole thing over. Just be careful not to burn your fingers in the process!

Once you’ve flipped the cake, gently lift the pan away. Sometimes the rings will stick to the bottom of the pan, but you can quickly lift them out and set them on top of the cake again and no one will suspect a thing!

bake time: 35-45 min | MAKES: 9″ x 9″ pan
Ingredients
- 3 tbsp melted butter
- 1/2 cup lightly packed brown sugar
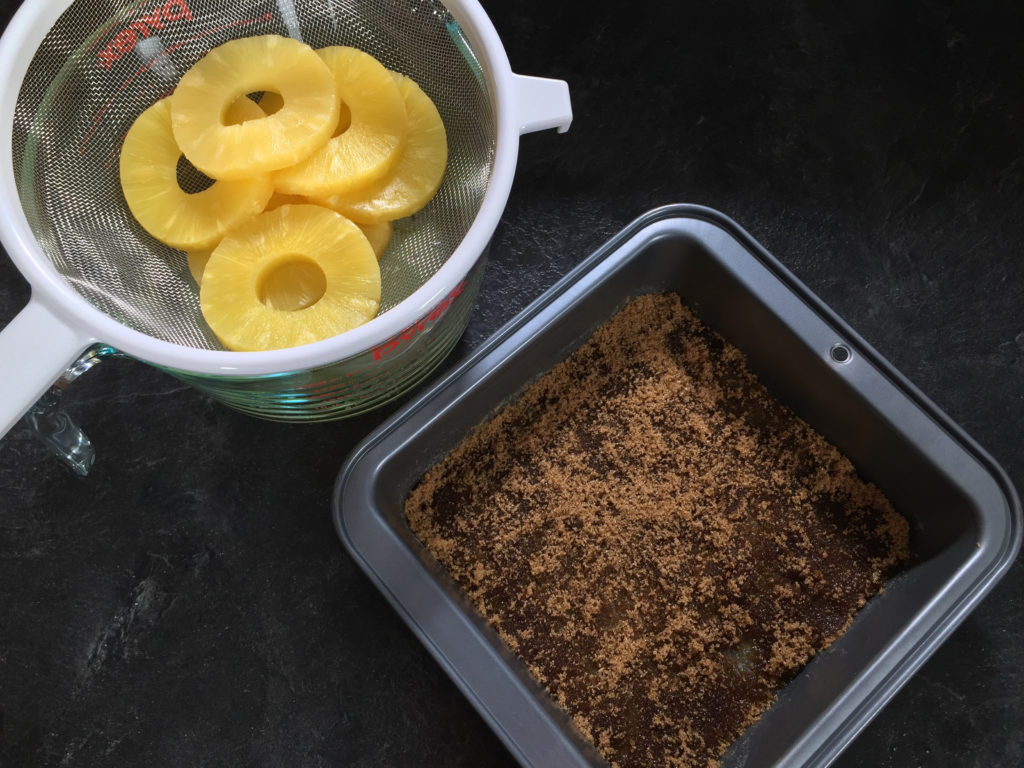
- 9 pineapple rings (the Dole brand pineapple slices in the 398ml can usually have 8 slices in, so I buy two and eat the extras)
- 9 maraschino cherries (optional)
- 1.5 cups flour
- 2 tsp baking powder
- 1/2 tsp salt
- 1/3 cup shortening
- 1 cup granulated sugar
- 1 egg
- 1 tsp vanilla extract
- 1 cup milk
Method
- Preheat your oven to 350°F.
- Pour the melted butter into the bottom of a 9″ x 9″ baking pan.
- Sprinkle the brown sugar evenly across the bottom of the pan.
- Arrange pineapple rings on top of the brown sugar and place a cherry (if using) in the centre of each ring. Set pan aside.
- In a medium bowl sift together flour, baking powder and salt.
- In a larger bowl cream the shortening and granulated sugar.
- Add in the egg and vanilla and then beat until well combined.
- Stir in the flour mixture and milk in several additions, beginning and ending with the dry mix (Basically add 1/3 dry ingredients, 1/2 the milk, 1/3 dry, 1/2 milk, 1/3 dry). After each addition, mix until just combined.
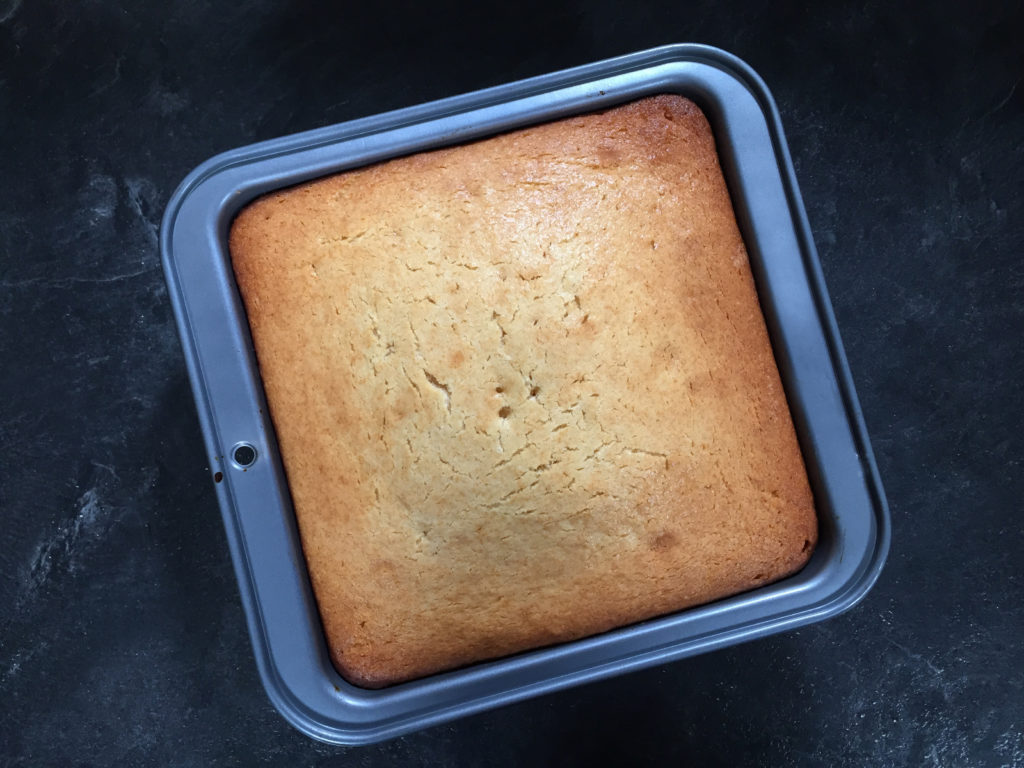
- Pour the batter into your pan and spread evenly over the pineapple.
- Bake 35-45 minutes until a tester comes out clean.
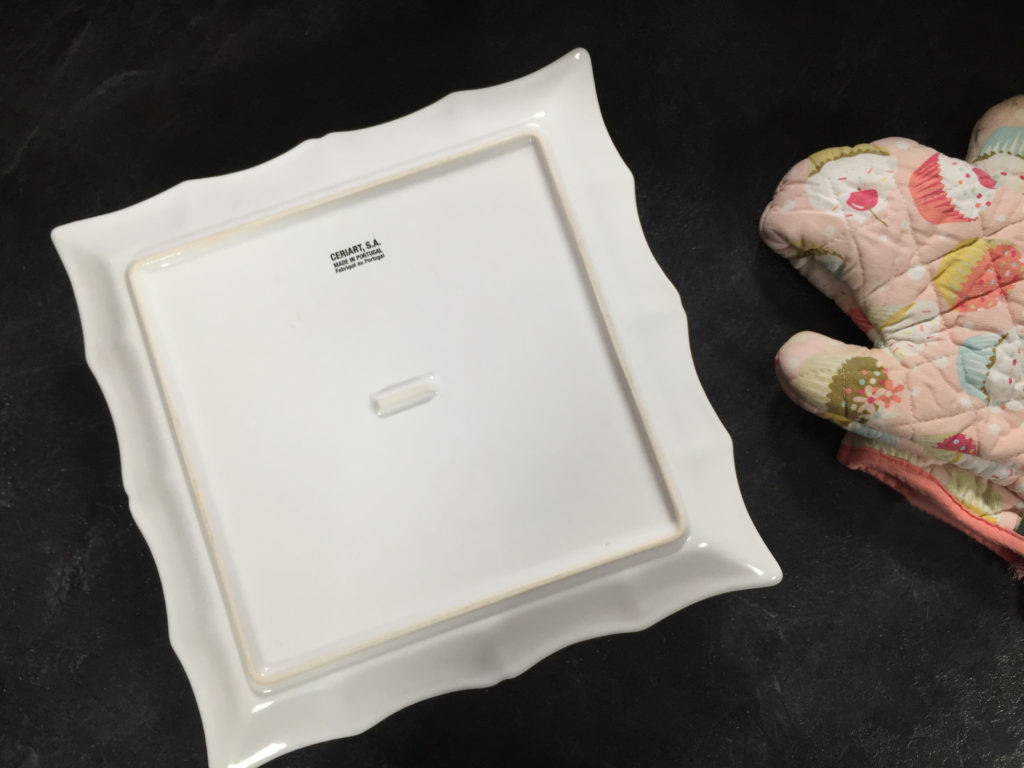
- While the cake is still hot from the oven, loosen the edges away from the pan, place a plate upside down over the top of the pan and then flip the pan and plate over together. Lift the pan off the plate and you will be left with a now right-side up cake! (Remember, don’t wait for the cake to cool before you flip it otherwise it will stick to the pan.)
I took one look at that photo and wondered if it was out of Ma’s cookbook!! Best!!